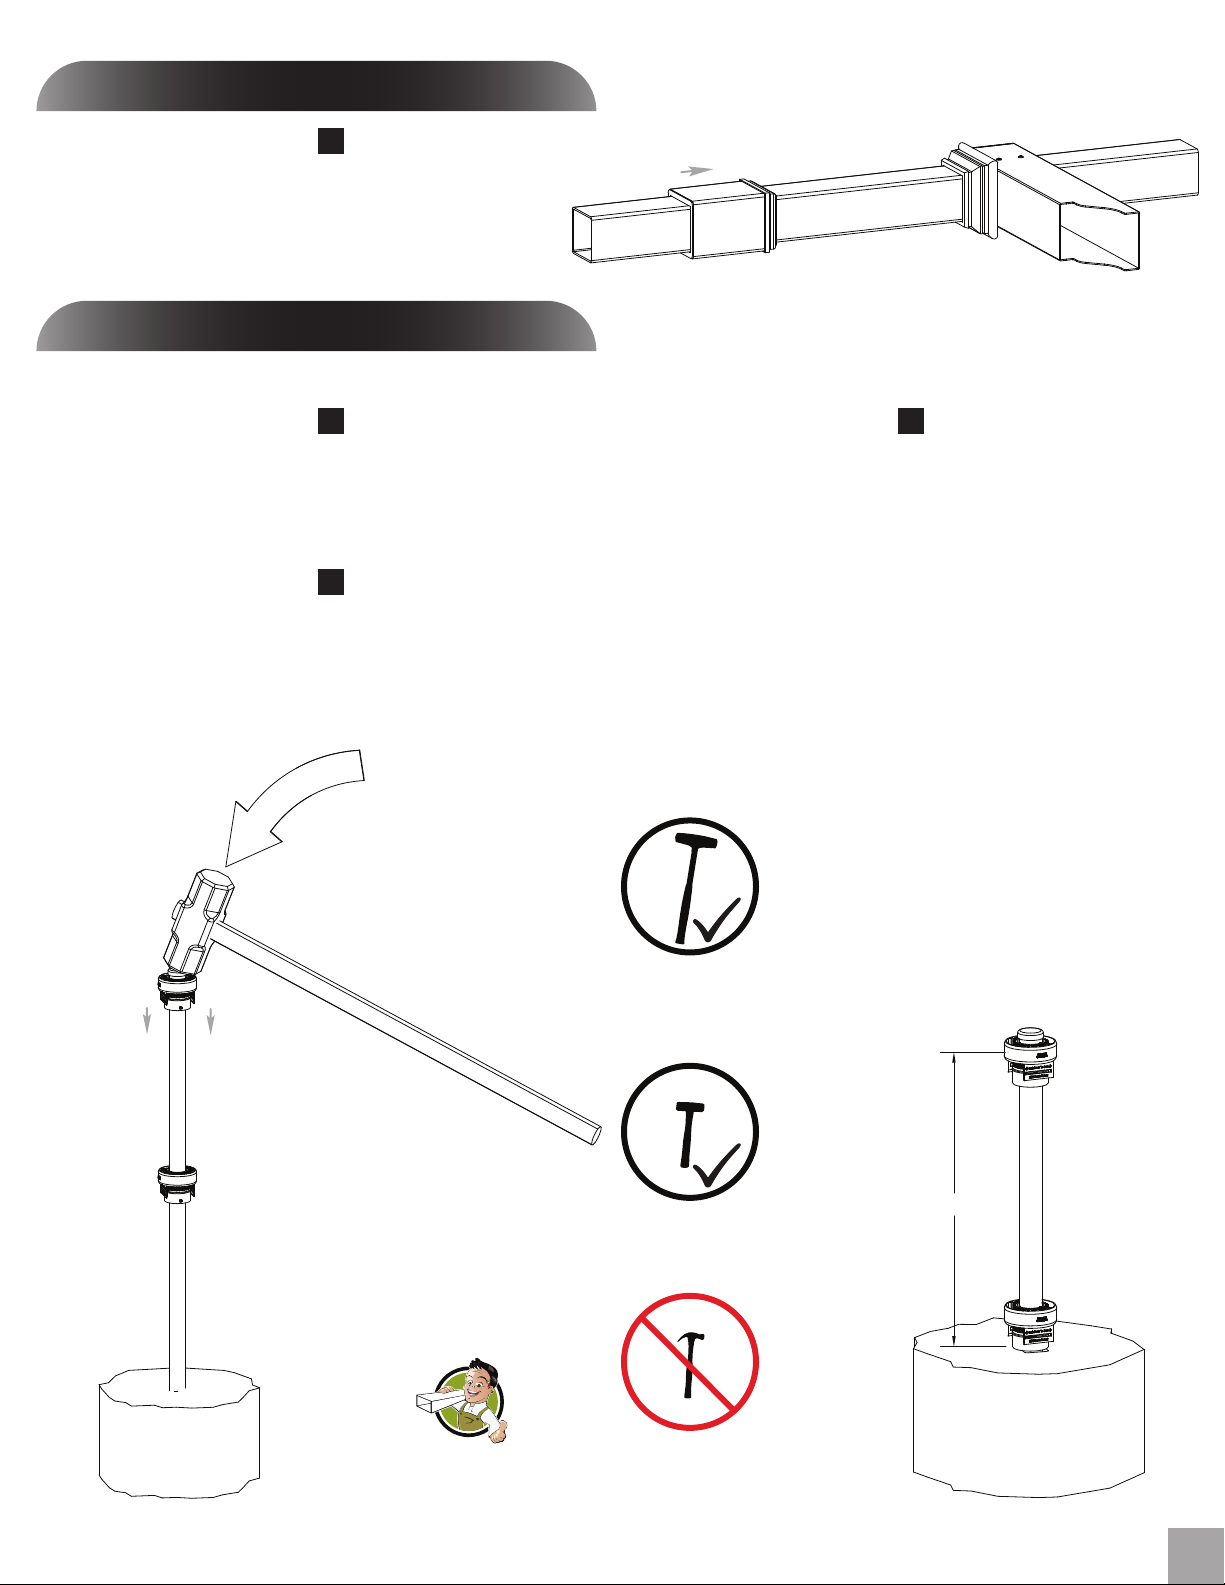
Zippity Classica Vinyl Mailbox Post User manual
Other Zippity Outdoor Furnishing manuals


Popular Outdoor Furnishing manuals by other brands

Belleze
Belleze 014-HG-20074 manual

Hatteras Hammocks
Hatteras Hammocks DCA1-K-HH instructions

Kozyard
Kozyard Morgan Aluminum Pergola Assembly manual

Lemeks
Lemeks Palmako PA120-5959 Assembly, installation and maintenance manual

OLT
OLT 24 Assembly manual

forest-style
forest-style HACIENDA 2354 Building instructions

Courtyard Creations
Courtyard Creations RUS0188-WM Assembly instructions

RPR
RPR OLLIE CHAIR manual

kingsley-bate
kingsley-bate MC-55 Assembly instructions

Weltevree
Weltevree Carrier product manual

Grange Fencing
Grange Fencing Elite Arch Assembly instructions

Grosfillex
Grosfillex AUVENT YR14 Assembly instructions