Zippkits G30 User manual

1
G30
Outboard
Tunnel Hull
For .21 Nitro or 4S electric ~Length- 30.5 inches ~Beam- 11.5 inches

2
The G30 is a new Outboard Tunnel design by (IMPBA Hall of Fame member) Rod
Geraghty.
Made for 3.5cc Nitro or Fast Electric outboards, this hull is a modern design with the
most up to date improvements in the sponsons and fuselage.
The building technique is borrowed from Jerry Dunlap’s WOF (Wood Over Foam)
method.
We took it a step further by using the actual sheeting in a clever way to also be the
cutting templates.
Using our exclusive ZippCut foam cutter, you can have the boat ready for waterproofing
in a weekend.
The G30 is an easy boat to build, easy to setup and runs great.
Please follow these instructions EXACTLY, and you won’t have any issues.
Don't glue anything until told to do so. We will be using some parts as templates on both
sides.
The very first cuts you will make are critical. They must be aligned perfectly, or the boat
won’t come out correctly.
If you are not sure of the next step, or are having trouble with your kit, please contact us
and we will help.
We want you to have a great time building and running your G30, and will do everything
we can to help.
Please read this entire manual completely before you begin construction, as this
will help you understand what you are doing and avoid mistakes.
Spare parts are available.
The manufacturer assumes no liability for damages or other loss in the use of this
product, as we have no control over the construction or end use of this product.

3
Sponsons
The foam blanks have two smooth sides and two rough
sides. We will work with smooth sides.
Lay one of the foam blanks on the bench with a smooth
side up.
Measure ½ inch from the bottom edge. Use the included
square to draw a line down the end of the block.
The line should go all the way from the bench to the top
of the block as shown.
Be sure that the square is flat against the bench. This is
important.
Repeat on the other end.
Be sure to measure from the same edge.
Bring your marks around the corner so you can see them.
Grab both Insides (marked INSIDE). Note that one side is
curved and one almost straight. The curved side is the top.
On the side marked with INSIDE, put a piece of masking
tape over the slots near the front of the inside.
This is needed to prevent glue from getting in the slots
that are used later.
Tape each one. Be sure to do both pieces on the marked
side. Use regular masking tape. We only used the blue
low tack for the pictures.
Pin both insides (INSIDE) to one block of foam. Line up
the back so that they are even with the foam.
Line up the bottoms of (INSIDE) on your marks on both
ends.
Be sure that both parts are perfectly aligned with each
other. Look at both ends and double check.
Photographs of very light colored ply on white foam are
difficult to see. We will use some drawings to make
things more clear.

4
They must be perfectly aligned with each other. This is
absolutely critical, so take the time to get it right.
Cutting
Be sure to squeeze the templates together while cutting. If
you don’t squeeze them pretty hard, the template can be
pushed down by the cutting wire. If this happens, the boat
will be ruined. Don’t allow the templates to move, even a
tiny bit.
The best way to do this is by, you guessed it, SQUEEZE
THOSE TEMPLATES!
Cut the foam on the top or bottom. Flip it over. Cut the
other side. Be sure to squeeze…
Use a few light swipes of a sanding block to smooth the
surfaces you cut and eliminate any bumps.
Repeat this same procedure on the other foam block.
Don't glue anything yet.
Remember, the curved part of the sponson is the top. The
bottom is almost straight.
Next, we will make these into right and left sides. It is
very important that we make these mirror images of each
other.
If not, you get to buy a new kit and do it again!
Honestly, take your time here and understand where you
want to end up.
Pin both tops (TOP) to one sponson. Pin so that the
etched line is even with the edge of the foam. There will
be an overhang on this edge while cutting. Line up the
back ends flush with the foam. It may help to use tape on
the ends, to hold the tops in place.
Cut the excess foam off… Squeeze.
Now, very important, flip both tops over, align and pin to
the other foam blank, except this side will be a mirror
image of the other.
Double and triple check this before you cut. Both tops
will be curved and both bottoms will be almost straight.
When you are positive that you have both a right and left
side, go ahead and cut.

5
Now that you have two sponsons, this is starting to look
like something. And look at what a good job you did with
following instructions and all!
Since you are a foam cutting pro now, the rest will be
easier.
Sponson Sheeting
Glue an Inside (INSIDE) in place on the sponson. Try to
do this on a very flat surface.
To glue the sponson sheeting in place, we like to use 30
minute epoxy. Just use a scrap of thin ply or an old credit
card as a squeegee, and put a thin coat on foam and
plywood. Work quickly. Use pins and tape to hold in
place.
Remove the pins after you tape, or they will interfere with
the next step.
Put some waxed paper down and set the sponson on the
waxed paper, inside down, until cured.
Put some weights on the sponson to keep it flat.
We do this so that the sponson inside will be straight and
true. Everything else is based on the inside, so take the
time and do this right.
Do the other side the same way. Allow to cure for at least
3 hours.
You can now glue the outsides (OUT) in place. This is
also curved on top, and the pointy goes forward.
Line them up so that they are even at the ends of the top
(curved) part of the sponson at the front and rear.
See OVERLAY page at the back of this manual.
Pin, tape and weight the outside until cured.

6
Once everything cures, let's finish up these sponsons!
ZippCut the top and bottom of each sponson.
No need to squeeze anymore since the templates are
glued in place now.
Sand the top and bottom of each sponson so that the
inside and outside sheets are beveled.
We used 80 grit paper on a block for this.
We want a flat, smooth surface for the sheeting to bond.
Sand the back of the sponson so that it is flush and square
with the inside and outside, and flat.
Glue the bottom (BOTT) in place. Let the bottom
overhang 1/8 inch at the rear by aligning the etched line
with the back of the foam sponson.
The bottom sheet should be the only one to overhang at
the rear.
Allow an even overhang all around the bottom sheet.
Use tape tightly to hold the bottom sheet in place.
Repeat on the other sponson.
Double check that the etched line is at the back edge of
the foam, and you have some overhang all around.
Allow to cure.

7
Glue the sponson rear cap in place, sitting on the bottom
sheet. Tape in place.
When cured, sand flush with top and sides.
Be sure to leave the overhang on the bottom only.
Glue the top in place. Leave an even overhang all around.
Tape tightly until cured.
Repeat on the other side.
Once cured, sand all sides flush. Be sure to leave the
rear overhang.
All sheeting should be sanded flush, except the bottom. It
will have a 1/16 inch overhang when completed.
Sand the nose flat and flush with all sheeting.
Glue the pine nose block in place.
When cured, bevel and shape for desired look.
Repeat for the other sponson if you have not already done
so.
Trim any excess and sand with 220 on a block. The
sponsons are now ready for sealing.
You can round the corners on the outside of the sponson,
but leave the inside edges sharp.
You can give them a quick swipe with sandpaper to
lightly knock off the sharp edge, but don’t round them.
The rear overhang should be sharp, and not rounded in
any way.
Basically, any place that touches the water should have a
sharp edge.

8
Fuselage
As you remove parts from the sheet, sand off the little
bumps left by the holding tabs. They can interfere with
the fit in some cases.
Build the fuselage flat on your building board.
Use waxed paper to prevent the fuselage from sticking to
the bench.
We used medium CA glue for the entire fuselage.
You can also use Titebond or similar.
Glue bulkhead 4 to the tunnel floor. Glue bulkhead 5B,
then 5C to the floor.
Use a square on these bulkheads.
Be sure that 5C is perfectly aligned with 5B
Glue the two 1/8 sides to the 1/16 floor.
Use a square to make sure that the sides are 90 degrees to
the bench.
Be sure that the notches are fully seated in the bulkheads
you glued, as well as in the floor.
Add bulkheads 1 thru 3, locking them into the sides.
Both bulkhead 3 parts should have the number facing out
as shown.

9
Glue 5A to the front of 5B.
Glue the center section 1/16 (radio box) sides in place.
They fit into slots in the floor, as well as tabs in the
bulkheads.
Make sure that all tabs are fully seated and that the
bottom meets the floor.
Try not to get any glue fillets on the outside of these
sides, as it will interfere with the installation of F6-F9.
One way to do this is with the glue fillet method,
using medium CA.
Install both 1/16 ply sides, snapping all tabs in place and
checking that everything is fully seated.
There is a lot going on, and there are tabs and slots
everywhere.
Once they are in place and fitted properly, run a bead of
CA inside the bottom.
Lift the side free of a bulkhead and put some glue in the
gap and press it together.
Do this for all bulkheads.
Only use glue on the inside, otherwise the next step will
be difficult.
Glue in F6, F7, F8 and F9.
They go against the center section on the outside, and
provide a gluing surface for the top deck sheeting.
Numbers go forward as shown.
You may have to sand or bevel these to fit over any glue
fillets.
Do it, as these must be fitted correctly or the top won't fit.
They should all sit flush with the top of all bulkheads.
They provide support for the deck sheeting.

10
Don't glue the top decks on yet. You need two coats of
sealer inside the fuselage and on the bottom of the decks.
Glue the radio box lips to the bottom of the radio box top.
Remove the radio box lid and sand the little bumps off.
Use only a very small bead of glue and attach one end,
the center pieces, then the other end.
Use the etched lines as a guide.
Clamp with paper clamps and allow to cure. Do not glue
to the boat yet.
We want to end up with a nice lip all around. This
prevents the lid from falling in…

11
If you are using the front mounted servo (nitro
applications):
Attach your steering servo the servo tray and set it in the
radio box.
Level the tray front to back, and side to side.
Mark the top of the tray onto the sides.
Glue the two 1/8 servo tray rails (R) in place at your line.
You can glue them anywhere (front to back), but we like
the servo forward. We left about 1-1/2 inches in front of
the rails.
These are used to support both sides of the tray,
underneath. Don't glue the tray in yet, only the rails.
If you are planning on only using an electric motor for
power, you can skip the servo tray.
Sealing
Wood boats need two coats of epoxy resin to all exposed
wood, inside and out.
Here is the sealing method we use:
Put tape on the inside of the fuselage over the bottom
slots.
These slots are for the stumble blocks added later.
If you get any sealer in these, you will not be able to
properly fit the stumble blocks.
Tape over the slots and just seal right over the tape.
We will be sealing:
Fuselage insides
One side of cross grain decks (both)
Radio box top and lid
Mix about 4 ounces of epoxy sealer.
Brush on a coat of epoxy to the inside of the fuselage on
either side. Get epoxy everywhere.

12
Get under the F6-F9 pieces and inside the holes in the
bulkheads.
Coat the inside of the radio box and center section.
Only coat the inside now.
Don’t do the outside of anything yet.
Work quickly if the temperature is above 70.
Don’t forget to seal the radio box top and lid.
Coat one side of each cross grain deck piece.
Once you have a good coat of epoxy on the inside, wipe
off everything.
Wipe off as much epoxy from the surface as you can.
Wipe off any sealer from the top of the fuselage and the
radio box.
Wipe off any sealer in the “lip” that the radio box lid sits
in. Wipe it off…
Be really thorough, as any epoxy left here will interfere
with the fit of the tops, and you will have to carefully file
and sand them to fit.
Easier to wipe off that epoxy now.
Wipe off so that the surface is no longer glossy.
Use a Q-tip to get into the recesses if needed.
Allow to cure overnight.
Scrape the sealer on the decks with a utility knife blade,
or sand with 120 grit.
Repeat the exact same procedure for the second coat.
Wipe off areas the get glued (top of fuselage and radio
box, radio box top and lid).
Don’t wipe off the second coat of epoxy on the deck this
time.
When cured, scrape and sand the top deck framework in
preparation for the 1/16 cross grain decks.
If you wiped these areas earlier, you won’t have much
prep to do.
Glue the balsa fuselage nose in place against the front of
bulkhead 1.
The balsa should be a little taller than the bulkhead.
Leave the balsa unsanded for now.

13
The decks should have two coats of epoxy on the
underside of them.
Scrape the bottom of these decks so that the epoxy is
smooth. Check the fit all around.
When you are satisfied that they fit everywhere, glue
them down.
Use 30 minute epoxy, and don't be stingy. Tape and
weight the deck in place and wipe away excess epoxy.
Work quickly.
Be sure the deck is pushed up against the balsa nose.
Check back periodically to be sure the deck has not
creped outward.
Wipe away any epoxy that has oozed out.
Repeat on the other side.
Allow to cure.
Sand off the deck overhangs on the side and rear.
Round the balsa nose.
You only have to round the front of the decks.
You can leave the balsa square in the center.
The cowling will cover this.
Sand the sponson insides and sand the fuselage outsides
until they are flat and smooth.
Use a 3/16 drill bit to clean out all of the dowel holes if
needed.
Sand a point on one end of each dowel.
Use 30 minute epoxy to glue ONE sponson in place.

14
Be sure to coat the entire face of the fuselage side with
epoxy.
Get epoxy on all three dowels.
Wipe away excess epoxy.
Do not allow any epoxy into the slots on the sponson
inside.
We used masking tape over them.
We wiped all traces of epoxy from the area, and removed
the protective tape before the epoxy cured.
Tightly clamp in place and allow to cure, wiping away
excess epoxy as you go.
When cured, glue the other sponson in place the same
way.
If the sponson fit isn’t perfect, clamp the front and leave
any gap at the rear.
Fill the gap at the rear (after curing).
Do it this way so that if the sponsons are not parallel with
each other, they have toe in.
Toe in=okay. Toe out=bad.
Anti-Stumble blocks:
Glue the 1/8 stumble block outsides into the tunnel floor
as shown.
Use a square to make them 90 degrees to the floor.

15
Glue the 1/16 ply (cross grain) stumble block bottom into
the slots on the sponson inside, as well as into the notches
on the outside piece.
You may need to sand a bevel at the front so that the
bottom fits perfectly.
Repeat on the other side.
Glue the radio box top in place. Use epoxy or CA.
When cured, brush a coat of 30 minute epoxy inside
where the sides and bulkheads meet the radio box top.
Flip the boat upside down and allow to cure.
This seals the radio box seams and makes it 100% water
proof.

16
Now you can seal the rest of the boat. Do it the same way.
Coat everything with sealing epoxy, then wipe it off with
paper towels.
Use lint free paper towels from a box.
They are much stronger than normal.
Wipe off the outside of everything.
Wipe off all epoxy until there is no gloss.
Allow to cure.
Scrape the sponsons, decks and fuselage with a utility
knife blade held straight up.
Scrape back and forth.
You will find that this is very quick, and gives a smooth
finish, ready for the next coat of sealer.
Use 220 grit paper to lightly smooth the corners and nose.
For the second coat of sealer, remember that this will be
the finish coat.
A smooth, flowing coat will make painting much easier.
Thin the epoxy about 10-20% with lacquer thinner. Mix
very well.
With a soft brush, paint on a smooth coat, and let it flow
out.
Try for a smooth coat without runs or brush strokes.
Be sure to seal up inside the stumble blocks.
Allow to cure.

17
Cowling
The plastic cowling has 1/16 ply stiffeners that also
double as cutting templates.
Follow along and you will have a perfect fit to the
fuselage airfoil.
Notice that the two cowl stiffeners have small etched
marks at one end.
These marks should face up when they are glued in place.
We will snap these small tabs off later.
Align the stiffener so that it is at the rear trim line, and
even with the bottom of the raw cowling in the front and
rear.
Use a little bit of medium CA or epoxy to attach them.
Don’t put any glue on the small tab under the “X”
Before gluing, sand all around to about an inch up into the
cowling.
Use 220 paper and wipe down with alcohol before gluing.
Note that CA will give an almost instant bond, so be sure
you are lined up before you touch the wood to the plastic.
Do both sides the same way.
When cured, break off the little tabs at the bottom rear of
the wood stiffener.
Score the bottom cut by simply following the curve of the
template (stiffener).
Use a sharp blade, and score it a few times.
Bend it and it will snap.
You can make the front and rear vertical cuts first to make
it easier.
Trim the back part of the cowling a little long, to allow
exact fitting to the length of your fuselage.
Sand the edges with 220 if needed.

18
Now look how perfectly that cowl fits!
Time to finish up the cowl chin.
Trim the chin so that the waste is removed.
You can do this by holding one of those cheap, snap off
knives flat on the bench, and move it all the way around
the chin to score it.
Make vertical cuts at the corners and snap off the waste.
Put the cowl on the boat, and flip everything upside
down.
Now, using all 3 hands, hold the cowl in place on the
boat, with it pulled all the way back.
Mark the rear of the front ends of the stiffeners in the
cowl.
Remove the cowl, put the chin in place and (while
holding it tightly to the front) mark the chin for your cowl
marks.
This is where you cut the chin to length.
Now put the cowl back on, boat upside down again and
fin the chin in place, pushing forward.
Make sure the cowling is pushed back, chin pushed
forward and everything is seated.
Mark the front of the front ends of the stiffeners. Trim the
cowl to clear the stiffeners.
It doesn’t take much trimming. The stiffener is only 1/16
thick.
Sand the edges of the plastic chin and wipe it and the
inside of the cowl with alcohol.
Put the chin in place, and align it so that both sides (at the
rear) are even with the fuselage bottom. The center will
have a crown.
Check to be sure it is level side to side and put 3 or 4
drops of CAat the 4 corners.

19
Continue to hold the chin in position and keep pushing it
forward. Hold until the glue sets for a minute or two
Once the glue sets, remove the cowl and run a bead of CA
on the inside of the chin.
You can fill the area on the bottom if you want, but it’s
not structurally necessary.
We used finishing epoxy and micro balloons to make a
white filler for the seam. We sanded it for a nice smooth
transition.
Check the fit of the cowling and chin.
Sand the inside 2 inches of the chin and glue in the cowl
tongue.
Glue it so that it is centered, and has 1 inch sticking
forward.
Finally, seal the tongue and stiffeners with 2 coats of
sealer.
Don’t forget to add some floatation to the cowling. Plastic
does not float. At all. Don’t ask. Twice.
Apiece of pool noodle glued in with Goop or silicone
RTV works well.
The rear of the cowl can be held in place with screws, or
with HD Velcro like we used.
Setup
Drill out the holes in the transom if using an OS lower
unit.
Install the blind nuts with a little glue.
The small rectangular hole in bulkhead 2 is for a servo
extension when using an Electronic Speed Control.
We use GOOP to glue the female end of a servo extension
here for the speed control.
Engine or Motor
Install the lower unit with either .21 engine or electric
motor to the transom with the 6-32 screws and washers.
Set the engine so that the propshaft center line is even
with the sponson bottoms and perfectly level.

20
The only way to do this accurately is to make a setup
board.
It can be made from anything, as long as it is flat. A
simple piece of plywood with a slot cut in it will do.
It should be at least 8x24 inches. The slot should be
centered at on end and be about 1/2x4 inches.
Steering servo
There are a few choices when it comes to steering setup.
The traditional way is to mount the servo in the radio box
and use pull-pull cables.
The holes in the radio box are made for a steering arm
that measures 2-1/8 inch from hole to hole.
We strongly recommend that you use an arm of this size.
If you don't, you will have to move the holes in the
bulkhead.
The other method is to use a waterproof servo near the
transom.
This is the method we used.
We mounted a standard sized servo on one of our 3711
mounts.
Use a 4-40 pushrod with solder clevis and Sullivan 4-40
ball link (Zipp 3574) for adjustment.
Be sure to keep the linkage inside the center section. It
will hit the cowl if you don’t.
If you look close, you will see that we added a 1/8 ply
spacer behind the servo mount.
Water Cooling
For nitro, water cooling is contained to the engine.
For electric, you need to cool the motor and ESC.
We run a couple of brass tubes near the bottom corners of
the transom.
Use 5/32 tubes about 1-1/2 inches long.
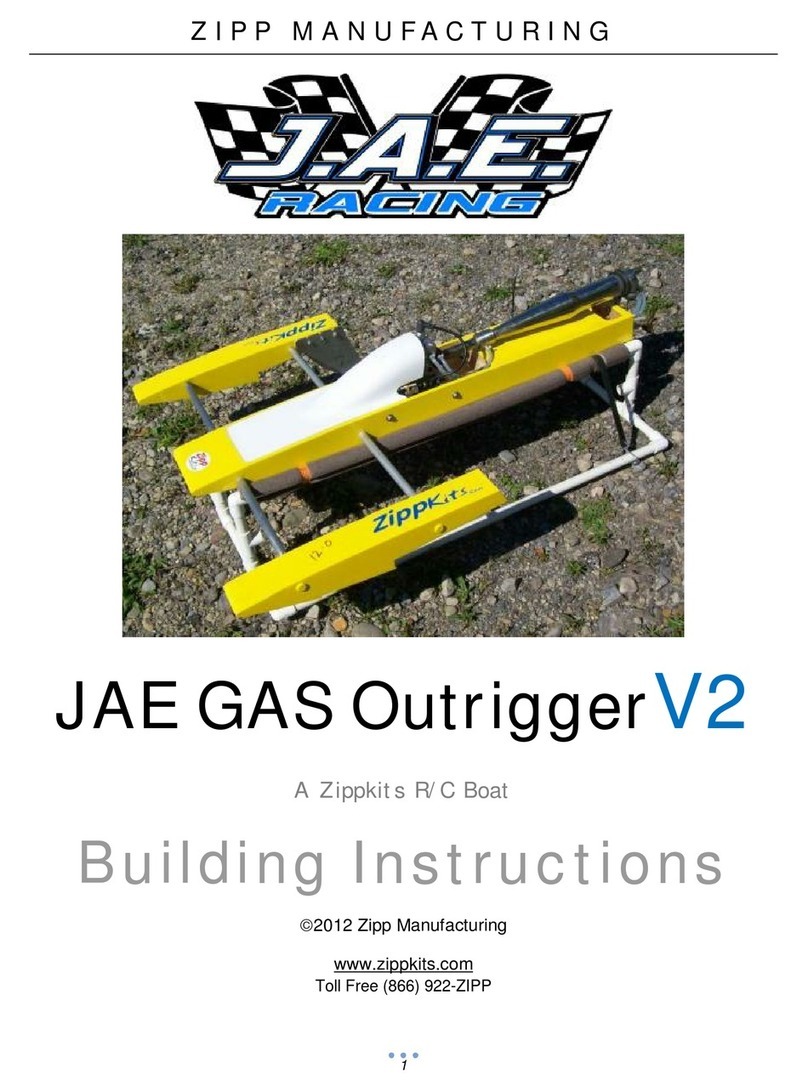
Table of contents
Other Zippkits Toy manuals

Zippkits
Zippkits SLR Missile Thunderboat Instruction Manual

Zippkits
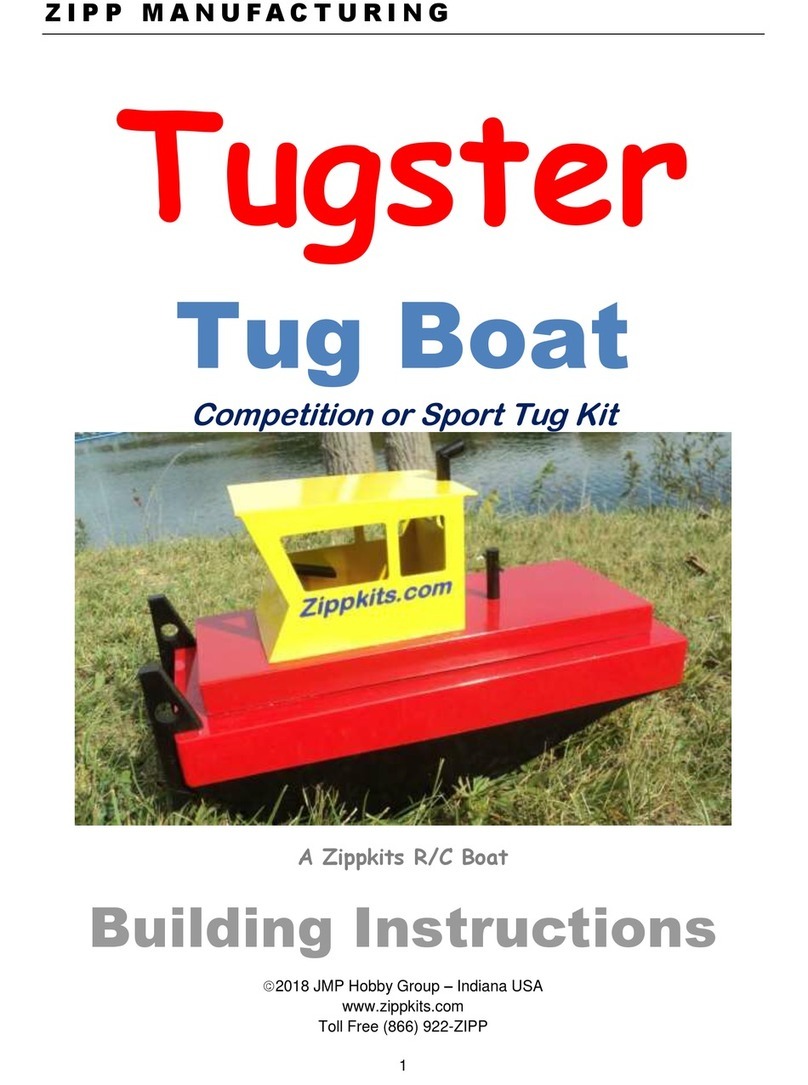
Zippkits Tugster Instruction Manual

Zippkits
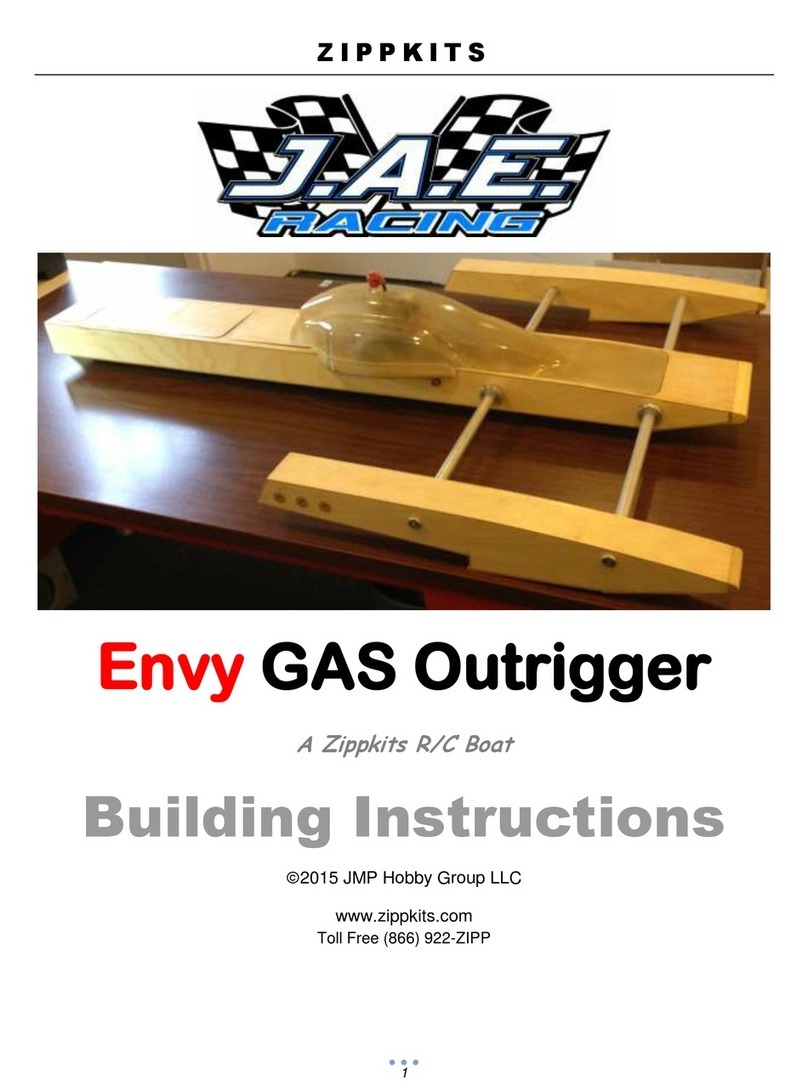
Zippkits J.A.E. RACING Envy GAS Outrigger Instruction Manual

Zippkits
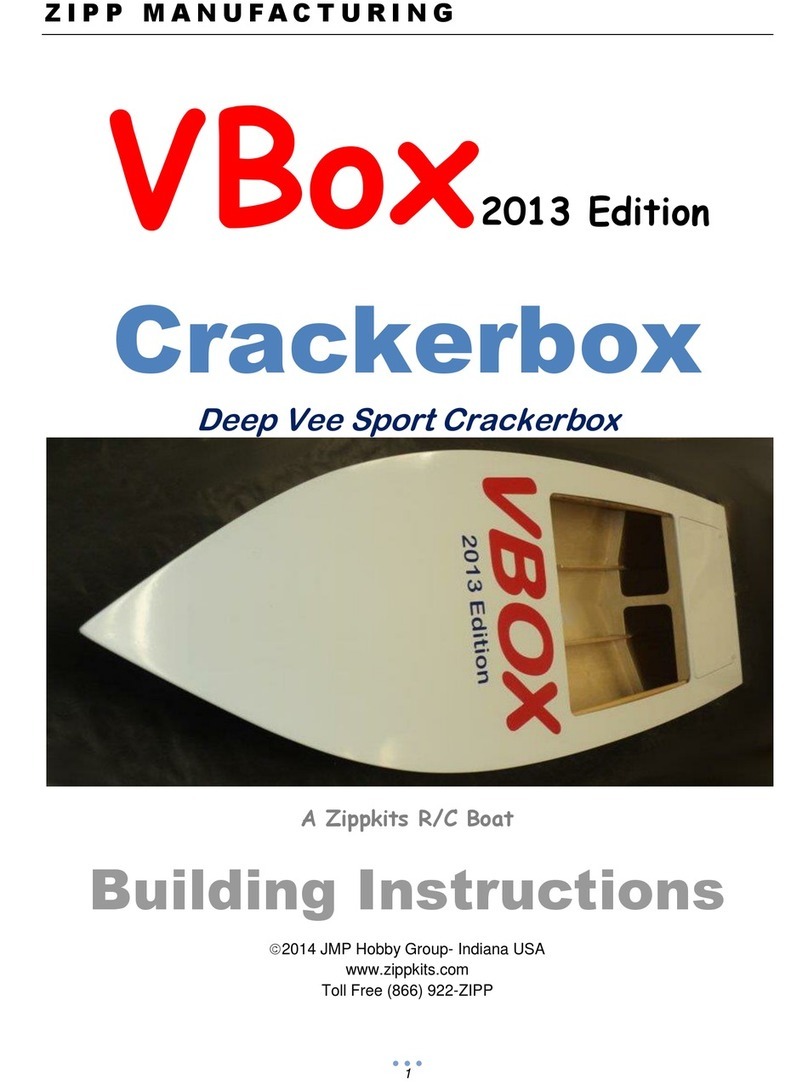
Zippkits VBox 2013 Edition Deep Vee Sport Crackerbox Instruction Manual

Zippkits
Zippkits JAE GAS OutriggerV2 Instruction Manual
Popular Toy manuals by other brands

Flycatcher
Flycatcher smART Pixelator user manual

GREAT PLANES
GREAT PLANES Kunai instruction manual

Fisher-Price
Fisher-Price GREAT ADVENTUTES Robin Hood's Forest quick start guide

GRAUPNER
GRAUPNER micro NH90 indoor manual

MiniacRC
MiniacRC Mighty Mini P-51B Build guide

Fisher-Price
Fisher-Price CDK23 manual