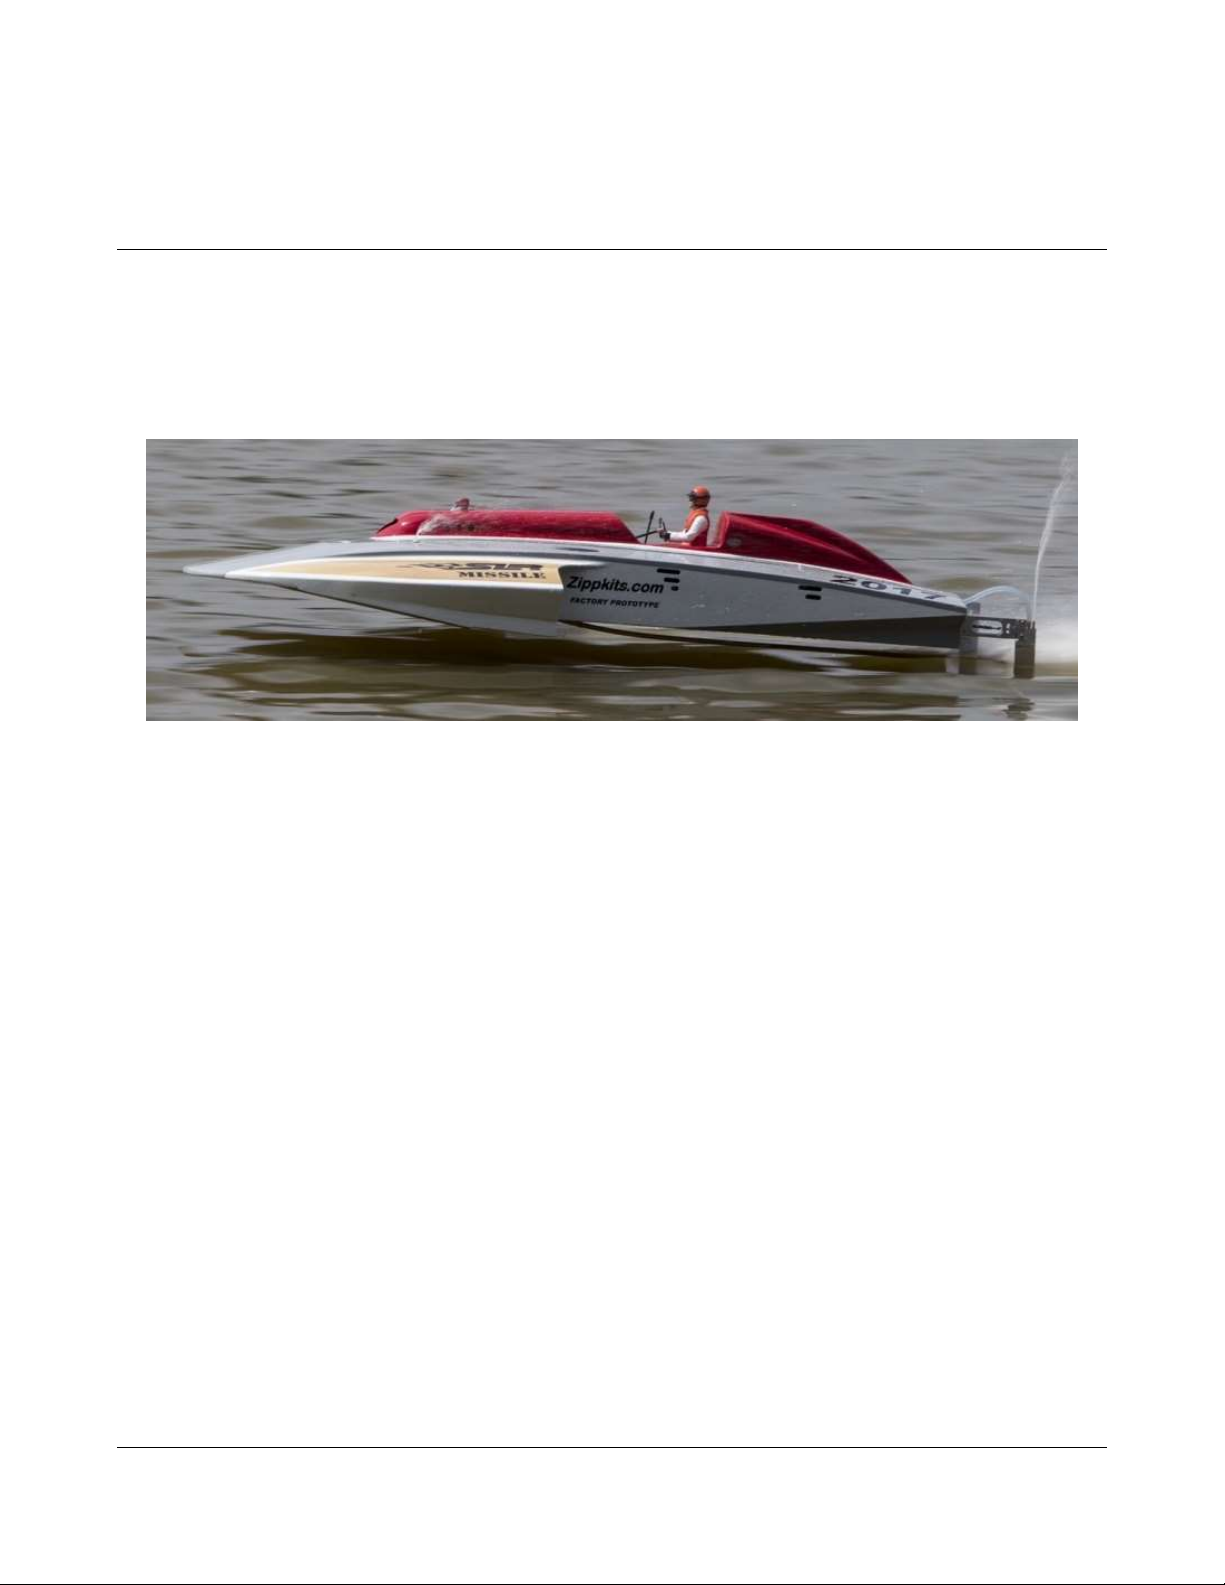
Zippkits SLR Missile Thunderboat Instruction Manual

S L R M I S S I L E
1
J M P H O B B Y G R O U P L L C
SLR Missile
Thunderboat
Zippkits R/C Boats
BUILDING INSTRUCTIONS
2018 JMP Hobby Group LLC
Indiana USA

S L R M I S S I L E
2
Introduction
Thank you for purchasing this kit. We are sure that it will provide you with
many hours of enjoyment.
Please take the time to read this entire manual before building this
boat. You will become familiar with the building order, and less likely
to make mistakes.
This kit is not a toy. Although R/C boating is a fun and rewarding hobby, it can be dangerous if not
done with common sense and safety in mind. Just about anyone should be able to build this kit, but it
should not be operated by children without close adult supervision.
Here are a few safety tips:
Never operate your boat alone. If you get hurt, you may not be able to drive for help.
Never, ever operate your boat in an area where there are full size boats or swimmers. If
something happens, a 15 pound object traveling at 60+ mph can do serious damage.
Always use a failsafe. This shuts the engine off in the event of radio signal loss. Test
the failsafe each day of running, by shutting off your transmitter.
Always carry a fire extinguisher, as gasoline is extremely flammable.
The manufacturer assumes no liability for damages or other loss in the use of this product, as
we have no control over the construction or end use of this product.
Purpose
The SLR Missile Thunderboat is a new and improved boat, based on our popular Bullitt Thunderboat.

S L R M I S S I L E
3
This record holding design was developed by Scott Liddycoat, full size boat racer
(holder of several US 1 championships) and monster truck driver.
Hence the SLR designation for Scott Liddycoat Racing.
Thunderboats are scale type hydros specifically designed for gasoline power.
The Missile was designed as an easy to build kit that is also easy to setup, and
very predictable to drive. It has excellent stability and turning ability, and handles
rough water very well.
The secret to its outstanding performance is the modern design features, such as
the sponson angle of attack, non-trip and deck crown. All these elements add up to
an aerodynamically sound design.
The SLR Missile adds several new design elements that make the boat more
efficient (faster) and easier to build.
The SLR Missile is also legal in all Thunderboat classes in both IMPBA and
NAMBA.
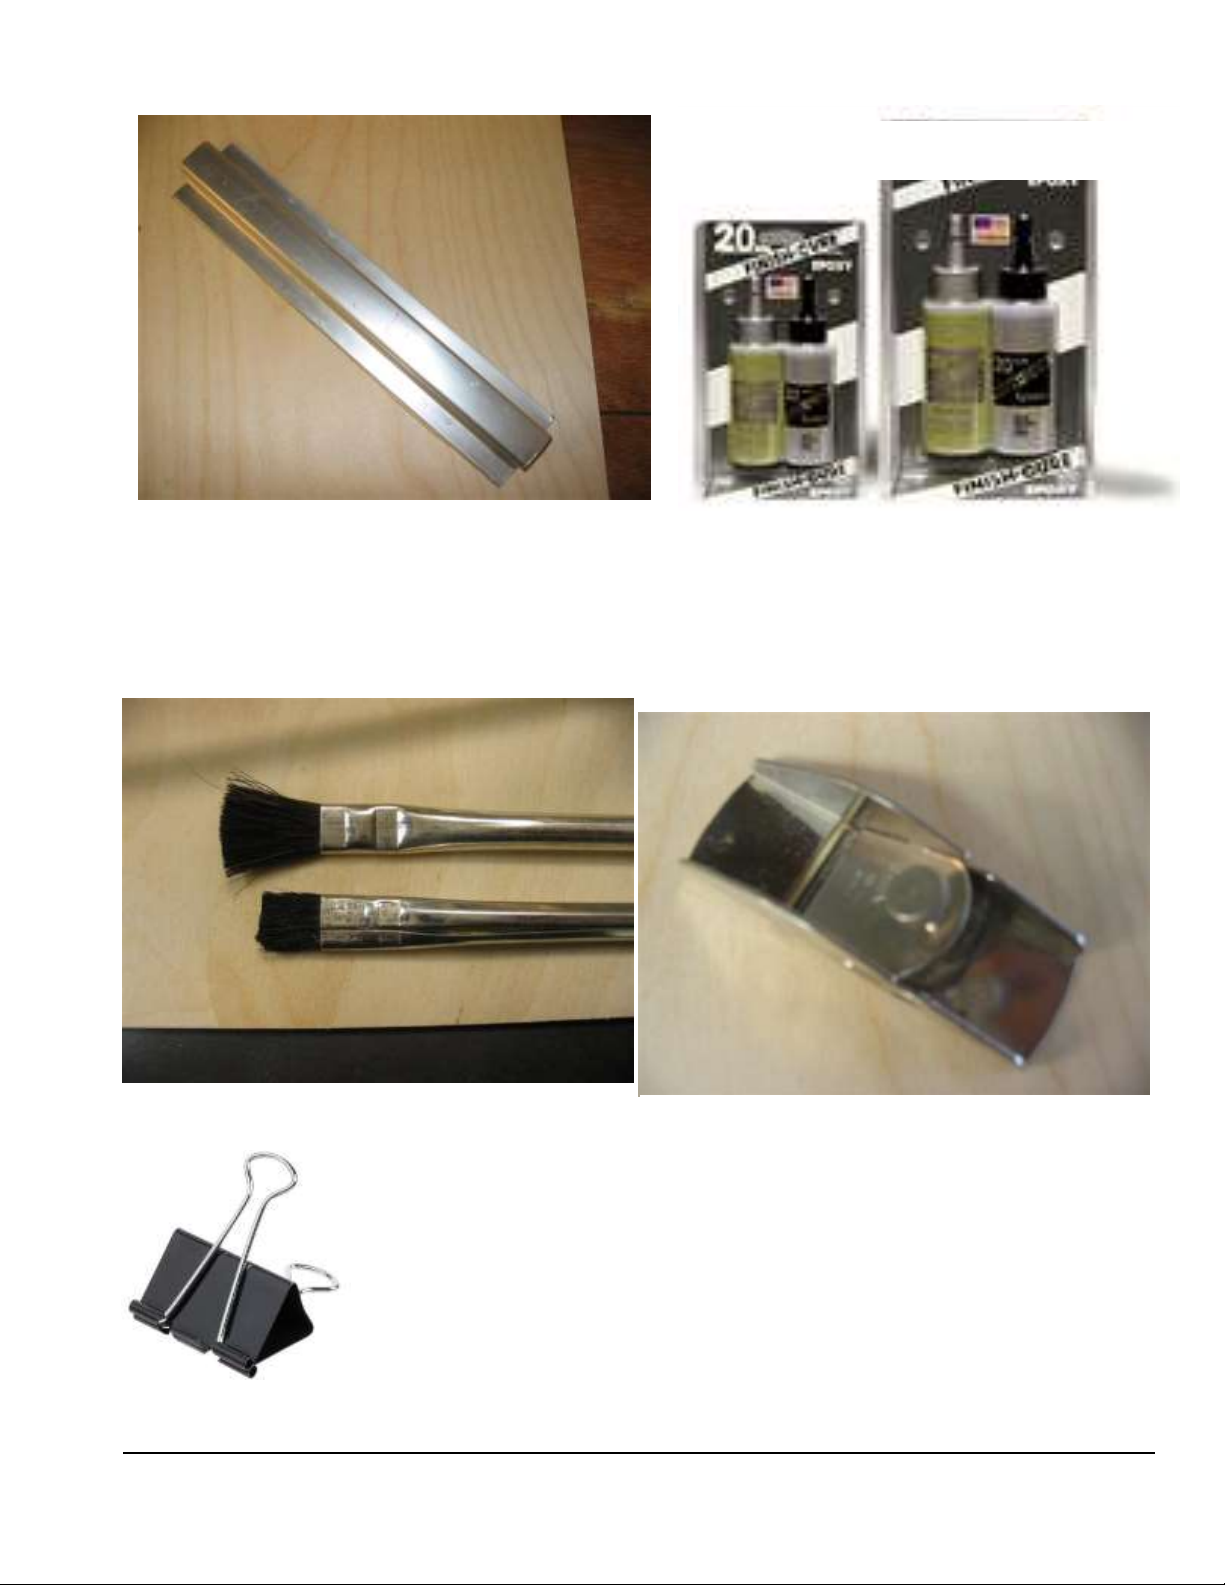
You can build this boat without having the engine or radio, but it does make it
easier to have them available when you build.
You can use any gasoline engine, as long as it has mounts for 5 inch rails.
Please note that this boat was designed for the Zenoah style marine engines.
Other engines may not fit without cutting, and may not fit under the cowling.
The SLR Missile was designed and optimized through 4 different hulls.
This allows us to make small changes, and provides you with the very best we
have to offer for performance and ease of assembly.
Because of this, the pictures may differ slightly from your parts, or a picture may
seem out of sequence. This is normal, and is due mostly to running changes in the
design.

S L R M I S S I L E
4
Preparation
Tools and supplies needed to build:
Small wood plane (mini plane)
Sanding blocks with 80 and 220 grit paper
Drill with bits
Square
FLAT Workbench
Titebond III wood glue
Good quality30 minute epoxy
Epoxy finishing resin, West Systems epoxy, MAS epoxy, etc.
Lots of clamps! Spring clamps, paper clamps, c clamps, etc.
Razor saw
Masking tape
Wood filler
Primer
Paint

S L R M I S S I L E
5
Additional items needed to complete:
Gasoline engine (Zenoah 260PUM with 257 carburetor recommended).
.250 Collet for engine (Zipp 3440)
.250 36 inch cable w/welded stub shaft (Zipp 3445)
Tuned pipe w/drop header (Zipp 2011 and 2018)
2 channel surface radio with 1 standard and 1 heavyduty servo (150 in/oz minimum)
Throttle pushrod (2-56 or 4-40 Size) with Clevises (Zipp 3462 and 3459)
2- 4-40x12 Pushrods (Zipp 3463)
¼”-5/16” OD carbon pushrod
2 pushrod seals (Zipp 3404 or 3422)
12.5-17 ounce Fuel Cell (Zipp 3504 or 3506)
.250 strut (Zipp 3416)
.250 drive dog (Zipp 3442 or 3448)
7016/3 or 6717/3 prop (Zipp 4003)
Prop nuts (Zipp 3450)
Engine Mounts (Zipp 3409 for Zenoah)
Cable grease (Zipp 3532)
Large rudder (water pickup type) (Zipp 3413)
8 feet large silicone tubing (water line) (Zipp 3461)
12 inch length of 11/32 brass tubing (Zipp 3453)
36 inch length of 5/16 brass tubing (Zipp 3452)
Optional Floatation (pool noodles, foam, etc.)

S L R M I S S I L E
6
Before we can start building, we need to do some prep work. Good prep work will pay off later
with a straight, true running boat.
First, we need a flat work surface. Nothing else will do.
The entire boat will be built on this, so make sure it is right.
We are ready to start the build!
Let’s identify the parts in the sheets. Don’t remove the parts until you actually need them, as
some look similar, but are not the same. This boat is not symmetrical. The right and left are not
the same, so it is critical that you note the parts correctly, or they will not fit. Note that all
reference to right or left are as if you were sitting in the boat.
All parts are marked with either a laser etch or two holes. Two holes ALWAYS indicate right
side.
A note about glue:
We use and recommend Titebond III wood glue for most of the construction.
This is available at Home Depot or Lowes.
For any raw wood to wood joint, we prefer Titebond III.
For any joint that is not wood, or wood that has been sealed, we recommend 30 minute epoxy.
The decks should always be glued with 30 minute epoxy, as they will already have been sealed
with two coats of epoxy.
You can also build the entire boat with 30 minute epoxy if you wish.

S L R M I S S I L E
7
We like the Great Planes 11 inch bar sanders
Your life will be much easier with one of these
Epoxy brush trimmed for fast epoxyapplication
Use good quality epoxy andfinishing resin
Get lots of these

S L R M I S S I L E
8
Bottom ready for assembly. Test fit first.
Bottom halves and extensions epoxied.
Note tape.
Engine rails before laminating (above), and after.
Let’s get started
Bottom
The first thing to be done is to join the
bottom halves.
Use 30 minute epoxy for this.
Sand off the tiny bumps where the edges
meet. Test fit the bottoms, as well as the
front extensions.
Tape the two bottom sheets tightly
together on one side.
On the other side, use a continuous strip
of tape on the seam. This will be a tape
hinge. Carefully remove the tape you put
on the other side.
Mix up some 30 minute epoxy and coat
both edges while you open up the tape
hinge. Make sure both edges are coated
well.
Close the hinge, wipe off excess glue and
glue the front extensions in place.
Work quickly.
Tightly tape everything and set aside
overnight.
If you are concerned about the sides not
meeting correctly, put waxed paper under
and over the bottom, and stack weights
along all seams to keep it flat.
Laminates
Laminate the 4 engine rails into two ¼ inch
rails.
All engine rail parts are identical.

S L R M I S S I L E
9
Bulkheads 3, 3A and FD.
BH3 and 3A laminated. FD ready.
FD Doubler installation.
Bulkhead 3 has 3 laminations: 3, 3A and
FD.
Lay bulkheads 3 and 3A with the two holes
on your left. Using Titebond III, glue 3A on
top of 3. Be sure that both bulkheads line up
all the way around.
Use scrap 1/8 wood to be sure that the slots
are lined up correctly.
Clamp until cured.
Glue the turn fin doubler (FD) to 3A with
Titebond III. Use a scrap of 1/8 ply to be
sure that the slot is lined up.
Clamp until cured.
Install the two blind nuts to the turn fin
doubler with 30 minute epoxy.
Laminate the parts of the pipe mount (PM).

S L R M I S S I L E
10
Jig clamped to board.
Our buildingboard is two pieces of ¾ MDF.
Engine rails in place. Note tape.
Pipe mount parts laminated.
Frame assembly
Remove all of the interior parts of the
building jig and clamp, screw or nail it to
your flat work surface.
If you are married, we do not recommend
the kitchen table for this…
Make sure that the two holes in the rear
of the jig are on your left side. This is the
hull’s right side, and you will put all
bulkheads in place with the two holes on
the same side.
Glue the bulkheads into the slots in the jig.
Be sure that the bulkheads are 90 degrees
to the jig, and are fully seated in the jig slots.
Use a square.
Bulkhead 3 assembly should go in place so
that the blind nuts are facing forward.

S L R M I S S I L E
11
BH2 must be straight up so that the bottom will fit.
Bulkhead 2 straight across and square.
Note that air ventsare on the left side.
Glue in the engine rails with Titebond or
epoxy.
Glue to bulkheads 1, 2 and 3.
Run a strip of tape between bulkheads 1
and 3. Just tight enough to keep the
bulkheads tight against the engine rails.
Use a square to be sure that bulkhead 2
remains straight up.
Use a straight edge across bulkhead 2 to
make sure it is straight. If not, the bottom
won’t fit.
Allow to cure.
Test fit and glue both side stringers.

S L R M I S S I L E
12
Side stringer being glued in place. Note clamps.
Side stringers flush with bulkhead edge.
Wood clamped to transom to keep it straight.
Be sure that the stringer with cooling slots
goes on the side opposite the two holes
(opposite side from the turn fin). These
cooling slots help cool the tuned pipe, and
should be retained.
Clamp at bulkheads 4 and 5, and tape the
rear corners tightly.
Before the glue dries, check to be sure that
the stringers are lined up with each forward
bulkhead (1, 2 and 3). See picture.
This is mainly cosmetic, but it will make it
easier to install the sponson decks later.
When cured, glue the transom (T) to the
back of bulkhead 5.
Center it so that it if flush at the top and
bottom, as well as both sides.
The bevels will not line up.
Clamp well and allow to cure. We like to
clamp a piece of straight wood or metal to
the transom while laminating it to bulkhead
5.

S L R M I S S I L E
13
Transom brace glued in place. Transom not yet
laminated in thisphoto.
Inner chines in place.
Glue in the transom brace at this time.
This is glued into the front of bulkhead 5,
and will fit into the bottom later.
Brace can go in either way.
Inner Chines
Glue in both inner chines (IC and RIC).
Be sure that they are flush, or nearly so, with
the bulkheads.

S L R M I S S I L E
14
Lots of weight, tape and clamps on the bottom.
Checking that BH3 is perfectly square.
Bottom
Sand the bulkheads, rails and stringers so
that there are no bumps or other
irregularities that would prevent the bottom
from sitting flat.
Test fit the bottom assembly onto the frame.
Tip: Leave strips of masking tape in place
on the outside of the bottom. The tape will
help prevent the bottom seam from splitting
before you apply the fiberglass cloth later.
Be sure that the bottomfits well, and all slots
line up. Plan your clamping and weights
now.
When you are happy with the fit, use
Titebond or epoxy to glue the bottom in
place. Work quickly.
Clamp and weight as much as you can.
We use several batteries along with some 5
pound weights.
Don’t forget to snap in the transom brace.
Double check that all tabs are in slots, and
everything looks good.
When in doubt, add more weight.
Quickly check and adjust the angle of
bulkhead 3. It must be 100% square to the
sides.
Loosen the clamp and adjust until 90
degrees. Double check this.
This is critical on the turn fin side, as it will
cause the boat to run funny if not right.
Do the other side as well. Work quickly
before the glue dries.

S L R M I S S I L E
15
Outer chine in place.
Sponson chine in place. Glue spray railat the
same time.
Spray rail glued in place. Clamp to SC.
Outer Chines
After the bottom has cured, glue in both
outer chines (OC and ROC).
These fit into the slots, and just glue to the
bottom at the tip.
Sponson Chines
and
Spray Rails
Sand a slight bevel on the tips of the
sponson chines (SC and RSC) so that
they fit against BH1 nicely.
Bevel the front of the sponson chines here.
When satisfied with the fit, glue in place.
Glue in the spray rails (not marked, and
R) at the same time.
Clamp as needed, and be sure that the
spray rails are sitting on the bulkheads.
Allow to cure

S L R M I S S I L E
16
Rear non-trips in place. Right and left are the
same.
Rear non-trip taped tightly in place.
Sanding for sponson non-trip.
Rear Non-Trip
Check the fit of the rear non-trip pieces.
You will probably need to bevel them very
slightly near bulkhead 4. Use your
sanding block with 80 grit to break the
edge of the non-trip near BH4.
There will be a gap at the front, and a
small notch at the rear that will require
filling.
When happy with the fit, glue in place.
Tape tightly and allow to cure.
Forward Non Trip
Using your razor plane and 80 grit
sanding block, sand the spray rail and
outer chine so that the non-trip sheeting
will lie flat.
Go all the way onto the bottom sheet, as
far as the outer chine goes.

S L R M I S S I L E
17
Sponson non-trip area sanded and ready.
Non-trip sheeting in place. Lots of clamps.
When you are satisfied that the sheeting
will lay flat on the sponsons, glue in place.
Clamp until you are 100% positive that the
sheeting is in full contact everywhere.
Make sure that the sheeting is at least
flush at the top and bottom.
Allow to cure.

S L R M I S S I L E
18
We should go into the clamp business!
Front of sponson bottom beveled fornice
transition.
Do whatever you need to for a good glue joint.
Overhang of ride pads.
Sponson Bottoms
Bevel the front of the forward sponson
bottoms (not marked, and R) so that they
will transition nicely into the bottom.
This bevel will be on the outside of the
bottom.
It is much easier to do this now.
When happy with the fit, glue in place the
rear sponson bottom (not marked, and R).
At the same time, glue in the forward
bottom. Overlap the forward bottom onto
the rear by about 1/16 to 1/8 inch.
Make sure that the bottoms are aligned all
the way around and clamp, weight and
tape in place until cured.
Note that the rear bottom should overhang
the sponson by about 1/16 inch.
Leave this in place. Don’t sand it off.
Keep rear overhang.

S L R M I S S I L E
19
Epoxy/ micro balloons filler on rear non-trips.
Same filler at front sponsons.
Fill and Sand
Use 30 minute epoxy and filler (micro
balloons work very well) to fill the gaps at
both rear non-trips, as well as any gaps
on the hull.
Mix the micro balloons so that the mixture
is like stiff toothpaste. Almost dry
consistency. Work quickly.
Use a piece of scrap wood as a spatula to
apply.
Don’t worry if it’s not pretty. We are going
to sand most of it off anyway.
Also apply this filler mixture to the corner
where the bottom meets the front
sponsons.
Make a nice small fillet. Dip your finger in
denatured alcohol and smooth it as much
as possible.
Wipe off as much excess glue as
possible.
Allow to cure overnight.
Sand all filler and rear non-trips with 80.
Sand the 1/16 sponson non-trip sheeting
flush with the spray rail.
Use a piece of tape on the sponson chine
to protect it from the sanding block.
Sand the hull with 80, then 180 or 220.
Cut the tabs holding the hull to the jig.
Be careful not to cut too close to the hull.
Cut low, near the jig.
Stand back and admire your awesome
new Thunderboat hull!
I’ll bet that is was not nearly as difficult as
you thought!

S L R M I S S I L E
20
Glass cloth on seams.
Don’t forget to glass the transom to bottom.
Ready for epoxy resin.
Glass Seams
Cut the included fiberglass material into
pieces that fit between each bulkhead,
along the center seam.
Also cut a piece to fit across the seam on
the front part of the bottom, where you
added the bottom extensions.
Use whatever glass you have left over to
reinforce the transom to bottom area.
Mix up about 4 ounces of epoxy finishing
resin.
You can add a splash of denatured
alcohol, but not too much. 10-15% is
good.
Brush a coat of resin along the seam,
about 3 inches wide. Lay each piece on
the resin and pat down with the brush.
Work quickly.
Do this for each section, the front cross
seam as well as the transom scraps.
Allow to cure.
First coat of epoxy resin.
Table of contents
Other Zippkits Toy manuals
Popular Toy manuals by other brands

Flycatcher
Flycatcher smART Pixelator user manual

GREAT PLANES
GREAT PLANES Kunai instruction manual

Fisher-Price
Fisher-Price GREAT ADVENTUTES Robin Hood's Forest quick start guide

GRAUPNER
GRAUPNER micro NH90 indoor manual

MiniacRC
MiniacRC Mighty Mini P-51B Build guide

Fisher-Price
Fisher-Price CDK23 manual