Zline BENT FRAME FIX RA User manual

BENT FRAME FIX
for ZLINE Freestanding Ranges
RA, RG, and RAIND Models

1
Safety Instructions
NOTE: This repair is to be conducted only by a trained technician or service provider. This
repair is not approved for a consumer to complete.
Scan on your phone to watch a step-by-step video tutorial of these
technician instructions.
WARNING
IMPORTANT SAFETY INFORMATION: Before carrying out this repair, carefully
move the range out from its cutout for appropriate access. Use caution when
removing any anti-tip chains or devices installed with the range. It’s also
recommended to disconnect the range from electricity and shut of the gas supply
valve (if applicable) for added safety.
BEFORE AND AFTER
Refer to the images below; the left photo is an example of a bent doorframe on a ZLINE
range; note the gap between the gasket and door. The right photo is of a door that’s been
fixed through this repair, showing a tight seal with no gaps.
BEFORE REPAIR

2
TOOLS NEEDED (not provided)
• Phillips-Head Screwdriver and/or Drill with Phillips-Head Bit
• Flat-Head Screwdriver
PARTS PROVIDED
DESCRIPTION IMAGE QTY
Left Hinge Bracket 1
Right Hinge Bracket 1
Phillips-Head Sheet Metal Screw 4
Large Square Washer 2
Oven Door Hinge Pins 4
2
Repair Parts
BEFORE REPAIR

3
INSTRUCTIONS
NOTES:
• The example shown in this repair guide is of a ZLINE RA36 stainless steel model; the
process will be similar for any ZLINE freestanding range model (RA, RG, and RAIND),
regardless of stainless steel, black stainless steel, Durasnow®, or other finish.
• For ZLINE ranges with dual ovens (models RA48, RA60, and RG48), you’ll need to
remove both oven doors in order to conduct this repair, regardless if the repair is only
needed on one door frame. Those instances will be noted throughout this guide.
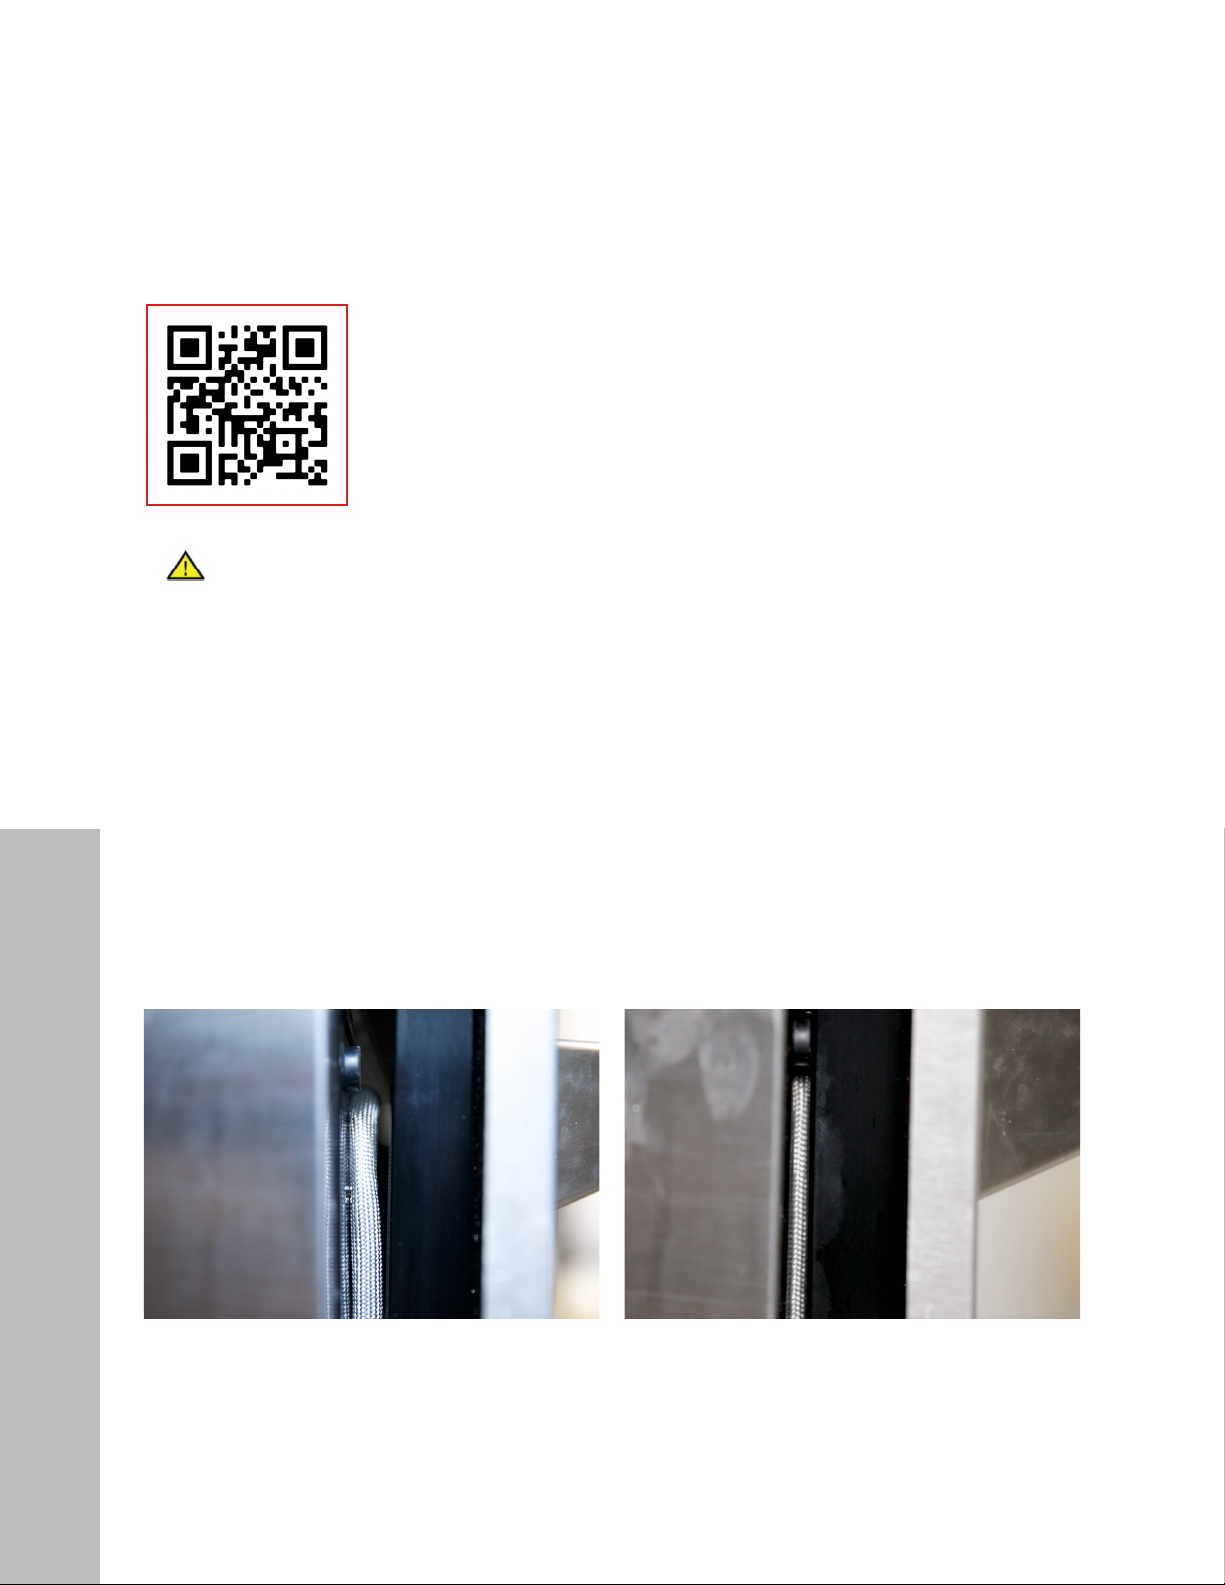
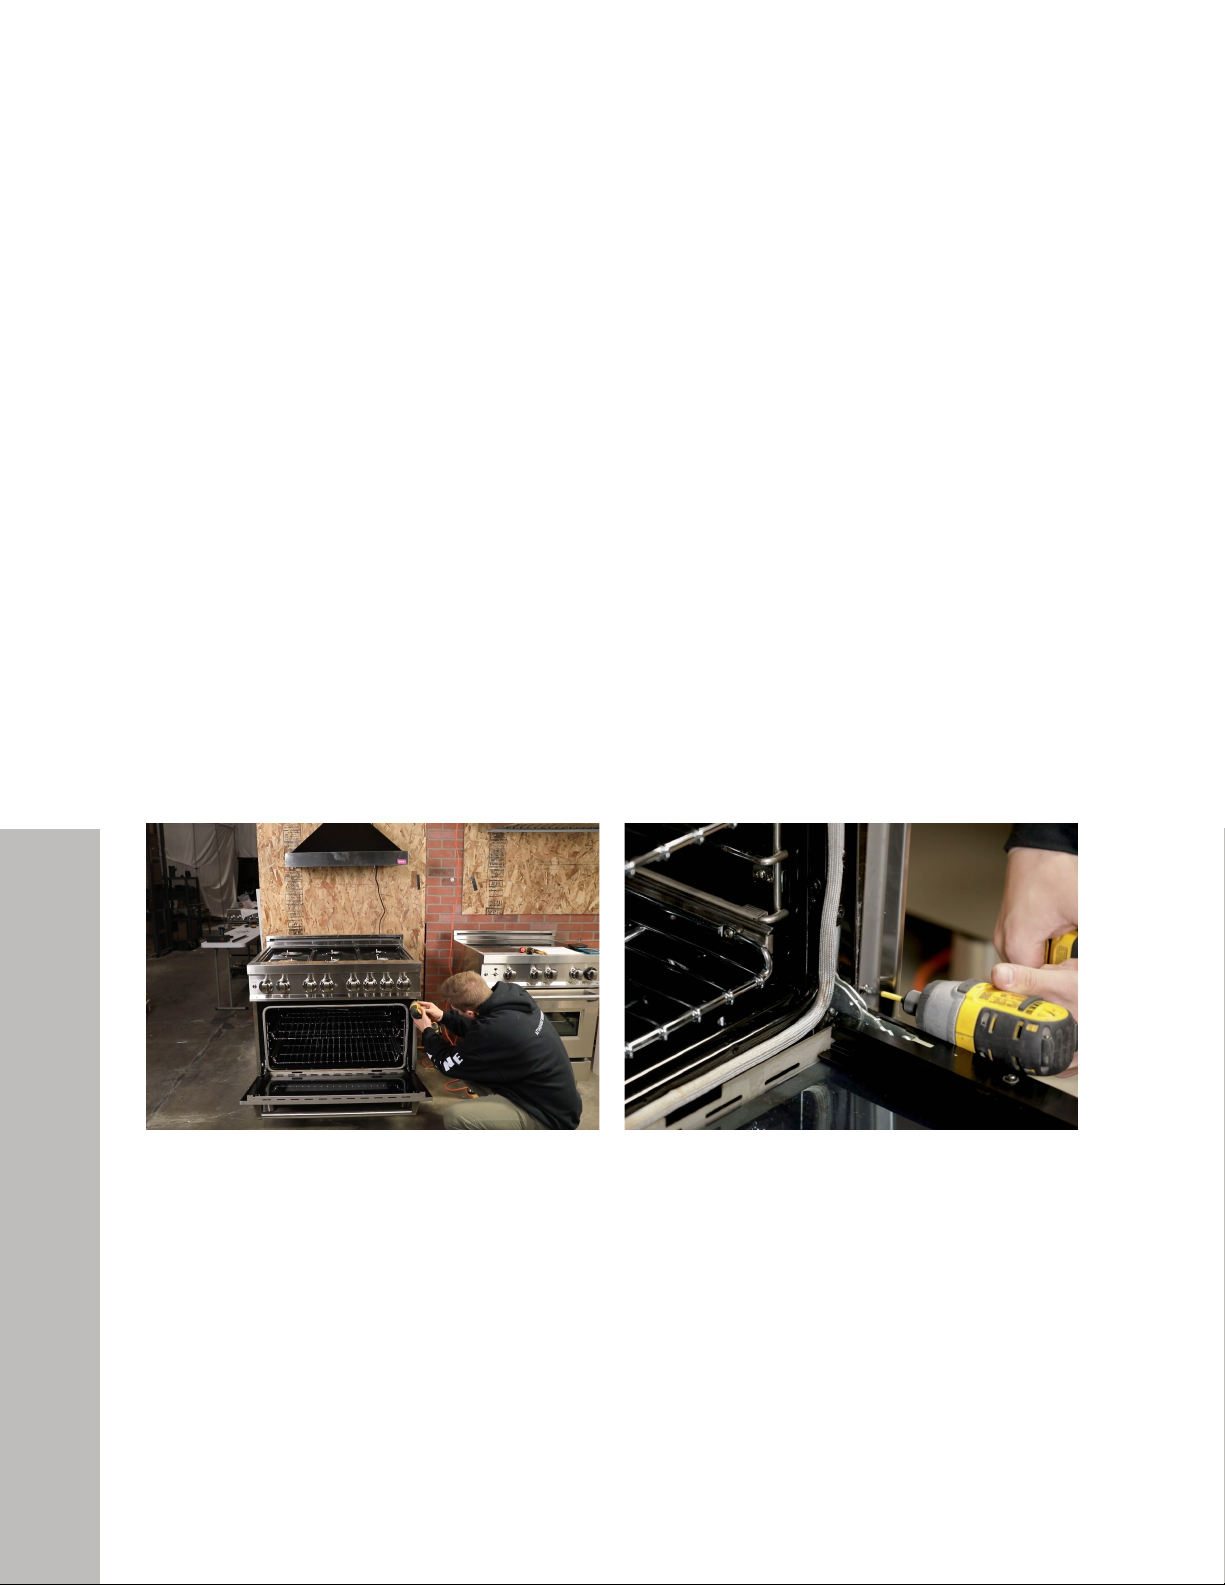
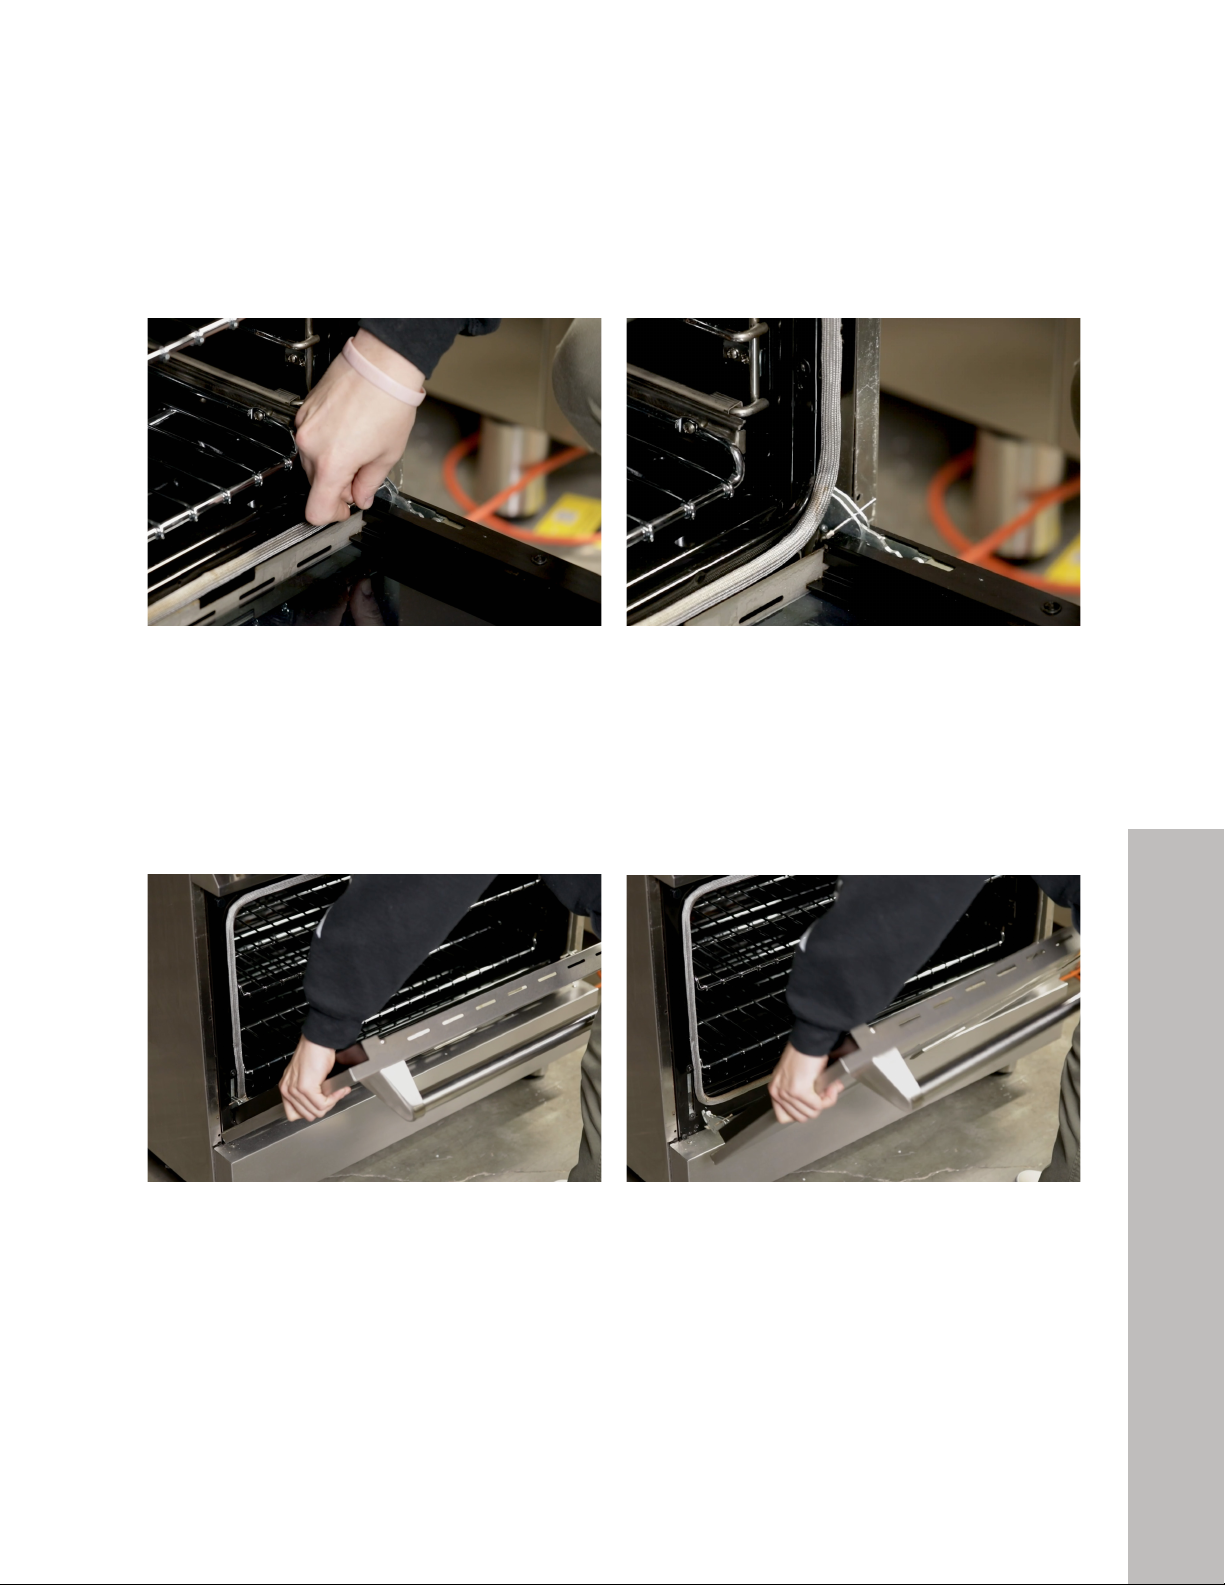
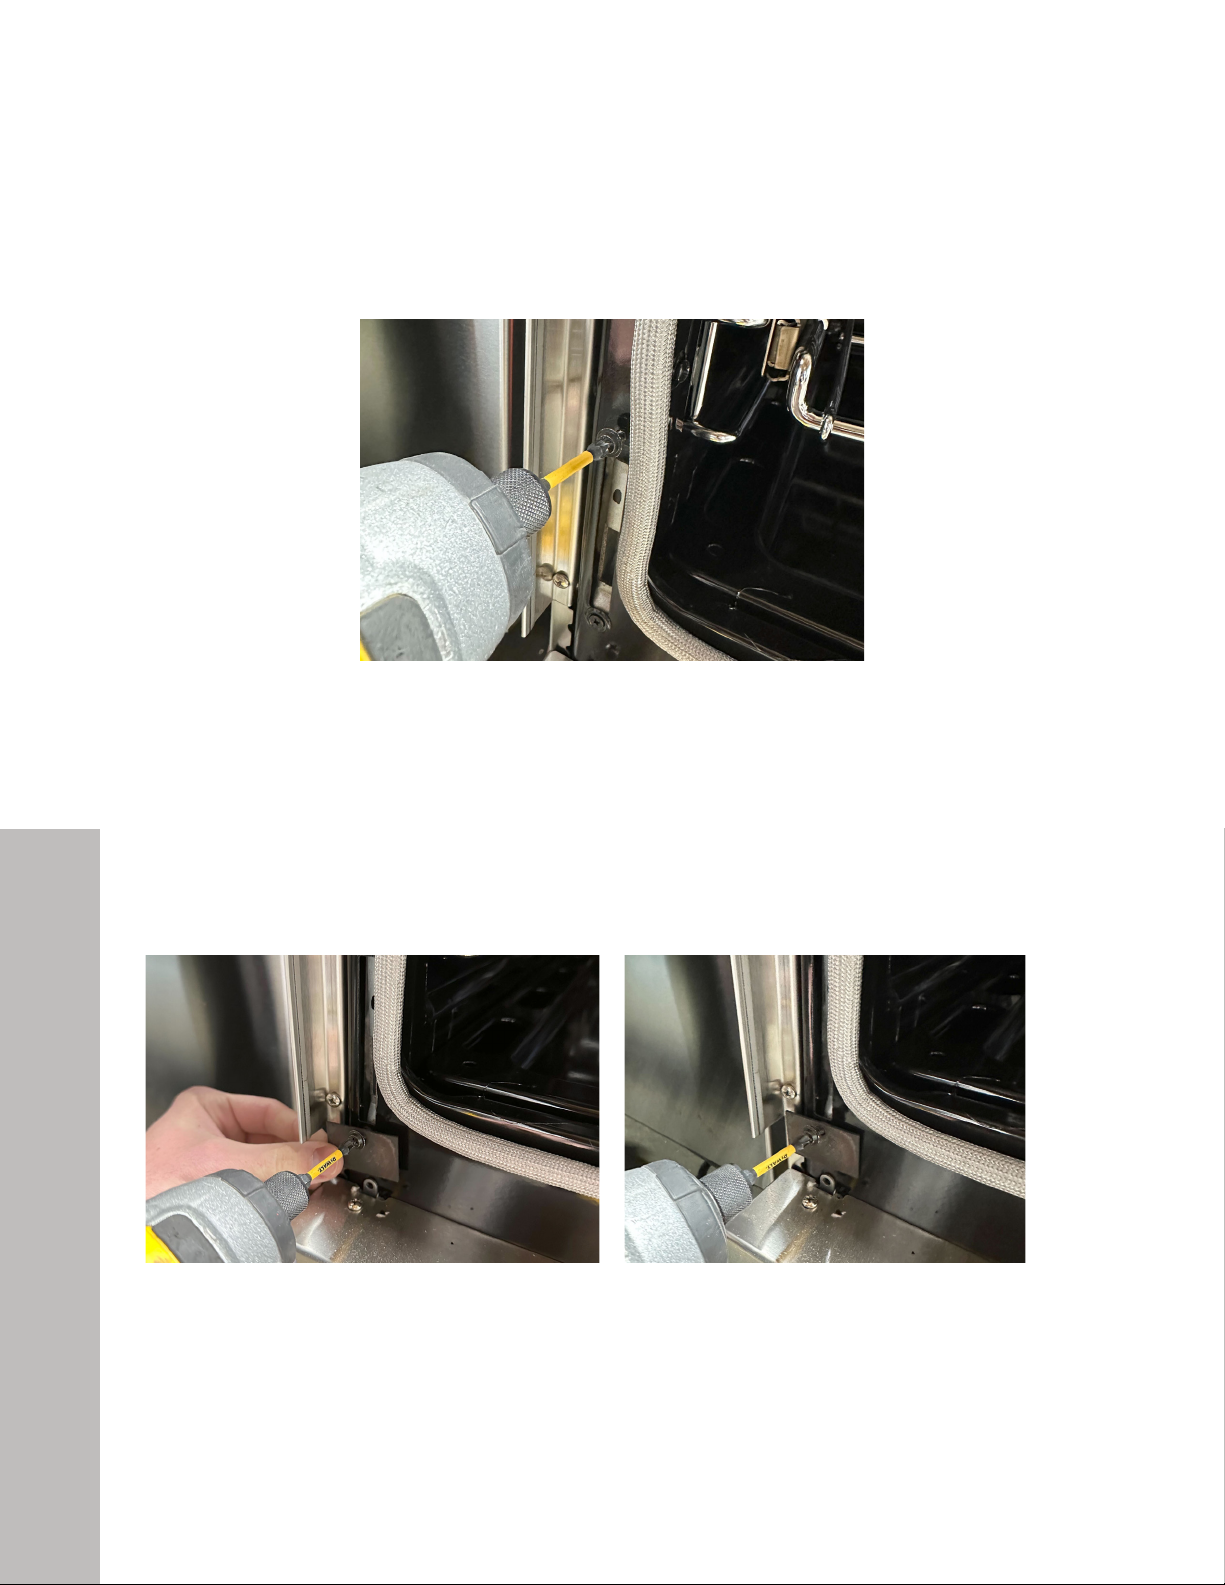
1. Take off the trim pieces: Open the oven door and take off the stainless steel trim pieces
on both sides of the frame. Remove 4 Phillips-head screws — 2 on each side, top and
bottom (see figures 1 and 2). Set the trim pieces and screws aside for later. If the range
has dual ovens, remove both sets of trim pieces
Figure 1 Figure 2
3
Repair Instructions
REPAIR INSTRUCTIONS

4
2. Remove the door: To take off the door, take the provided metal door hinge pins and
place them through the holes on each hinge (figures 3 and 4).
Figure 3 Figure 4
Once the pins are secure, close the oven door halfway and pull up and out at the same
time to remove the door (figures 5 and 6). Set the door aside, being careful not to
scratch the glass or handle. Keep the pins for later use.
Figure 5 Figure 6
NOTE: For ZLINE ranges with dual ovens (models RA48, RA60, and RG48), both
doors must be removed before moving to step 3. Use the second set of provided pins to
insert into the second door’s hinges and remove in the same manner.
4
Repair Instructions
REPAIR INSTRUCTIONS

5
Repair Instructions
3. Remove the kickplate: Take off the 4 Phillips-head screws holding the stainless steel
kickplate — 2 on top (figures 7 and 8) and 2 on bottom and set them aside for later.
Figure 7 Figure 8
To remove the bottom screws, use a stubby Phillips screwdriver. If that doesn’t provide
enough access, have an assistant help you tilt the range back roughly 15 degrees
(figure 9) and rest the front legs on sturdy wooden blocks. Once all screws are out, set
aside the kickplate and return the range to its front footing before continuing the repair.
Figure 9
NOTE: For ZLINE ranges with dual ovens (models RA48, RA60, and RG48), 6 screws
will need to be removed; 3 on top and 3 on bottom.
WARNING
Use extra caution when tilting the range; moving it too far back increases the
risk of the appliance tipping over and causing severe injuries.
REPAIR INSTRUCTIONS

6
4. Take off the interior plate: There are 3 Phillips-head screws to remove from the interior
plate that’s located behind the kickplate — 2 on each side and 1 in the middle (figures
10 and 11).
Removing this plate provides easier access to take off the door hinge brackets. Once the
screws are removed, set the screws and plate aside for later.
Figure 10 Figure 11
NOTES:
• For ZLINE ranges with dual ovens (models RA48, RA60, and RG48), 4 screws will need
to be removed to take off the interior plate.
• Some range models, depending on manufacture date, do not have an interior plate
installed behind the kickplate. For these models, you can disregard this step and move on
to step 5.
REPAIR INSTRUCTIONS
6
Repair Instructions

7
5. Remove the hinge brackets: On each side of the door frame, remove the 2 Phillips-head
screws and washers holding the existing hinge brackets in place (figure 12).
Figure 12
Dispose of the screws and washers. Next, using a flathead screwdriver or similar tool,
push the hinge brackets back and down so they drop into the cavity below the oven
(figures 13 and 14). Dispose of both brackets.
Figure 13 Figure 14
REPAIR INSTRUCTIONS
7
Repair Instructions

8
6. Install the left hinge bracket: Install the new left hinge bracket on the left side of the
door frame by making sure the wide top piece is facing outside to the left, as outlined
below in figure 15.
Figure 15
Following the reverse of step 5, feed the new bracket through the cavity below the oven,
using a flathead screwdriver to help guide it up into the hinge channel to align the screw
holes (figures 16 and 17).
Figure 16 Figure 17
REPAIR INSTRUCTIONS
8
Repair Instructions

7. Secure the left hinge bracket: Secure the new left hinge bracket at the top by screwing
in one of the 4 provided sheet metal screws (figure 18). Do not fully tighten.
Figure 18
Next, take another sheet metal screw and feed it through the large square washer,
making sure the screw hole in the washer is facing up (figure 19). Use a screwdriver or
drill to fasten through the bottom hole of the hinge bracket (figure 20). Once secure,
tighten the top and bottom screws until snug.
Figure 19 Figure 20
REPAIR INSTRUCTIONS
9
Repair Instructions

10
Repair Instructions
REPAIR INSTRUCTIONS
8. Install and secure the right hinge bracket: Following the same processes in steps 6 and 7,
secure the new right hinge bracket to the right side of the door frame with the remaining 2
sheet metal screws and large square washer. With the right hinge bracket (figure 21), the
top piece will face the outside of the right side of the oven.
Figure 21
9. Replace the interior plate and kickplate: With both new brackets properly secured,
replace the interior plate (if necessary) below the oven by re-securing the screws set aside
previously from step 4 (figure 22). Then, replace the kickplate by re-securing the screws set
aside previously from step 3 (figure 23).
Figure 22 Figure 23

11
Repair Instructions
REPAIR INSTRUCTIONS
10. Replace the oven door: Following the reverse of step 2, insert the door into the new
hinge brackets evenly on each side with the door halfway open (figure 24).
Figure 24
Once the door is properly inserted, open the door fully and remove the metal pins from
each hinge (figures 25 and 26).
Figure 25 Figure 26
NOTE: For ZLINE ranges with dual ovens (models RA48, RA60, and RG48), you can
replace both doors following the same process.

12
Repair Instructions
11 . Check for a clean seal: Close the door to ensure it fully seals on each side, including the
top and bottom, with no gaps (figure 27). Refer to figure 28 for an example of a bent
doorframe prior to this repair..
Figure 27 Figure 28
12. Replace the trim pieces: Open the door(s) and reinstall the stainless steel trim pieces on
both sides of the frame by re-securing the screws removed in step one (figure 29). This
completes the repair.
Figure 29
Scan on your phone to watch a step-by-step video tutorial of these
technician instructions.
REPAIR INSTRUCTIONS


This manual suits for next models
2
Table of contents
Other Zline Kitchen Appliance manuals