prole of cat
prole of dog (so we can mark location
and orient pet owners to location)
1. dog ear location with lancing device
approaching location
2. dog elbow callous with lancing
device approaching location
3. dog lip with lancing device approach-
ing location
4. dog paw pad (side) with lancing
device approaching location
5. cat ear (marginal ear vein) with lanc-
ing device approaching location
6. cat paw pad (side) with lancing
device approaching location
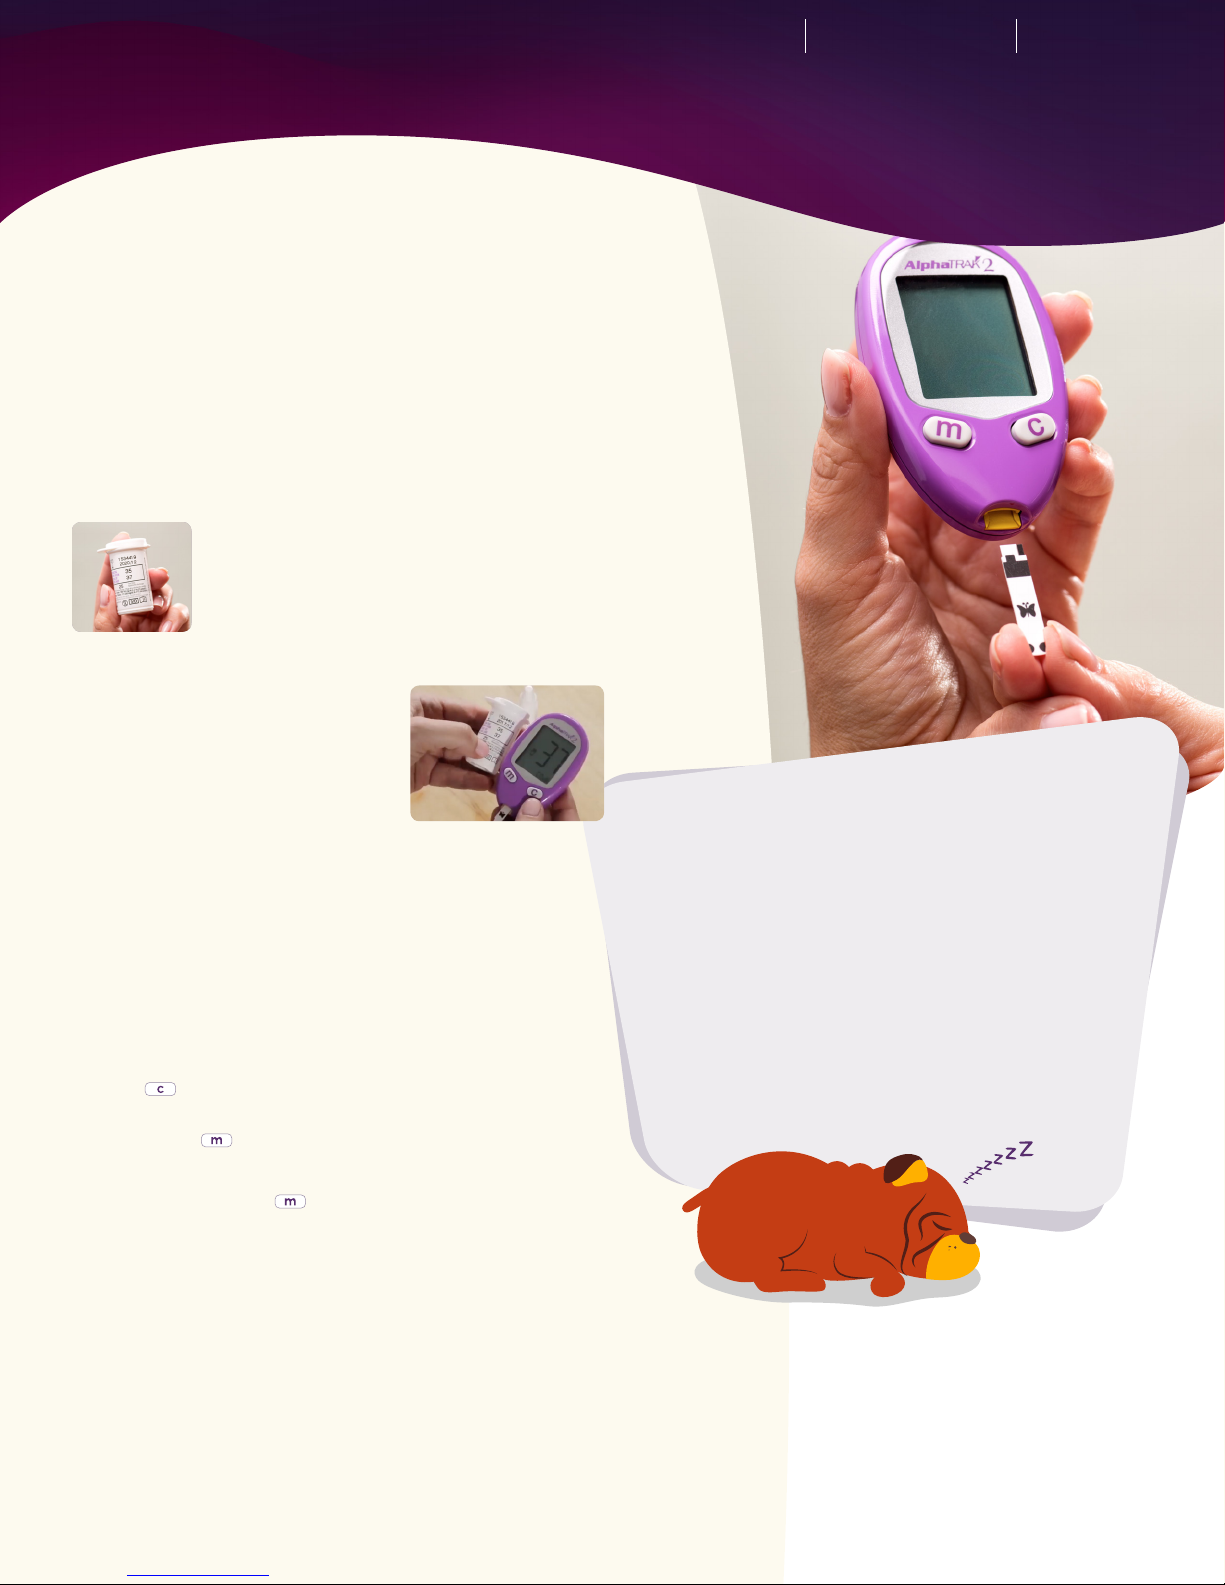
7. meter with test strip inserted touching blood drop that has been
drawn (any location, use judgment on which reads best… thinking
dog lip, but we are open); there’s a curve toward the bottom of the
strip which is where the blood should touch the strip
prole of cat
prole of dog (so we can mark location
and orient pet owners to location)
1. dog ear location with lancing device
approaching location
2. dog elbow callous with lancing
device approaching location
3. dog lip with lancing device approach-
ing location
4. dog paw pad (side) with lancing
device approaching location
5. cat ear (marginal ear vein) with lanc-
ing device approaching location
6. cat paw pad (side) with lancing
device approaching location
7. meter with test strip inserted touching blood drop that has been
drawn (any location, use judgment on which reads best… thinking
dog lip, but we are open); there’s a curve toward the bottom of the
strip which is where the blood should touch the strip
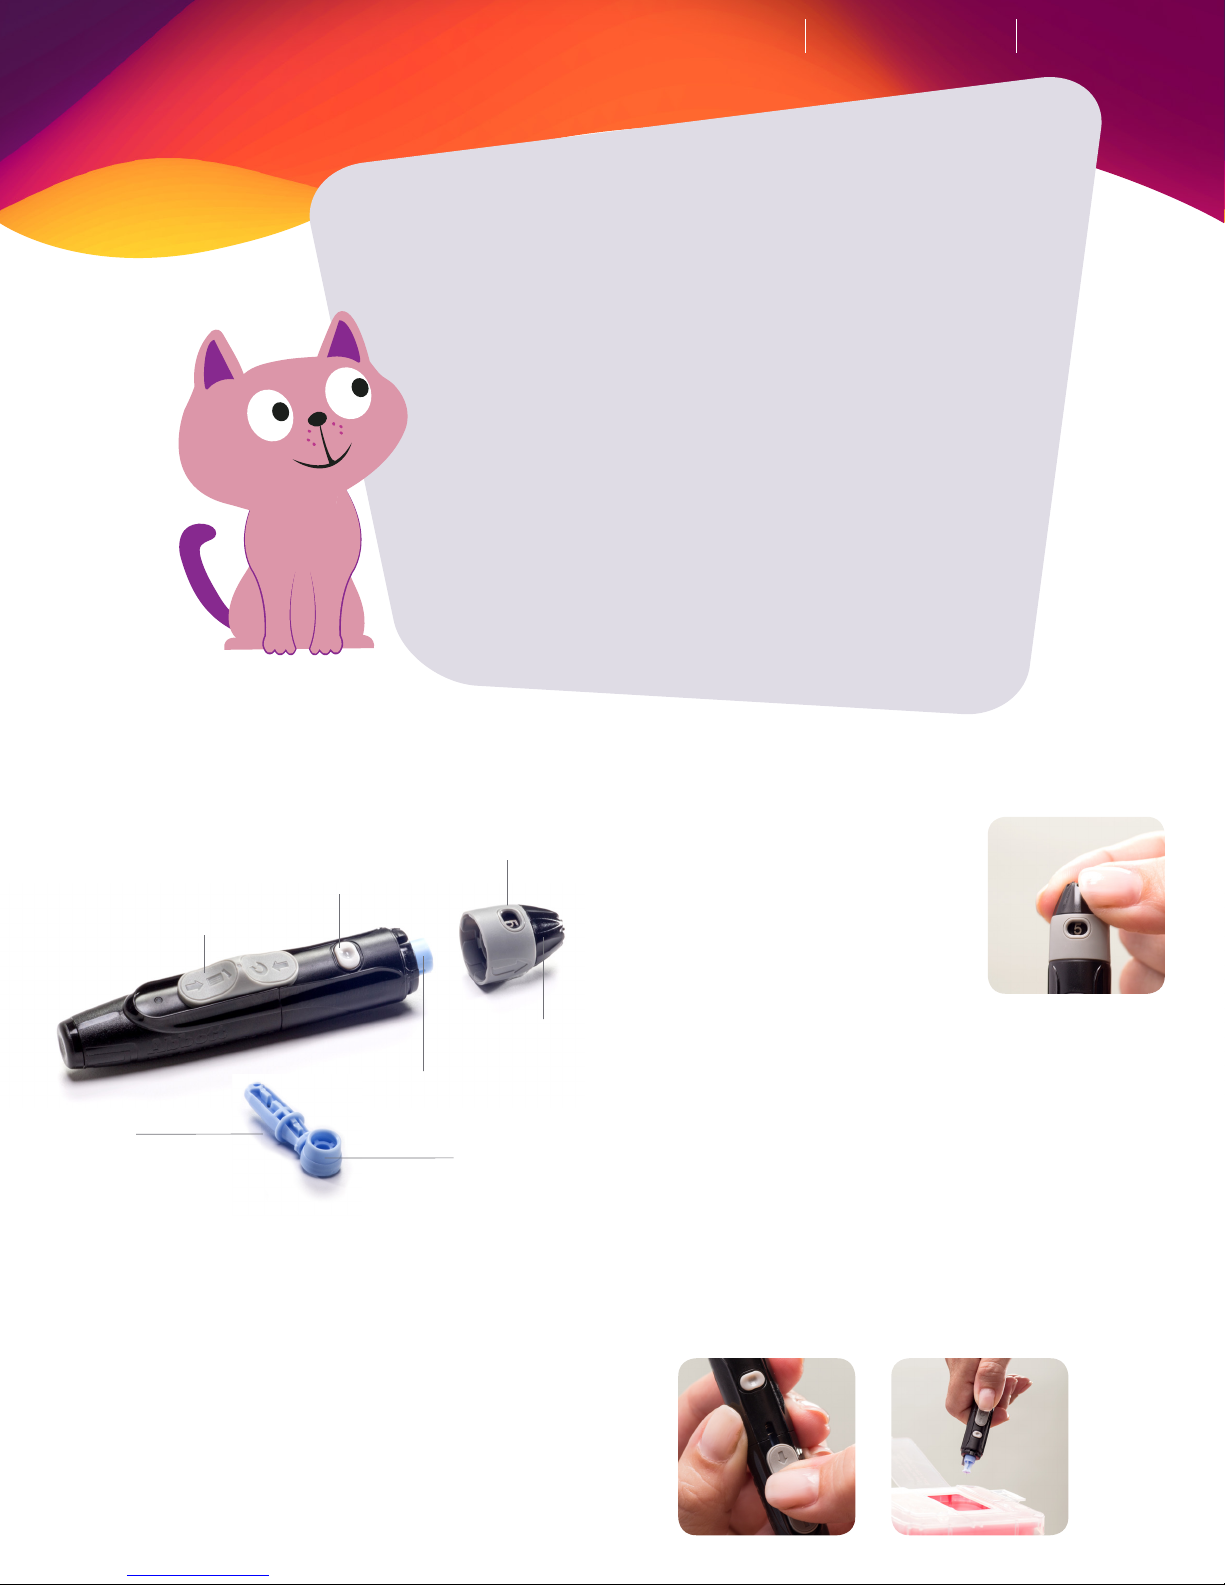
GETTING A BLOOD SAMPLE
(CAPILLARY SAMPLING)
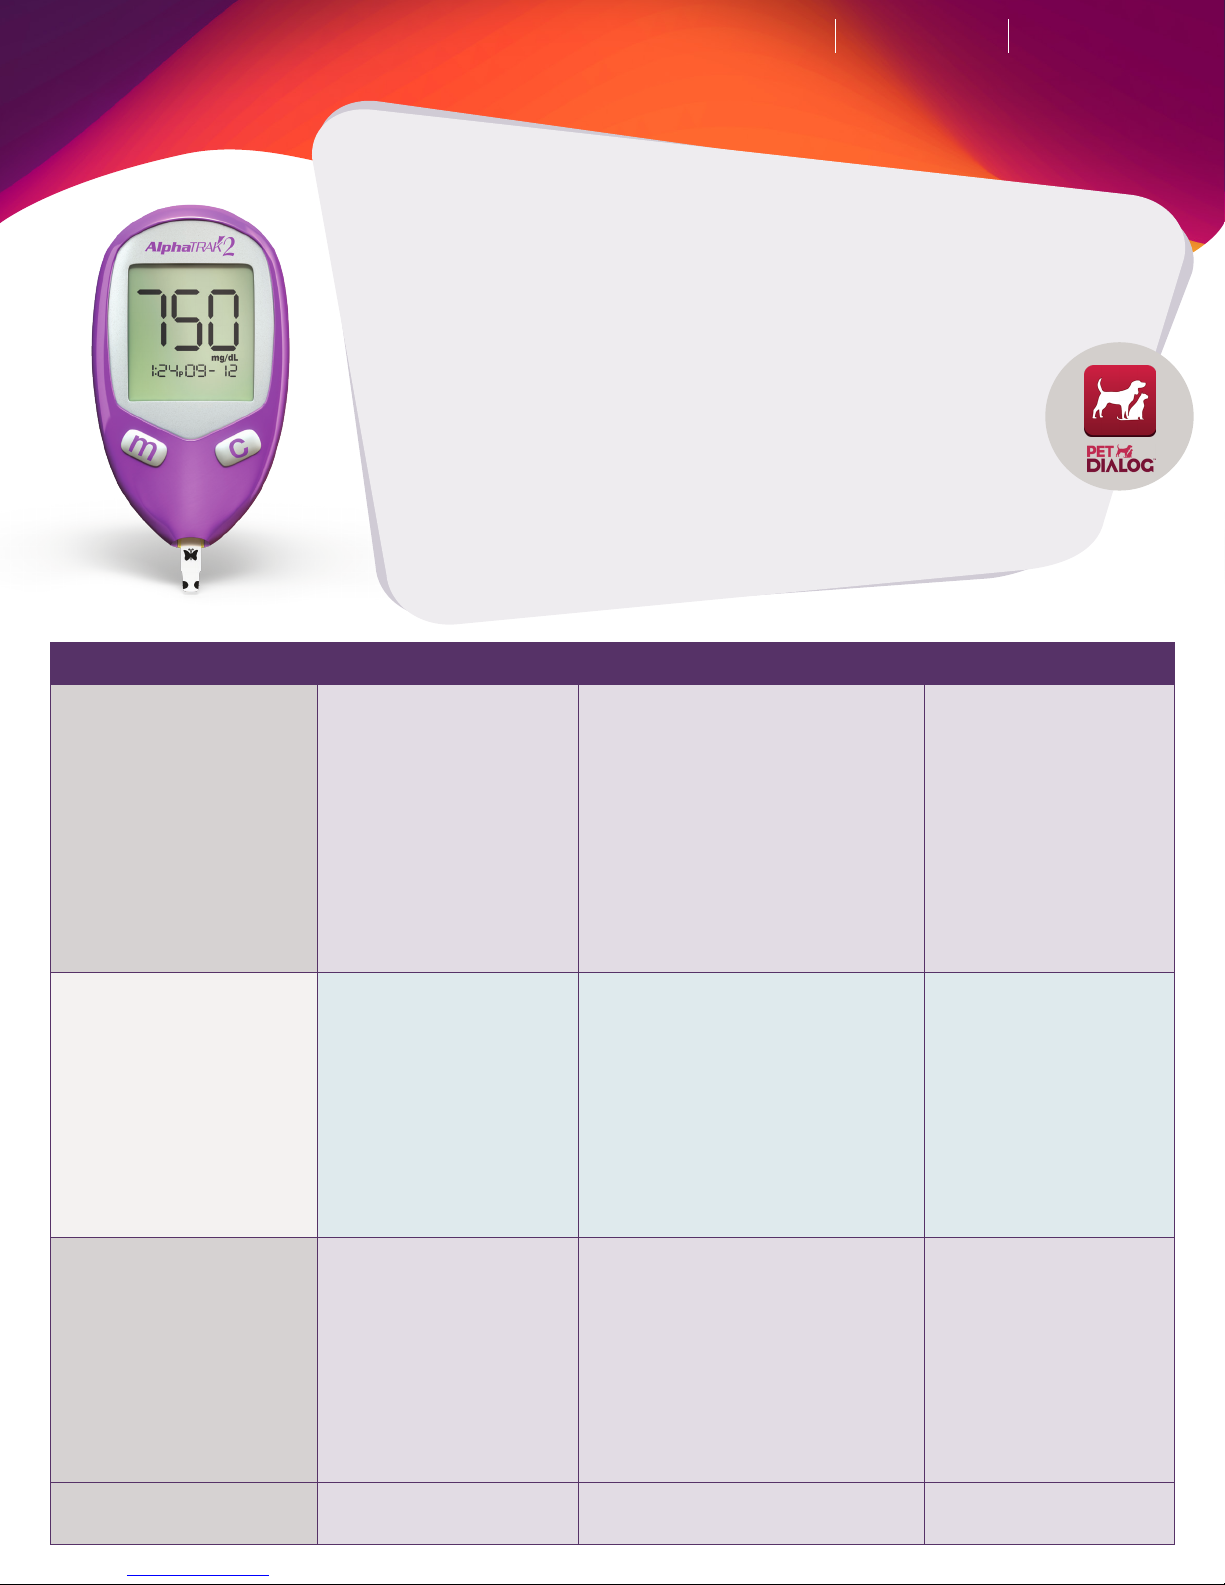
The Meter The Lancing Device Understanding Results
Side of the paw pad. If you choose the paw pad as the
testing site, select an area on the side of the paw that
your pet does not step on.
Elbow callus
Inside of upper lip
Marginal ear vein. If you choose the marginal ear vein
as the testing site, it may help to use a flashlight to
see the vein better and to place gauze or a cotton ball
behind the ear to make a firmer testing surface.
Marginal ear vein. If you choose the marginal ear vein as
the testing site, it may help to use a flashlight to see the
vein better and to place gauze or a cotton ball behind the
ear to make a firmer testing surface.
Side of the paw pad. If you choose the paw pad as the
testing site, select an area on the side of the paw that your
pet does not step on.
Selecting a Testing Site on Dogs
Selecting a Testing Site on Cats
A.
A.
B.
B.
C.
D.
A. B.
B.
C. D.
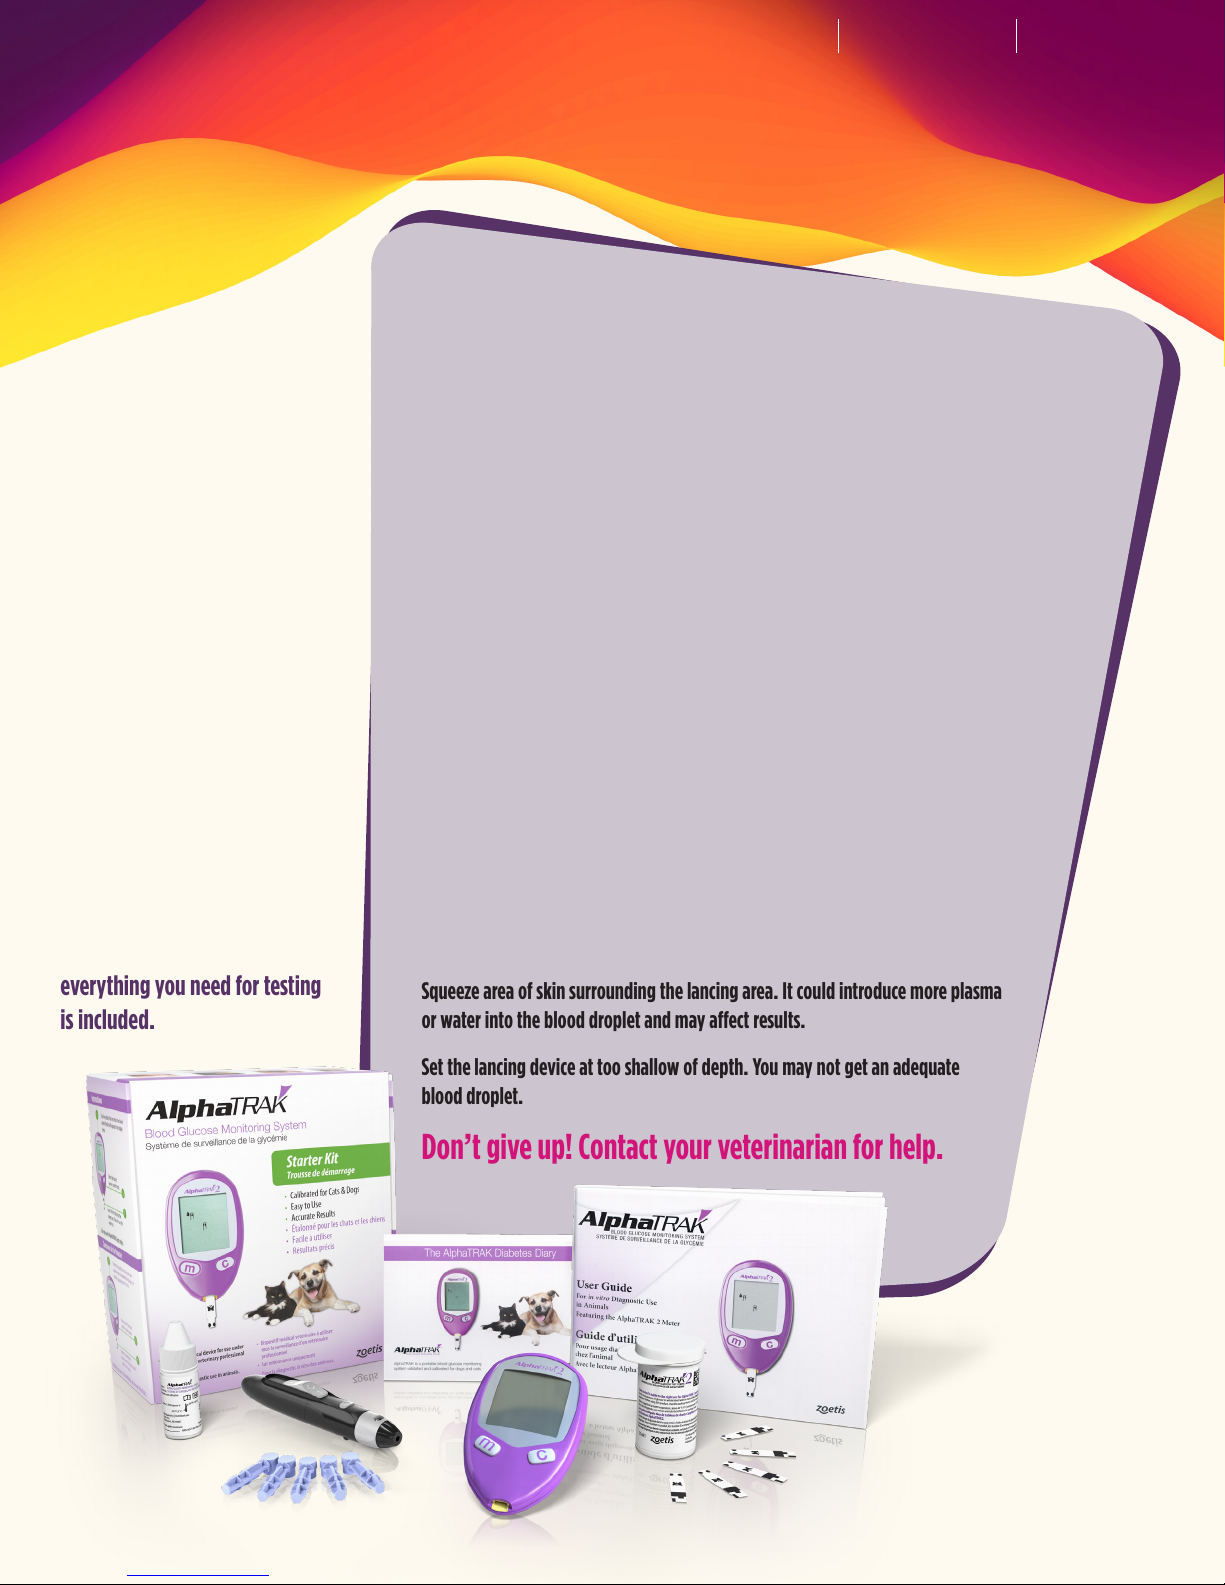
If you are having trouble
getting a blood sample,
contact your veterinarian.
A.