10
■Sides
①
②
③
④ ⑤
⑦
⑧ ⑨
⑥
⑩
Left side Right side
①Mic capsule
This is an XY stereo mic capsule.
Other mic capsules (sold sepa-
rately) can be swapped for different
applications.
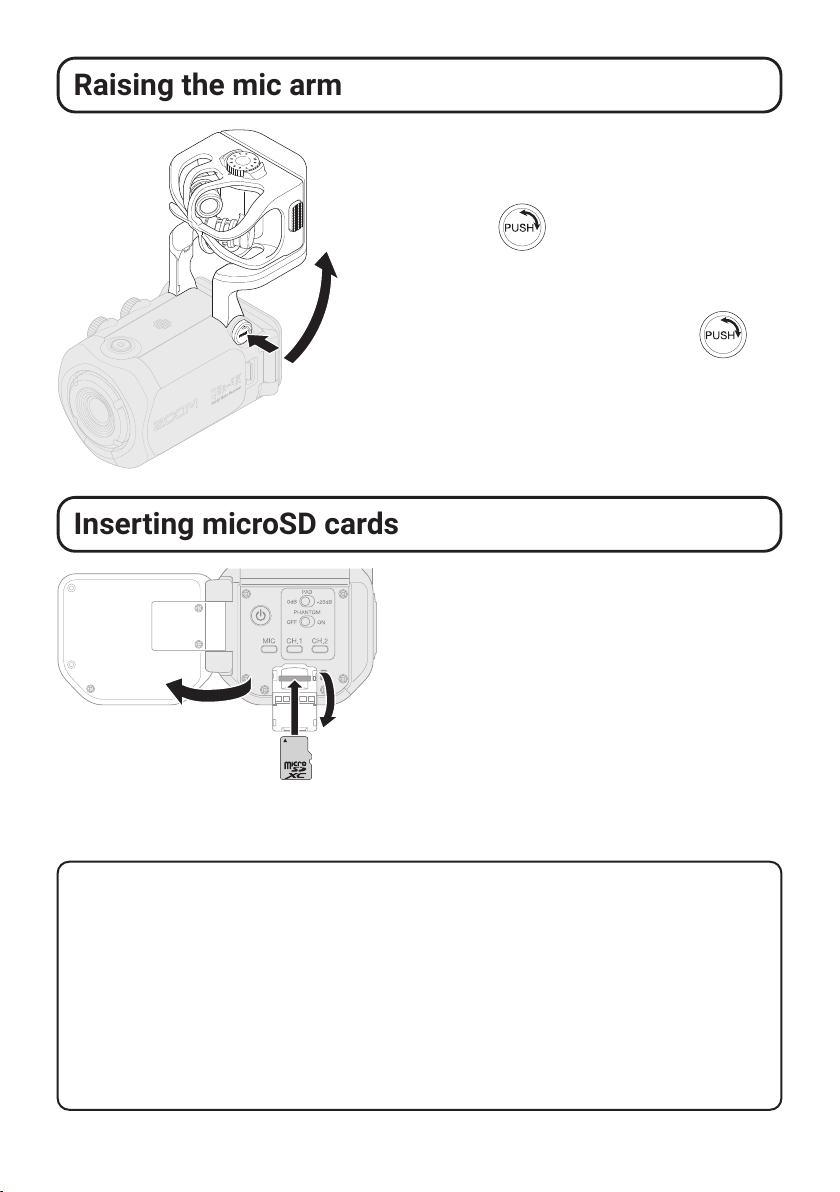
②UNLOCK button
Press in to enable moving the mic arm.
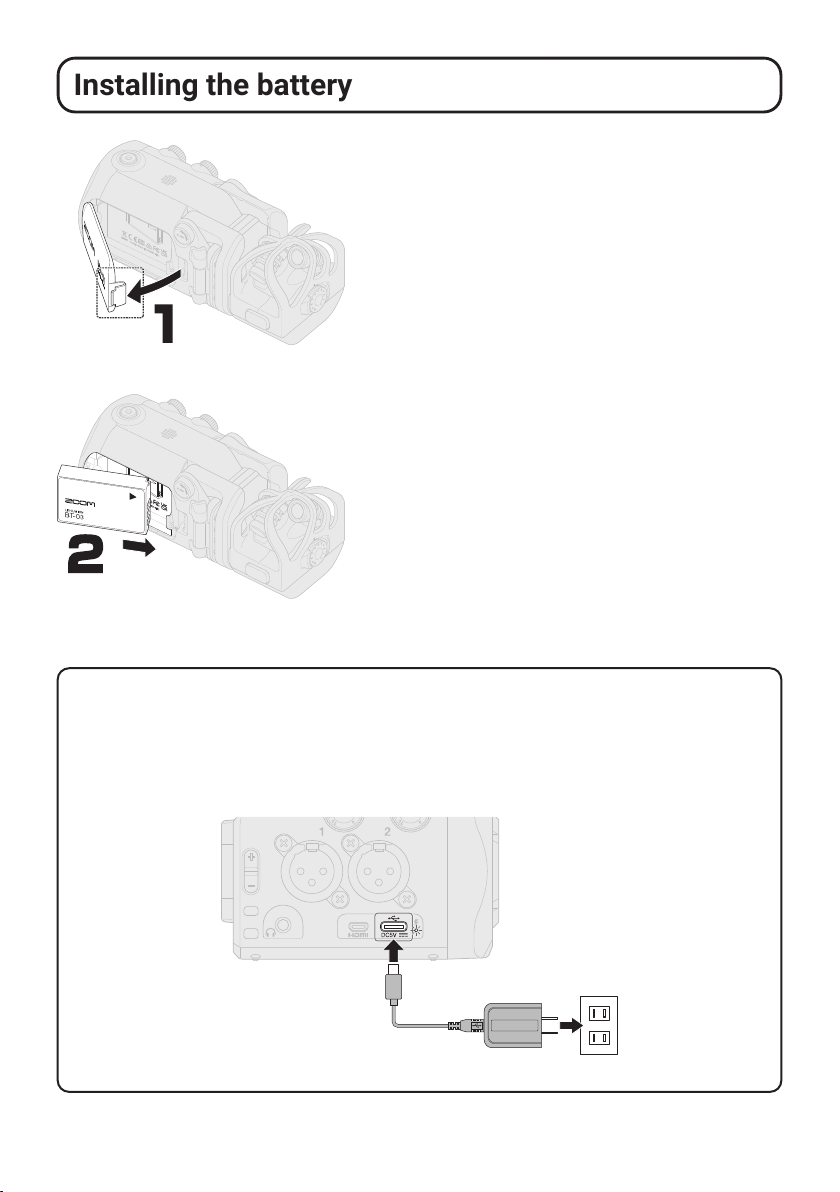
③Battery cover
Remove this when installing or remov-
ing a battery.
④Inputs 1/2
Connect mics and instruments to these.
These can be used with XLR plugs.
⑤Input volume 1/2
These adjust input volumes.
⑥Output volume
This adjusts output volume.
⑦Strap holes
Use these to attach a strap.
⑧Headphone output jack
This can output sound to headphones.
⑨Micro HDMI port
This can output video and audio to an
HDMI-compatible TV or other device.
⑩USB (Type-C) port
Connect this to a computer or iOS/
iPadOS device to use the Q8n-4K as a
web camera, card reader or USB mic.
A dedicated AC adapter (ZOOM AD-17)
can also be connected here to use AC
power. Connecting this when the power
is off will charge the battery.