4load Charge Box 7.0 User manual

WWW.4LOAD.DE
CHARGE BOX 7.0
Stand der Information: 09/2008
4 Load GmbH
Glendale Str. 4
87700 Memmingen
Germany
www.4load.de
BATTERY-CHARGER 7,0 AMP
WWW.4LOAD.DE
USER MANUAL

11
6
10
1
2
13
19
18
21
20
16
17
15
8 7
3 4 5
14
912
24
23
22

13GB
Table of Content
Introduction
For your safety...........................................................................................Page 14
Intended use..............................................................................................Page 14
Scope of delivery........................................................................................Page 14
Description of parts ....................................................................................Page 14
Technical data............................................................................................Page 15
Safety
Safety information ......................................................................................Page 15
Properties .................................................................................................Page 16
Before starting device up for the first time...................................Page 17
Operation
Connection................................................................................................Page 17
Disconnecting............................................................................................Page 17
Select mode of operation ............................................................................Page 17
State of charge ..........................................................................................Page 18
Trickle charging (13.6V/SUPPLY).................................................................Page 18
Regeneration mode (16V BOOST) ................................................................Page 19
Impulse charging........................................................................................Page 19
Charger protection function .........................................................................Page 19
Overheating protection................................................................................Page 19
Memory function ........................................................................................Page 19
Average charging time.................................................................................Page 19
Maintenance...........................................................................................Page 19
Disposal...................................................................................................Page 20
Information
Servicing...................................................................................................Page 20
battery_charger_7.0_Content_EU.indd 13 09.12.08 16:59

14 GB
Introduction
Battery charger
CHARGEBOX 7.0
qIntroduction
qFor your safety
Read the directions for use through
carefully.
qIntended use
The CHARGEBOX 7.0 is suitable for charging and
trickle charging 12V and 24V lead-storage batteries
with electrolytic solution, AGM or gel. Use the charger
in a well-ventilated room. The manufacturer is not
liable for any damage arising from improper use.
The device is not intended for commercial use.
qScope of delivery
1 CHARGEBOX 7.0 charger
1 Power cable with mains plug
1 Charging cable with 2 connecting terminals
1 Charging cable with 2 ring terminals
1 Charging cable with 12V plug
1 Storage bag (depending on the model)
1 Directions for use
qDescription of parts
Q“Error”
W“Charging” (-25%)
E“Charging” (-50%)
R“Charging” (-75%)
TTrickle charging (100%)
YSUPPLY LED (“Electrical power supply”)
URegeneration mode (16V BOOST)
IMaintenance mode (13.6V/SUPPLY)
O“Mode 4” (14.7V)
P“Mode 3” (14.4V)
{“Mode 2” (29.4V)
}“Mode 1” (28.8V)
q“MODE” button
w“POWER” display (ON/OFF)
eCharger
The following pictogrammes/symbols are used in these operating instructions:
Read the operating instructions! WWatts (effective power)
Always heed warning labels and
safety instructions! V~ Volt (AC)
Caution - Danger of electric shock!
Hazardous voltage–danger to life! A/Ah/
mA Amps/Amp-hours/Milliamps
Explosive material! Hz Hertz (mains frequency)
Risk of fire! Direct current
(Type of current and voltage)
Keep children and other people away from
the battery charger during its operation. Dispose packaging and appliance in an
environmentally-friendly way!
battery_charger_7.0_Content_EU.indd 14 09.12.08 16:59

15GB
Introduction/Safety
rPower cable with mains plug
tCharging cable with 12V plug
y“+”-pole connecting cable ring terminal (red)
u“–”-pole connecting cable ring terminal (black)
i“+”-pole alligator clip (red)
o“–”-pole alligator clip (black)
pConnecting cable ring terminals
[Connecting cable connecting terminals
]Connection adaptor
qTechnical data
Primary
Rated input voltage: 220-240V~50/60Hz
Starting current: <50A
Rated input current: max. 1.2A (actual value)
Power consumption: 135W
Secondary
Rated compensating
voltage: 12V
24V
Charging voltage: 28.8V/29.4V (±2%),
14.4V/14.7V (±0.25V),
13.6V/16.5V (±0.25V)
Charging current: 7A (±10%), 5A (±10%),
3.5A (±10%), 3A (±10%),
1.5A (±10%)
Rated
equalising current: 3.5A/7A
Ripple**: max. 150mV
Reverse current*: <5mA (no AC input)
System of protection: IP65 (dustproof,
waterproof)
Battery type: 12V+24V-lead-acid
batteries (AGM, GEL, MF,
open and VRLA)
Battery capacity: 12V:14Ah-230Ah/
24V:14Ah-120Ah
Fuse (internal): 10A
Noise level: >50dB
Ambient temperature: 0 - +40 °C
Dimensions: 200x80x50mm (l x w x h)
* = Reverse current is the current that the charger
uses from the battery when it is not connected
to the mains current.
** = Noise figure is the nuisance value of the current
and voltage.
qSafety
Safety information
J Do not operate the appliance with a damaged
cable, power cord or plug.
mCaution! A damaged power cord causes
danger to life by electric shock.
J If damaged, have the power cord repaired by
authorised and trained technicians only!
J Do not allow toddlers or children near
the charging station without super-
vision! Children cannot assess the
potential danger in the handling of electrical
equipment.
J Children or persons who lack the knowledge or
experience to use the device or whose physical,
sensory or intellectual capacities are limited
must never be allowed to use the device without
supervision or instruction by a person responsible
for their safety.
J Explosion hazard! Protect yourself
from a highly explosive oxyhydrogen
gas reaction! Gaseous hydrogen
can leak from the battery during the charging
and discharging process. Oxyhydrogen gas is
an explosive mixture of gaseous hydrogen and
oxygen. The result is the so-called oxyhydrogen
reaction upon contact with open fire (flames,
embers or sparks)! Carry out the charging or
discharging procedure in a wellventilated room
protected from the weather. Make sure that there
are no sources of open fire (flames, embers or
sparks) in the vicinity when charging or discharg-
ing batteries!
J Danger of explosion and fire! Make
sure that explosive and flammable
substances e.g. petrol or solvents
can be ignited when using the charging station!
mDanger of chemical burns! Protect your eyes
and skin against chemical burns caused by acid
(sulphuric acid) upon contact with the battery!
Do not look directly at the connected battery.
battery_charger_7.0_Content_EU.indd 15 09.12.08 16:59

16 GB
Safety
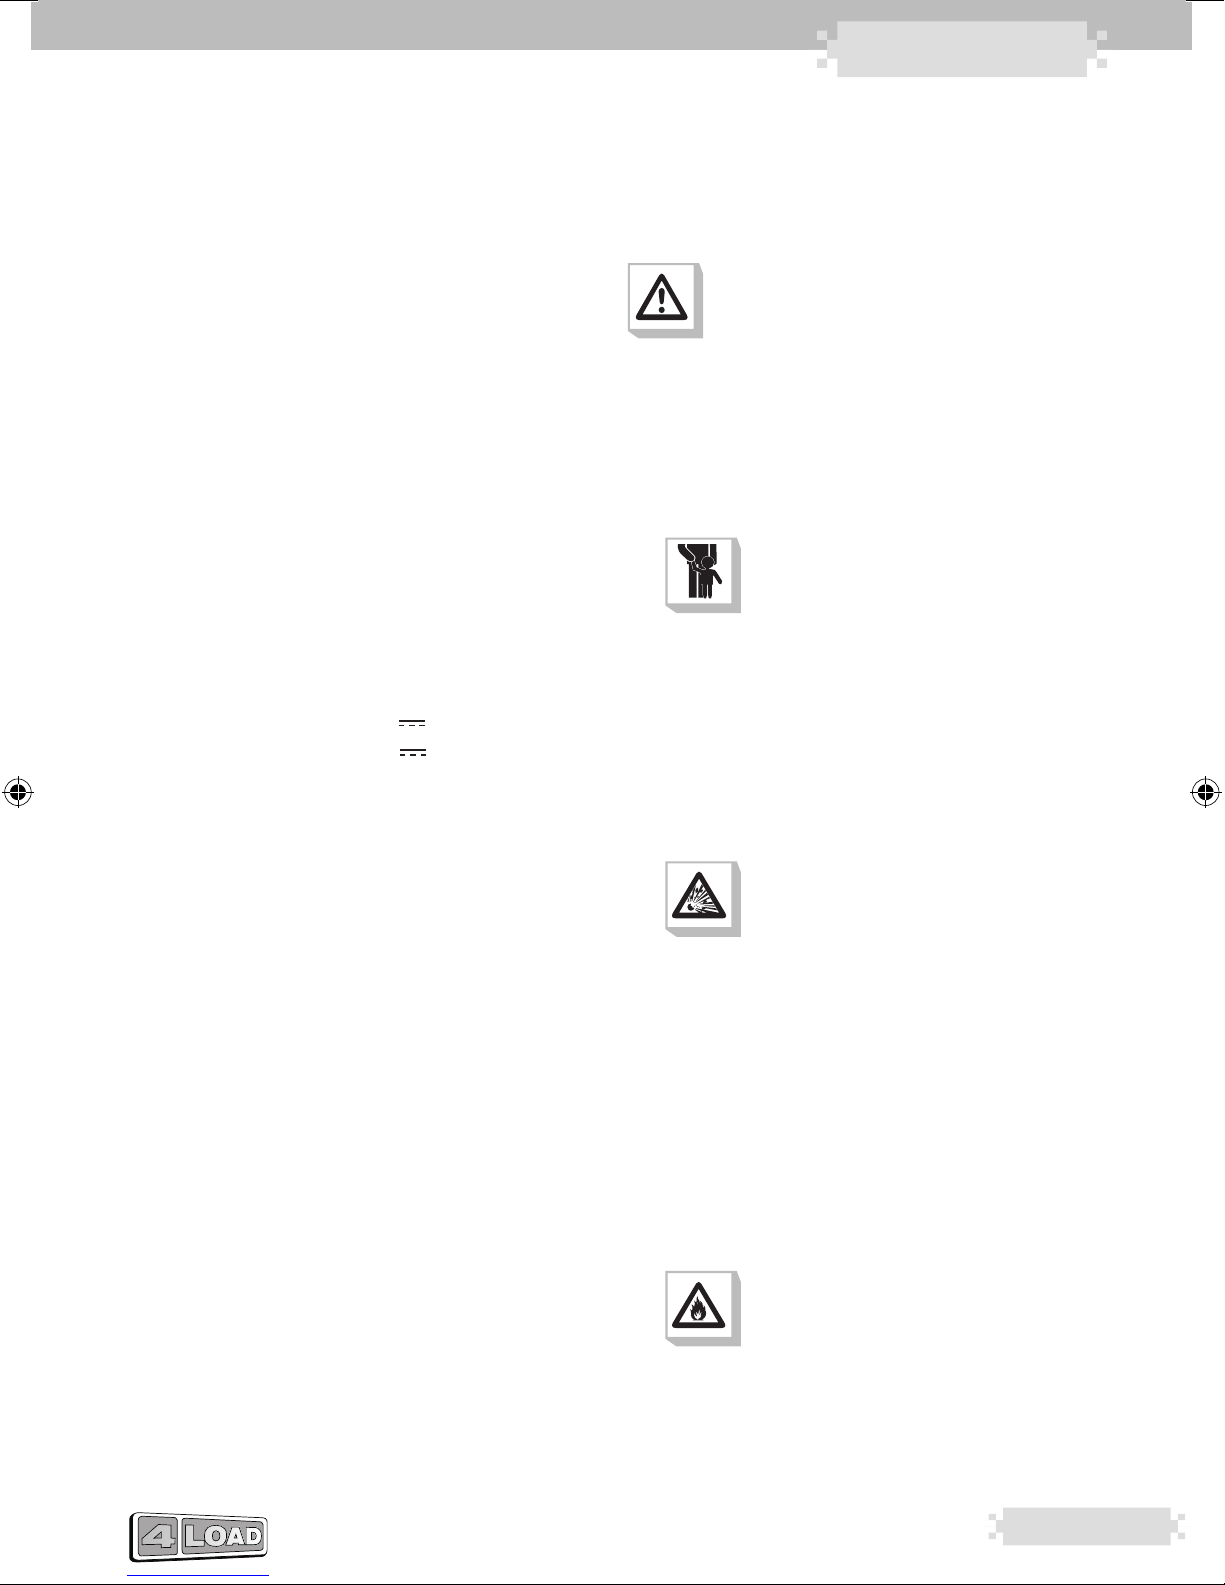
JWear protective goggles!
Wear protective gloves!
If your eyes or skin come into contact with sul-
phuric acid, rinse the affected part of the body
with plenty of clear running water and seek im-
mediate medical assistance!
J Protect yourself from an electric
shock! When connecting the charging
station, use a screwdriver and a
spanner with an insulated handle!
J Caution! Risk of injury! Do not use the
charger to charge dry-cell batteries
J On no account should you take the charger apart.
A charger that has not been properly assembled
can lead to a life-threatening electrical shock.
J Do not use the charging station for charging or
trickle-charging a damaged or frozen battery!
J Before connecting to the mains, make sure that
the mains current is equipped with standard
230V~50Hz, PEN conductor, a 16A fuse and
a residual-current circuit-breaker!
J Only touch the pole connecting cables (“–” and
“+”) in the insulated area!
J Only carry out the assembly, maintenance and
servicing of the charging station when it is dis-
connected from the power supply!
J Do not position the charging station near a fire or
subject it to heat or to long-term temperatures
exceeding 50°C! The output capacity of your
charging station is automatically reduces at high
temperatures.
JDo not cover the charger!
J Protect the electrical contacts of the battery
against short-circuiting!
J Do not place the charging station driectly on or
next to the battery!
J Set the charger up as far away from the battery
as the charging cable allows.
J Protect yourself from electric
shock. Never touch both alligator clips
at the same time when the charger is
operating
J Remove the power cable from the socket before
connecting the charging cable to the battery or
disconnecting the cable from the battery.
J After completing the charging and floating charge
operation on a battery permanently installed in
the vehicle, first disconnect the cable of the
negative (minus) pole (black) of the charger
from the negative (minus) pole of the battery.
J Always turn your face away from the battery when
you connect the charging cable to the battery.
J In case of malfunction or damage, immediately
disconnect the charging station from the mains!
J Have the charging station repaired by authorised
and trained specialists only! Please contact the
service department for your country!
J Before connecting the charging station, read
the information on battery maintenance in the
operating instructions of the battery!
J Before connecting the charging station to a bat-
tery permanently installed in a vehicle, read the
information on electrical safety and maintenance
in the operating instuctions of the vehicle!
JDisconnect the charger from the mains current
and the battery when not in use!
qProperties
This device is designed for charging open batteries
and a variety of closed batteries that are used in cars,
motorbikes and a few other vehicles - e.g. WET (with
liquid electrolyte), GEL (with a gel electrolyte) or AGM
batteries (with electrolyte-absorbing mats). The bat-
tery capacity ranges from 12V (14Ah) to 12V (230Ah)
or from 24V (14Ah) to 24V (120Ah). A special design
feature of the device permits the battery to be re-
charged to nearly 100% of its capacity. In addition,
long-term connection of the battery to the charger
is possible when not in use in order to maintain it in
its best possible condition without damaging it. The
charger has a total of 6 charging modes for various
batteries in various conditions. This enables charg-
ing to be safer and more efficient. In contrast to
conventional products, the charger has a special
function that enables nearly completely flat batteries
to be recharged. The highest protective measures
against incorrect use and short-circuiting ensure
safe operation. Thanks to an integrated switch, the
charger only starts the charging process when the
charging mode has been selected. This means that
the spark that often occurs when connecting the
battery is completely avoided.
battery_charger_7.0_Content_EU.indd 16 09.12.08 16:59

17GB
Before starting device up for the first time/Operation
qBefore starting device up
for the first time
J Clean the battery clips. Make sure that your
eyes do not come into contact with rust.
J Ensure sufficient ventilation. Gaseous hydrogen
can leak out when charging or trickle charging
the battery.
qOperation
qConnection
j Connect the connecting cable por [to the
connection adaptor ].
j Clamp the “+”-pole (red) y, iof the charger
to the “+”-pole of the battery.
j Clamp the “–”-pole (black) u, oof the
charger to the “–”-pole of the battery.
Note: Make sure that the “+”-pole y, ior
the “–”-pole u, osits firmly.
j Connect the power cable rto the mains current.
As soon as you have connected the battery to the
charger, the charger automatically switches to
STANDBY mode. The “POWER” display wglows.
Note: The charger has its own reverse battery
protection. The LED “Error” Qshines when the
“+”-pole y, ior “–”- pole u, ohas been wrongly
connected.
qDisconnecting
j Disconnect the power cable rfrom the mains
current.
j Remove the “–”-pole (black) u, oof the
charger from the “–”-pole of the battery.
j Remove the “+”-pole (red) y, iof the charger
from the “+”-pole of the battery.
qSelect mode of operation
j Press the “MODE” button qto select the mode
of operation you want to have. The LED for the
mode of operation you want will glow steadily.
You can choose between the following modes
of operation:
Mode 1 28.8V (24V/ 3.5 A):
Suitable for batteries with a capacity of more than
14Ah in normal conditions. Charging mode for
open batteries, MF and for most GEL batteries.
- The LED for Mode 1 }lights up. As soon as
the integrated switch is thrown, the appropriate
LED for the state-of-charge also comes on
(see “State of charge”). The charging process
starts with an amperage of 3.5A. As soon as
the battery has been fully charged (28.8V) the
following LEDs light up: W, E, R
and T.
The charger changes over to trickle charging.
If the voltage of the battery falls below 25.6V,
the charging process starts up again with an
amperage of 1.5A until the battery has been
fully charged again (28.8V).
Mode 2 29.4V (24V/3.5A):
Suitable for batteries with a capacity of more than
14Ah in cold conditions or also for many AGM
batteries (with electrolyte-absorbing mats) with a
capacity of more than 14Ah.
- The LED for Mode 2 {lights up. As soon as the
integrated switch is thrown, the appropriate LED
for the state-of-charge also comes on (see “State
of charge”). The charging process starts with an
amperage of 3.5A. As soon as the battery has
been fully charged (29.4V) the following LEDs
light up: W, E, Rand T.
The charger changes over to trickle charging.
If the voltage of the battery falls below 25.6V,
the charging process starts up again with an
amperage of 1.5A until the battery has been
fully charged again (28.8V).
Mode 3 14.4V (12V /7A):
Suitable for batteries with a capacity of more than
14Ah in normal conditions. Charging mode for open
batteries, MF and for most GEL batteries.
- The LED for Mode 3 Plights up. As soon as the
integrated switch is thrown, the appropriate LED
battery_charger_7.0_Content_EU.indd 17 09.12.08 16:59

18 GB
Operation
for the state-of-charge also comes on (see “State
of charge”). The charging process starts with
an amperage of 7A. As soon as the battery has
been fully charged (14.4V), the following LEDs
light up: W, E, Rand T.
The charger changes over to trickle charging.
If the voltage of the battery falls below 12.8V,
the charging process starts up again with an
amperage of 1.5A until the battery has been
fully charged again (14.4V).
Mode 4 14.7V (12 V /7A):
Suitable for batteries with a capacity of more than
14Ah in cold conditions or also for many AGM
batteries (with electrolyte-absorbing mats) with a
capacity of more than 14Ah.
- The LED for Mode 4 Olights up. As soon as the
integrated switch is thrown, the appropriate LED
for the state-of-charge also comes on (see “State
of charge”). The charging process starts with
an amperage of 7A. As soon as the battery has
been fully charged (14.7V) the following LEDs
light up: W, E, Rand T.
The charger changes over to trickle charging.
If the voltage of the battery falls below 12.8V,
the charging process starts up again with an
amperage of 1.5A until the battery has been
fully charged again (14.4V).
qTrickle charging (13.6V/SUPPLY)
Note: In this mode, the charger has overload
protection (max. 6.0A).
Note: As soon as the output voltage falls below 4.5V,
the charger automatically switches to STANDBY mode.
Caution! There is no reverse battery protection in
this mode (see “Connecting”)!
Suitable for maintaining the state-of-charge of
batteries with a capacity of more than 14Ah in
normal conditions or for an electrical power supply
of 13.6V/5A.
12V SLA batteries (sealed lead-acid batteries):
- The LED for the maintenance mode Ilights
up. As soon as the integrated switch is thrown,
the LED for the maintenance mode I flashes.
The process starts with an amperage of 13.6A
(±0.25V)/5A (±10%).
Using it as a power source:
j Press the “MODE” button qdown for about
3 seconds.
- The LED for the maintenance mode Ilights up.
As soon as the integrated switch is thrown, the
LED for the SUPPLY Ylights up. The electrical
power supply starts with an amperage of 13.6A
(±0.25V)/5A (±10%).
qState of charge
The state-of-charge of the connected battery is indicated on the charger as follows:
LED Display
Wflashes steady glow steady glow steady glow steady glow
Eoff flashes steady glow steady glow steady glow
Roff off flashes steady glow steady glow
Toff off off flashes steady glow
State-of-charge - 25% - 50% - 75% - 100% 100%
battery_charger_7.0_Content_EU.indd 18 09.12.08 16:59

19GB
Operation/Maintenance
qRegeneration mode (16V BOOST)
Note: This mode is only suitable for 12V batteries.
Note: In this mode, the batteries have to be charged
fully!
Suitable for the regeneration of completely flat
batteries with a capacity of more than 14Ah in normal
conditions.
- The LED for the regeneration mode Ulights
up. As soon as the integrated switch is thrown,
the LED for the regeneration mode Uflashes.
The process starts with an amperage of 16.5A
(±0.25V)/1.5A (±10%).
Note: If the battery is nearly completely flat, the
LED for the regeneration mode Ucould flash for
up to 3 hours. During this time, constant amper-
age of 1500mA will flow into the battery in order
to restore the battery’s capacity. After a maximum
of 4 hours, the regeneration mode switches itself
off. If the battery has still not been fully charged,
the charger will switch to normal charging mode
(mode 1-4).
qImpulse charging
As soon as the charger starts the charging process,
it automatically recognises the battery voltage. It
changes over to impulse charging when the battery
voltage is in the area of 4.5V/14V to 10.5V/21V.
This impulse charging continues until the battery
voltage rises to more than 10.5V/21V; after that
the charger changes back to the charging mode
selected before. This process is able to regenerate
most flat, used or overcharged batteries so that
they can be re-used.
qCharger protection function
As soon as an abnormal situation such as a short-
circuit, regeneration process of more than 7 hours,
charging process of more than 41 hours, battery
voltage less than 4.5V (with 12-V batteries) or 16V
(with 24-V batteries), open electric circuit or reversed
polarity occurs, the charger switches over to STANDBY
mode. If you do not input any other setting, the system
will remain on STANDBY. With reversed polarity, the
LED “Error” Qwill light up. This way, the sparks
that often arise during the connection process are
avoided.
qOverheating protection
If the appliance becomes too hot during charging,
the power output is automatically reduced. This
protects the appliance from damage.
qMemory function
Note: The memory function is not active in mainte-
nance and regeneration mode.
The charger has a memory function. As soon as the
charger has been connected to the mains supply, it
automatically switches to the mode of operation last
used. Due to the variety of different batteries and
conditions, we recommend you check the mode of
operation carefully and make any manual adjustments
if necessary (See “Selecting mode of operation”).
qAverage charging time
Battery type
(Ah)
For about 80% state-of-charge
(time in hours)
12 V 24V
14 2,5 4,9
60 7,5 15
100 12 24
120 15 30
230 29
qMaintenance
The appliance is maintenance-free.
battery_charger_7.0_Content_EU.indd 19 09.12.08 16:59

20 GB
Disposal/Information
qDisposal
The packaging is wholly composed of
environmentally-friendly materials that
can be disposed of at a local recycling
centre.
Do not dispose of electrical
appliances in household waste.
qInformation
qServicing
J Have your device repaired only by quali-
fied specialist personnel using original
manufacturer parts only. This will ensure
that your device remains safe to use.
We reserve the right to make technical modifications in
the course of product development.
battery_charger_7.0_Content_EU.indd 20 09.12.08 16:59

WWW.4LOAD.DE
CHARGE BOX 7.0
Stand der Information: 09/2008
4 Load GmbH
Glendale Str. 4
87700 Memmingen
Germany
www.4load.de
BATTERY-CHARGER 7,0 AMP
WWW.4LOAD.DE
USER MANUAL
Other manuals for Charge Box 7.0
1
Table of contents
Other 4load Batteries Charger manuals
Popular Batteries Charger manuals by other brands

Globaltronics
Globaltronics MAGnetic Wallcharger operating instructions

Sony
Sony aibo ERA-301P4 operating instructions

Sealey
Sealey BOOST120 instruction manual

ROBBE
ROBBE Duo-Power 8S EQ operating instructions

Energic Plus
Energic Plus TSS-D user manual

Team Orion
Team Orion Advantage One instruction manual