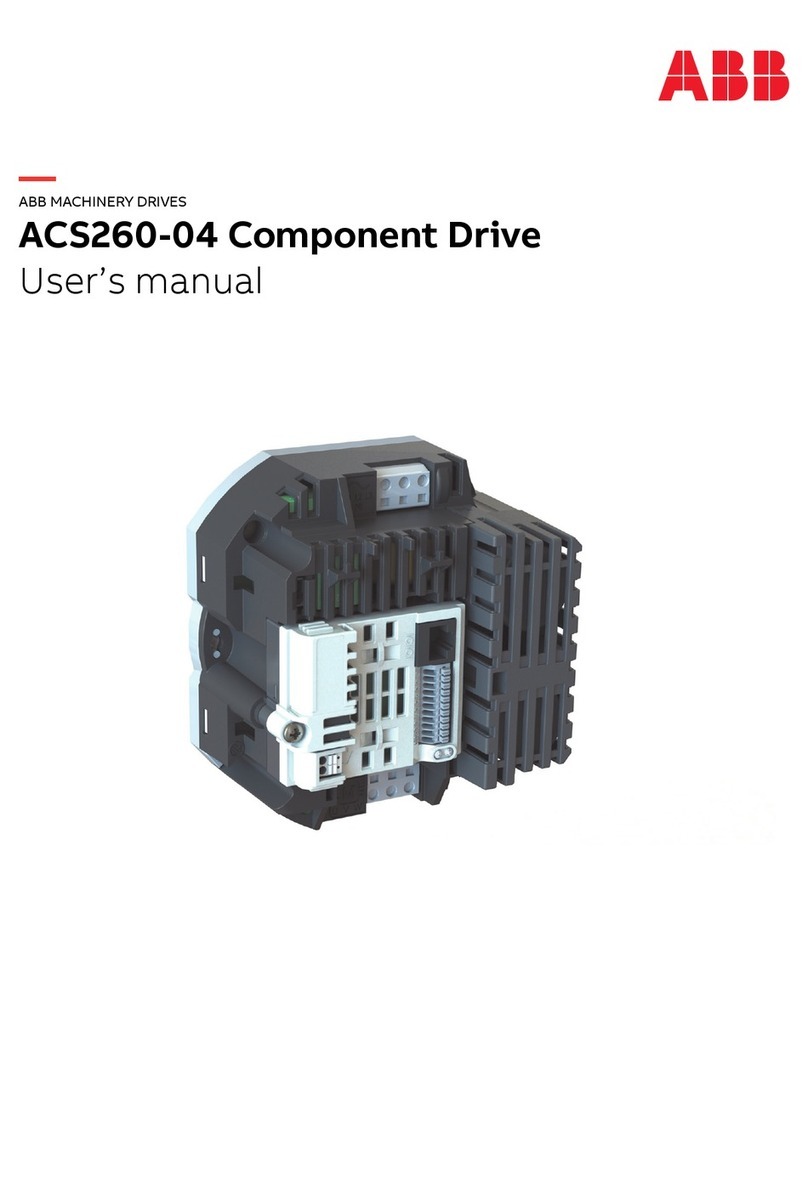
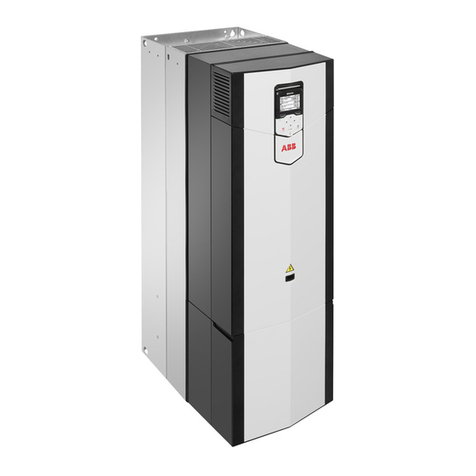
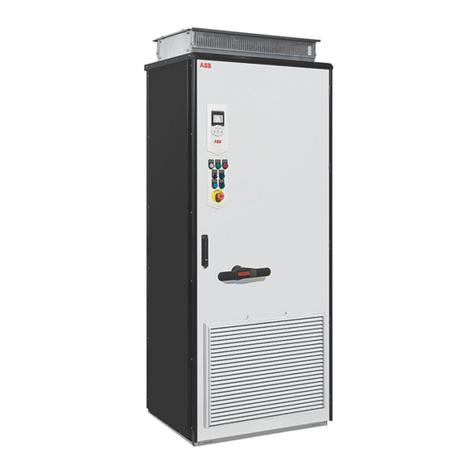
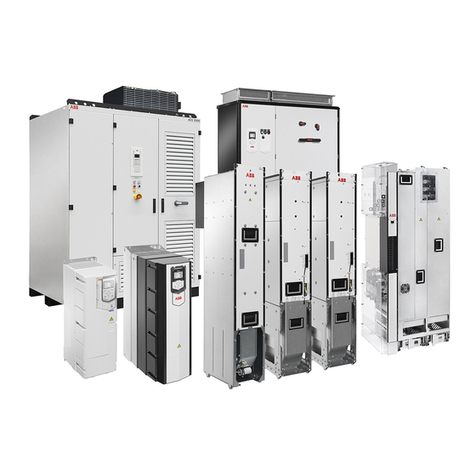
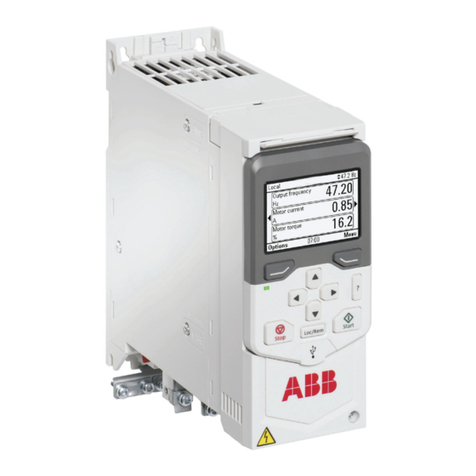
ABB ACQ80-04 Series Installation manual

Safety instructions
Read the safety instructions in the
ACQ80-04
drive
s (0.75 to 22 kW) Hardware
manual
(3AXD50000170661[EN]).
WARNING! Obey these safety instructions to prevent physical injury or
death, or damage to the equipment. If you are not a qualified electrician,
do not do electrical installation or maintenance work.
• Keep the drive in its package until you install it. After unpacking, protect the
drive from dust, debris and moisture.
• Use the required personal protective equipment: safety shoes with metal toe
cap, safety glasses, protective gloves, etc.
• Disconnect all possible voltage sources. Lock and tag.
• When the drive or connected equipment is energized, do not do work on the
drive, motor cable, motor, control cables or control circuits.
• After you disconnect the input AC and DC (PV) power, wait for five minutes to
let the DC bus capacitors discharge. Measure and make sure that the,
•voltage between the DC bus terminals (UDC+, UDC-) is 0 V.
•DC voltage between the DC bus terminals (UDC+, UDC-) and
ground (PE) is 0 V.
• Make sure that the equipment is not energized. Use a multimeter with an
impedance of at least 1 Mohm. Make sure that the,
•voltage between the drive input power terminals (L1, L2, L3) and the
ground (PE) is 0 V.
•phase to phase voltage between the drive input power terminals (L1, L2,
L3) is 0 V.
•voltage between the drive output terminals (T1/U, T2/V, T3/W) and the
ground (PE) is 0 V.
•phase to phase voltage between drive output terminals (T1/U, T2/V, T3/
W) is 0 V AC.
• If you use a permanent magnet synchronous motor, do not do work on the
drive when the motor rotates. A permanent magnet motor that rotates
energizes the drive and the output power terminals.
WARNING! The installation, start-up and operation of this equipment
requires detailed instructions. Refer to the detailed instructions in the
ACQ80 Hardware manual
(3AXD50000170661 [EN]) and
ACQ80
Firmware manual
(3AXD50000170654 [EN]). You can download these
manuals from the ABB website.
1. Examine the installation area
The drive is intended for cabinet installation and has a degree of protection of
IP20 / UL open type.
Make sure that in the installation area:
• There is sufficient cooling and hot air does not recirculate back to air inlet of
the drive.
• There is sufficient space above and below the drive for cooling. Refer to
Free
space requirements
.
• The ambient conditions are suitable. Refer to
Ambient conditions
.
• The mounting surface is non-flammable and can hold the weight of the drive.
Refer to
Dimensions and weights
.
• Materials near the drive are non-flammable.
2. Install the drive
You can install the drive with screws or to a DIN rail [Top Hat, W x H = 35 x 7.5 mm
(1.4 x 0.3 in)].
Installation requirements:
• Make sure that there is a minimum of 75 mm (2.9 in) of free space at the top
and bottom of the drive for cooling air.
• You can install several drives side by side. Side-mounted options require
approximately 20 mm (0.8 in) of space on the right side of the drive.
WARNING! Do not install the drive upside down. Make sure that the
cooling air exhaust (at the top) is always above the cooling air inlet (at
the bottom).
To install the drive with screws
1. Make marks onto the surface for the mounting
holes. Refer to
Dimensions and weights
. The R2
and R3 drives come with a mounting template.
2. Make the holes for the mounting screws and
install suitable plugs or anchors if required.
3. Start to tighten the screws into the mounting
holes.
4. Install the drive onto the mounting screws.
5. Tighten the mounting screws.
To install the drive on a DIN rail
1. Move the locking part to the left.
2. Push and hold the locking button
down.
3. Put the top tabs of the drive onto the
top edge of the DIN installation rail.
4. Put the drive against the bottom edge
of the DIN installation rail.
5. Release the locking button.
6. Move the locking part to the right.
7. Make sure that the drive is correctly
installed.
8. To remove the drive, use a flat-head
screwdriver to open the locking part.
3. Measure the insulation resistance
Drive: Do not do voltage tolerance or insulation resistance tests on the drive,
because this can cause damage to the drive.
Input power cable: Before you connect the input power cable, measure the
insulation of the input power cable. Obey the local regulations.
Motor and motor cable:
1. Make sure that the motor cable is connected to the motor and disconnected
from the drive output terminals T1/U, T2/V and T3/W.
2. Use a voltage of 1000 V DC to
measure the insulation
resistance between each
phase conductor and the
protective earth conductor.
The insulation resistance of
an ABB motor must be more
than 100 Mohm (at 25 °C/
77 °F). For the insulation
resistance of other motors, refer to the manufacturer’s documentation.
Moisture in the motor decreases the insulation resistance. If you think that
there is moisture in the motor, dry the motor and do the measurement
again.
4. Select the cables
See the drive hardware manual for the cable selection instructions.
Note:
Input power cable: IEC/EN 61800-5-1 requires two protective earth (ground)
conductors.
Motor cable: ABB recommends to use symmetrical shielded cable (VFD cable)
for the best EMC performance.
Control cable: Use a double-shielded twisted-pair cable for the analog signals.
Use a double- or single-shielded cable for the digital, relay and I/O signals. Do
not mix 24 V and 115/230 V signals in the same cable.
5. Connect the power cables
Connection diagram (shielded cables)
CAUTION! ABB recommends to use a lightning pole to avoid lightning
strike to the drive. Make sure that the lightening pole ground is not
common for PV cell, drive, and motor.
If you do wiring in conduits, see the drive hardware manual for more
information.
1. Reverse polarity diodes.
2. EMI filter is optional but is mandatory for IEC/EN62920 standard
compliance which is required in Europe.
3. Ground connection should be common for MOV, drive, and pump.
Note: ACQ80 is intended to be used for speed control of 3ph AC pump motors
and is powered from either AC Grid or DC photo-voltaic array. ABB recommends
not to use it as an island grid forming inverter or to supply generic 1ph or 3ph
loads, other than 3ph AC pump motors.
Connection procedure (shielded cables)
If you do wiring in conduits, see the drive hardware manual for more
information.
WARNING! Obey the safety instructions in the
ACQ80 Hardware
manual
(3AXD50000170661 [EN]). If you ignore them, injury or death, or
damage to the equipment can occur.
WARNING! Make sure that the drive is compatible with the power
supply system. You can connect all drive types to a symmetrically
grounded TN-S system. You can also connect the UL (NEC) drive types
to a corner-grounded system. For other power supply systems, you may need to
disconnect the EMC filter or the ground-to-phase varistor. For more
information, see the drive hardware manual.
1. Open the front cover. To open the
front cover, loosen the locking
screw and lift the front cover up.
2. Strip the motor cable.
3. Ground the motor cable shield
under the grounding clamp.
4. Twist the motor cable shield into
a bundle, mark it accordingly and
connect it to the grounding
terminal.
5. Connect the phase conductors of
the motor cable to the T1/U, T2/V
and T3/W motor terminals. Tighten the terminals to 0.8 N·m (7 lbf·in)
torque.
6. Strip the input AC power cable.
7. Connect the DC cables as per the
connection diagram.
8. If the input AC power cable has a
shield, twist it into a bundle, mark
it and connect it to the grounding
terminal.
9. Connect the PE conductor of the
input AC power cable to the
grounding terminal. If it is
necessary, use a second PE
conductor.
10. Connect the phase conductors of
the input AC power cable to the
L1, L2 and L3 input terminals.
Tighten the terminals to 0.8 N·m
(7 lbf·in) torque.
11. Mechanically attach the cables on the outside of the drive.
Note! If you power up the drive before you install the I/O or fieldbus module, the
drive gives a warning.
6. Install the communication module
To install the communication module (I/O module or fieldbus module):
1. Open the front cover.
2. Align the communication module
contacts with the contacts on the
drive.
3. Carefully push the communication
module into position.
4. Push the locking tab in.
5. Use a Torx TX10 screwdriver and
tighten the locking screw (torque
0.8 N·m) to fully attach and
electrically ground the
communication module.
7. Connect the control cables
Connection procedure
Do the connections according to the default control connections of the
application macro that you select. For the connections of the factory default
macro (ABB standard macro), refer to
Default I/O connections (ABB standard
macro)
. For the other macros, refer to the
ACQ80 Firmware manual
(3AXD50000170654 [EN]).
Note:
• This is an IEC compliant connection procedure.
Keep the signal wire pairs twisted as near to the terminals as possible to
prevent inductive coupling.
1. Strip a part of the outer shield of
the control cable for grounding.
2. Use the metal cable tie provided
to ground the outer shield to the
grounding tab.
3. Strip the control cable
conductors.
4. Connect the conductors to the
correct control terminals. Tighten
the terminals to 0.5 N·m (4 lbf·in)
torque.
5. Connect the shields of the twisted pairs and grounding wires to the SCR
terminal. Tighten the terminals to 0.5 N·m (4 lbf·in) torque.
6. Mechanically attach the control cables on the outside of the drive.
7. Close the front cover and tighten the locking screw.
Default I/O connections (ABB standard macro)
Note
:
×
refers to terminals in the base unit. Other terminals are in the RIIO-01 I/O extension module
(installed in the standard drive variant as default).
—
ABB DRIVES FOR WATER
ACQ80-04 drives
Quick installation and start-up guide
W
H
M1
M2
ohm
M
3~
U1
V1
W1 PE
PV input
terminal
DC/
MCB/
Fuse
MOV
EMI
filter
DC+
DC-
L1 L2 L3
U
V
W
PE
Pump
motor
AC MCB/
MPCB
AC grid or
generator
1
2
33
ACQ80-04
drive
3
Earth pit 1
MOV
Earth pit 1
Earth pit 1
Terminal Description Base unit
Reference voltage and analog I/O
SCR
Signal cable shield (screen)
AI1
Not configured
AGND
Analog input circuit common
+10 V
Reference voltage 10 V DC
AI2
Not configured
AGND
Analog input circuit common
AO1
Output frequency: 0...20 mA
AO2
Motor current
AGND
Analog output circuit common
Aux. voltage output and programmable digital inputs
+24 V
Aux. voltage output +24 V DC, max. 250 mA
×
DGND
Aux. voltage output common
×
DCOM
Digital input common for all
×
DI1
Stop (0)/Start (1)
×
DI2
Not configured
×
DI3
Not configured
DI4
Not configured
DI5
Not configured
DI6
Not configured
Relay outputs
RO1C
Ready run
×
RO1A
250VAC/30VDC
×
RO1B
2A
×
RO2C
Running
RO2A
250VAC/30VDC
RO2B
2A
RO3C
Fault (-1)
RO3B
250VAC/30VDC
RO3A
2A
EIA-485 Modbus RTU
B+
Embedded Modbus RTU (EIA-485)
A-
DGND
TERM&BIAS Serial data link termination switch
Safe torque off
SGND
Safe torque off. Factory connection. Both
circuits must be closed for the drive to start.
×
IN1
×
IN2
×
OUT1
×
+24V
Auxiliary voltage output. The alternative
terminals have the same supply as the base
unit.
DGND
DCOM
1
2
3
4
1...10 kohm
max. 500 ohm

Connecting EIA-485 Modbus RTU terminal to the drive
Connect the fieldbus to the EIA-485 Modbus RTU terminal on the RIIO-01 module
which is attached to the control unit of the drive. The connection diagram is
shown below.
8. Install the control panel
To install the control panel:
1. Close the front cover and tighten
the locking screw.
2. Put the bottom edge of the
control panel into position.
3. Push the top of the control panel
until it locks into position.
9. Start up the drive
For information on the start-up and drive parameters, refer to the
ACQ80
Firmware manual
(3AXD50000170654 [EN]).
WARNING! Before you start up the drive, make sure that the
installation is complete. Make sure that the cover of the drive and the
cable box, if included, are in place.
Make sure that the motor does not cause danger when it starts.
Disconnect the motor from other machinery, if there is a risk of
damage or injury.
For information on the user interface, refer
to the
ACS-AP-x Assistant control panel
user’s manual
(3AUA0000085685 [EN]).
The control panel has softkeys below the
display to access the corresponding
commands, and arrow keys to navigate the
menu and change parameter values. Push
the “?” button to open the help function.
First start-up:
Make sure that you have the motor data
(from the name plate) available.
1. Set the main power to on.
2. Select the user interface language
with the arrow keys and set it with the
right softkey (OK).
3. Select
Start set-up
and push the right
softkey (Next).
4. Select the localization and push the
right softkey (Next).
5. To complete the start-up procedure,
enter the settings and values when
you are prompted by the set-up
assistant.
To set up fieldbus communications for a
fieldbus adapter, refer to the applicable
fieldbus adapter manual and to the
ACQ80
Firmware manual
(3AXD50000170654
[EN]).
6. Navigate to parameters and configure below parameters for a basic start
up.
For information on program features, refer to the
ACQ80 Firmware manual
(3AXD50000170654 [EN]).
Warnings and faults generated by the drive
For the complete list of warnings and faults, refer to the
ACQ80-04 standard
control program firmware manual
([3AXD50000170654EN]).
Ratings
For detailed technical information, refer to the
ACQ80-04 Hardware manual
(3AXD50000170661 [EN]).
IEC ratings,
U
N= 400 V
Fuses
For more information on fuses, circuit breakers and manual motor protectors,
refer to the
ACQ80 -04 Hardware manual
(3AXD50000170661 [EN]).
Ambient conditions
1) Altitude derating: Up to 4000 m (13123 ft) is possible for 400 V units, if the
maximum switching voltage for the integrated Relay Output 1 is 30 V at 4000 m
(13123 ft) (e.g. do not connect 250 V to Relay Output 1). Up to 250 V is permitted
up to 2000 m (6562 ft).
For a 3-phase 400 V drive at 4000 m (13123 ft) altitude, only the following power
systems are permitted: TN-S, TN-c, TN-CS, TT (not corner grounded).
Dimensions and weights
Free space requirements
Certifications
The applicable certifications are shown on the product’s type label.
Declaration of conformity
Related documents
Parameter Value
99.03 Motor type Asynchronous/Permanent magnet motor
99.04 Motor control mode Scalar for Asynchronous motor and Vector for
Permanent magnet motor
Motor data parameters 99.06...
99.10
As per motor name plate
79.10 Operating mode Manual IN1 Start; stop
79.11 Manual input source 1 Start signal source - DI1
79.41 Start DC voltage ABB recommends to keep this value higher than
the value in parameter 79.42.
79.42 PV cell min voltage/79.43 PV cell
max voltage
As per PV cell rating
79.51 Pump minimum speed ABB recommends to keep this value 20% of
motor nominal rpm or more.
79.52 Pump maximum speed Pump maximum speed in RPM
...
Process I/O (cyclic)
Service messages (acyclic)
Data flow
Control Word (CW)
References
Status Word (SW)
Actual values
Parameter R/W
requests/responses
Fieldbus controller
Fieldbus
Termination ON 1)
1) The device at both ends on the fieldbus must have termination set to ON.
Termination OFF
Drive
ON
1
ON
1
ON
1
B +
A -
DGND
Termination OFF
Drive
ON
1
ON
1
ON
1
B +
A -
DGND
Drive
Termination ON 1)
ON
1
ON
1
ON
1
B +
A -
DGND
3AXD50000701247 Rev B EN 2022-02-16
© Copyright 2022 ABB. All rights reserved.
ACQ80 manual list
Ecodesign
(EU 2019/1781) and SI 2021 No.
745)
Warning Fault Description
A2A1 2281 Warning: Current calibration is done at the next start.
Fault: Output phase current measurement fault.
A2B1 2310 Overcurrent. The output current is more than the internal limit. This
can be caused by an earth fault or phase loss.
A2B3 2330 Earth leakage. A load unbalance that is typically caused by an earth
fault in the motor or the motor cable.
A2B4 2340 Short circuit. There is a short circuit in the motor or the motor cable.
3130 Input phase loss. The intermediate DC circuit voltage oscillates. This
can be caused by missing AC supply phase or other reasons.
3181 Cross connecion. The input and motor cable connections are
incorrect.
A3A1 3210 DC link overvoltage. There is an overvoltage in the intermediate DC
circuit.
A3A2 3220 DC link undervoltage. There is an undervoltage in the intermediate DC
circuit.
3381 Output phase loss. All three phases are not connected to the motor.
A5A0 5091 Safe torque off. The Safe torque off (STO) function is on.
AFF6 - Identification run. The motor ID run occurs at the next start.
D506 - Pump cleaning not possible: Pump cleaning not started as the drive is
not in remote control.
D5B0 - Pump min speed: MPPT logic is unable to increase motor speed above
79.51 Pump minimum speed. This is caused by less solar power. As a
result, drive stops and resets after default reset time set in the
parameter 79.61 Fault reset time.
- D4B0 Running dry: Dry run protection is activated.
- D4B1 PV max volt: The DC bus voltage in the inverter is above the voltage
set in 79.43 PV cell max voltage.
D5B1 - Start delay active: This alarm occurs if more than three start occurs
within one minute. Warning resets automatically after five minutes
and if start command is present, drive starts automatically.
IEC type
ACQ80-04-...
Input
Output ratings
Frame
size
Max.
current
Nominal
use
I
1N
I
max
I
NPNPN
AA A kWhp
0kW75-4 2.6 3.2 2.6 0.75 1.0 R0
01kW1-4 3.3 4.7 3.3 1.1 1.5 R0
01kW5-4 4.0 5.9 4.0 1.5 2.0 R0
02kW2-4 5.6 7.2 5.6 2.2 3.0 R0
03kW0-4 7.2 10.1 7.2 3.0 4.0 R0
04kW0-4 9.4 13.0 9.4 4.0 5.0 R0
05kW5-4 12.6 16.9 12.6 5.5 7.5 R1
07kW5-4 17.0 22.7 17.0 7.5 10.0 R2
011kW-4 25.0 30.6 25.0 11.0 15.0 R2
015kW-4 33.0 45.0 32.0 15.0 20.0 R3
18kW5-4 39.0 57.6 38.0 18.5 25.0 R3
022kW-4 50.0 81.0 50.0 22.0 30.0 R3
Requirement During operation (installed for stationary use)
Installation altitude 400 V units: 0...4000 m (0...13123 ft) above sea level (with derating
above 1000 m [3281 ft]) 1)
Air temperature -10...+60 °C (14....140 °F). Above 50 °C (122 °F) derating is required.
No frost allowed.
Relative humidity 5... 95% without condensation
Contamination levels
(IEC 60721-3-x)
No conductive dust allowed
IEC 60721-3-3: 2002
Classification of environmental conditions - Part 3-3: Classification
of groups of environmental parameters and their severities -
Stationary use of weather protected locations
Shock (IEC 60068-2-27,
ISTA 1A)
Not allowed
Free fall Not allowed
Frame
size
Dimensions and weights
H1 H2 H3 W D M1 M2 Weight
mm in mm in mm in mm in mm in mm in mm in kg lb
R0 205 8.1 223 8.8 176 6.9 73 2.8 207 8.2 50 2.0 191 7.5 1.77 3.90
R1 205 8.1 223 8.8 176 6.9 97 3.8 207 8.2 75 2.9 191 7.5 2.35 5.19
R2 205 8.1 220 8.7 176 6.9 172 6.8 207 8.2 148 5.8 191 7.5 3.52 7.76
R3 205 8.1 240 9.5 176 6.9 260 10.2 212 8.4 238 9.4 191 7.5 6.02 13.3
Frame
size
Free space required
Above Below On the sides
mm in mm in mm in
R0...R3 75 2.9 75 2.9 0 0
CE marking Solar impulse
marking
TÜV Nord
marking
WEEE
marking
EIP green
marking
Document Code (English)
ACQ80-04 (0.75 to 160 kW, 1.0 to 215 hp) hardware
manual
3AXD50000170661
ACQ80-04 standard control program firmware manual
3AXD50000170654
FECA-01 EtherCAT adapter module user's manual
3AUA0000068940
FCAN-01 CANopen Adapter Module User's Manual
3AFE68615500
FPBA-01 PROFIBUS DP adapter module user's manual
3AFE68573271
FEIP-21 EtherNet/IP fieldbus adapter module User's
manual
3AXD50000158621
FMBT-21 Modbus/TCP Adapter Module User’s Manual
3AXD50000158607
FSCA-01 RS-485 adapter module user's manual
3AUA0000109533
D
H2
H1
H3
W M1
M2
Ø 5 [.21]
Ø 10 [.21]
Ø 5 [.21]
1/2
3AXD10000715412 Rev. C
IMS template code: 3AFE011906, Rev. C
EU Declaration of Conformity
Machinery Directive 2006/42/EC
We
Manufacturer: ABB INDIA LIMITED.
Address: Plot No 5 & 6,2nd Phase, Peenya Industrial Area, Bangalore, 560058, India.
Phone: +91 80 22949359
Declare under our sole responsibility that the following product:
Frequency converter
ACQ80-04 (frames R0 – R3)
with regard to the safety function
Safe torque-off
is in conformity with all the relevant safety component requirements of the EU Machinery Directive
2006/42/EC, when the listed safety function is used for safety component functionality.
The following harmonized standards have been applied:
EN 61800-5-2:2007 Adjustable speed electrical power drive systems –
Part 5-2: Safety requirements - Functional
EN 62061:2005 + AC:2010 +
A1:2013 + A2:2015
Safety of machinery – Functional safety of safety-related electrical,
electronic and programmable electronic control systems
EN ISO 13849-1:2015 Safety of machinery – Safety-related parts of control systems.
Part 1: General principles for design
EN ISO 13849-2:2012 Safety of machinery – Safety-related parts of the control systems.
Part 2: Validation
EN 60204-1:2018 Safety of machinery – Electrical equipment of machines –
Part 1: General requirements
2/2
3AXD10000715412 Rev. C
IMS template code: 3AFE011906, Rev. C
The following other standard have been applied:
IEC 61508:2010, parts 1-2 Functional safety of electrical / electronic / programmable
electronic safety-related systems
IEC 61800-5-2:2016 Adjustable speed electrical power drive systems –
Part 5-2: Safety requirements - Functional
The product referred in this declaration of conformity fulfils the relevant provisions of other
European Union directives which are notified in a single EU declaration of conformity
3AXD10000715392.
Person authorized to compile the technical file:
Name and address: Jussi Vesti, Hiomotie 13, 00380 Helsinki, Finland.
Bangalore, 15 Dec 2021
Signed for and on behalf of:
A R Madhusudan Laxmikantha Shenoy
Vice President – Drive Products, ABB India PE Manager, ABB India
Other manuals for ACQ80-04 Series
4
Other ABB DC Drive manuals

ABB
ABB ACH550-01 User manual

ABB
ABB DCS880 series User manual

ABB
ABB ACS550-CC User manual

ABB
ABB ACS880-01 Series User manual

ABB
ABB ACS850 series User manual

ABB
ABB ACS580 Series User manual

ABB
ABB ACS880-01+C135 Series Owner's manual

ABB
ABB ACS880 Series User manual

ABB
ABB ACS880-14 User manual

ABB
ABB ACS380 Series User manual

ABB
ABB ACS850-04 series User manual

ABB
ABB DCS800 Use and care manual

ABB
ABB ACS310 User manual

ABB
ABB ACS850 series User manual

ABB
ABB ACS880-11 User manual

ABB
ABB ACS550 Series User manual

ABB
ABB ACS880-307LC User manual

ABB
ABB ACH550-UH-011A-6 User manual

ABB
ABB ACS5000 User manual

ABB
ABB ACL30 User manual