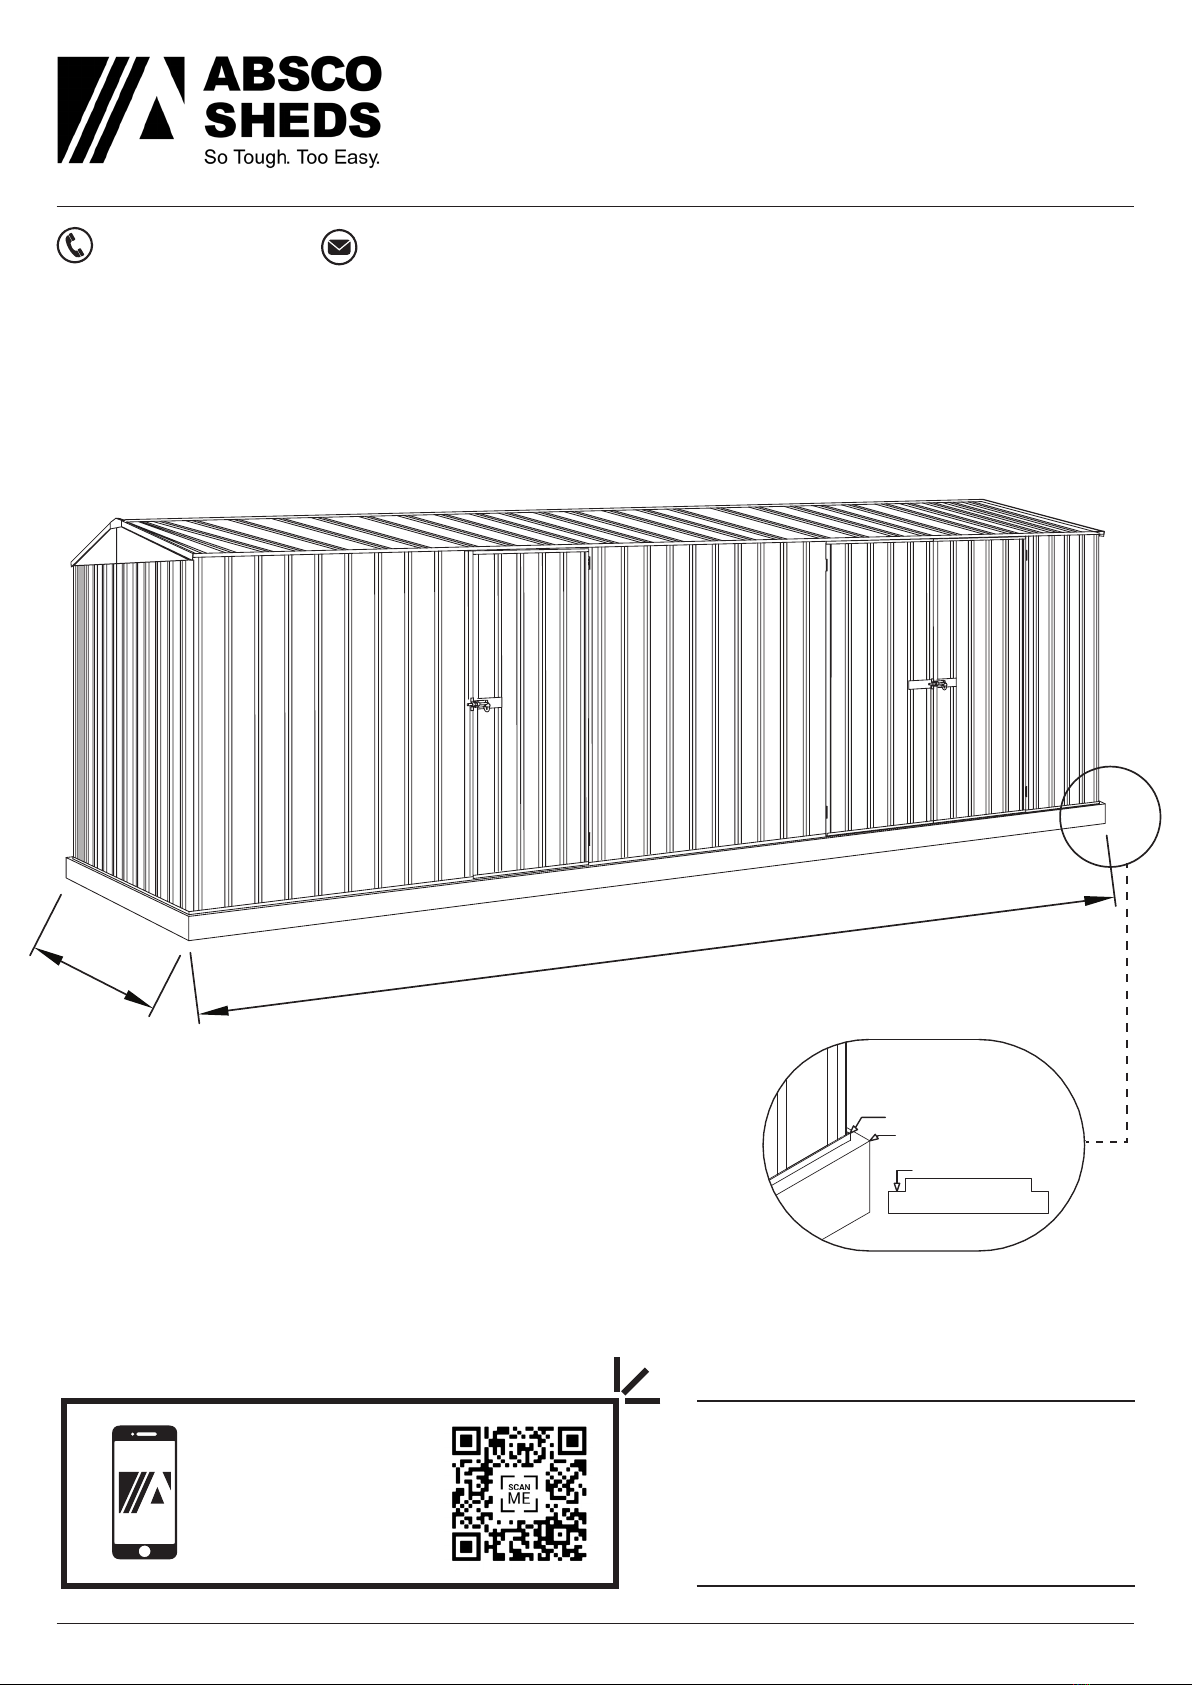
ABSCO HIGHLANDER SHED
MODEL: 60303HK
5.96mW x 3.00mD x 2.30mH
Model: 60303HK 29/11/2021 1.4 9
Absco Industries Assembly Instruction Manual
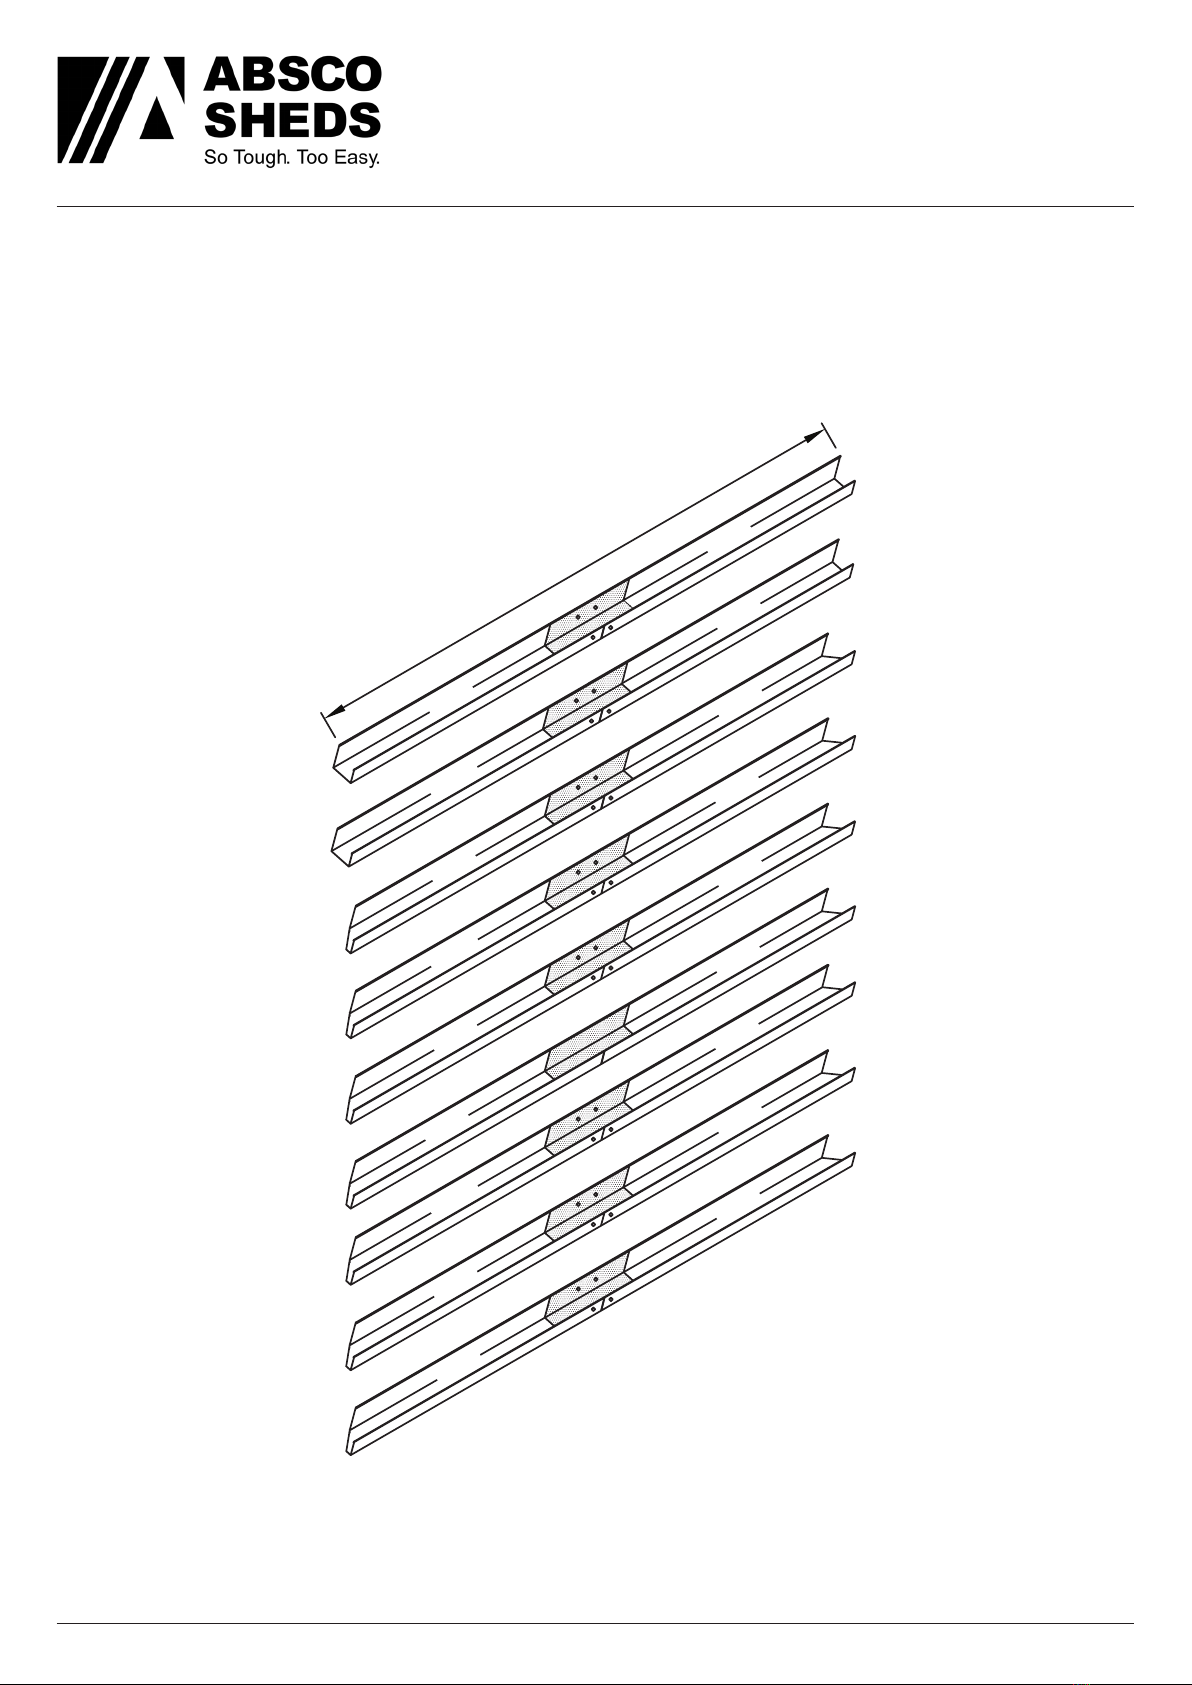
Guide on Joining Spliced Channels
The text marked on all parts must be shown on the same side as each other
Step 1.
Position the channels and the
CSJ joiner so the centre of
the CSJ is in line with the end
of each channel to be joiner
together.
Step 2.
Join the first channel to the CSJ
by inserting the centre of the
CSJ, on an angle, to the end of
the channel where the JOIN>>
text is marked.
Push down one side of the CSJ
until you hear a ‘click’.
Step 3.
Join the second channel to the
CSJ by positioning the <<JOIN
of the channel at the centre of
the CSJ, on an angle. Push the
CSJ into the channel until you
hear a ‘click’.
Finished Channel.
The joined channels should
now look like the picture with
the CSJ positioned equally
inside of the joined channels.
Drill out holes with 3mm drill
bit in CSJ to match the holes
in channel. Drilling of screws
on the joined channels is being
done after sheets are locked on
the spliced channels.
= =
JOIN>> <<JOIN
CSJ
==
JOIN>>
J
==
JOIN>> SJ
= =
JOIN>>
<<JOIN
= =
JOIN>> <<JOIN
Finished Spliced
Channel
Channel
Push
20mm 15mm
CSJ
.
...