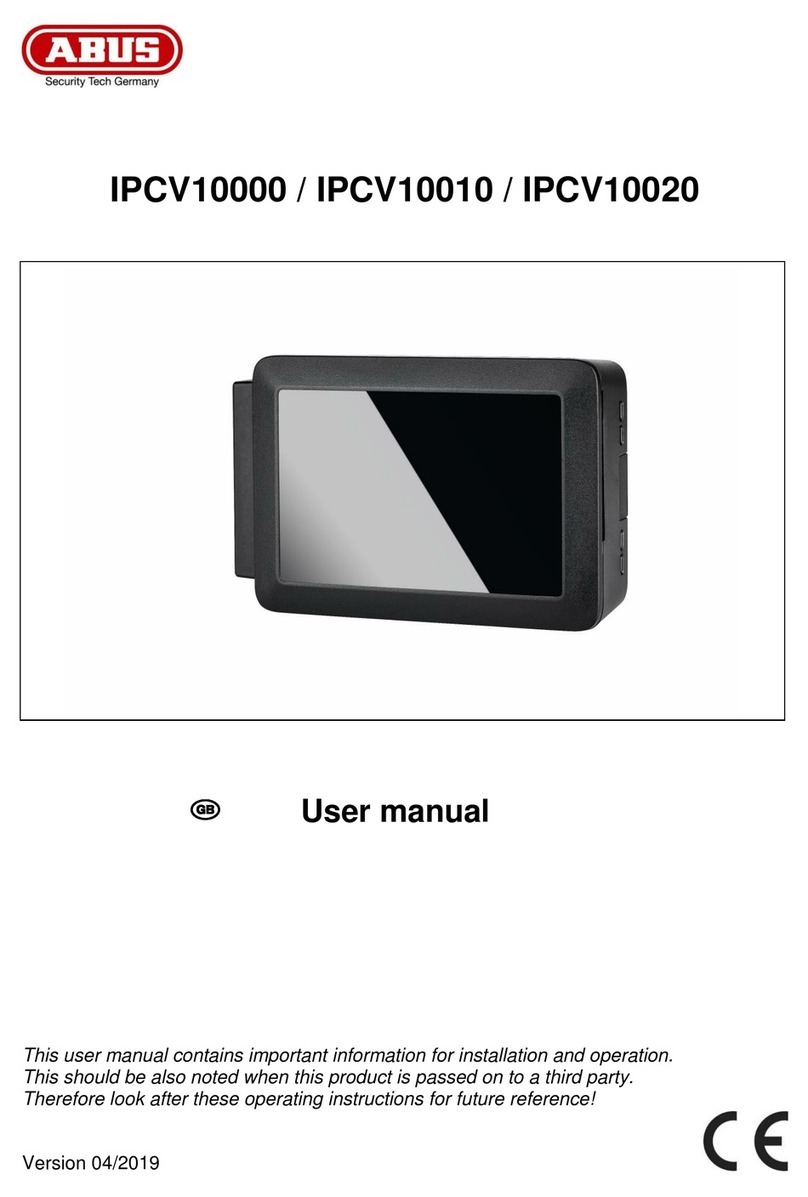
Abus IPCV10000 User manual

IPCV10000 / IPCV10010
User manual
This user manual contains important information for installation and operation.
This should be also noted when this product is passed on to a third party.
Therefore look after these operating instructions for future reference!
Version 01/2019

2
D INHALT
Declaration of conformity ............................................................................................ 3
GNU GPL License note .............................................................................................. 3
IPCV10000 – ABUS IP Camera Viewer (1-channel) .................................................. 4
Features .................................................................................................................. 4
Specification ............................................................................................................ 4
LED Display ............................................................................................................ 5
Connections ............................................................................................................ 5
IPCV10010 – ABUS Quad View Addon for ABUS IP Camera Viewer ........................ 6
Features .................................................................................................................. 6
How to install the ABUS IP Camera Viewer ................................................................ 7
Configuration of the ABUS IP Camera Viewer the network ........................................ 8
User interface ............................................................................................................. 9
Password reset ......................................................................................................... 11
Troubleshooting ........................................................................................................ 11
Warning .................................................................................................................... 11

3
Declaration of conformity
ABUS Security-Center hereby declares that the enclosed product complies with the
requirements of the following directives concerning the product:
RED Directive (2014/53/EU)
EMC Directive (2014/30/EU)
Low Voltage Directive (2014/35/EU)
RoHS Directive (2011/65/EU)
The full EU declaration of conformity can be obtained from the following address:
ABUS Security-Center GmbH & Co. KG
Linker Kreuthweg 5
86444 Affing
GERMANY
www.abus.com/product/Itemnumber
(‘Item number’ in the link to be replaced with
the article number of the enclosed product)
GNU GPL License note
Note that this product includes open source software, licensed under the GNU
General Public License (GPL). The GPL license terms can be viewed online under
the following link:
https://www.abus.com/var/ImagesPIM/d110001/medias/docus/13/gpl-2.0_license.txt

4
IPCV10000 – ABUS IP Camera Viewer (1-channel)
Features
Live image display of 2 MPx network cameras on one monitor
Display expandable up to 4 cameras (IPCV10010)
Practical solution for numerous customer needs
Ideal for sales rooms, for example as a confrontation monitor
Comfortable solution for private end customers, e.g. more security at the front
door
Low installation costs
Network integration via LAN or WiFi
Monitor connection via HDMI
Silent operation
Without the use of an additional PC or recorder
Specification
Item # IPCV10000
Dimensions 75 x 110 x 35 mm
Connections 1 x HDMI, 1x RJ45, 1x Micro-USB T
y
p B
Resolution 2 MPx
Resolution modes 1920 x 1080
Scope of deliver
y
1 x ABUS IP Camera Viewer
(
1-channel
)
Max. operatin
g
temperature 50 °C
Min. operatin
g
temperature 0 °C
Net wei
g
ht 0,12 k
g
Network connector RJ45
LAN network access Gi
g
abit Ethernet with max. 300 Mbit/s
Wi-Fi network access 2,4 GHz & 5 GHz WLAN IEEE 802.11 b/
g
/n/ac
V
olta
g
e suppl
y
5 V DC
Power consumption 2500 m
A
Technolo
g
y
IP

5
LED Display
LED Color Status Description
PWR Red
Off No power supply connected
On Power supply connected
Blink Supply voltage below 4,63 Volt
ACT Green
Off No access to SD card
On Accessing SD card (operating system) not possible
or no SD card available
Blink Flashes every time accessing the SD card (read
and write access
)
Connections
A
CT-LED
PWR-LED
Micro-USB Typ B
Power supply HDMI
Monitor connection
3,5 mm jack
Audio output
(not used)
RJ45
Network connection

6
IPCV10010 – ABUS Quad View Addon for ABUS IP Camera
Viewer
Features
Extension from 1 to 4 channels for the ABUS IP Camera Viewer (1-channel)
IPCV10000
Software extension via activation code
No further installation or infrastructure needed
The ABUS Quad View Addon is the display expansion of your ABUS IP Viewer
IPCV10000 from one camera to four cameras. You will receive a sealed envelope
with activation code, which allows you to unlock three additional display channels
without any further installation effort.

7
How to install the ABUS IP Camera Viewer
Connect the ABUS IP Camera Viewer with an HDMI cable to the monitor that
you want to use, to display the camera image.
When operating via network cable, connect the cable now with the ABUS IP
Camera Viewer. If operating via WiFi, proceed directly with the next step.
Connect the ABUS IP Camera Viewer to a USB power supply to turn on the
device and provide power.
Select the appropriate HDMI input tob e displayed on the monitor.
After the ABUS IP Camera Viewer has booted up, you will see the following
startup screen:
Please note that the ABUS Viewer must be connected to a network
that has access to the Internet for initial startup. This also applies to
commissioning after resetting the configuration settings to factory
default.
Example: Start display of the ABUS IP Camera Viewer on the monitor
Explanation of the IP addresses:
http://192.168.0.100 ABUS Viewer Address from the local connected network
via network cable.
http://192.168.4.1 ABUS Viewer address of its own WiFi hotspot
"ABUSVIEWER" (only for configuration access)

8
Configuration of the ABUS IP Camera Viewer the network
The ABUS Viewer has a web interface, which is used to configure the device. In
order to access the web interface, you must connect to the ABUS Viewer with your
PC or web-enabled terminal as follows.
Please note that the ABUS Viewer must be connected to a network that has access
to the Internet for initial startup.
An appropriate privacy policy is available at the beginning on the web interface of the
ABUS Viewer.
Connection via ABUS IP Installer
If you are already using the ABUS IP Installer and have connected the ABUS
Viewer to the network, you can find the ABUS Viewer in the device list and access
the web interface of the ABUS Viewer.
Connection via network.
If you have connected the ABUS Viewer to the network, you can access the web
interface of the ABUS Viewer directly via the web browser. The web interface can
be reached in the web browser via the IP address, which can be found on the
monitor's start display.
Connection via WiFi
After booting, the ABUS Viewer provides a WiFi hotspot. On the start display of
the monitor, you can see the WiFi name (SSID) as well as the password to
connect to the ABUS Viewer with your mobile device. Now you can reach its web
interface in the web browser via the IP address, which can also be found on the
monitor's start display.
If the general conditions of use have been confirmed and you have an internet
connection, you can access the menu of the ABUS Viewer via the web interface.
First, the password must be changed.
Please note, if you need to reset the password in the future, you will
need the IP address of the ABUS Viewer to access the device. It is
therefore recommended to assign a fixed IP address during
configuration.
Please note that the device restarts after changing the network settings.
Now you can add IP cameras from the network as described in the section
"Cameras" of the following chapter.
9
User interface
Explanation of the user interface for making configuration settings on the ABUS IP
Camera Viewer.
Overview
The menu "Overview" provides information about currently displayed cameras.
Cameras
The menu "Cameras" is used for automatic or manual setup and adding of IP
cameras. Cameras are also edited or removed here.
Auto: Automatic search for IP cameras in the network
Manually: For the manual setup of a new IP camera, the following data must be
known and entered:
Name
IP address
http Port
RTSP Port
RTSP Path Mainstream (optional)
RTSP Path Substream (optional)
User
Password
View
Under the menu "View", the live image view is configured for the monitor.
Setting the display mode, full screen or 2 x 2
Selection of the camera which shall be used for live image view
Selection of the camera stream which shall be displayed

10
System
Under the menu "System", the following system settings are made.
Languages
Selection of the language for the user interface; DE, GB, NL, DK, ES,
FR, RU or IT.
Addons
Activation of the ABUS Quad View Addon extension IPCV10010 to
extend the display from one camera to four cameras by entering the
activation code (AddOn Secure Code).
Network
Configuration of the network settings for TCP/IP or WiFi
Password
Password change for the ABUS Viewer
Save and recovery
Backup configuration settings of the ABUS Viewers in a cfg file
Load backup of configuration settings from a cfg file
Update
View the current software version and search automatically for updates
Factory settings
Resetting the configuration settings of the ABUS Viewer to the factory
default. Optionally with or without network settings.
Licenses
View the license terms

11
Password reset
In order to reset the password, you must access the web interface of the ABUS
Viewer during the startup phase of the device, with the IP address of the ABUS
Viewer and "/reset".
The startup phase of the ABUS Viewer is 120 seconds from power-on
The address for accessing the password reset web interface is "IP address of
the ABUS Viewer"/reset
Now you can reset the password and log in again with the default password
"12345678".
Troubleshooting
There is no internet connection at the installation site.
Initial commissioning does not have to take place at the installation site. Thus, the
ABUS IP Camera Viewer can be put into operation in a place with Internet connection
and later installed in a different location where the configuration will be completed.
IP camera is not found.
If the ABUS IP Camera Viewer is connected to two networks (WiFi and wired at the
same time), by using the WiFi only for the Internet connection, the camera search
may not work.
In this case deactivate WiFi in the system settings "System -> Network -> WiFi ->"
Wlan - Off ".
Now the camera search works trouble-free in the wired network.
Warning
For indoor use only
Do NOT open the casing
Do NOT use near water
Do NOT insert sharp objects

12
Imprint
These operating instructions are published by ABUS Security-Center GmbH & Co.KG, Linker
Kreuthweg 5, 86444 Affing, Germany. No reproduction (including translation) is permitted in
whole or part e.g. photocopy, microfilming or storage in electronic data processing equipment,
without the express written consent of the publisher.
The operating instructions reflect the current technical specifications at the time of print.
We reserve the right to change the technical or physical specifications.
© Copyright 01/2019 by ABUS Security-Center
This manual suits for next models
1
Table of contents
Other Abus Digital Camera manuals

Abus
Abus PPIC91000 User manual

Abus
Abus TVIP11561 User manual

Abus
Abus tvac16000a/b User manual

Abus
Abus Eyseo TV7057 User manual

Abus
Abus TVCC10000 User manual

Abus
Abus Security Center Eyseo TV7300 User manual

Abus
Abus IPCV10020 User manual

Abus
Abus PPIC42520B User manual

Abus
Abus PPIC91000 User manual

Abus
Abus PPIC90200 User manual

Abus
Abus eyseo TVCC10540 User manual

Abus
Abus TVIP81000 User manual

Abus
Abus Eycasa CASA30400 User manual

Abus
Abus PPIC90200 User manual

Abus
Abus HDCC65550 User manual

Abus
Abus IPCB62500 User manual

Abus
Abus HDCC42502 User manual

Abus
Abus PPIC90520 User manual

Abus
Abus IPCS62120 User manual

Abus
Abus Auto Focus Camera User manual