7
BETJENINGS- OG VISNINGSELEMENTER
OPERATION AND DISPLAY ELEMENTS
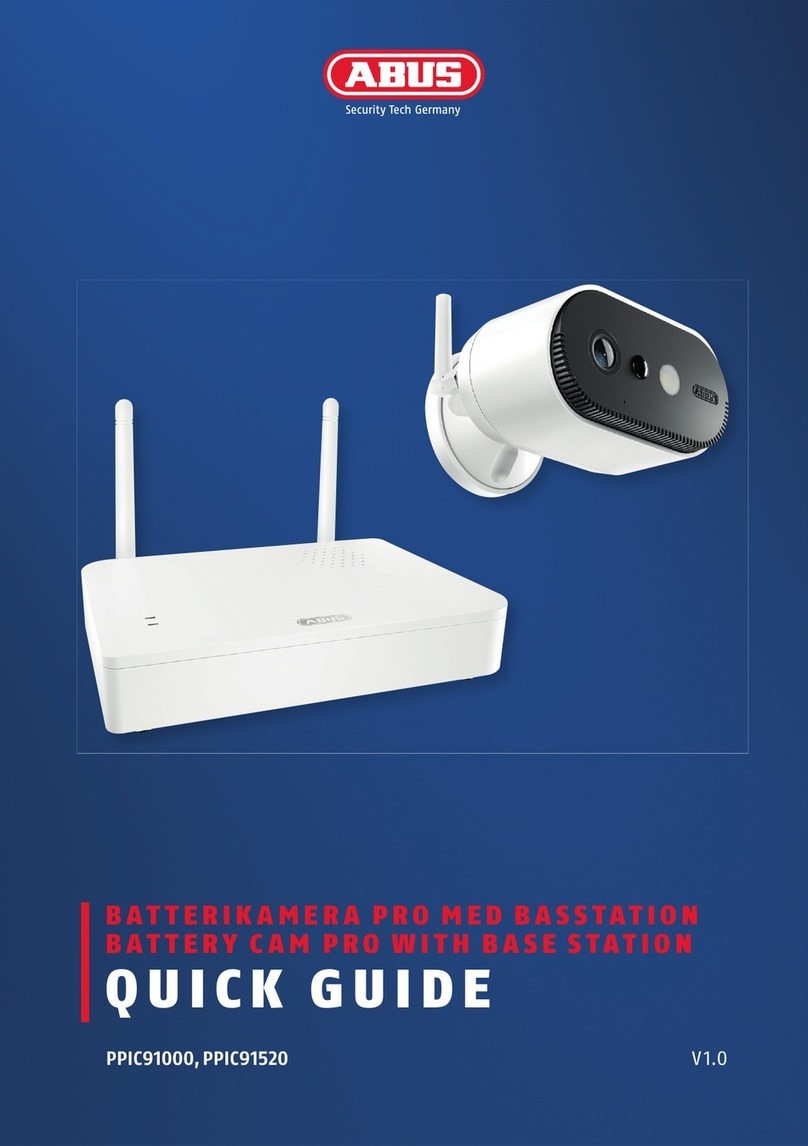
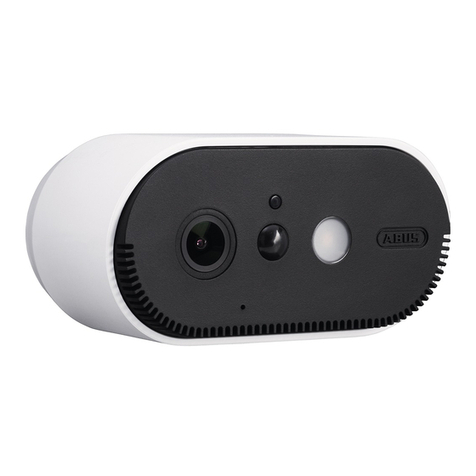
Hvis det ikke allerede er sket, oplades kameraets integrerede batteri ved hjælp af USB-C-kablet og en
almindelig 5 V USB-stikstrømforsyning, indtil den røde LED på bagsiden af kameraet lyser konstant. Tag
dereer kablet ud. Tænd kun for kameraet under ibrugtagningen, som beskrevet nedenfor.
If not already done, charge the camera's built-in battery using the USB-C cable and a standard 5 V USB
plug-in power supply until the red LED on the back of the camera lights up continuously. Then disconnect
the cable. Switch on the camera only during start-up, as described below.
Tilslut først netværkskablet til basisstationen, og forsyn dereer basisstationen med strøm.
First connect the network cable to the base station and then supply the base station with power.
Basisstationen opretter en forbindelse til kameraet under ibrugtagningen. I meget sjældne tilfælde
etableres der ingen forbindelse, og det kan være nødvendigt at nulstille til fabriksindstillinger.
The base station establishes a connection to the camera during set-up. In very rare cases,
no connection is established and a reset to factory settings may be necessary.
Tænd kameraet:
Tryk og hold tænd/sluk-knappen nede i 3 sekunder,
indtil kameraet udsender en signaltone, og den
røde status-LED lyser.
Switching on the camera:
Press and hold the On/O button for 3 seconds
until the camera issues a signal tone and the red
statusLED lights up.
Sluk for kameraet:
Tryk på tasten, og hold den nede i 5 sekunder.
Switching o the camera:
Press and hold the button for 5 seconds.
Nulstil til fabriksindstillinger,
hvis det er nødvendigt:
Tryk og hold reset-tasten nede med reset-værktøjet
i 5 sekunder, indtil power-LED'en blinker rødt.
Reset to factory settings if necessary:
Press and hold the reset button with the reset tool
for 5 seconds until the power LED ashes red.
