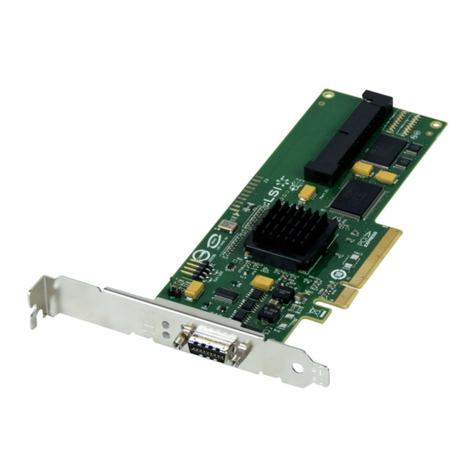
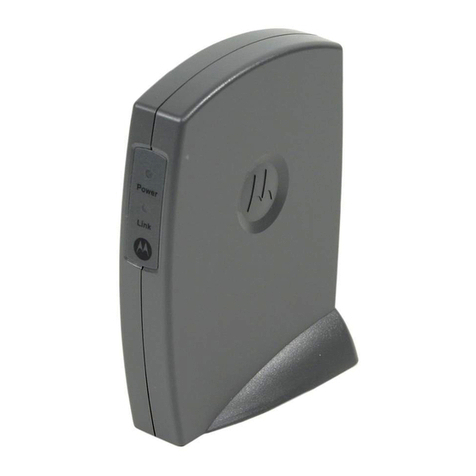
Acard AEC-6885MLP User manual

PCI-to-IDE ATA-133
RAID Adapter
AEC-6885MS/6885M/6885MLP
User’s Manual
Copyright © 2003 ACARD Technology Corp.
Release: July 2003
Version:1.1

Copyright and Trademarks
The information of the product in this manual is subject to change without prior
notice and does not represent a commitment on the part of the vendor, who as-
sumes no liability or responsibility for any errors that may appear in this manual.
ACARD and SCSIDE are the trademarks of ACARD Technology Corp. Microsoft
and the Windows Logo are the registered trademarks, and Windows is the trade-
mark of Microsoft Corporation. All brands and trademarks are the properties of their
respective owners.
This manual contains materials protected under International Copyright Laws. All
rights reserved. No part of this manual may be reproduced in any form or by any
means, electronic or mechanical, including photocopying, without the written per-
mission of the manufacturer and the author. All inquires should be addressed to
ACARD Technology Corp.

Table of Contents
Chapter 1 Introduction .......................................4
1.1 Overview ................................................................ 4
1.2 Features ................................................................. 4
1.3 Specifications........................................................ 5
1.4 Package.................................................................. 5
Chapter 2 Hardware Installation........................6
2.1 Quick Installation .................................................. 6
2.2 HDD Compatibility ................................................ 8
2.3 Before Installation................................................. 8
2.4 Installation ........................................................... 10
2.5 DIP Switch Setting .............................................. 10
Chapter 3 System Installation .........................13
3.1 Install OS into HDD with the Adapter................ 13
3.1.1 Install OS 9 into HDD with the Adapter........................ 13
3.1.2 Install OSX 10.3 into HDD with the Adapter ................ 15
3.1.3 Verify System Profiler .................................................... 16
3.2 Install the Adapter in Current OS ...................... 20
3.2.1 In OS 9 ............................................................................. 20
3.2.2 In OSX 10.3...................................................................... 22
3.2.3 Verify System Profiler .................................................... 23
3.3 AEC-6885M RAID Utility ..................................... 23
Chapter 4 Troubleshooting..............................29
Appendix Installation on Power Mac G4 .......30
Technical Support Form....................................35

AEC-6885MS/6885M/6885MLP
4
Chapter 1 Introduction
1.1 Overview
ACARD AEC-6885MS, AEC-6885M and AEC-6885MLP are 4-channel PCI-to-IDE
ATA-133 RAID adapters for Macintosh workstations and servers. AEC-6885MS is a
64-bit, 33MHz controller with transfer rate of 266MB/s while AEC-6885M a 64-bit,
66MHz one with transfer rate of 533MB/s. As for AEC-6885MLP, it is the same as
AEC-6885M except that it’s low profile. They all support RAID 0, 1, 0+1 and normal
modes. The 48-bit LBA (Logical Block Addressing) technology makes them good
for “Big Drives” technology over 137GB. The enclosed RAID utility lets you manage
RAID subsystem smoothly via a GUI.
1.2 Features
nSupports 64-bit 33MHz PCI Bus Master (AEC-6885MS).
nSupports 64-bit 66MHz PCI Bus Master (AEC-6885M/6885MLP).
nSupports data transfer rate of 266MB/s (AEC-6885MS).
nSupports data transfer rate of 533MB/s (AEC-6885M).
nHas 4 independent IDE channels.
nHas a simple DIP switch for RAID configuration.
nSupports at most 4 hard drives.
nSupports RAID 0, 1, 0+1 and normal modes.
nSupports Mac OS 9.
nSupports Mac OSX 10.2, 10.3 and later versions
nSupports “Big Drives” technology over 137GB.
nSupports firmware update.
nBootable from the standard or RAID volume (after OSX 10.3).
nDesigned for DTP, Video Editing, and Web/Database Server.
NOTICE: In OSX 10.2 you cannot boot from the hard drive connected to
AEC-6885MS, 6885M or 6885MLP. The three types of adapters don’t
support OSX 10.1.

AEC-6885MS/6885M/6885MLP
5
1.4 Package
When you open the package, please examine the following items.
nAEC-6885MS/6885M/6885MLP × 1
nInternal ATA 133 Cable ×4 (55cm ×2 ; 45cm ×2)
nY-Splitter Power Cord ×2
nUser’s Manual × 1
nACARD Support CD × 1
nPower requirement --- Voltage: 3.3V +/–2%
5V +/–2%
Current: 0.5A Max.
nEnvironment --- Operating temperature: 0oC to 70oC
Storage temperature: –20oC to 85oC
nHumidity --- 15% to 90%
nDimensions --- Width: 17.46cm for 6885MS and 6885M
Height: 8.26cm
Width: 17.40cm for 6885MLP
Height: 6.44cm
nConnectors --- Four 40-pin IDE internal connectors
1.3 Specifications
^ ^

AEC-6885MS/6885M/6885MLP
6
Chapter 2 Hardware Installation
From this chapter on we take AEC-6885M as an example. Before installing an IDE
hard drive to the adapter, the IDE hard drive must be adjusted as Cable select or
Master mode through jumper setting. Perhaps the hard drive contains some data,
that will cause Mac OS installation difficult in striping mode, so adjust AEC-6885M
DIP switch to normal mode at first.
If an IDE hard drive has contained data or any version of Mac OS, it is strongly
recommended to back up the old data before installing the hard drive to the adapter.
In the normal mode of AEC-6885M, you have to initialize or erase (in OS X) the hard
drive first. Besides, you need to inspect if every hard drive is all right, too. Then,
shut down your computer to adjust the DIP switch to a RAID mode you want. Cer-
tainly you have to enter Disk Utility to erase or partition those new RAID volumes.
2.1 Quick Installation
1. Open the Mac computer’s or workstation’s case (refer to Mac manual).
2. Choose an empty PCI slot to insert AEC-6885M.
3. Install hard drives into the Mac computer or workstation.
4. Connect AEC-6885M and the hard drives with ATA-133 cables.
5. Close the Mac computer’s or workstation’s case.
For the installation of hard drives with AEC-6885M on Power Mac G4 Mirror Door
computer, please refer to Appendix.
The pictures of AEC-6885M and ATA-133 cable are shown on the next page.

AEC-6885MS/6885M/6885MLP
7
The PCI-to-IDE Adapter
AEC-6885M
The ATA-133 Cable
IDE 4 IDE 2
IDE 3 IDE 1
LED
Connect to any of the IDE Connect to the IDE
ports on AEC-6885M hard drive (Master)

AEC-6885MS/6885M/6885MLP
8
2.2 HDD Compatibility
AEC-6885M is specially designed for DMA hard drives. It supports most ATA 66/
100/133 hard drives of the following brands.
nIBM
nMAXTOR
nSEAGATE
nWESTERN DIGITAL
2.3 Before Installation
Before the installation of AEC-6885M, you need to know the following four modes in
order to make the best use of the adapter. However, it is strongly recommended to
use hard drives of the same model and capacity.
Normal Mode (NONRAID)
1. If you set the DIP switch as normal mode, you will use AEC-6885M as an ordi-
nary IDE adapter.
2. AEC-6885M doesn’t support ATAPI devices such as CD/DVD-ROM.
Striping Mode (RAID 0)
1. Striping means to divide a piece of data into several small pieces of data with the
same size. The data is accessible from several hard drives at the same time.
This mode can greatly enhance the overall efficiency, but it doesn’t provide any
fault tolerance.
2. If hard drives are different in capacity, AEC-6885M will take the hard drive of the
smallest capacity as the standard, and multiply with the total number of hard
drives. The value will be the total capacity of striping array.
3. RAID 0 requires at least two hard drives.
4. If you need two sets of RAID 0 in AEC-6885M, you have to install two hard drives
to form the first set. Then shut down the computer, and install another two hard
drives to form the second set. If you install four hard drives at the same time,
AEC-6885M still forms them as one set.

AEC-6885MS/6885M/6885MLP
9
5. If you want to give up two arrays (each array has 2 HDDs) and create a new
striping array (4 HDDs), please delete the two arrays in 6885M RAID Utiltiy and
reboot.
6. The DIP switch on AEC-6885M is used to set RAID mode. It doesn’t allow two
modes at the same time. For example, you have connected two hard drives to
form RAID 0, but if you add one more hard drive to AEC-6885M, you won’t be
able to use the independent one.
Mirroring Mode (RAID 1)
1. Mirroring means to save every piece of data into two hard drives at the same
time. The two hard drives contain the same data, therefore the efficiency of this
mode is not higher than that of a general hard drive. The main function is that
when one of the hard drives fails, another will keep working, and thus data won’t
be lost.
2. If the capacity of hard drives is different, AEC-6885M will take the hard drive of
the smallest capacity as the standard. And the whole capacity you can use is that
samllest hard drive.
3. RAID 1 requires two hard drives.
4. The DIP switch on AEC-6885M is used to set RAID mode. It doesn’t allow two
modes at the same time. For example, you have connected two hard drives to
form RAID 1, but if you add one more hard drive to AEC-6885M, you won’t be
able to use the independent one.
Striping + Mirroring Mode (RAID 0+1)
1. RAID 0+1 has the advantages of RAID 0 and RAID 1. It owns the high efficiency
of RAID 0 and the data security of RAID 1.
2. RAID 0+1 requires 4 hard drives.
3. If the capacity of hard drives is different, AEC-6885M will take the hard drive of
the smallest capacity as the standard, and muptiply with two. The value will be
the total capacity of RAID 0+1.
AEC-6885MS/6885M/6885MLP
10
2.4 Installation
The complete installation is described as follows.
Step 1. Find out color pin 1 on the ATA-133 cable’s connector at one end.
Step 2. Connect it to IDE port 1 on AEC-6885M.
Step 3. Find out color pin 1 on the ATA-133 cable’s connector at another end.
Step 4. Find out pin 1 on the IDE hard drive’s connector.
Step 5. Connect the cable to the hard drive by aligning pin 1 to pin 1.
Step 6. Connect the 4-pin power cord to the IDE hard drive.
2.5 DIP Switch Setting
RAID configurations must be set on AEC-6885M’s DIP switch. However, after in-
stalling hard drives to the IDE ports, do not arbitrarily change the positions other-
wise the adapter may misunderstand and the data may be lost.
ON
1 2

AEC-6885MS/6885M/6885MLP
11
Please follow the instructions below to get a suitable RAID DIP switch setting.
1. Normal Mode --- When using AEC-6885M as an IDE extension
card to connect an IDE hard drive, please set DIP switch 1 and 2 as
OFF. The default is OFF.
ON
1 2
2. Striping Mode (RAID 0) --- RAID 0 is 2 or more hard drives
that store striping data, but appears as a single volume in the
computer. This mode is activated by setting DIP switch 1 and 2
as ON.
ON
1 2
When you have 3 hard drives and want to form a striping array, you
can connect the 3 hard drives to any 3 of the 4 IDE ports. Thus, the
adapter will regard the 3 hard drives as a RAID.
When you have 2 hard drives and want to form a striping array, you
can connect the 2 hard drives to IDE 1 and IDE 2 (or IDE 3 and IDE 4).
Thus the adapter will form the 2 hard drives into an array. But if you
connect one of the hard drives to IDE 1 (or IDE 2) and another to IDE 3
(or IDE 4), the adapter won’t form them into an array.
When you have 4 hard drives and connect them to AEC-6885M, the
adapter will form the 4 hard drives into a striping array. If you want to form
two arrays, and each is composed of 2 hard drives, you should connect 2
hard drives to IDE 1 and IDE 2. Boot the system, and the first array is
formed. Then connect another 2 hard drives to IDE 3 and IDE 4 to form
the second array.
3. Mirroring Mode (RAID 1) --- RAID 1 is a pair of hard drives that
store mirroring data, and is regarded as a single volume. This mode
is activated by setting DIP switch 2 as ON and switch 1 as OFF.
ON
1 2
When you have 2 hard drives, connect them to IDE 1 and IDE 2 (or
IDE 3 and IDE 4) to get an array. But if you connect one hard drive to
IDE 1 (or IDE 2) and another to IDE 3 (or IDE 4), you won’t get an array.

AEC-6885MS/6885M/6885MLP
12
4. Striping + Mirroring Mode (RAID 0+1) --- RAID 0+1 is a mirrored
array composed of 2 pairs of striped hard drives. This mode needs 4
hard drives to get the volume. It is activated by setting DIP switch 1
as ON and switch 2 as OFF.
ON
1 2
If there are 4 hard drives, the adapter will form the 2 hard drives connected to IDE 1
and IDE 2 into one array, and another 2 connected to IDE 3 and IDE 4 into another
array.

AEC-6885MS/6885M/6885MLP
13
Chapter 3 System Installation
AEC-6885M supports OS 9, OSX 10.2. and the later versions of Mac Operating
System. But there isn’t any built-in driver of AEC-6885M in OSX 10.2 and the previ-
ous versions, therefore in OSX 10.2. AEC-6885M only supports non-boot; that is,
you cannot boot from the hard drive connected to AEC-6885M in OSX 10.2. The full
support is possible when OSX 10.3 appears. As for OS 9, its structure is different
from that of OSX, so it can support boot despite that it appeared earlier than OSX
10.2. Perhaps you may wonder if AEC-6885M supports OSX 10.1. No, it doesn’t.
In this manual we are going to take OS 9 and OSX 10.3 as examples to explain
system installation and Utility operation.
3.1 Install OS into HDD with the Adapter
Here we will install OS 9 and OSX 10.3 into the hard drive(s) connected with AEC-
6885M, the adapter. After installation, you can boot from the original hard drive or
the newly arrayed drives.
3.1.1 Install OS 9 into HDD with the Adapter
1. Be sure that the hardware is installed correctly.
2. Insert the OS 9 source CD into CD/DVD-ROM.
3. Power on and press “C”key.
4. Wait for the appearance of OS 9.
5. Double click “Utilities”.

AEC-6885MS/6885M/6885MLP
14
6. Double click “Drive Setup”.
7. Choose the hard drive connected to AEC-6885M, then click “Initialize”. For de-
tailed information of “Drive Setup”, please refer to Mac OS manual.
8. Start to install OS 9 onto the hard drive(s) or array.
9. Then install RAID Utility (refer to 3.3) to monitor RAID volume and hard drives.

AEC-6885MS/6885M/6885MLP
15
3.1.2 Install OSX 10.3 into HDD with the Adapter
1. Be sure that the hardware is installed correctly.
2. Insert the OSX source CD into CD/DVD-ROM.
3. Power on and press “C”key.
4. Before installation,click “Installer”on the top selection row.
5. Click “Open Disk Utility”.
6. Choose the hard drive you want to initialize, and click “Partition”to decide the
number of partitions you need.

AEC-6885MS/6885M/6885MLP
16
8. Quit “Disk Utility”and start the OSX 10.3 installation.
9. Then install RAID Utility (refer to 3.3) to monitor RAID volume and hard drives.
3.1.3 Verify System Profiler
For Mac OS 9
After you initialize the hard drive successfully, a new “Untitled”hard drive icon will
appear on the Mac window. Of course you can give the hard drive a name.
7. After partitioning or erasing the volume, you can click “First Aid”to verify the disk
partition into which you are about to install OSX 10.3.

AEC-6885MS/6885M/6885MLP
17
1. Click Apple Logo and choose “Apple System Profiler”.
2. Under “Apple System Profiler”click “Devices and Volumes”to read the status of
devices. And choose “PCI”to find the SCSI card and hard drives.
You can find the information of AEC-6885M under the Apple Logo. Please follow
the instructions below to read the system information.

AEC-6885MS/6885M/6885MLP
18
For Mac OSX 10.3
Basically if you have installed the hard drive and AEC-6885M successfully, and
have partitioned or erased the hard drive, one or more hard drive icons will appear
on the desktop. You can use the built-in Disk Utility to verify or repair the hard drive
when it has something wrong.
You can find the information of AEC-6885M under the Apple Logo. Please click
“About This Mac”and then “More Info”.
Another way of finding the system information is described below.
1. Click “Finder”at the bottom of the Mac OS screen.

AEC-6885MS/6885M/6885MLP
19
2. Click “Applications”on the tool row.
3. Under “Applications”click “Utilities”.
4. Under “Utilities”click “Apple System Profiler”.
5. Under “Apple System Profiler”click “Devices and Volumes”to read the detailed
information of AEC-6885M and disk array.

AEC-6885MS/6885M/6885MLP
20
3.2 Install the Adapter in Current OS
We are going to install AEC-6885M in the current OS 9 and OSX 10.3.
3.2.1 In OS 9
1. Be sure that the hardware is installed correctly.
2. Decide the RAID mode you need and set it by DIP switch.
3. Power on.
4. Double click “Utilities”under OnBoard\Applications.
6. Click “Extensions”to see the version of AEC-6885M’s driver.
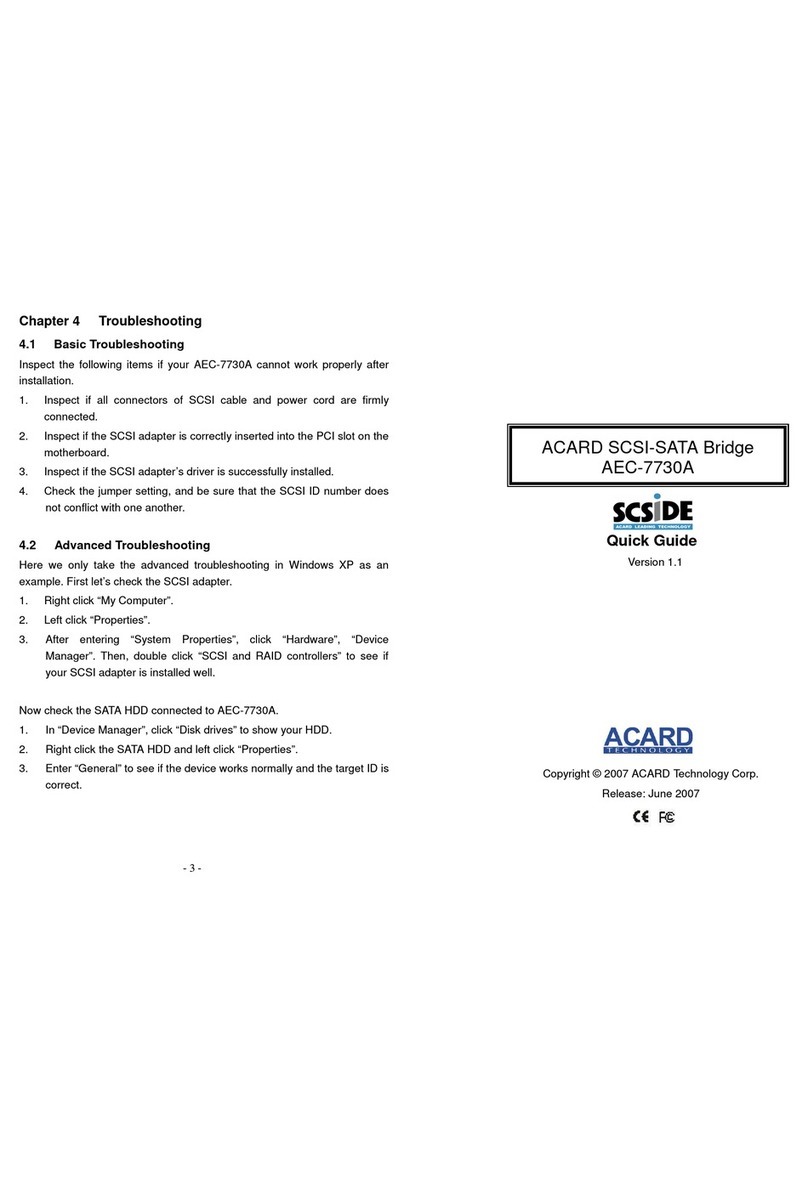
This manual suits for next models
2
Table of contents
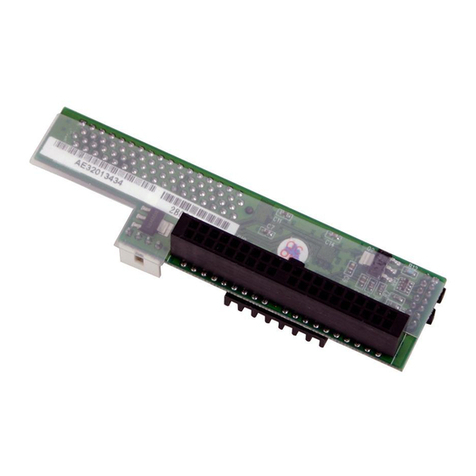
Other Acard Adapter manuals

Acard
Acard AEC-67162M User manual

Acard
Acard AEC-6293 User manual

Acard
Acard AEC-6290 User manual

Acard
Acard AEC-7722 User manual

Acard
Acard AEC-67160D User manual

Acard
Acard AEC-7730A User manual

Acard
Acard AEC-6710S User manual

Acard
Acard AEC-6712TU User manual

Acard
Acard Mirror Smart Ultra160 User manual

Acard
Acard AEC-67162 User manual