ACCU-CHECK AVIVA COMBO User manual

BLOOD GLUCOSE METER
Reference Manual


Whether the Accu-Chek Aviva Meter is your first blood glucose meter or you have used a
meter for some time; please take the time to read this booklet carefully before you use your
new meter. To use it correctly and dependably, you need to understand its operation, screen
displays, and all individual features.
Should you have any questions, please call the Accu-Chek Customer Careline on
0800 701000 (UK) or 1 800 709600 (Ireland).
1

2The Accu-Chek®Aviva System
Your new Accu-Chek Aviva Meter is for quantitative blood glucose testing using Accu-Chek
Aviva Test Strips.
The Accu-Chek Aviva Meter may be used by patients who test their own blood glucose as well
as by healthcare professionals for monitoring patients’ blood glucose values.
Suitable for self-testing.
The system includes:
• Accu-Chek Aviva Meter with battery
• Accu-Chek Aviva Test Strips and code chip
• Accu-Chek Aviva Control Solution
Any object coming into contact with human blood is a potential source of
infection (see: Clinical and Laboratory Standards Institute: Protection of
Laboratory Workers from Occupationally Acquired Infections; Approved
Guideline – Third Edition; CLSI document M29-A3, 2005).
Why Regular Blood Glucose Testing Is Important
Testing your blood glucose regularly can make a big difference in how you manage your
diabetes every day. Therefore, we have made it as simple as possible.
▲
!

Need Help?
If you have any questions, please call the Accu-Chek Customer Careline on 0800 701000 (UK)
or 1 800 709600 (Ireland).
Please remember to complete the warranty card and send it by post to Roche Diagnostics, so
you receive the best customer service possible and news on product updates.
3

4Important Information About Your New Meter
• Your new meter is designed for testing fresh capillary whole blood samples (for example,
blood from your fingertip or forearm). The meter is for outside the body (in vitro) use.
It should not be used to diagnose diabetes.
• Only use Accu-Chek Aviva Test Strips. Other test strips will give inaccurate results.
• The meter comes with a preset time and date. However, you may need to change the time
to your time zone.
• If you have followed the steps in the booklet, but still have symptoms that do not seem to
match your test results, or if you have questions, talk to your healthcare professional.
The Accu-Chek Multiclix Finger Pricker is intended for patient self-
monitoring by a single person only. It must not be used to collect blood
from more than one person as this poses an infection risk.
Any object coming into contact with human blood is a potential source of
infection (see: Clinical and Laboratory Standards Institute: Protection of
Laboratory Workers from Occupationally Acquired Infections; Approved
Guideline – Third Edition; CLSI document M29-A3, 2005).
▲
!
▲
!

Contents
Chapter 1: Understanding Your New System .......................................................8
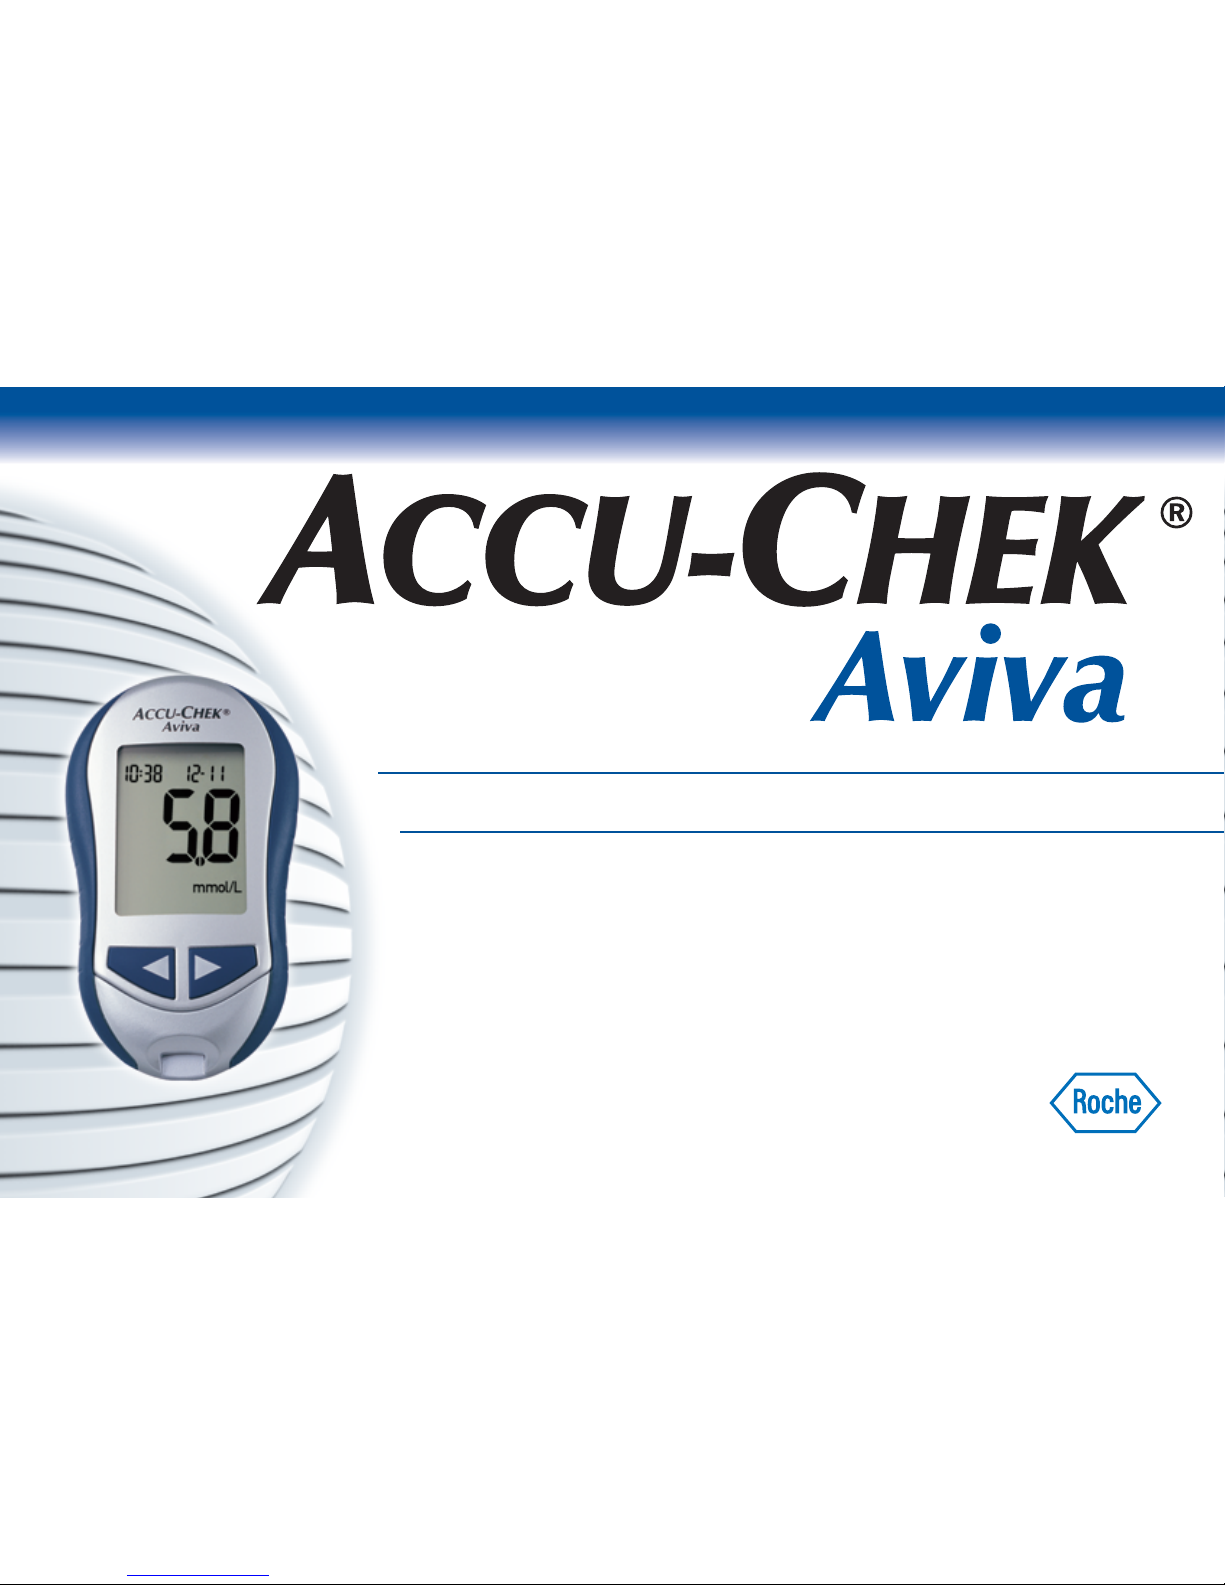
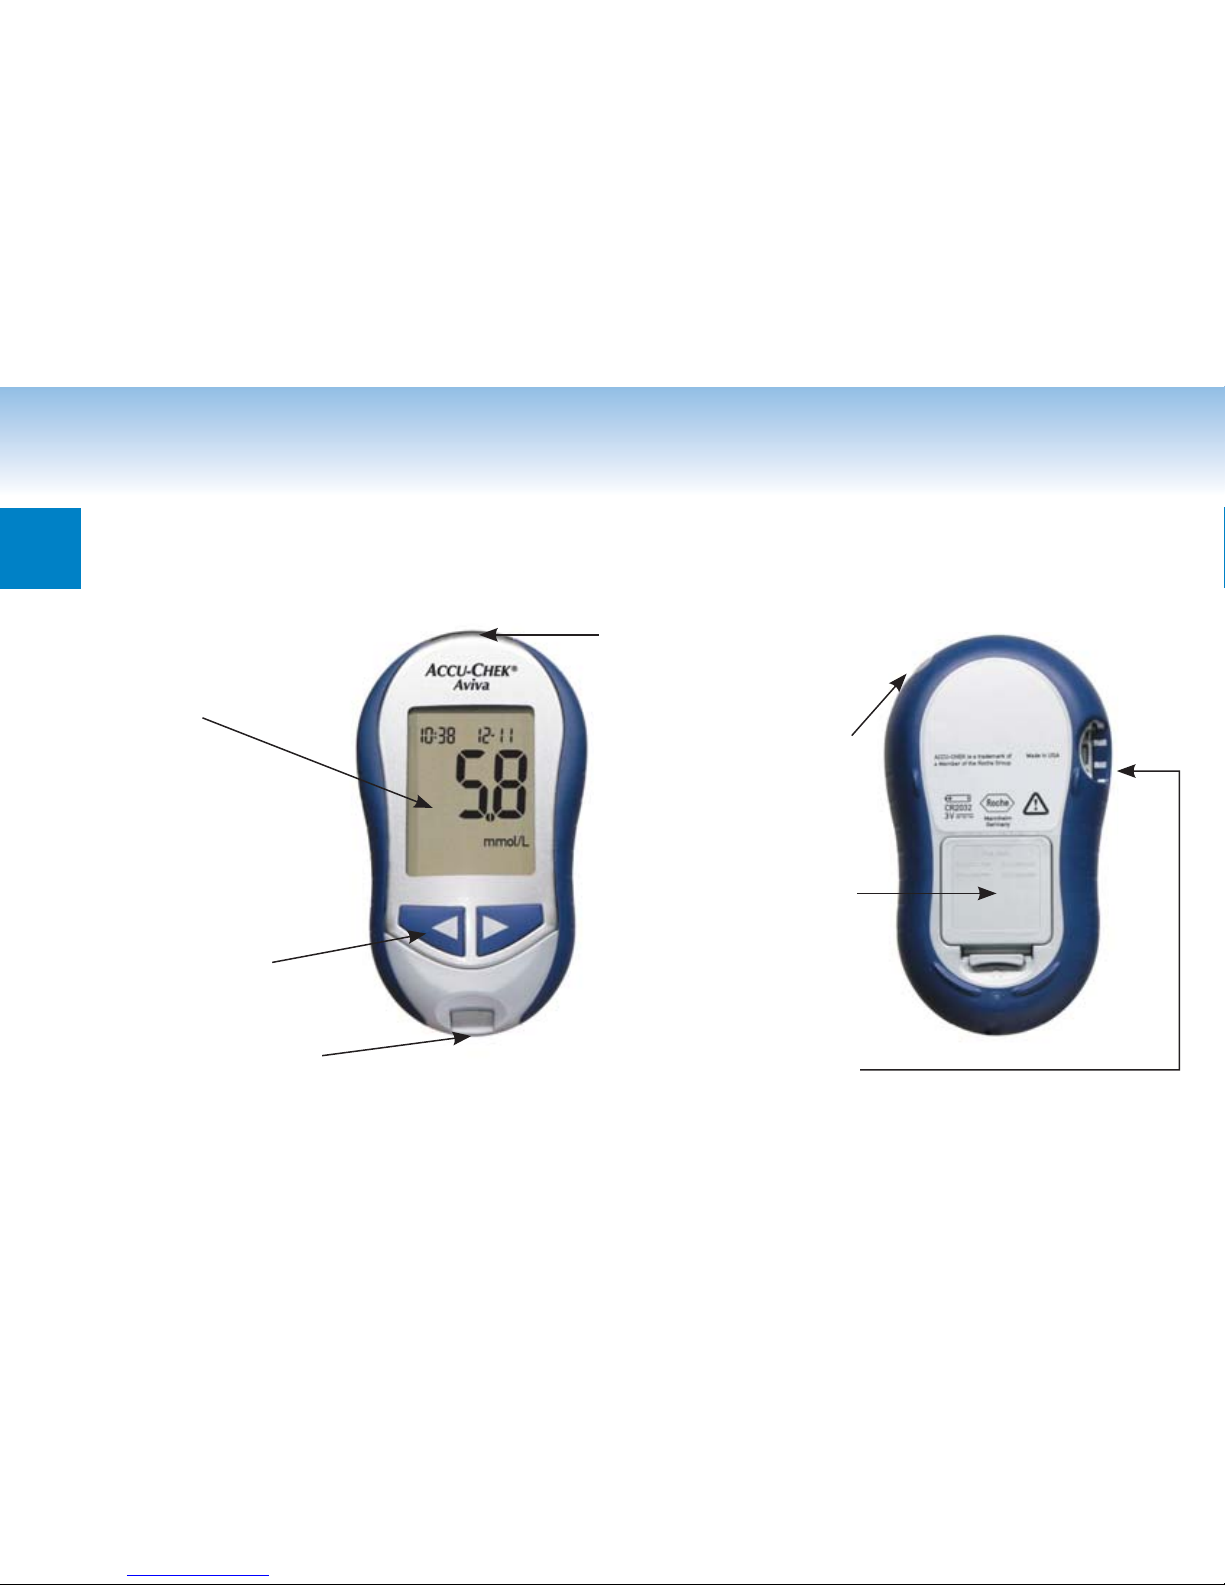
The Accu-Chek Aviva Meter ..............................................................................8
Coding the Meter ............................................................................................10
Adjusting the Time and Date – First Time Use.................................................12
Using the Accu-Chek Aviva System.................................................................14
Chapter 2: Testing Your Blood Glucose ..............................................................15
Performing a Blood Glucose Test ....................................................................15
Flagging Test Results......................................................................................20
Alternative Site Testing (AST) ..........................................................................21
Chapter 3: Meter Memory, Setup, and Downloading..........................................29
Memory ..........................................................................................................29
Meter Setup ....................................................................................................31
Setting the Time and Date...............................................................................32
Setting the Beeper On/Off ...............................................................................35
Setting the Alarm Clock Function ....................................................................38
Setting the Hypoglycemic (Hypo) Alarm Function.............................................42
Downloading Your Results to a Computer or PDA............................................45
5

Chapter 4: Control Testing ..................................................................................47
Why Perform Control Tests..............................................................................47
About the Control Solutions.............................................................................48
Performing a Control Test ...............................................................................49
Understanding Control Test Results.................................................................53
Chapter 5: Testing Blood Glucose in Multiple Patients ......................................56
Testing Blood Glucose.....................................................................................58
Disinfecting the Meter.....................................................................................62
What to Disinfect.............................................................................................62
How to Disinfect..............................................................................................62
When to Disinfect............................................................................................63
Suitable Disinfecting/Cleaning Solutions..........................................................63
Chapter 6: Maintenance and Troubleshooting ...................................................64
Changing the Battery.......................................................................................64
Cleaning the Meter..........................................................................................66
Maintenance and Troubleshooting...................................................................67
Screen Messages and Troubleshooting ...........................................................68
6

Chapter 7: Technical Information .......................................................................75
Product Limitations .........................................................................................75
Specifications..................................................................................................75
Product Safety Information..............................................................................77
Disposing of the Meter....................................................................................77
Warranty and Service Instructions...................................................................80
Additional Supplies..........................................................................................81
Information for Healthcare Professionals – Alternative Site Testing (AST)........82
Chapter 8: The Accu-Chek Multiclix Finger Pricker ...........................................83
Loading a Lancet Drum...................................................................................85
Taking a Fingertip Blood Sample.....................................................................88
Taking an Alternative Site Blood Sample.........................................................89
Getting a Good Drop of Blood..........................................................................92
Changing the Lancet Drum..............................................................................95
Caring for Your Finger Pricker .........................................................................96
Index...............................................................................................................97
7

Chapter 1: Understanding Your New System
The Accu-Chek Aviva Meter
Display –
Shows results,
messages, and
results stored in
memory.
Right and Left
Arrow Buttons –
Press to enter
memory, adjust
settings, and scroll
through results.
Test Strip Slot –
Insert test strip here.
Infrared (IR) Window –
Transfers data from the
meter to a computer
or PDA.
On/Off/Set Button –
Turns the meter on or
off and sets options.
Battery Door –
Flip open the battery
door by pushing the
tab in the direction of
the arrow.
Code Chip Slot –
Insert code chip into
this opening.
8

Code Chip
(for example)
Battery – Insert with
(+) symbol facing up.
Test Strip Container Control Solution
Bottle
Golden End –
Insert this end of
the test strip into
the meter.
Yellow Window –
Touch blood drop
or control solution
here.
Test Strip
Top View
On/Off/Set
Button
Infrared (IR)
Window
9

1. Make sure the meter
is off.
2. Turn the meter over. 3. Remove the old code
chip (if there is one in the
meter) and discard it.
Coding the Meter
▲
!Inserting the code chip sets the meter to match the test strips. This
“codes” the meter. Change the code chip every time you open a
new box of test strips.
10

4. Turn the code chip over so the code
number faces away from you. Push
it into the code chip slot until it
stops.
5. Leave the code chip in the meter
until you open a new box of test
strips.
Notes:
• Do not force the code chip into the meter – it is designed to go into the meter only one way.
• If you see a code “- - -” on the display, insert a code chip into the meter.
11

Adjusting the Time and Date – First Time Use
Setting the correct time and date in the meter is important if you use the meter memory or if
you want to download your results to a computer.
1. Press and release to
turn the meter on. The
time and date appear on
the display. “Set-up” and
the hour flash.
2. Press and release
or to decrease or
increase the hour. Press
and hold or
down to scroll faster.
3. Press and release to
set the hour. The minutes
flash.
decrease increase
|
|
|
|
|
|
|
|
|
|
|
|
|
|
|
|
|
|
|
|
|
|
|
|
12

4. Press and release
or to adjust the
minutes. Press to set
the minutes.
5. Repeat to set the day,
month, and year.
6. Once you set the year,
press and hold until
the flashing test strip
symbol appears. The time
and date are now set.
7. See Chapter 3 “Meter
Setup” to set other
options.
Note: When you install a new battery, the meter automatically prompts you to check the
time and date when you turn it on.
|
|
|
|
|
|
|
|
|
|
|
|
|
|
|
|
|
|
|
|
|
|
|
|
|
|
|
|
|
|
|
|
|
|
|
|
|
|
|
|
|
|
|
|
|
|
|
|
|
|
|
|
|
|
|
|
|
|
|
|
|
decrease increase
|
|
|
|
|
|
|
|
|
|
|
|
|
|
|
|
|
13

Using the Accu-Chek Aviva System
• Only use Accu-Chek Aviva Test Strips.
• Change the code chip every time you open
a new box of test strips.
• Store the unused test strips in their
original container.
• Close the container tightly immediately
after you take a test strip out. This helps
keep the test strips dry.
• Use the test strip immediately after you
take it out of the container.
• Be sure to check the expiry date on the
test strip container. Do not use the test
strips after that date.
• Store the test strip container and meter in
a cool dry place, such as a bedroom.
• Store the test strips at 2°C to 32°C. Do
not freeze.
• Do not apply blood or control solution to
the test strip before you insert it into the
meter.
▲
!Do not store test strips in high heat and moisture areas (e.g., bathroom or
kitchen)! Heat and moisture can damage the test strips.
14

Chapter 2: Testing Your Blood Glucose
Performing a Blood Glucose Test
Before you perform your first blood test, set up the meter correctly. You will need the meter,
a test strip, a finger pricker, and a lancet.
15
The Accu-Chek Multiclix Finger Pricker is intended for patient
self-monitoring by a single person only. It must not be used to collect
blood from more than one person as this poses an infection risk.
Any object coming into contact with human blood is a potential source of
infection (see: Clinical and Laboratory Standards Institute: Protection of
Laboratory Workers from Occupationally Acquired Infections; Approved
Guideline – Third Edition; CLSI document M29-A3, 2005).
▲
!
▲
!

Performing a Blood Glucose Test (continued)
1. Wash and dry your hands thoroughly.
2. Prepare the finger pricker according to the
manufacturer’s instructions.
3. Insert the test strip into the meter in the
direction of the arrows. The meter turns on
automatically.
4. Make sure the code number on the display
matches the code number on the test strip
container. If you miss the code number
on the display, remove the test strip and
reinsert it into the meter.
16

17
5. A test strip and flashing blood drop
symbol appear on the display.
6. Let your arm hang down at your side
briefly to allow blood to flow to your
fingertips.
7. Obtain a blood sample with the aid of
the finger pricker. Blood samples taken
from the palm are equivalent to blood
taken from the fingertip. For detailed
information on how to obtain blood from
the palm, refer to the Alternative Site
Testing (AST) section, steps 5 and 6.
|
|
|
|
|
|
|
|
|
|
|
|
|
|

Performing a Blood Glucose Test (continued)
8. With your hand facing downwards, gently
squeeze your finger to assist the flow of
blood. This helps you get a blood drop.
9. Touch the blood drop to the front edge of
the yellow window of the test strip. Do not
put blood on top of the test strip. When
you see flash, you have enough blood
in the test strip. If you applied blood but do
not see the flashing , you may reapply
more blood within five seconds.
|
|
|
|
|
|
|
|
|
|
|
|
|
|
18
Other manuals for AVIVA COMBO
3
Table of contents
Other ACCU-CHECK Medical Equipment manuals
Popular Medical Equipment manuals by other brands

TZ Medical
TZ Medical TRIDENT NANO PATIENT QUICK START GUIDE

AGFA
AGFA CR HD5 Series user manual

Sedanamedical
Sedanamedical AnaConDa Instructions for use

North-Vision Tech
North-Vision Tech Prince 180B user manual

Orliman
Orliman OCR200 INSTRUCTIONS FOR USE AND PRESERVATION

Datex-Ohmeda
Datex-Ohmeda S/5 Compact Anesthesia Monitor Technical reference manual