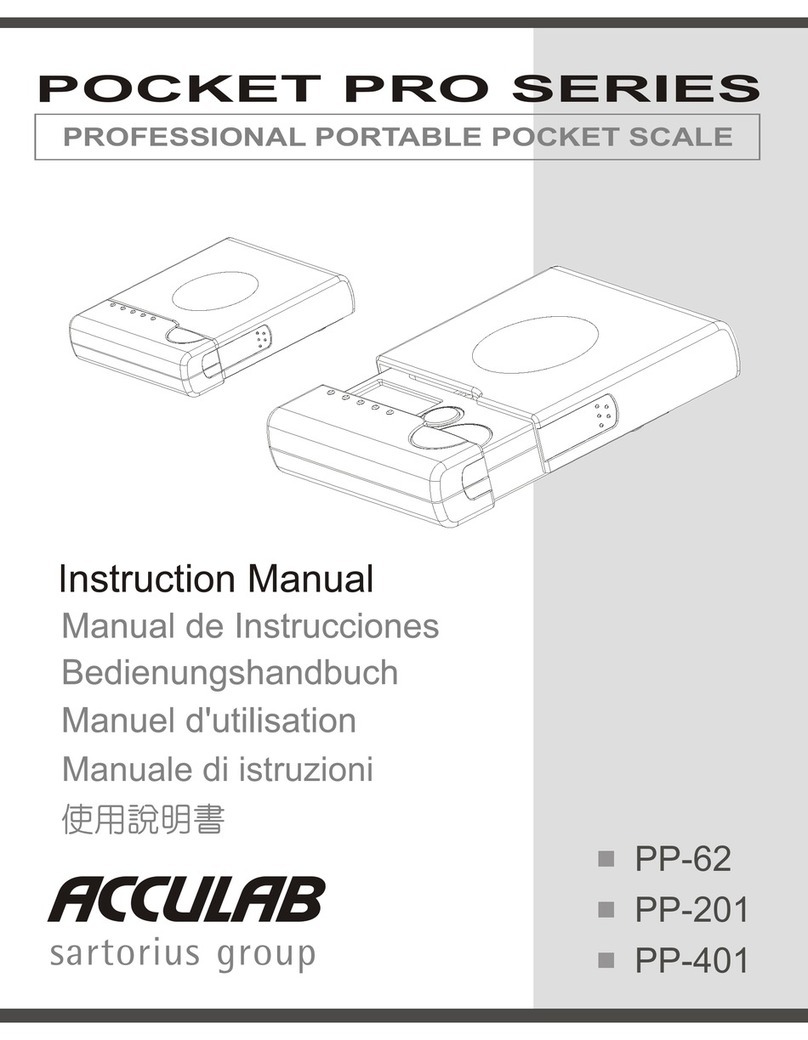
Acculab POCKET PRO PP-250B User manual

Model PP-250B
Instruction
Manual
P
L
E
A
S
E
R
E
A
D
C
O
M
P
L
E
T
E
I
N
S
T
R
U
C
T
I
O
N
S
B
E
F
O
R
E
U
S
E
K
E
Y
P
A
D
F
U
N
C
T
I
O
N
S
C
A
L
/
M
O
D
E
:
Press and hold this key to begin calibration proce-
dure as outlined under the CALIBRATION section. After unit is on or
calibrated, press and release the Cal/Mode key will change the weigh-
ing mode. When balance is turned on the unit initially defaults to the
gram (g) mode. The following modes may also be selected: ounces
(oz), penny weight (dwt), troy ounces (ozt).
O
N
/
M
E
M
O
R
Y
:
Press and release to turn on balance. Once the unit
is on, the same key operates the additive memory feature. The follow-
ing steps outline the procedure for cumulative weighing of samples.
1) If needed, place container on weighing pan, wait for stable reading,
then press and release "tare" to return balance to zero and permanent-
ly remove container weight from the additive procedure.
2) Add first sample until desired weight is achieved.
3) Press and release "memory" to reset unit to zero. The memory
symbol (up arrow) appears in the upper left corner, indicating the
previous weight value has been stored.
4) Add second sample until desired weight is achieved.
5) Press and release "memory" again. The (up arrow) symbol will
disappear and the display will show the combined weight of the first
and second samples. Repeat steps 3 through 5 for additional items.
NOTE: When the entire load is removed from the balance, the display
will show a negative value equal to the tared value of the container if
used. To reset the balance to zero, press and release the tare key.
T
A
R
E
:
Press and release tare to reset the balance to zero. Tare
can be used to eliminate the weight value of a container from a sample
or procedure. The container weight is permanently removed from the
remainder of the procedure.
NOTE: When all weight is removed from the weighing pan, the tared
value of a container will be displayed as a negative number. Press and
release tare again to return the balance to zero.
O
FF
:
Press and release to turn off balance. The off key is also used
to perform the calibration procedure as outlined under calibration.
Calibration Weight: OIML Class M2
Pocket ProR250B (1) 200g calibration weight
9V Alkaline Battery
Carry Pouch
R
R
M
o
d
e
l
s
Capacity (g) 250g
Readability 0.1 g/0.01 oz/0.1 dwt/0.01ozt
Repeatability (g) ±0.1
Weighing Modes g, oz, dwt, ozt
Tare Range To capacity by subtraction
Calibration External calibration from keypad
Stabilization Time (sec) 3
Maximum Overload 150% of capacity
Overload Indication "E" with audio tone
Underload Indication Negative value
Auto Off 4 minutes no activity
Optimum Operating Temperature 64˚û- 77˚ûF (18-25 C)
Optimum Operating Humidity Less than 80% RH
Display Type LCD/ with power up segment test
Audio Tone Start up, function keys, overload, low battery
Low Battery Indication "LO" w/10 beep signal
Power Requirements 9V alkaline battery only
Platform Size/Type 3" x 3.25" plastic (75 x 85mm)
Dimensions HxWxD 1" x 3" x 4.75" (25 x 75 x 120mm)
Net Weight (lb/kg) 1/0.5
Included Accessories (1) 200g calibration weight
9V alkaline battery & carry pouch
Optional Accessories None
Performance specifications measured within optimum temperature range after recom-
mended warm up and proper calibration. Specifications subject to change without notice.
S
p
e
c
i
f
i
c
a
t
i
o
n
s
P
h
o
n
e
:
800-656-4400
631-254-4299
F
ax
:
800-356-0338
631-253-5472
S
a
l
e
s
O
ff
i
ce
:
131 Heartland Blvd.
Edgewood, NY 11717
www.acculab.com
400287.1 Rev. B
ACCULAB
ACCULAB
Limited Warranty
Effective Date: January 1, 2003
Standard Terms and Conditions
Models: Pocket Pro series PP-250B
ACCULAB warrants the product PP-250B against defects in material and
workmanship to the original consumer for a peroid of twelve (12) months
or a maximum of fifteen (15) months from date of sale to authorized
ACCULAB distributor. The warranty includes parts, labor and return
shipping charges to customer (ground freight).
This specific warranty shall not apply to any product damaged due to accident,
misuse, abuse, lightning strike, power surges, improper packaging for shipment to
ACCULAB, or service/modification by anyone other than an authorized ACCULAB
Technician.
The purchaser's sole remedy, ACCULAB and its suppliers sole liability are set forth
herein. In no event shall ACCULAB or its suppliers be liable for any damages,
incidental or consequential, expenses, lost profits, lost savings, or any other claims
due to the use or inability to use the product/s. ACCULAB shall limit its obligations
under warranty to a time not to exceed the original product warranty period set
forth herein. This warranty gives you specific legal rights and you may have other
rights, which may be different from state to state.
In the event that service is required, the Customer/Distributor should call
ACCULAB (800-656-4400, extension 8342) for proper return authorization. The
product must be delivered to ACCULAB, Service Division 6542 Fig Street, Arvada,
CO., 80004 within the warranty period, freight charges prepaid. The customer is
responsible for product removal, installation and proper packing in order to
prevent damage while shipping to ACCULAB Service facility.
This limited warranty supersedes all other warranties pertaining to the ACCULAB
products, whether expressed or implied. Claims may be made by calling 800-656-
4400/631-254-4299, by fax 800-356-0338/631-253-5472, or in writing to:
Attn: Warranty Administrator
6542 Fig Street
Arvada, CO., 80004
(800-656-4400)
SUPPLIED ACCESSORIES:
PP-250B

Instruction Manual
Thank you for purchasing an Acculab Electronic Balance. With proper
care and treatment it will provide years of reliable service.
Please read all operating instructions carefully.
•Avoid lengthy exposure to extreme heat or cold. Your balance
works best when operated within the temperature limits listed in
the specifications. Allow the unit to acclimate to a stable tempera-
ture before calibration.
• Allow at least 2 minutes of warm up time before starting
calibration to give internal components sufficient time to stabilize.
• Keep your operating environment as clean as possible.
Electrostatic fields, gravitational fields, dust, dirt, moisture, vibra-
tion, air currents, and proximity to other electronic equipment can
all have an adverse effect on the reliability and accuracy of your
unit.
•Handle with care. Gently apply all items to be weighed onto the
center of weighing pan. Although designed to be quite durable,
avoid rough treatment as this may permanently damage the internal
sensor.
OPERATION
Battery Operation:
1) One nine (9) Volt ALKALINE BATTERY is required.
2) To install battery, open battery cover on bottom of balance and con-
nect battery to snap. Place battery into its compartment and replace the
cover. Always handle battery lead wires with care. DONOT USE EXCES-
SIVEFORCE!
3) Remove battery when scale is not used for extended periods.
CALIBRATION
IMPORTANT:The calibration procedure should be done periodically
depending on usage.
For best results, repeat this procedure at regular intervals if balance is to
be actively weighing for prolonged periods.
NOTE: User calibration is performed through use of the key pad controls
and proper calibration weight. Removal of port cover on the right side of
unit will void warranty.
Calibration Procedure:
1) Turn balance on and allow unit to warm up and stabilize for two
minutes.
2) Press and hold the “CAL” key until calibration weight value appears
and flashes on the display.
3) With the calibration weight value still flashing, press the “OFF” key,
and the display will read “AL 0”. After pausing for at least two seconds,
place the correct calibration weight gently on the center of weighing pan.
4) The display will momentarily show “ALF” and then return to active
weighing. The calibration is complete when the display correctly shows
the calibration weight, and the display has stabilized
5) Remove calibration weight and press the tare key to reset the zero
point.
NOTE: If “AL E” appears instead of “ALF”, this indicates a calibration
error has occurred and the calibration process should be repeated. “AL E”
can occur if the calibration steps are not followed in the correct order or if
an incorrect calibration weight was applied.
FEATURES
• Power Up Segment Test: When first turning on the unit, all seg-
ments of the display will appear as shown below. This display will
remain for approximately three seconds and then reset to zero.
• Stable Reading Indication: A right-facing arrow appears on the
right side of the display indicating the weighing mode in which the unit is
operating. This arrow will disappear during weighing while the unit stabi-
lizes, and then reappear when a stable value is reached.
• Audio Tone:Pressing any of the four keys on the front panel will
emit a tone indicating registry of the function.
• Overload: When an applied load exceeds the unit’s capacity, “E”
will appear on the display accompanied by intermittent beeps. Remove
excessive load immediately. The unit should return to normal operation.
• Negative Value: Any tared value or a value left in memory will be
displayed as a negative number once all weight is removed from the unit.
Press and release tare to return to normal operation.
• Tare:The tare feature is designed to allow the user to reset the bal-
ance to zero at any time. Tare can also be used to eliminate the value of
a pan liner, scoop, beaker, etc. from a sample or procedure, when the
weighed material needs to be held in a container and only the net weight
of the material is desired. Place the container only (without material) on
the weighing pan, wait for a stable reading and then press tare. The unit
returns to zero and the weight value of the container is permanently
removed from the remainder of the procedure.
NOTE:When all weight is removed from the weighing pan, the tared
value of the container will be displayed as a negative number. Press
and release the tare key again to return the balance to zero.
• Memory: The memory function is designed to allow the user to
store values and to then progressively add these values into a sample
or procedure. Unlike the tare feature, the unit returns to zero and a
memory indication appears at the upper left of the display. After a sub-
sequent weight is added, press memory again. The original value is
added to the current value giving the total gross weight of the current
sample. The memory feature is useful when multiple weighing of dif-
ferent samples is needed and a total gross weight of all samples is
required.
• Auto Off: An auto shut off feature is provided to conserve battery
power. The unit will automatically turn off after approximately four
minutes if no active weighing takes place. Auto shut off will occur with
or without a weight applied to the unit, however the unit will stay “on”
under active loading and unloading of weight values in excess of 0.1g.
Model PP-250B
®
▲
+
▼88.8.8.8
▲▲▲▲
Display
Tray Top
Factory Calibration Seal
Membrane
Keypad
9V Alkaline
Battery
Compartment
DO NOT REMOVE
Removal of this seal will void
warranty coverage. User
calibration performed
through keypad operation.
Refer to your instruction
manual.
Other Acculab Scale manuals

Acculab
Acculab PP-62 User manual

Acculab
Acculab VICON User manual

Acculab
Acculab ALC series User manual

Acculab
Acculab SVI-50C User manual

Acculab
Acculab SV-30 User manual

Acculab
Acculab 98648-013-61 User manual

Acculab
Acculab ECL6 User manual

Acculab
Acculab ATL-224 User manual

Acculab
Acculab GSI-200 User manual

Acculab
Acculab VI Series User manual