manuals.online logo
Brands
  1. Home
  2. •
  3. Brands
  4. •
  5. ACEBIKES
  6. •
  7. Motorcycle Accessories
  8. •
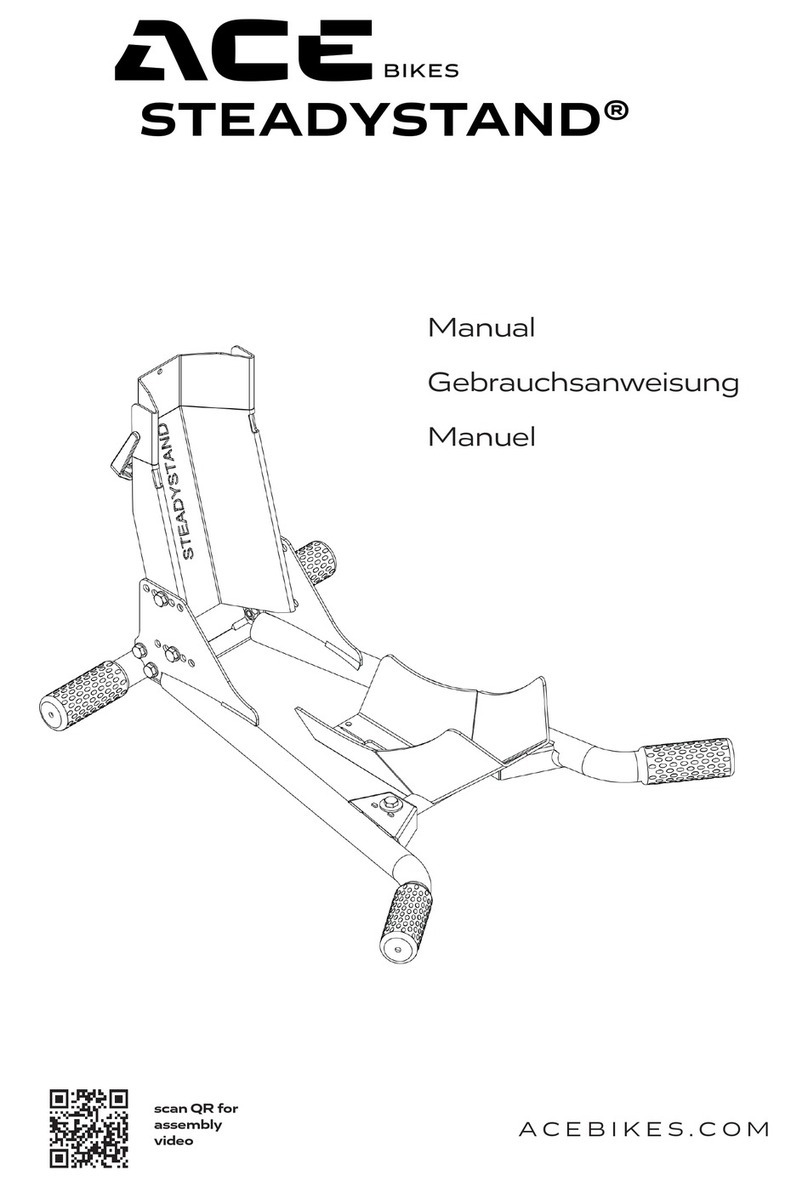
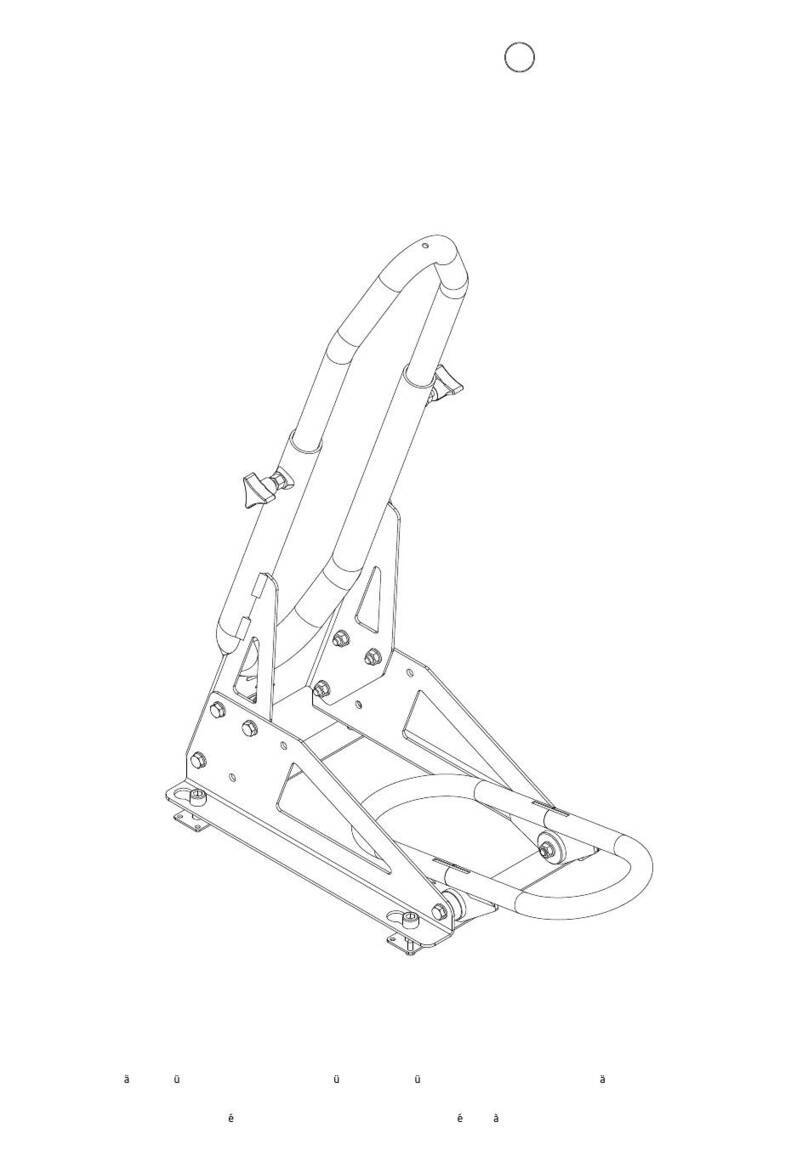
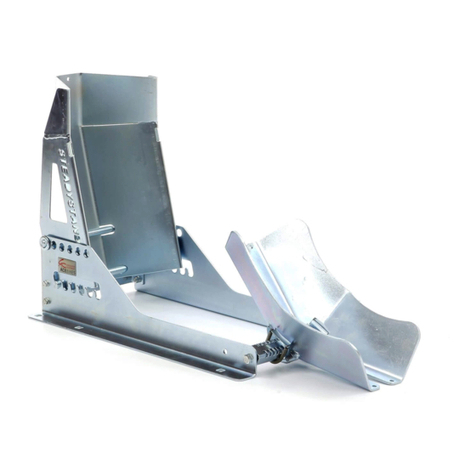
  9. ACEBIKES SteadyStand Cross User manual

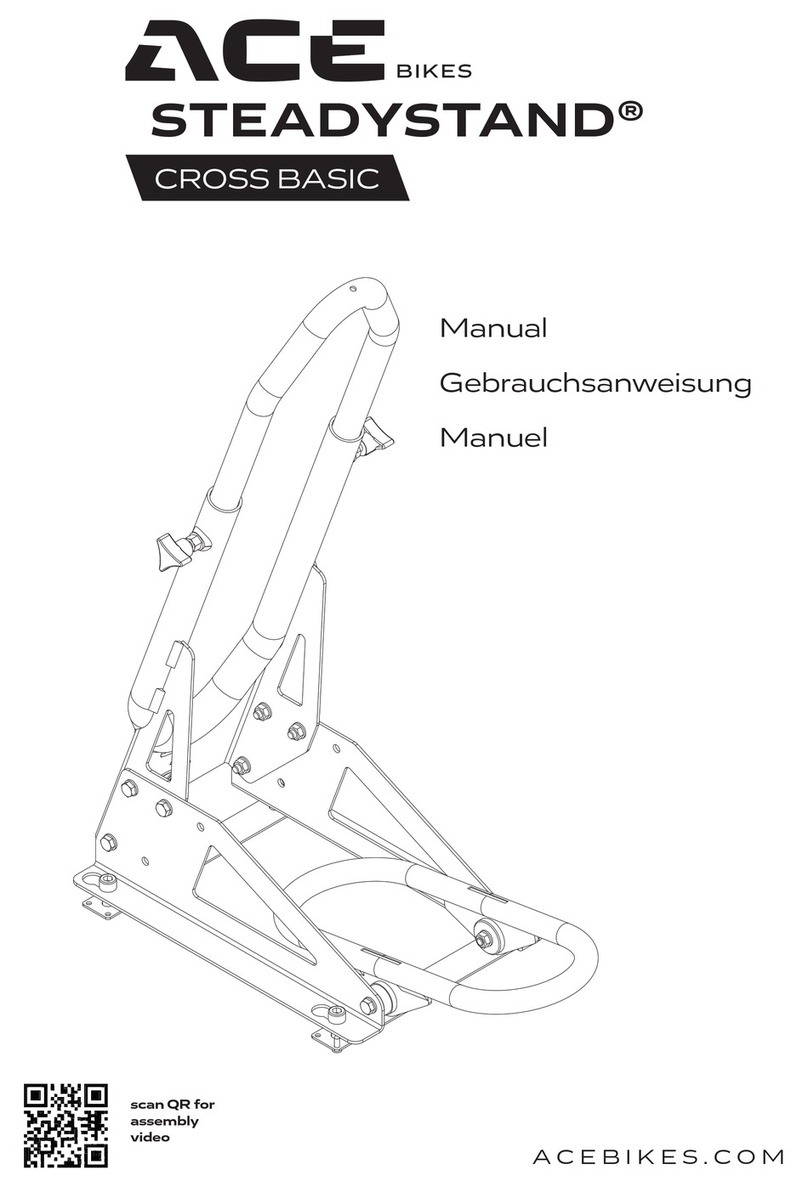
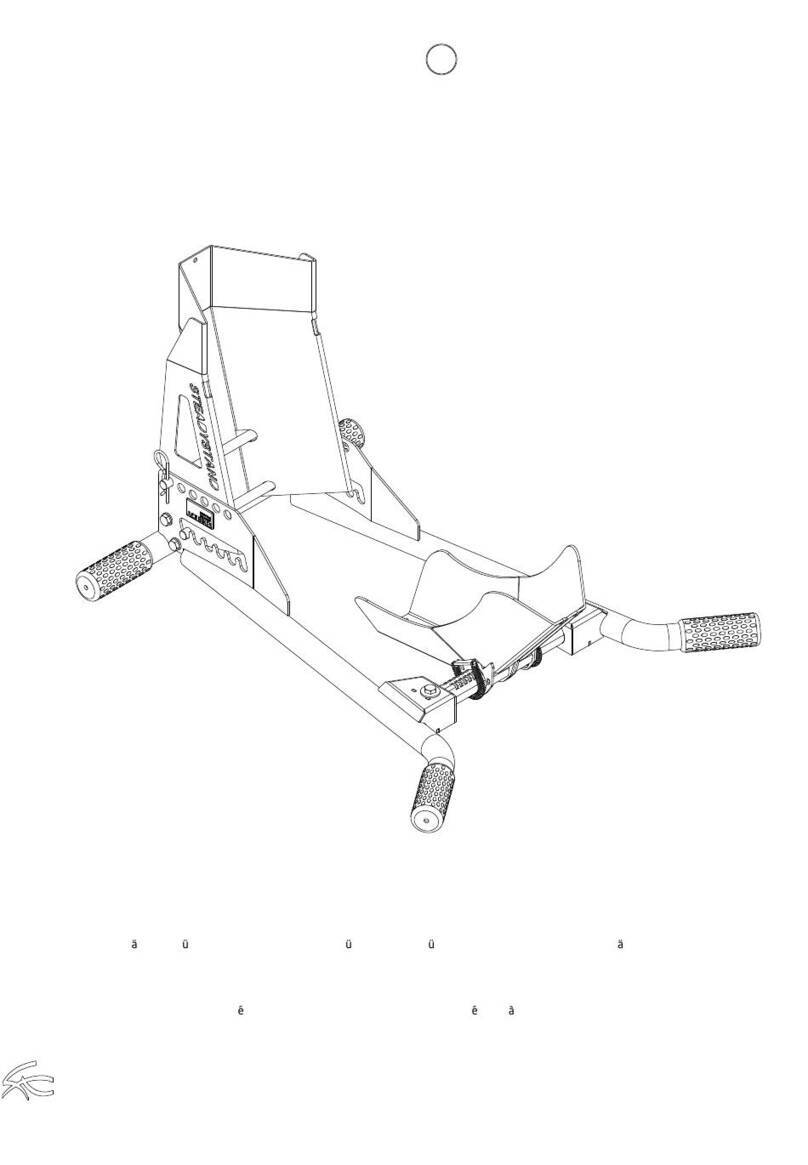
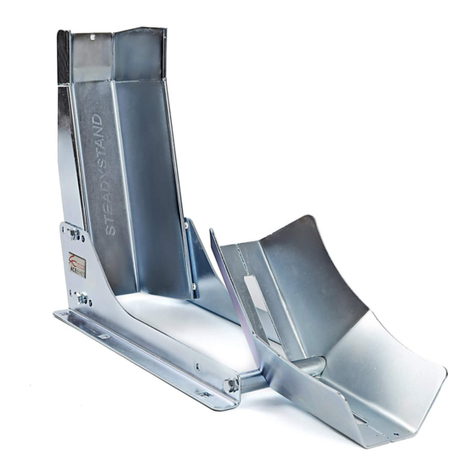
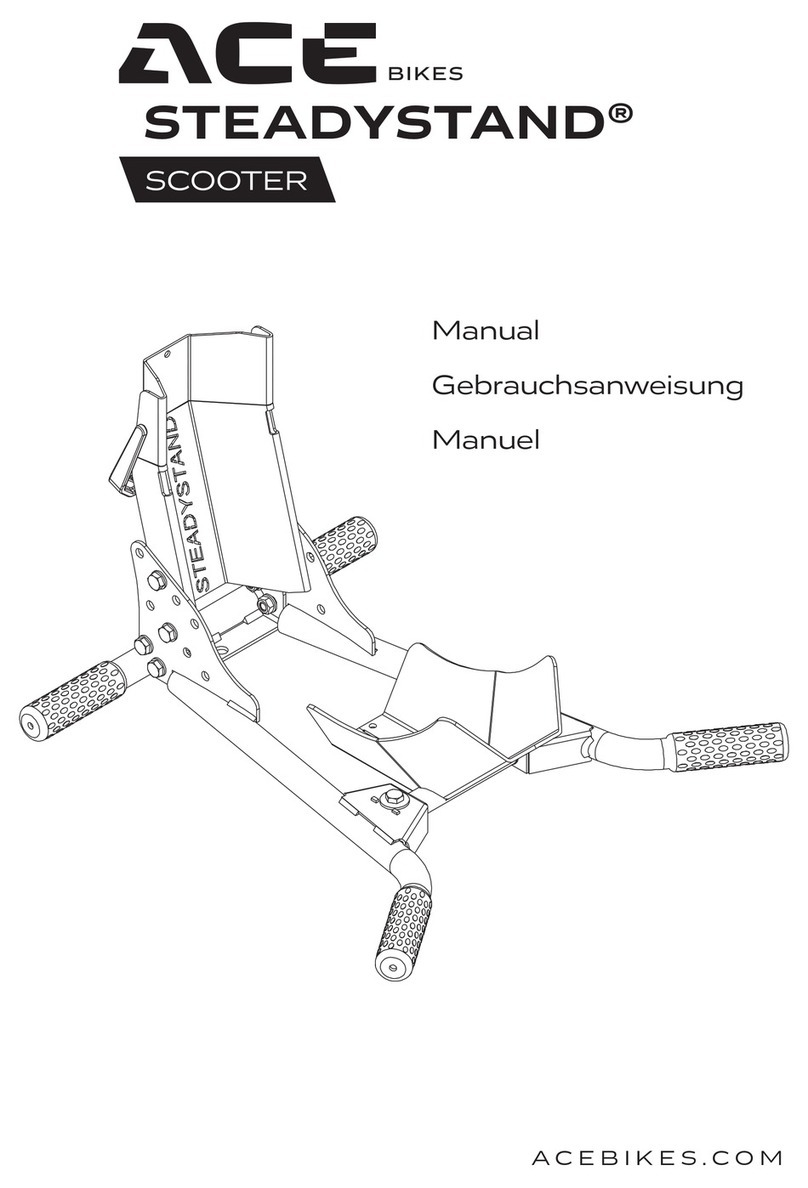
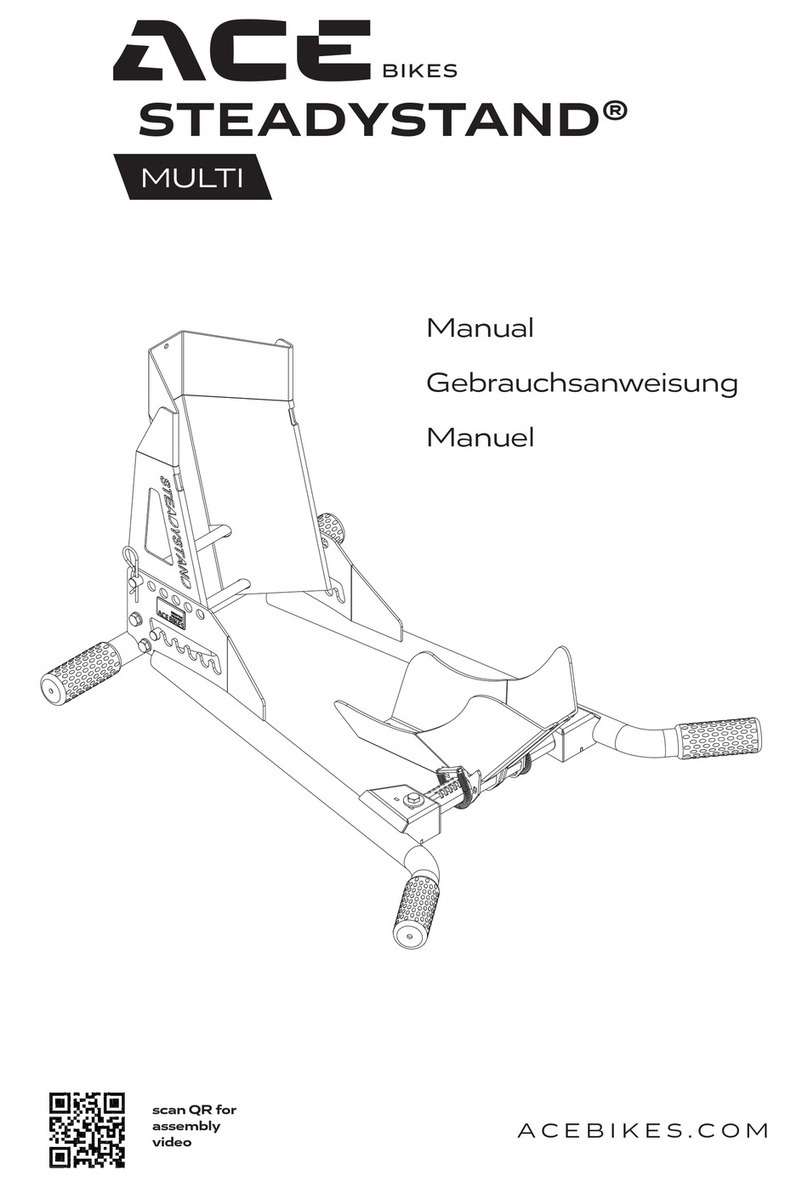
ACEBIKES SteadyStand Cross User manual

Manual
Gebrauchsanweisung
Manuel
ACEBIKES.COM
scan QR for
assembly
video
CROSS
STEADYSTAND®
Article
information
Model nr:
190 / 1027
Model description:
SteadyStand® Cross
Color:
Zinc
Accessories:
Mounting Hardware
Technical
information
Material:
Steel
Material processing:
Galvanized
Net weight:
10 kg
Product size (LxWxH):
60 × 37 × 75 cm Designed in the
Netherlands
Allgemeine Hinweise
Bitte, lesen Sie vor Montage und ersten
Gebrauch die Montageanleitung
aufmerksam durch. Bitte, haben Sie
Verständnis dafür, dass AceBikes keine
Haftung für Folgeschaden übernimmt,
die durch eine unsachgemäße
beziehungsweise mangelhafte Montage
entstehen.
Warnung: Es ist unter Umständen nicht
vermeidbar, dass der Reifen leicht im
Ständer “klebt”. Wir empfehlen, den Reifen
ggf. vor dem Herausfahren durch leichte
Seitwärtsbewegungen zu lösen.
General advice
Please have a careful look at this assembly
instruction before assembling and applying
the product. Please understand, that
Acebikes cannot be held responsible for
any consequential loss or damage due to an
improper assembly or use of the product.
Warning: Under certain circumstances it is
unavoidable, that the tire adheres slightly
to the paddock stand. We recommend
loosening the tire by slight sidewards
movements before pulling out the
motorcycle.
Informations générales
Avant le montage et l’utilisation du produit,
veuillez regarder soigneusement ce
manuel d’installation. Veuillez comprendre
que AceBikes ne peut être tenu pour
responsable des dommages consécutifs à
un montage ou une utilisation incorrecte.
Avertissement: Dans certains cas il est
inévitable que le pneu adhère égèrement
à la béquille. Nous recommandons de
décoller le pneu par mouvements légers sur
le côté avant de sortir de la béquille.
Was ist in der Box
x 1 x 1 x 1 x 1
Bag 1
18-21 inch 90-120 mm
What’s in the box
Qu’y a-t-il dans la boite
x 1 x 1
Bag 2
x 1
x 1
x 1
x 1
x 1
x 6
x 12
x 12
x 6
x 2
x 2
1.
x 3
x 3
x 6
x 6
x 3
x 3
2.
3.
21”
18” - 19”
4.
5.
6.
Pedal links
Überspringen Sie diesen Schritt für
das Pedal auf der rechten Seit
Pedal rechts
Gehen Sie für das Pedal auf der
linken Seite zum vorherigen Schritt
x 2
Pedal on the left
For pedal on the right side, skip
this step
Pédale à gauche
Pour la pédale du côté droit,
sautez cette étape
Pedal on the right
For pedal on the left side, go to
previous step
Pédale à droite
Pour la pédale du côté gauche,
passez à l’étape précédente
Einstellung
Adjustment
Ajustement
1.
3.
2.
4.
50cm
Montageanleitung
Mounting instructions
Instructions de montage
1. Stellen Sie das SteadyStand Cross auf den Montageboden
2. Markieren Sie die Löcher für Position A oder B (wählen Sie eines aus) und markieren Sie
die Löcher für Position C
3. Bohren Sie die 4 × 18 mm Löcher in den Boden
4. Montieren Sie die Mutternplatten und stellen Sie sicher, dass sich die 4 Schrauben in der
Mitte des 18-mm-Lochs befinden
5. Befestigen Sie die Mutternplatten mit den mitgelieferten Sperrholzschrauben ausTüte 2
HINWEIS: Die maximale Bodenstärke beträgt 15 mm für das
mitgelieferte Montagematerial. Verwenden Sie bei einem dickeren
Boden längere Schrauben der Qualität 8,8 (nicht im Lieferumfang
enthalten).
1. Place the SteadyStand Cross on the mounting floor
2. Mark the holes for position A or B (choose one), and mark the holes for position C
3. Drill the 4 × 18 mm holes into the floor
4. Mount the nut plates and make sure the 4 bolts are in the centerof the 18mm hole
5. Fix the nut plates with the supplied plywood screws from bag 2
NOTE: The maximum floor thickness is 15mm for the supplied
mounting hardware. In case of a thickerfloor, use longer 8.8 quality
bolts (not included).
1. Placez la croix SteadyStand sur le sol de montage
2. Marquez les trous pour la position A ou B (choisissez-en un) et marquez les trous pour la
position C
3. Percez les 4 trous de 18 mm dans le sol
4. Montez les plaques d’écrou et assurez-vous que les 4 boulons sont au centre du trou de 18 mm
5. Fixez les plaques d’écrou avec les vis à contreplaqué fournies dans le sac 2
REMARQUE: L’épaisseur maximale du sol est de 15 mm pour le matériel
de montage fourni. Dans le cas d’un sol plus épais, utilisez des boulons
plus longs de qualité 8.8 (non inclus).
219
470
18
370
A B C
A B C
Plywoodscrews(12x)
Din 912 M10x30 8.8
Montiert Unmontiert
Mounted Unmounted
Monté Non monté
Exklusiv-Vertrieb: Acebikes - Handelstraat 19 - 7772 TS Hardenberg - The Netherlands
Tel.: +31 (0)523 745 060 | info@acebikes.com | www.acebikes.com
Hergestellt in China | Made in China | Fabriqué en China | Geproduceerd in China
Stückliste
Part list
Liste des pièces
Item Qty Description
14 2Shaft roller
15 1 Bolt M8×30
16 4 Slit pin 2.5×16
17 2Nut plate
18 1 Sideframe L
19 1 Pedal
20 1Fixation Plate
21 1 Din912 M8×16
22 1 Tube 20×20
23 1Shaft Pedal
24 2Tube Cap 20×20
25 4 Din912 M10×30
26 2Star Knob
27 12 Plywood Screw
Item Qty Description
11Front tube 1
2 2 Roller
3 1 Shaft 15
4 1 Axle end
5 7 Hex Nut M8
6 18 Washer 8
7 10 Bolt M8×10
8 2 Bearing 1517/20
9 1 Clamping tube rear
10 1 Front tube 2
11 1Shaft roller
12 1 Sideframe R
13 2Bearing 20
26
22
19
9
25
20
17
11
6
4
24 13
7
7
21
23 5
7
2
14
16
8
1
12
3
15 7
10
5
27
18

This manual suits for next models

1

Other ACEBIKES Motorcycle Accessories manuals

ACEBIKES SteadyStand Cross Basic User manual

ACEBIKES

ACEBIKES SteadyStand Cross Basic User manual

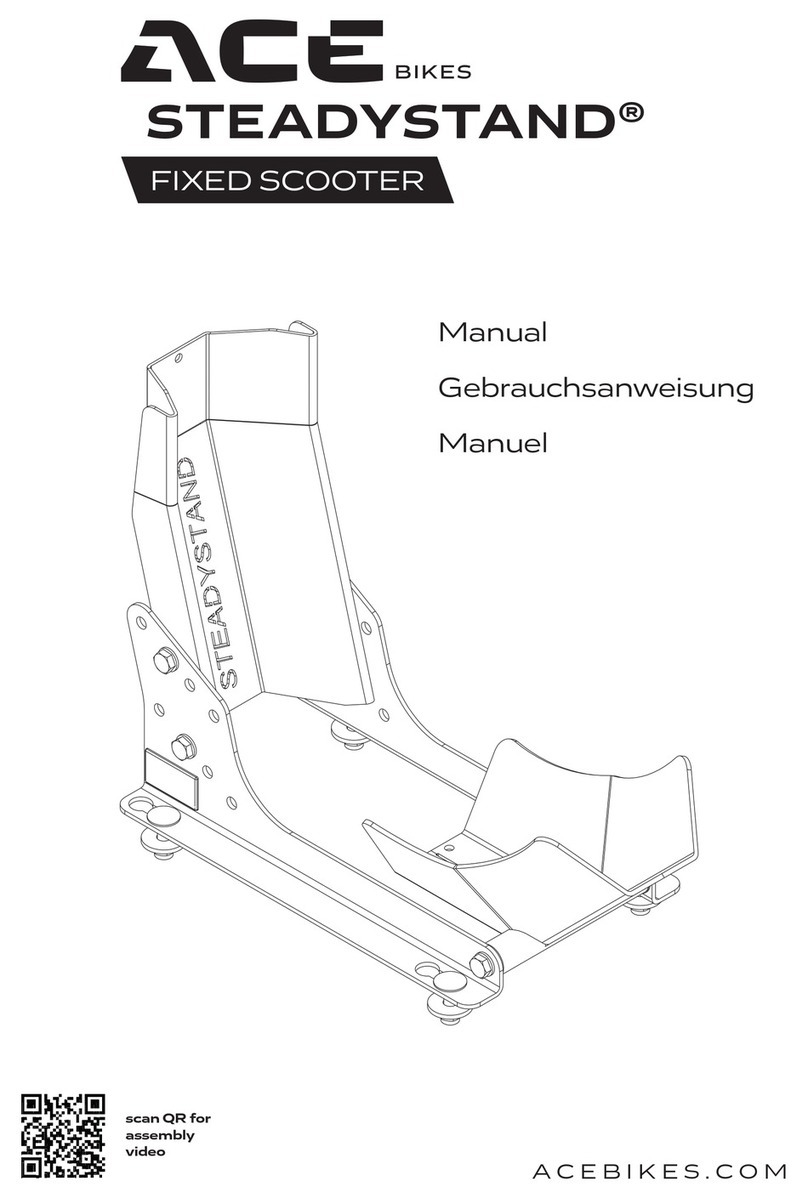
ACEBIKES SteadyStand Scooter User manual

ACEBIKES

ACEBIKES SteadyStand Scooter User manual

ACEBIKES STEADYSTAND Cross Basic User manual

ACEBIKES

ACEBIKES STEADYSTAND Cross Basic User manual

ACEBIKES SteadyStand Fixed User manual

ACEBIKES

ACEBIKES SteadyStand Fixed User manual

ACEBIKES SteadyStand Multi User manual

ACEBIKES

ACEBIKES SteadyStand Multi User manual

ACEBIKES SteadyStand Multi User manual

ACEBIKES

ACEBIKES SteadyStand Multi User manual

ACEBIKES SteadyStand Fixed Scooter User manual

ACEBIKES

ACEBIKES SteadyStand Fixed Scooter User manual

ACEBIKES SteadyStand Fixed User manual

ACEBIKES

ACEBIKES SteadyStand Fixed User manual

ACEBIKES SteadyStand Multifixed User manual

ACEBIKES

ACEBIKES SteadyStand Multifixed User manual

ACEBIKES SteadyStand User manual

ACEBIKES

ACEBIKES SteadyStand User manual

ACEBIKES CapStrap User manual

ACEBIKES

ACEBIKES CapStrap User manual

Popular Motorcycle Accessories manuals by other brands

Sicor EDL-01 instruction manual

Sicor

Sicor EDL-01 instruction manual

Ohlins FGRT 219 Mounting instructions

Ohlins

Ohlins FGRT 219 Mounting instructions

Low Range Off-Road SER-THC installation instructions

Low Range Off-Road

Low Range Off-Road SER-THC installation instructions

LSL 377-610SW manual

LSL

LSL 377-610SW manual

hepco & becker Easyrack 6619529 01 01 quick start guide

hepco & becker

hepco & becker Easyrack 6619529 01 01 quick start guide

Ruckus Wireless PWJDM installation guide

Ruckus Wireless

Ruckus Wireless PWJDM installation guide

R&G PKS0115 Fitting instructions

R&G

R&G PKS0115 Fitting instructions

SRC H-AFT17-04-01-AL quick start guide

SRC

SRC H-AFT17-04-01-AL quick start guide

Kuryakyn 5455 installation instructions

Kuryakyn

Kuryakyn 5455 installation instructions

Isotta SP8106 quick start guide

Isotta

Isotta SP8106 quick start guide

Heatex Heat Experience Heated Insoles user manual

Heatex

Heatex Heat Experience Heated Insoles user manual

LSK FuelGaugePro2 user manual

LSK

LSK FuelGaugePro2 user manual

GÜDE GFH PRO Translation of original operating instructions

GÜDE

GÜDE GFH PRO Translation of original operating instructions

DYNATEK DDK2-14 Installation and user guide

DYNATEK

DYNATEK DDK2-14 Installation and user guide

Petzl ECRIN ROC A01 Product information

Petzl

Petzl ECRIN ROC A01 Product information

Lab-T R1M user manual

Lab-T

Lab-T R1M user manual

R&G YTI0013BK Fitting instructions

R&G

R&G YTI0013BK Fitting instructions

hepco & becker 501950 00 01 quick start guide

hepco & becker

hepco & becker 501950 00 01 quick start guide

manuals.online logo
manuals.online logoBrands
  • About & Mission
  • Contact us
  • Privacy Policy
  • Terms and Conditions

Copyright 2025 Manuals.Online. All Rights Reserved.