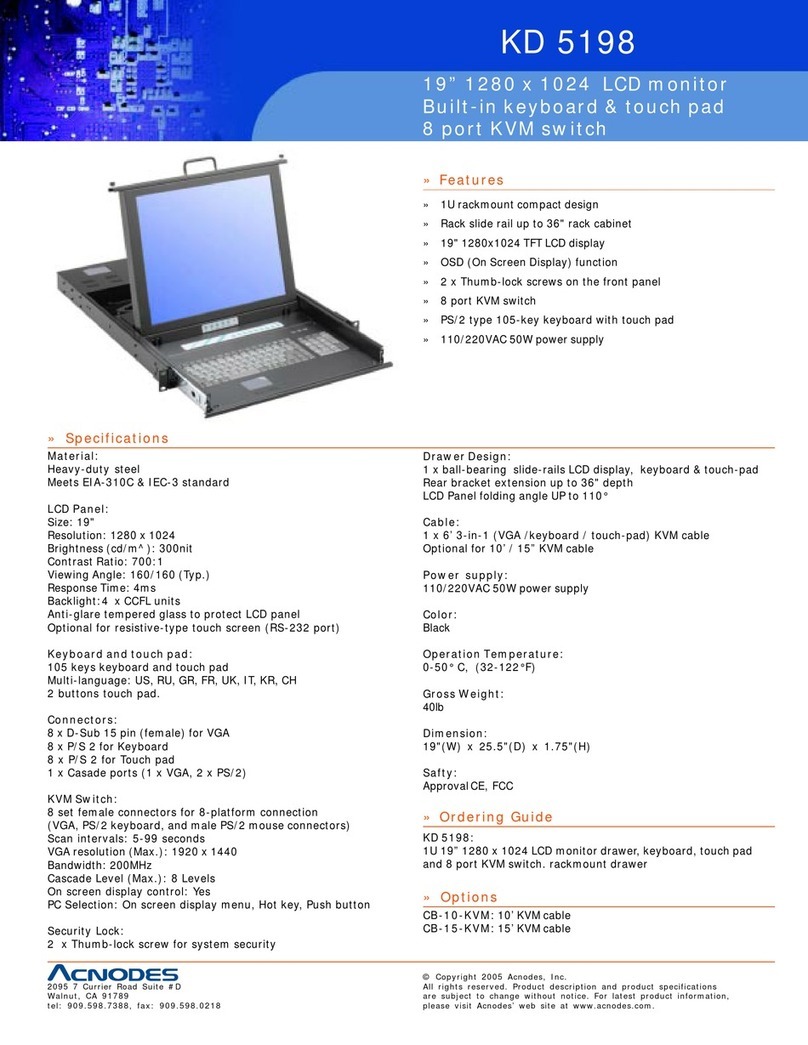
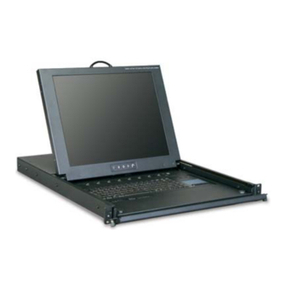
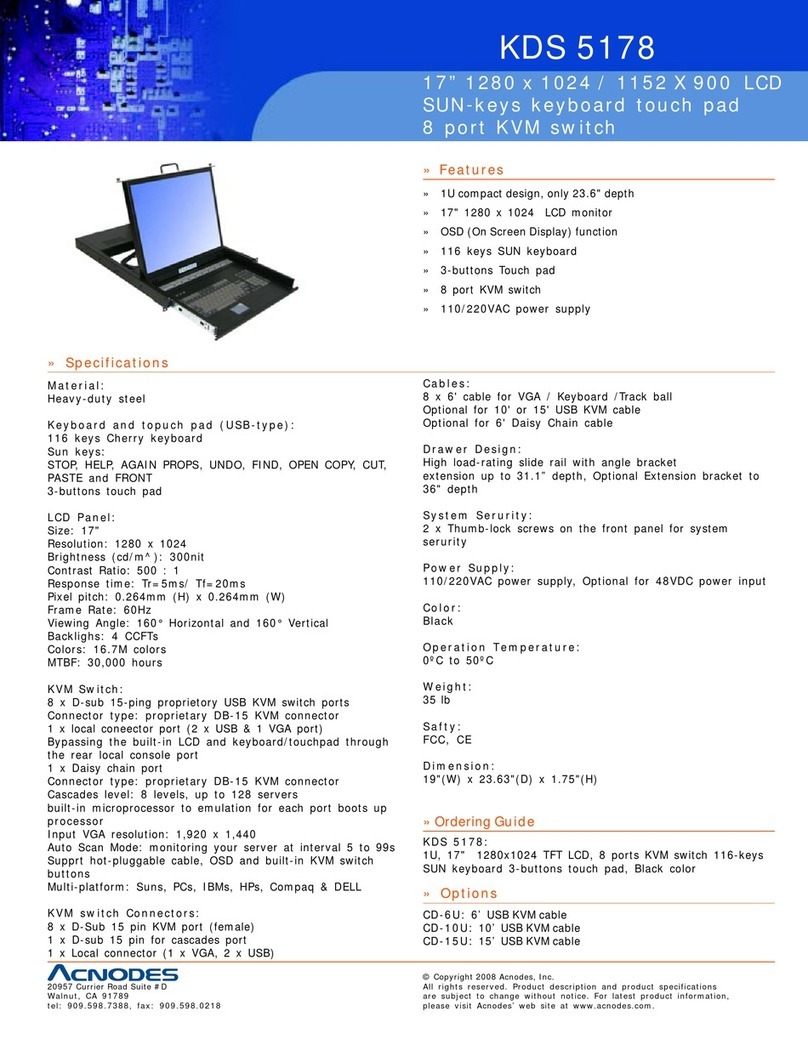
Acnodes KDC 81732 User manual

KDC 81732
1U 17”, Rack Mount Monitor Keyboard Drawer
32 port Cat-5 KVM Switch
User’s Manual
Rev 1.0

KDC 81732 User manual
Acnodes Corporation, www.acnodes.com, info@acnodes.com 2
Packing List
The complete KDC 81732 package consist of:
Rack mount 17” LCD monitor keyboard drawer x 1
32-port Cat-5 KVM switch x 1
User manual x 1
AC Power cord x 1
Check to make sure that the unit was not damaged in shipping. If you encounter a problem, contact
your dealer.
Please read this manual thoroughly, and follow the installation and operation procedures carefully to
prevent any damage to the product, and/or any of the devices that connect to it.

KDC 81732 User manual
Acnodes Corporation, www.acnodes.com, info@acnodes.com 3
Safety Instructions
1. Please read these safety instructions carefully.
2. Please keep this User’s Manual for later reference.
3. Please disconnect this equipment from AC outlet before cleaning. Don’t use liquid or sprayed
detergent for cleaning. Use moisture sheet or clothe for cleaning.
4. For pluggable equipment, the socked-outlet shall be installed near the equipment and shall be
easily accessible.
5. Please keep this equipment from humidity.
6. Lay this equipment on a reliable surface when install. A drop or fall could cause injury.
7. Do not leave this equipment in an environment unconditioned, storage temperature above 600C,
it may damage the equipment.
8. The opening on the enclosure is for air convection hence the equipment from overheating. DO
NOT COVER THE OPENING.
9. Make sure the voltage of the power source connect the equipment to the power outlet.
10. Please keep the power cord such a way that people can not step on it. Do not place anything over
power cord. The power cord must rate for the voltage and current marked on the product’s electrical
ratings label. The voltage and current rating of the cord should be greater than the voltage and the
current rating marked on the product.
11. All cautions and warning on the equipment should be noted.
12. If the equipment is not in use for long time, disconnect the equipment from mains to avoid being
damaged by transient over-voltage.
13. Never pour any liquid into ventilation openings; this could cause fire or electrical shock.
14. Never open the equipment. For safety reason, qualified service personnel should only open the
equipment.
15. If one of the following situations arises, get the equipment checked by service personnel.
The Power Cord or plug is damaged.
Liquid has penetrated into the equipment.
The equipment has been exposed to moisture.
The equipment has not worked well or you can not get it work according to User’s Manual.
The equipment has dropped and damaged.
If the equipment has obvious signs or breakage.

KDC 81732 User manual
Acnodes Corporation, www.acnodes.com, info@acnodes.com 4
Index of Contents
Packing List ...............................................................................................................2
Safety Instructions.....................................................................................................3
Index of Contents ......................................................................................................4
1. General Information............................................................................................5
1.1 Overview..................................................................................................5
1.2 Product Specification ...............................................................................6
2. Rack Mount Installation.......................................................................................7
3. OSD Menu..........................................................................................................9
3.1 OSD Menu Membrane Switch ................................................................9
3.2 On Screen Display Menu.......................................................................10
4. KVM Switch Connection ...................................................................................12
4.1 OSD Menu Membrane Switch ..............................................................12
4.2 On Screen Display Menu.......................................................................12
4.3 Cascade Connection Diagram...............................................................12
5. KVM Switch.......................................................................................................13
5.1 Membrane Switch Layout.......................................................................13
5.2 Password Setup.....................................................................................13
5.3 KVM OSD Menu.....................................................................................15
5.4 Hot Key ..................................................................................................16
5.5 Cat-5 KVM Cable (option)......................................................................17
6. DC Input power Supply (option)........................................................................18
7. Trouble shooting .............................................................................................19

KDC 81732 User manual
Acnodes Corporation, www.acnodes.com, info@acnodes.com 5
1. General Information
1.1 Overview
The KDC 81732 is a 1U rack mount LCD monitor with 17” 1280 x 1024 800-nit TFT LCD monitor,
104-key keyboard, 3-buttons touch pad and 16-port Cat-5 KVM switch. This LCD KVM console
provides 32-port Cat-5 KVM ports to connect 16 individual workstations through a standard Ethernet
Cat-5 cable (up to 132 feet). The workstation was connected with a dongle (PS/2 or USB) to Cat-5
cable. The Cat-5 KVM switch comes with membrane switch and OSD menu to switch each
workstation.
1. Carry handle to release the 2 position lock
2. 2-point lock
3. 17” 1280 x 1024 LCD monitor
4. OSD membrane switch
5. Adjustable rear mounting L-bracket
6. Micro switch for screen auto power off
7. Membrane Cat-5 KVM switch
8. 104-key keyboard with key-pad
9. 3-buttons Touch Pad

KDC 81732 User manual
Acnodes Corporation, www.acnodes.com, info@acnodes.com 6
1.2 Product Specification
Model name KD 81732
Dimension 442 x 650 x 44mm / 17.4” x 25.6" x 1.73 inches
Net Weight 17 Kg / 37 lbs
LCD
Display Size 19 inches
Panel Type Active Matrix TFT LCD
Resolution Maximum Resolution up to 1280 x 1024
Viewing Angle Right-Left view 160°(Typ), Up-Down View 160°(Typ)
Contrast Ratio 700:1
Brightness White 300 cd/m² (Center 1 point Typ)
Response Time (ms) 2 ms
Supported Colors 16.2M Colors (6-bit with FRC)
Display Area (mm) 337 x 270
VGA Signal Input Analog RGB, 0.7Vp-p
Sync. Type Separate H/V, Composite, SOG
Resolution 640 x 350, 70 Hz, 720 x 400, 70 Hz
640 x 480, 60/ 72/ 75 Hz
800 x 600, 60/ 70/ 72/ 75 Hz
1024 x 768, 60/ 70/ 72/ 75 Hz
1152 x 864, 60/ 70/ 75 Hz
1280 x 1024, 60/ 70/ 75 Hz
Power Source Auto-sensing 40W, 100 to 240VAC, 50 / 60Hz
Input Device
Keyboard 104-key keyboard with key-pad
Touch Pad 3-buttons Touch Pad
KVM Switch
Ports 32 RJ-45 ports
Connectivity RJ -45 with USB or PS/2 dongle (optional)
Graphic resolution 1600 x 1200
Management OSD menu, Hotkey, Front KVM membrane switch
Security Password enable & disable, up to 8 users profile for port
access
Expansion Up to 256 servers by 8-level cascade
Environmental
Temperature
Operate 0 ~ 50°C / 32 ~ 122°F
Storage -20 ~ 60°C / -4 ~ 140°F
Humidity 10% ~ 90% RH
Shock
Vibration 10G acceleration (11ms duration)
5~500Hz 1G RMS random vibration
Chassis Construction Heavy duty steel materials
Certification CE / FCC, ROHs Compliance

KDC 81732 User manual
Acnodes Corporation, www.acnodes.com, info@acnodes.com 7
2. Rack mount Installation
1. Install each rear L-bracket using two fasteners shown in Figure 1.
2. Leaving the fasteners slightly loose
3. Measure the front and rear mounting depth of the rack.

KDC 81732 User manual
Acnodes Corporation, www.acnodes.com, info@acnodes.com 8
4. Align each rear L-bracket to a suitable length and tighten the Fasteners shown in Figure 2.
5. Fix the LCD keyboard drawer into the rack shown in Figure 3.

KDC 81732 User manual
Acnodes Corporation, www.acnodes.com, info@acnodes.com 9
3. OSD Menu
3.1 OSD Menu Membrane Switch

KDC 81732 User manual
Acnodes Corporation, www.acnodes.com, info@acnodes.com 10
3.2 On screen Display menu
BRIGHTNESS /CONTRAST
Brightness: Adjust background black level of the screen image.
Contrast: Adjust the difference between the image background (black level)
and the foreground (white level).
AUTO ADJUST
Auto Adjust: Fine tunes the video signal to eliminate waviness and distortion. A "Adjusting"
message is displayed during the process.
Auto Tune: Optimize phase, clock, position and size. An "Adjusting" message is displayed
during the process.
PHASE/CLOCK
Phase / Clock:To enter into the phase & clock sub menu
H/V POSITION
H/V Position: Align the screen image left or right and up or down.
MISC
Information: Display the current resolution, refresh rate and frequency information on the
screen.
OSD Timer
Set the time duration in seconds that the OSD is visible after the last button is pressed. The
factory default is 10 seconds.

KDC 81732 User manual
Acnodes Corporation, www.acnodes.com, info@acnodes.com 11
Color
Select the screen color - 5500K, 6500K & 9500K. The factory default is 9500K.
Language
Select the language in which the OSD menu is displayed -
English, Chinese (中文), Japanese (日本語), German, French, Spanish, Italian
RESET
Restore the settings to factory defaults.

KDC 81732 User manual
Acnodes Corporation, www.acnodes.com, info@acnodes.com 12
4. KVM Switch Connection
4.1 KVM ports layout
4.2 KVM Connection Diagram
4.3 Cascade Connection Diagram

KDC 81732 User manual
Acnodes Corporation, www.acnodes.com, info@acnodes.com 13
5. KVM Switch
5.1 Membrane Switch Layout
5.2 Password setup
The password is disabled by default
( i.e. There is no password required when you power on the KVM switch for the first time)
■Enable password
1. Press the KVM hotkey Scroll Lock + Scroll Lock + U
2. Logout the KVM by pressing the hotkey Scroll Lock + Scroll Lock + P
3. In SUPERVISOR level, enter “00000000” eight zeros in user name & password field
(Do not use “0” on number pad)
4. In USER level, press Space bar + Enter in user name & password field
Remark: Automatic logout after 10 minutes of inactivity

KDC 81732 User manual
Acnodes Corporation, www.acnodes.com, info@acnodes.com 14
■Set your own user name & password
1. Login the KVM in SUPERVISOR level by pressing “00000000” eight zeros in user name &
password field
2. Call KVM OSD menu by pressing the KVM hotkey Scroll Lock + Scroll Lock + Space Bar
3. Press F1 to the MAIN MENU
4. Select “USER SECURITY”
5. Set password in SUPERVISOR & USER level
a. In the left-top row “S” (SUPERVISOR), press Enter to set your own user name & password
b. In the row 1 to 8 (USER), press Enter to set your own user name & password
6. Press Enter to save the setting or press Esc to cancel the editing without any change
Remark:
a. Blank has underscore, while SPACE doesn’t have
b. Press any alphanumeric key to move to next input item. SPACE is treated as a valid
character
■Change your password
1. Login the KVM in SUPERVISOR level by pressing your own user name & password
2. Call KVM OSD menu by pressing the KVM hotkey Scroll Lock + Scroll Lock + Space Bar
3. Press F1 to the MAIN MENU
4. Select “USER SECURITY”
5. Change password in SUPERVISOR & USER level
a. In the left-top row “S” (SUPERVISOR), press Enter to change your user name & password
b. In the row 1 to 8 (USER), press Enter to change your user name & password
6. Press Enter to save the setting or press Esc to cancel the editing without any change
Remark:
a. Blank has underscore, while SPACE doesn’t have
b. Press any alphanumeric key to move to next input item. SPACE is treated as a valid
character
■Disable your password
1. Press the KVM hotkey Scroll Lock + Scroll Lock + U
2. Logout the KVM by pressing the KVM hotkey Scroll Lock + Scroll Lock + P
3. You don’t need user name & password to access the KVM OSD menu
■Forget your password
Please contact your supplier for further support

KDC 81732 User manual
Acnodes Corporation, www.acnodes.com, info@acnodes.com 15
Remark:
■You must press the KVM hotkey within 2 seconds
■A beep sound will be heard for successful entering KVM hotkey
5.3 KVM OSD Menu

KDC 81732 User manual
Acnodes Corporation, www.acnodes.com, info@acnodes.com 16
5.4 Hot key

KDC 81732 User manual
Acnodes Corporation, www.acnodes.com, info@acnodes.com 17
5.5 Cat-5 KVM Cable (Option)
5.5.1 6 ’ Cascade cable
5.5.2 Dongle cable (PS/2 version)
5.5.2 Dongle cable (USB version)

KDC 81732 User manual
Acnodes Corporation, www.acnodes.com, info@acnodes.com 18
6. DC Input Power Supply (Option)

KDC 81732 User manual
Acnodes Corporation, www.acnodes.com, info@acnodes.com 19
7. Trouble shooting
1. How do I adjust the resolution?
To change monitor resolution, click Start -> Control Panel -> Display. Select Setting tab to
adjust the monitor resolution in Desktop Area. The available resolutions, "640 x 480", "800 x
600", "1024 x 768", "1152 x 864", "1280 x 1024", are deter- mined by the display card in your
computer.
2. Is interference signal appeared on LCD normal when shutting down the computer ?
In rare cases, interference may appear on the monitor. This may be caused by signal rate of
VGA card and is considered normal. The image quality can be improved by adjusting the
phase or pixel rate automatically or manually.
3. The membrane button power light is not ON
Press the power On / Off on LCD membrane button to check if the monitor is in the ON mode.
Check the power cord is properly connected to the LCD keyboard drawer and power outlet.
4. Screen image is not centered or sized properly
Press the button for two seconds to automatically adjust the image. Adjust the H-position
and V-position settings via On-screen menu.
5. How do the KVM switches allow the user to switch ports?
There are two ways to switch ports. One is the membrane buttons on the front and the other
way is with Hot-key commands.
6. What operating systems do the KVM support?
The KVM support multi-platform support allows you to control Windows-based computers, Sun
Solar systems, Linux, or even Macs by a single KVM switch. The KVM switches support
multi-platform operating systems including but not limited to DOS, Windows
95/98/ME/NT/2000/XP, Linux, Solar and Mac OS.
7. Do I have to power down the KVM to add a new server ?
The KVM are hot-pluggable and allows servers or devices to be added or removed without
power down the switch, but components of connected devices, such as the servers, may not be
hot- pluggable. We suggest that turn off power to all devices before connecting them.
8. Why I can’t login with default password on KVM switch
The default username and password for the KVM switch is eight zeros - “00000000”.
Please check
i. The “Num lock” is not turned on. (for notebook type keyboard)
ii. The numeric (number) keys on the number pad are not accepted by KVM, only the main
number keys.

KDC 81732 User manual
Acnodes Corporation, www.acnodes.com, info@acnodes.com 20
9. Can I disable the KVM password ?
Yes, for Cat5 KVM, USB KVM, two console PS/2 KVM & IP PS/2 KVM, user can disable/
enable the KVM password by hotkey. No, for PS/2 KVM, user can’t disable the KVM password.
10. What do I do if I forget the password?
If the user change the default password and lose the password, pls contact the supplier for
further support.
11. How many levels of KVM cascade are supported?
8 levels are supported.
12. Can I cascade the different types KVM switches together ?
No, only same type KVM can cascade together. (e.g. PS/2 to PS/2, USB to USB,..)
13. Why am I getting ghosting images or shadowing?
i. Check that all video cables are inserted properly.
ii. Check whether the KVM supports the resolution and refresh rate on your servers.
iii. Check whether the graphics card you are using supports the resolution and refresh rate
on your server or not.
iv. Connect the monitor directly into the servers you are having trouble with to see if
problem still appears.
Table of contents
Other Acnodes LCD Drawer manuals

Acnodes
Acnodes KD 81916 User manual

Acnodes
Acnodes RP1150 Series User manual

Acnodes
Acnodes RPW1190 User manual

Acnodes
Acnodes KD 8170 User manual

Acnodes
Acnodes KDS 51716 User manual

Acnodes
Acnodes M3232 User manual

Acnodes
Acnodes KDC 81932 User manual
Acnodes
Acnodes KDH8170 User manual

Acnodes
Acnodes RP2117 User manual

Acnodes
Acnodes M3932 User manual

Acnodes
Acnodes KD 81516 User manual

Acnodes
Acnodes KDC 81916 User manual

Acnodes
Acnodes MKD6019 User manual

Acnodes
Acnodes PMH9190 User manual

Acnodes
Acnodes KDX81712 User manual

Acnodes
Acnodes KD84174 User manual

Acnodes
Acnodes RK120 User manual

Acnodes
Acnodes MKD6017M User manual

Acnodes
Acnodes MKD6220 User manual
Acnodes
Acnodes KD 8150 User manual