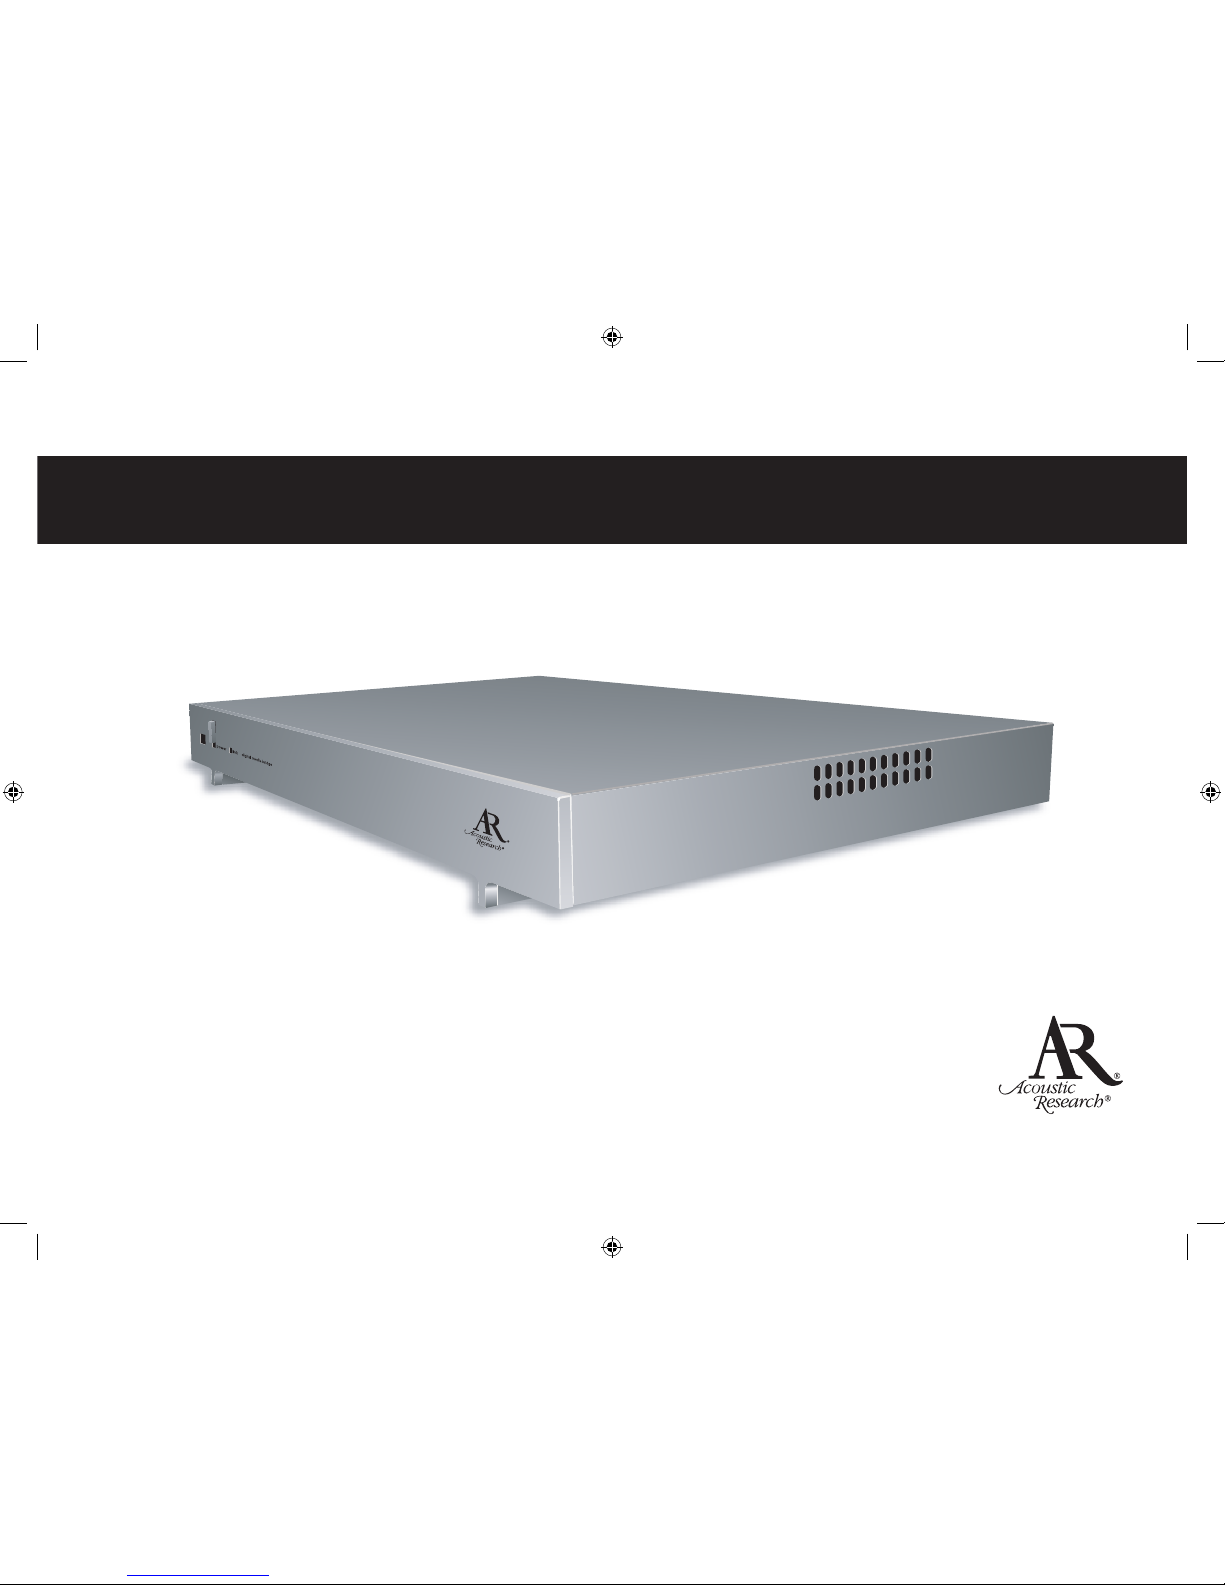
Important Information
2
WARNING
To reduce the risk of fire or electric shock, do not expose
this product to rain or moisture. The apparatus shall
not be exposed to dripping or splashing. No objects
filled with liquids, such as vases, shall be placed on the
apparatus.
This symbol indicates "dangerous voltage" inside
the product that presents a risk of electric shock or
personal injury.
This symbol indicates important instructions
accompanying the product.
RISK OF ELECTRIC SHOCK.
DO NOT OPEN.
Caution: To reduce the risk of
electric shock, do not remove cover
(or back). No user serviceable parts
inside. Refer servicing to qualified
service personnel.
CAUTION
Important Safety Instructions
1. Read these instructions.
2. Keep these instructions.
3. Heed all warnings.
4. Follow all instructions.
5. Do not use this apparatus near water.
6. Clean only with dry cloth.
7. Do not block any ventilation openings. Install in
accordance with the manufacturer’s instructions.
8. Do not install near any heat sources such as radiators,
heat registers, stoves, or other apparatus (including
amplifiers) that produce heat.
Caution: The power supply cord is used as the main
disconnect device. Ensure that the socket-outlet is located/
installed near the equipment and is easily accessible.
CAUTION!
• Do not install or place this unit in a bookcase, built-in
cabinet or in another confined space. Ensure the unit is
well ventilated. To prevent risk of electric shock or fire
hazard due to overheating, ensure that curtains and any
other materials do not obstruct the ventilation vents.
• Do not obstruct the unit’s ventilation openings with
newspapers, tablecloths, curtains, and similar items.
• Do not place sources of naked flames, such as lighted
candles, on the unit.
• Dispose of batteries in an environmentally-friendly
manner.
CAUTION: To prevent electric shock, match the wide blade
of the plug to the wide slot of the electrical outlet and fully
insert.
FCC Regulations state that unauthorized changes or
modifications to this equipment may void the user’s
authority to operate it.
Operating Temperature: 40ºF to 120ºF (5ºC to 50ºC)
Storage Temperature: -5ºF to 150ºF (-20ºC to 65ºC)
Net Weight: 5.75 lbs (approx.)