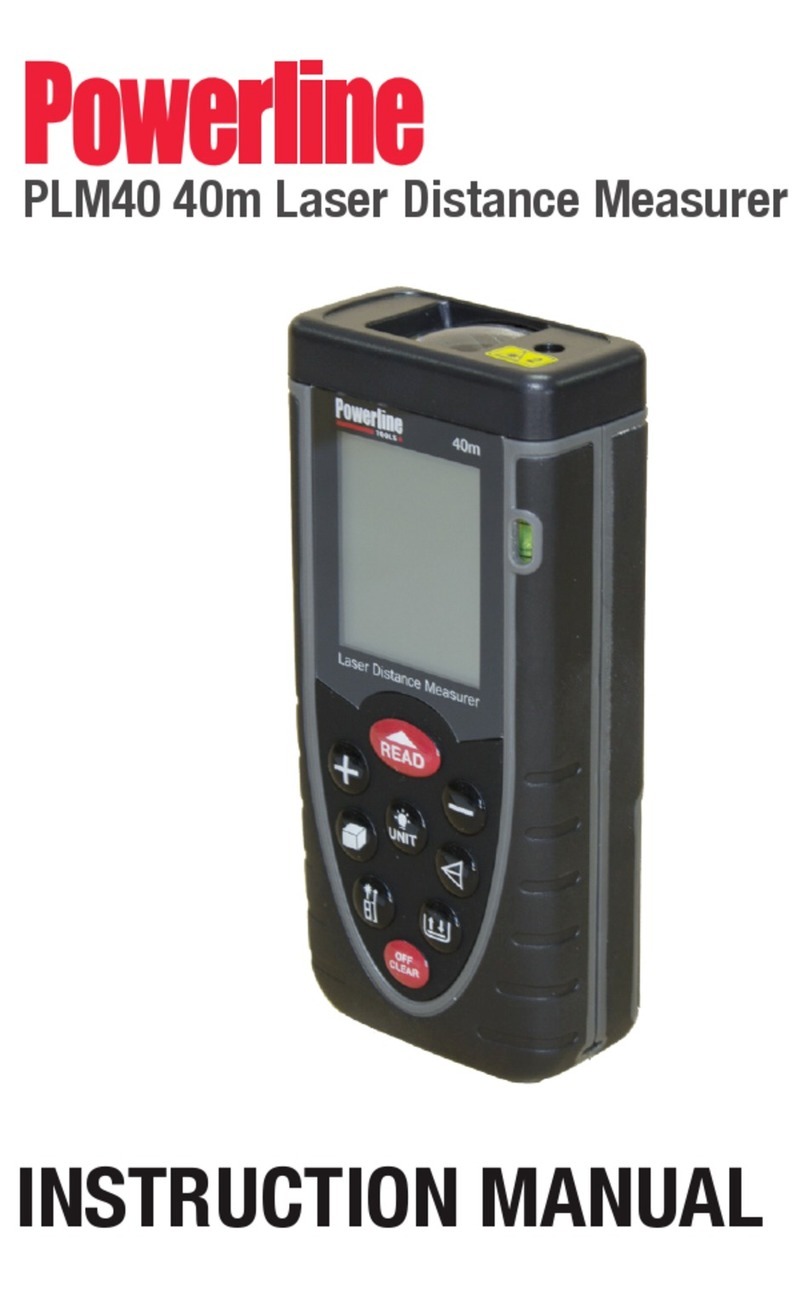
ADA INSTRUMENTS ROBOT-60 User manual

Operating manual
Laser distance meter
Model: ROBOT-60
Manufacturer: ADAINSTRUMENTS Address: WWW.ADAINSTRUMENTS.COM

MEASUREMENT FOUNDATION
2
ROBOT 60
Table of contents
1. Safety Instructions . . . . . . . . . . . . . . . . . . . . . . . . . . . . . . . . . . . . . . . . . . . . . . . . . . . .3
2. Prohibited use . . . . . . . . . . . . . . . . . . . . . . . . . . . . . . . . . . . . . . . . . . . . . . . . . . . . . 4
3. Start up . . . . . . . . . . . . . . . . . . . . . . . . . . . . . . . . . . . . . . . . . . . . . . . . . . . . . . . 4
4. Menu functions . . . . . . . . . . . . . . . . . . . . . . . . . . . . . . . . . . . . . . . . . . . . . . . . . . . . . . . . . 5
5. Measurements . . . . . . . . . . . . . . . . . . . . . . . . . . . . . . . . . . . . . . . . . . . . 6
6. Functions . . . . . . . . . . . . . . . . . . . . . . . . . . . . . . . . . . . . . . . . . . . . . 7
7. Message codes . . . . . . . . . . . . . . . . . . . . . . . . . . . . . . . . . . . . . . . . . . . . . . . . . 9
8. Techical data . . . . . . . . . . . . . . . . . . . . . . . . . . . . . . . . . . . . . . . . . . . . . . . 10
9. Precautions . . . . . . . . . . . . . . . . . . . . . . . . . . . . . . . . . . . . . . . . . . . . . . . . . . 11
10. Care and cleaning. . . . . . . . . . . . . . . . . . . . . . . . . . . . . . . . . . . . . . . . . 11
14. Warranty. . . . . . . . . . . . . . . . . . . . . . . . . . . . . . . . . . . . . . . . . . . . . . 12
15. Exceptions from responsibility . . . . . . . . . . . . . . . . . . . . . . . . . . . . . . . . . . . . . . . . . . . . . . . . . . . . . . . 12

MEASUREMENT FOUNDATION
3
ROBOT 60
Congratulations on the purchase of laser distance meter ADA ROBOT-60!
Permitted use
· Measuring distances
· Computing functions, e.g. areas, volumes, subtractions, Pythagorean calculation
· Storing measurements
The safety regulations and instructions along with the operating manual should be read carefully before initial operation.The
person responsible for the instrument must ensure that equipment is used in accordance with the instructions. This person is also
accountable for the deployment of personnel and for their training and for the safety of the equipment when in use.
Safety instruction
Please follow up instructions given in operators’ manual.
Do not stare into beam. Laser beam can lead to eye injury (even from greater distances).
Do not aim laser beam at persons or animals.
The laser plane should be set up above eye level of persons.
Use the instrument for measuring jobs only.
Do not open instrument housing. Repairs should be carried out by authorized workshops only. Please contact your local dealer.
Do not remove warning labels or safety instructions.
Keep instrument away from children.
Do not use instrument in explosive environment.

MEASUREMENT FOUNDATION
4
ROBOT 60
Prohibited use
- Using the instrument without instruction
- Using outside the stated limits
- Using the instrument in explosive environment (gas station, gas equipment, chemical industry and so on)
- Deactivation of safety systems and removal of explanatory and hazard labels
- Don’t shoot at others with the laser intentionally
- Don’t stare at the laser directly.
- Aiming directly into the sun
- Inadequate safeguards at the surveying site (e.g. when measuring on roads, construction sites, etc.)
- Using the instrument on the plane, near manufacturers, technological objects
The instrument is a laser class 2 laser product with power < 1 mW and wavelength 635 nm.
START UP
Keypad
1 ON / Single measure / Continuous measure
2 Area / Volume / Pythagorean measure
3 Plus / Minus / Units
4 Reference / Illumination
5 Clear / OFF
6 Data storage key
2
4
1
3
5
6

MEASUREMENT FOUNDATION
5
ROBOT 60
Display
1 Laser ON
2 Reference (front/rear)
3 Area / volume/ Pythagorean
4 Hardware error
5 Battery display
6 Data storage
7 Data storage quanity
8 Fixed timing measure
9 Wall space measure
10 Units with exponents ( 2/3 )
11 Auxiliary Display 1
12 Auxiliary Display 2
13 Main display
Inserting / Replacing Batteries
Remove the battery cover, insert the battery correctly. Pay attention to cor-
rect polarity.
Close the battery compartment.
Replace the battery when symbol constantly blinks in the display.
Batteries should be removed in case of danger of corrosion, if the device
will not be used for a long time.
MENU FUNCTIONS
Swtich on and off
Press the button (1) to switch on the instrument and laser.
Press and hold key for about 2 seconds to start continuous measuring.
The device also switches off automatically after 3 minutes of inactivity i.e.
no key is pressed within that interval.
To switch off the instrument press and hold button (5) 2 sec.
Reference Setting
Default reference setting is from the rear of the device.
Press the button (4) to set the reference the front or the rear.
When the end-piece is folded out fully, the reference rear is set.
You will see the reference symbol on the display.
1
2
3
4
11
12
13
5 6 7 8 9
10

MEASUREMENT FOUNDATION
6
ROBOT 60
Selecting Units
Press and hold the button (3) for 2 sec. until the desired unit is displayed.
Illumination
Press and hold the button (4) for 2 seconds to switch the illumination on or off.
Clear-Key
Cancel the last action. Press button (5).
MEASUREMENTS
Single distance measurement
Press button (1) to activate the laser. When in continuous laser mode, press this button to trigger the distance measurement directly.
Press again to trigger the distance measurement. The result is displayed immediately.
Continuous Measurement
Press and hold the button (1) for about 2 seconds to start continuous measuring.
Minimum/ Maximum measurement
diagonals (maximum values) or horizontal distances (minimum values).
Press and hold down the button (1). Then slowly sweep the laser back and forth and up and down over the desired target point-(e.g. into the corner of
a room).
Press to stop continuous measurement. The values for maximum and minimum distances are shown on the display as well as the last measured value
in the summary line.

MEASUREMENT FOUNDATION
7
ROBOT 60
FUNCTIONS
Addition / Subtraction
Distance measuring.
Press button (3): next measurement is added to the previous one. Press button (3): next measurement is substracted from the previous one.
The result is displayed in the second line. Previous value is displayed in the previous line.
Area
Press the button (2) once.The symbol is displayed.
Press button to take the second measurement (for example, width). Measured value is displayed in the second line. First measurement is displayed in
Addition / Subtraction of areas
Area measuring – see Area.
Press button (3) to enter into the Addition / Subtraction mode. Area value is displayed in the second line.
After the completion of area, press button (1), the result of substraction of areas is displayed in the main display area.
Volume
For volume measurements, press button (2) twice until the indicator for volume measurement appears on the display.
Press button (1) to take the second measurement (for example, width). Measured value is displayed in the second line. First measurement is displayed

MEASUREMENT FOUNDATION
8
ROBOT 60
Indirect measurement
surface and can’t be measured directly.
Make sure you adhere to the prescribed sequence of measurement:
All target points must be in a horizontal or vertical plane.
instrument placed on a wall) or the instrument is mounted on a tripod.
The minimum / maximum function can be used. The minimum value must be used for measurements at right angles to the target; the
maximum distance for all other measurements.
Indirect measurement – determing a distance using 2 auxilary measurements.
E.g. When height and distance can’t be measured directly.
Press button (2) 3 times. The symbol is displayed. The distance to be measured is blinking in the symbol triangle.
Press button (2) to take distance measuring.
Indirect measurement – determing a distance using 3 measurements.
Press button (2) 4 times. The symbol is displayed. The distance to be measured is blinking in the symbol triangle.
Press button (1) to take distance measuring (side of the triangle) . The result of the function is displayed in the second line.
Press button (1) to take distance measuring (side of the triangle) . The result of the function is displayed in the second line.
The result of the measurement is displayed in the second line.

MEASUREMENT FOUNDATION
9
ROBOT 60
Storage of constant / historical storage
Storage of constant
You can store and recall a frequently used val-
ue (e.g. height of a room). Measure the desired
distance, press and hold the button (6) until
Recalling the constant
Press the button (6) once to recall the constant
and then press the button (1) to enter it into
your calculation.
History storage
Press the button (6) twice and the previous 20
results (measurements or calculated results)
are shown in reverse order. Use button (3) to
navigate through the records. Press the button
(1) to use the result from the summary line for
further calculations.
INFO CAUSE REMEDY
204 Repeat procedure
252 Temperature too high Cool down instrument
253 Temperature too low Warm up instrument
255 Receiver signal too weak Use target plate
256 Received signal too
strong
Use target plate (grey
side)
257 Wrong measurement Use target plate (brown
side)
258 Wrong initialization Switch on – off the
instrument
ERROR CAUSE REMEDY
Error Hardware error Switch on/off the device
several times and check if
the symbol still appears. If
so please call your dealer
for assistance.
MESSAGE CODES
Following mistakes can be corrected.

MEASUREMENT FOUNDATION
10
ROBOT 60
TECHNICAL DATA
Range, without target, m 0.05 to 60
Accuracy, mm ±1.5*
Smallest unit displayed 1 mm
Laser class 2
Laser type 635 nm, <1 mW
IP rating IP 54
Automatic switch off 3 minutes of inactivity
Display illumination yes
Battery life, 2 x AAA > 5000 measurements
Dimensions, mm 116×54×35
Weight 155g
Temperature range:
Storage
Operating
-25º to +70º
0º to +40º
* In favourable conditions (good target surface properties, room temperature).
surfaces.

MEASUREMENT FOUNDATION
11
ROBOT 60
Measuring conditions
Measuring range: the range is limited to 60 m. At night, at dusk and when the target is shadowed the measuring range without target plate is increased.
Measuring Surfaces
Measuring errors can occur when measuring toward colorless liquids (e.g. water) or dust free glass, styrofoam or similar semi-permeable surfaces.
can be increased.
Precautions
Please, handle the instrument with care.
Avoid viabrations and hits.
During transportation put the instrument into the soft bag.
Note: the instrument should be dry!
Care and cleaning
Do not immerse the instrument in water. Wipe off dirt with a damp, soft cloth. Do not use aggressive cleaning agents or solutions.
- Measurements through glass or plastic windows;
- Dirty laser emitting window;
- After instrument has been dropped or hit. Please check the accuracy.
minutes before carrying out measurements.
Electromagnetic acceptability (EMC)
It cannot be completely excluded that this instrument will disturb other instruments (e.g. navigation systems);
will be disturbed by other instruments (e.g. intensive electromagnetic radiation nearby industrial facilities or radio transmitters).

MEASUREMENT FOUNDATION
12
ROBOT 60
The instrument is a laser class 2 laser product accortding to DIN IEC 6082 5-1:2007. It is allowed to use unit without further safety
precautions.
Warranty
This product is warranted by the manufacturer to the original purchaser to be free from defects in material and workmanship under normal
use for a period of two (2) years from the date of purchase.
During the warranty period, and upon proof of purchase, the product will be repaired or replaced (with the same or similar model at
manufactures option), without charge for either parts of labour.
In case of a defect please contact the dealer where you originally purchased this product. The warranty will not apply to this product if it
has been misused, abused or altered. Withiut limiting the foregoing, leakage of the battery, bending or dropping the unit are presumed to
be defects resulting from misuse or abuse.
Exceptions from responsibility
The user of this product is expected to follow the instructions given in operators’ manual.
Although all instruments left our warehouse in perfect condition and adjustment the user is expected to carry out periodic checks of the
product’s accuracy and general performance.
The manufacturer, or its representatives, assumes no responsibility of results of a faulty or intentional usage or misuse including any
-
and interruption of business etc., caused by using the product or an unusable product.
-
plained in the users’ manual.
The manufacturer, or its representatives, assumes no responsibility for damage caused by wrong movement or action due to connecting
with other products.

____________________________________________________________________________
____________________________________________________________________________
__________________________________________________________________________
name and model of the instrument
Corresponds to ________________________________________________________________
designation of standard and technical requirements
Data of issue __________________________________________________________________
Stamp of quality control department
Price
Sold ___________________________________ Date of sale ________________________
name of commercial establishment

WARRANTY CARD
Name and model of the product ________________________________________________
Serial number ________________date of sale_______________________
Name of commercial organization _____________________stamp of commercial organization
Warranty period for the instrument explotation is 12 months after the date of original retail purchase. It extends to the equipment, imported on the RF
During this warranty period the owner of the product has the right for free repair of his instrument in case of manufacturing defects.
of the instrument outage.
The product is received in the state of operability, without any visible damages, in full completeness. It is tested in my presence. I have no complaints to
the product quality. I am familiar with the conditions of qarranty service and i agree.
purchaser signature _______________________________
Before operating you should read service instruction!
If you have any questions about the warranty service and technical support contact seller of this product

WARRANTY DOESN’T EXTEND TO FOLLOWING CASES:
1. If the standard or serial product number will be changed, erased, removed or wil be unreadable.
2. Periodic maintenance, repair or changing parts as a result of their normal runout.
-
tioned in the service instruction, without tentative written agreement of the expert provider.
4. Service by anyone other than an authorized service center.
5. Damage to products or parts caused by misuse, including, without limitation, misapplication or nrgligence of the terms of service
instruction.
6. Power supply units, chargers, accessories, wearing parts.
7. Products, damaged from mishandling, faulty adjustment, maintenance with low-quality and non-standard materials, presence of any
liquids and foreign objects inside the product.
8. Acts of God and/or actions of third persons.
9. In case of unwarranted repair till the end of warranty period because of damages during the operation of the product, it’s transporta-
tion and storing, warranty doesn’t resume.


MEASUREMENT FOUNDATION
18
ROBOT 60

MEASUREMENT FOUNDATION
19
ROBOT 60
-

MEASUREMENT FOUNDATION
20
ROBOT 60
2
4
1
3
5
6
Table of contents
Other ADA INSTRUMENTS Analytical Instrument manuals
ADA INSTRUMENTS
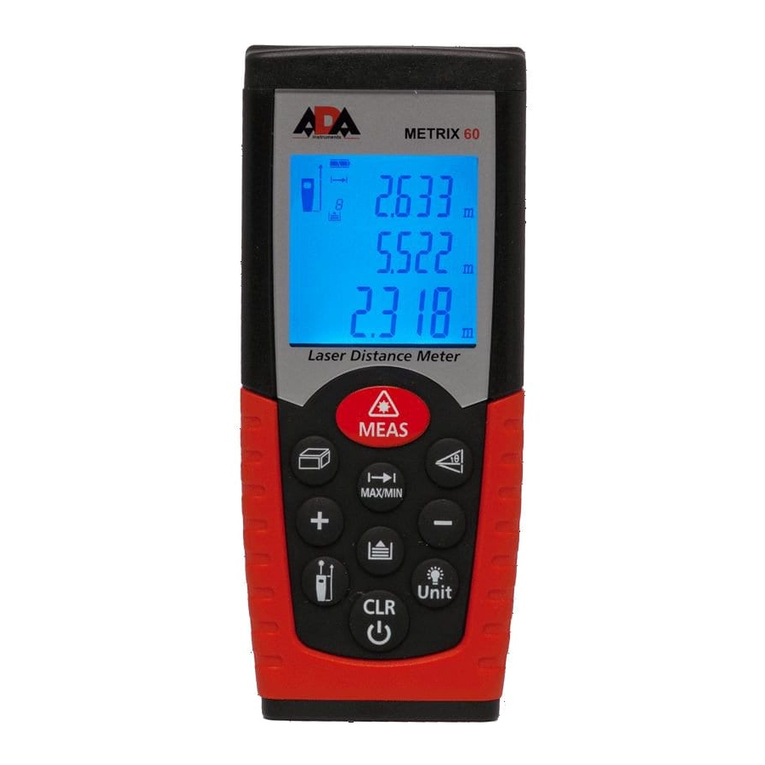
ADA INSTRUMENTS Metrix 60 User manual

ADA INSTRUMENTS
ADA INSTRUMENTS COSMO MINI User manual
ADA INSTRUMENTS
ADA INSTRUMENTS ZVE 150SD User manual
ADA INSTRUMENTS
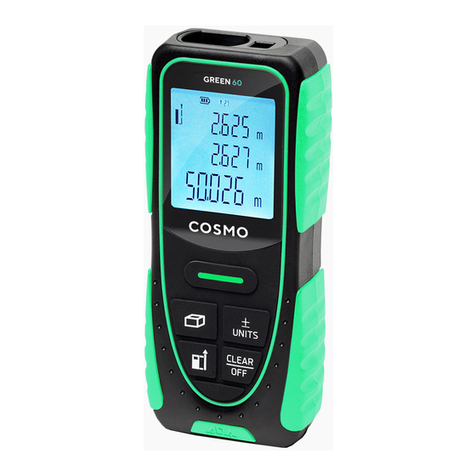
ADA INSTRUMENTS COSMO 60 GREEN User manual
ADA INSTRUMENTS
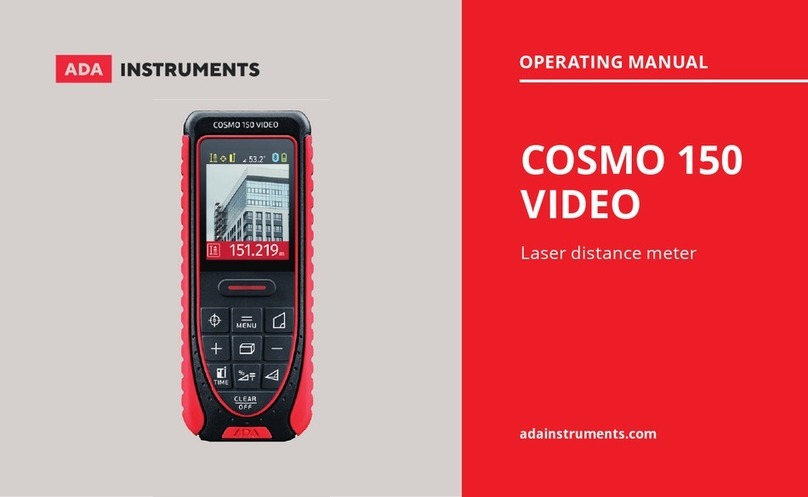
ADA INSTRUMENTS COSMO 150 VIDEO User manual
ADA INSTRUMENTS
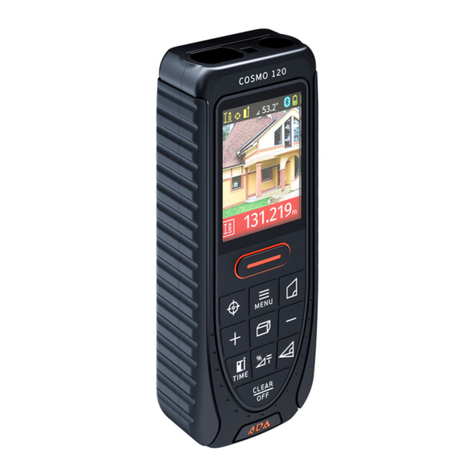
ADA INSTRUMENTS COSMO 120 video User manual
ADA INSTRUMENTS
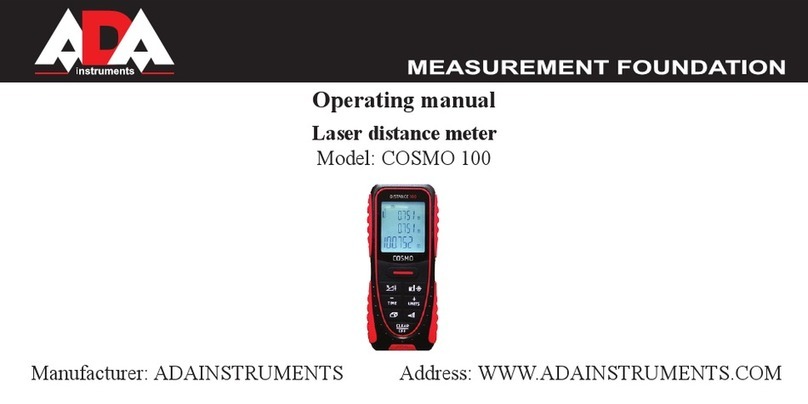
ADA INSTRUMENTS Cosmo 100 User manual

