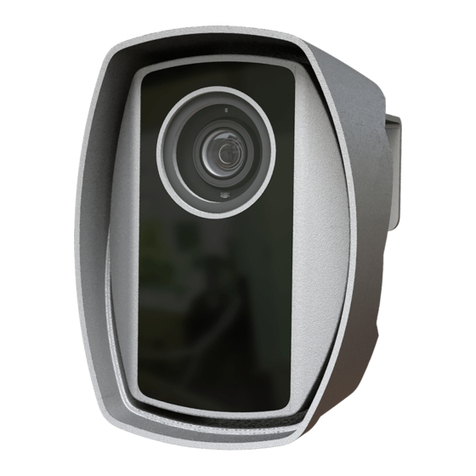
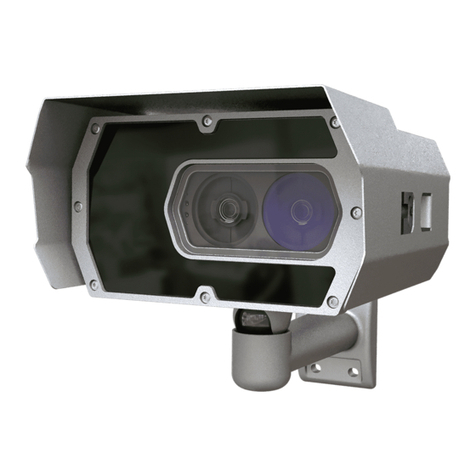
1.6 Connect the camera to a computer or network switch, then power on the camera. The red
and green status LEDs on the camera front should stay on during the booting. After
finished, the green status LED flashes two times while the red one turns off signaling that
the camera is ready for operation.
2ACCESSING THE CAMERA
2.1 Make sure that the camera and the computer are connected to the same network.
2.2 Enter an alternate IP address or set your computer’s IP in the 192.0.2.x subnet, where x is
an integer between 1 and 254 except 3. Set the subnet mask to 255.255.255.0.
2.3 Start a browser then enter http://192.0.2.3 address into the address bar. This is the
camera’s default IP address.
3TROUBLESHOOTING
3.1 If you have any questions or difficulties, see the see the full Installation Guide first.
3.2 There is a sticker indicating the Name, IP address, MAC address and the Serial Number of
the camera. The sticker can be found on the bottom of the device, in a metal plaque.
3.3 To enter the Recovery mode, power off the camera first then hold a magnet
(recommended strength: 1000-1500 mT) on the indicated position, under the shield. Power
on the camera and wait 5 seconds. Now remove the magnet and reach the camera via its
default IP address.
(Indicated magnet position shown in the image below)
Indicated magnet position
AVAILABLE MANUALS AND GUIDES ARE FOUND IN https://adaptiverecognition.com/doc/
