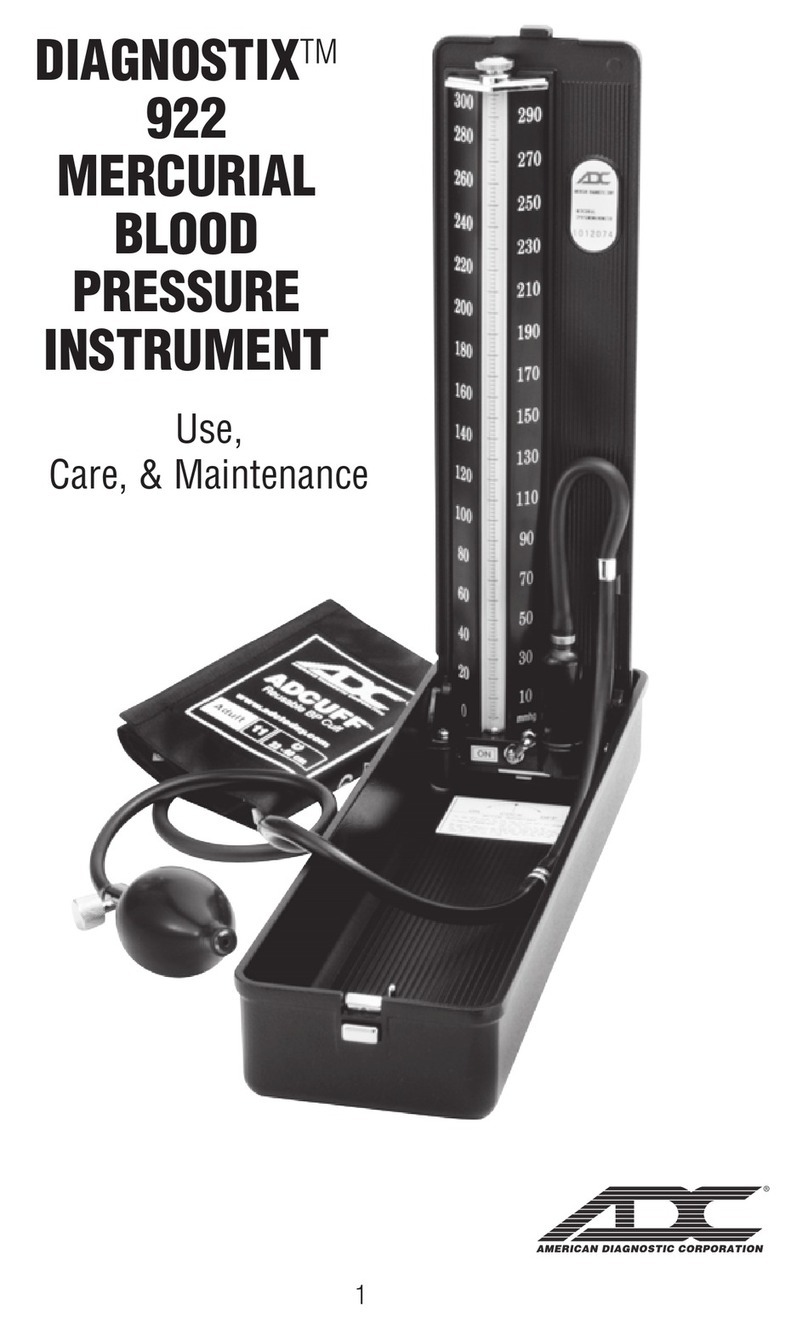
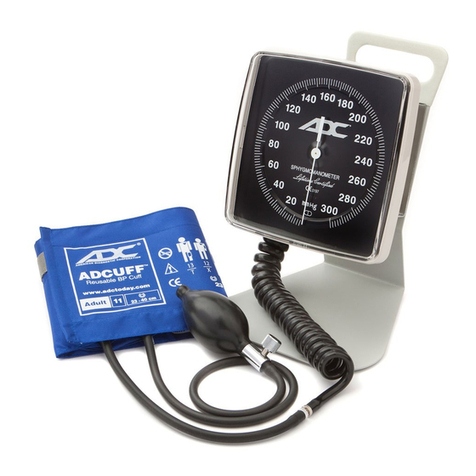
Your DIAGNOSTIX™ 932 consists of a main unit with 5mm calibrated unbreakable plastic cartrid etube, inflation
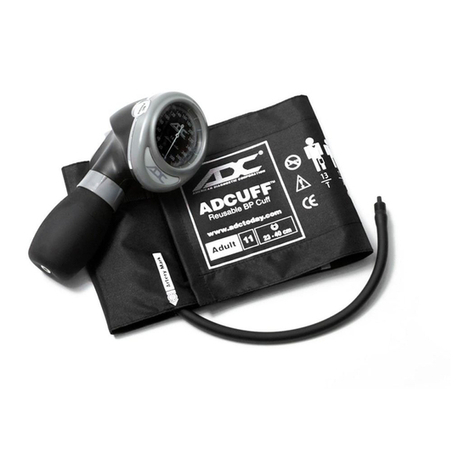
system (which includes the ADCUFF™ nylon cuff with Size Guide™ markin system, latex-free inflation bladder,
bulb, and ADFLOW™ valve), luer connector, and operatin instructions. Unit is preassembled and ready for use.
Connecting the Inflation System to Manometer:
Remove red safety cap which seals the reservoir containin mercury. Attach the free end of reservoir tube securely
to air inlet. Save red safety cap for later use. When transportin mercury instrument we recommend placin the red
safety cap on reservoir.
Please Note: It is normal for ne li ible amounts of residual mercury droplets to accumulate around the air
inlet beneath the red safety cap durin transportation.
Operating Instructions
Your DIAGNOSTIX™ 932 Desktop Mercury Sphy momanometer incorporates a special safety feature that locks the mer-
cury within the reservoir durin stora e, transport, or maintenance.
To Operate the 932: To release the mercury from the reservoir, turn the lever to the “ON” position. Mercury will flow
up into the plastic cartrid e tube and rest at the ”0” mark. If the mercury doesn’t rise within the tube tilt the entire unit
45° forward. If mercury fails to rise, or doesn’t reach the ”0” level, have unit serviced.
To Lock Mercury Within the Reservoir: Tilt the entire unit back 45° towards the reservoir to permit mercury to flow out of cartrid e
tube and into reservoir. When cartrid e tube is completely emptied of ALL mercury (and while it is still tilted 45°), move lockin lever to the
ri ht. Mercury should be locked within the reservoir durin maintenance or transport.
PLEASE NOTE: MERCURY SHOULD BE SECURED WITHIN THE RESERVOIR DURING TRANSPORT, OR WHEN SERVICING
THE CARTRIDGE TUBE, DIAPHRAGMS, OR FILTERS. NEVER DISASSEMBLE UNIT UNLESS MERCURY IS FIRST LOCKED
WITHIN RESERVOIR.
Measurement Procedure
1. Patient Position
The patient should sit or lie comfortably. The arm should be fully supported on a flat surface at heart level. (If the arm’s position varies, or is
not level with the heart, measurement values obtained will not be consistent with the patient’s true blood pressure.) Observer should view
manometer in a direct line and at eye level to avoid “parallax error”.
2. Apply the Cuff
ADCUFF™nylon cuffs, with proprietary Size Guide™markin system, are specially de-
si ned to promote the precise, accurate determination of blood pressure. Index and ran e
markin s ensure use of the correct cuff size. The artery mark indicates proper cuff positionin .
Place the cuff over the bare upper arm with “artery” mark positioned directly over the
brachial artery. The bottom ed e of the cuff should be positioned approximately one inch
above the antecubital fold. Wrap the end of the cuff, not containin the bladder, around
arm snu ly and smoothly and en a e adhesive strips. To verify a correct fit, check that
the INDEX line falls between the two RANGE lines.
3. Inflate the Cuff
Close the ADFLOW™ valve by turnin thumbscrew clockwise. Palpate the radial artery while inflatin the cuff. Be sure to inflate cuff
quickly by squeezin bulb rapidly. Inflate cuff 20-30mmH above the point at which the radial pulse disappears.
4. Position the Stethoscope
Position the chestpiece in the antecubital space below the cuff, distal to the brachium. Do not place chestpiece underneath the cuff, as this
impedes accurate measurement. Use the bell side of a combination stethoscope for clearest detection of the low pitched Korotkoff (pulse)
sounds.
5. Deflate the Cuff
Open the valve to deflate the cuff radually at the AHA recommended rate of 2-3mmH per second.
6. Measurement
Record the onset of Korotkoff sounds (Phase 1) as the systolic pressure and the disappearance of these sounds (Phase 5) diastolic pressure.
(Some healthcare professionals prefer recordin diastolic 1 and diastolic 2. Diastolic 1 occurs at phase 4).
After measurement is completed, open valve fully to release any remainin air in the cuff. Remove cuff.
Care and Maintenance
Warning: Be ore transporting this instrument, mercury must be stored in the tank and the reservoir lock MUST be switched to the o
position to prevent mercury spills.
Select Smaller Cuff
▲
CORRECT
▲
Select Larger Cuff
▲
