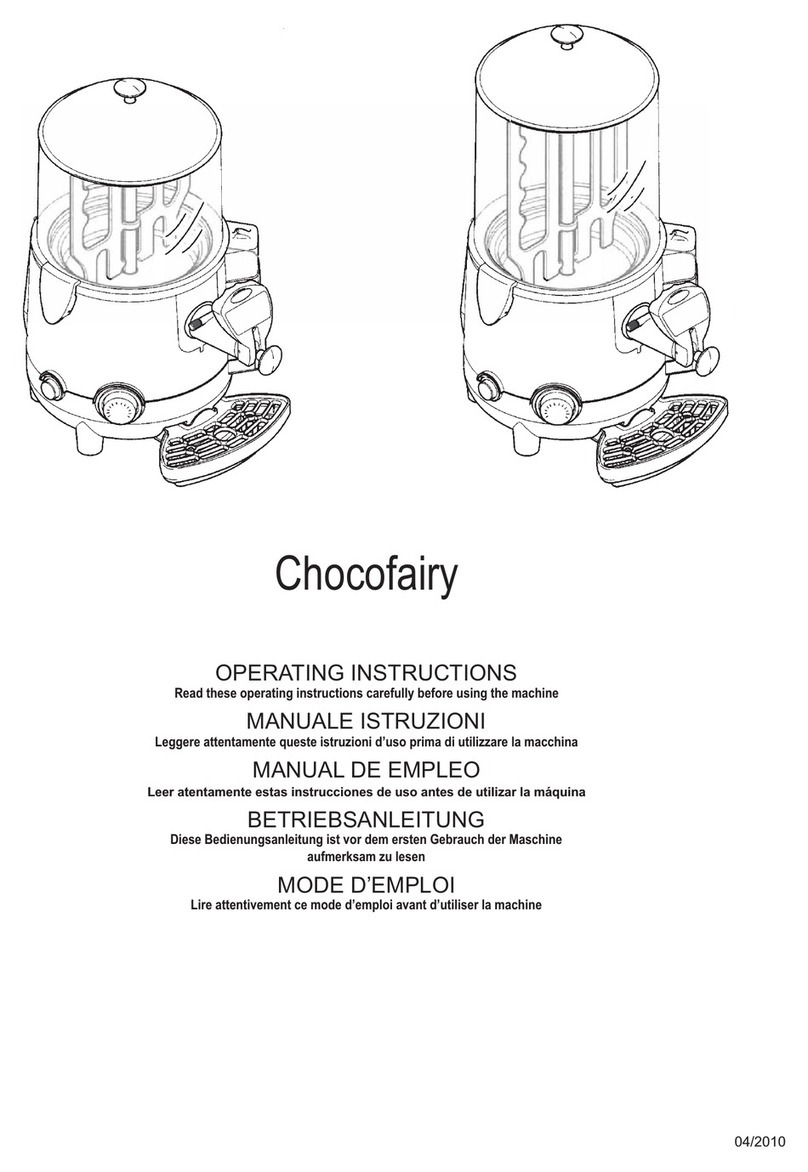
Adcraft JD-1 User manual

This manual contains important information regarding your Adcraft unit. Please
read this manual thoroughly prior to equipment set-up, operation and maintenance.
Failure to comply with regular maintenance guidelines outlined in this manual may
void the warranty.
INSTRUCTION MANUAL
JD-1 & JD-2
JUICE DISPENSERS

November 2018
WARNING:
1.
This instruction manual is an integral part of the machine and must be kept
for any further consultation.
2.
This machine is a cold drink dispenser.
3.
This machine should be used only for the purpose for which it was designed.
Any other use is inappropriate and, therefore, dangerous. The manufacturer
will not be held responsible for any damage caused by improper use.
4.
Before installing and operating on the machine, read carefully this
operation manual.
5.
Basic safety rules:
a. Do not touch the machine when hands or feet are wet.
b. Do not use the machine when barefooted.
c. Do not allow the machine to be used by children or untrained persons.
d. Do not leave the machine outside.
e. Do not pull on the electrical cord when unplugging the machine.
The company reserves the right to modify the construction or appearance without
notice.
INSTALLATION:
Useful instruction for transport:
1. In order to prevent the oil contained in the hermetic compressor from flowing
into the cooling circuit, it is necessary to always carry, store and handle the
machine in a vertical position following the instructions found on the packaging.
2. If the machine was accidentally or purposely placed in a non-vertical position
during transport before operating the machine, it should be kept in a straight
position for approximately 30minutes to allow the oil to flow back into the
compressor.
Unpacking:
•
Remove cardboard and plastic covering.
•
Make sure that the machine has not been damaged.
•
Remove the plastic film from all the stainless steel panels.
IMPORTANT:
The various packaging should be kept from children since
they are potentially dangerous.

November 2018
Positioning (FIG.1)
Place machine on a horizontal and sturdy surface. For a good ventilation,
keep a distance of 20 cm (7 inches) between unit and walls or other objects.
Increase the distance if the obstacles are a heating source. When the
dispenser is in place, adjust the legs in order to keep it level.
Electrical connection
Before inserting the plug into the electrical socket, carefully read the following
precautions:
a. Make sure that the machine is properly connected to an efficient grounding
system in compliance with current safety standards.
b. Make sure that the voltage is in accordance with what is indicated on
the "serial number" label applied on the chassis.
c. The current available is sufficient for the maximum required by the machine.
d. If necessary, use only approved multiple outlets in compliance with
current safety standards.
If in doubt, consult only specialized technicians.
By law, the machine must always be grounded.
HOW TO USE:
Before use, the dispenser should be cleaned carefully as it comes into contact
with drinks.
Refilling:
For a correct usage of the machine ensure that the liquid level into the bowl
does not go below 3-4Lt.
a. Before filling up the container make sure to remove the power plug.
b. Mix product in a separate container (FIG.2)
c. Do not fill the container with hot product
d. Do not overtake the MAX level line (FIG.3)
Functioning (FIG.4):
a. Make sure that the main switch (A) is in the [OFF] position, and then
plug in the machine.
b. Before starting the machine, ensure that the bowls are properly closed
with their covers.
c. Turn the main switch to [ON] position and the condensing unit will
automatically start.
d. To start the mixing action, turn the mixing system switch to the
[ON]
position
(B).There is a switch for each bowl.
e. To pour the drink out, press the drinking glass lightly against lever.

November 2018
Beverage Temperature Adjustment (FIG.8)
1. Every dispenser has been tested and the thermostat has been set at
+
5ºC
temperature.
2. To adjust this temperature, lift up the plastic cover and turn the thermostat knob
clockwise to set a lower temperature.
CAUTION:
Before adjusting temperature, always remove the power plug.
It is suggested that you do not reset the temperature controller frequently.
USEFUL INFORMATION:
For health standard and good quality of beverages, clean bowls, lids and the
mixing paddles as often as possible.
Cautions:
a.
Before carrying out cleaning and refilling, remove the power plug.
b.
Do not use abrasive powders that might impair bowls and the lid's shine.
c.
Use neutral soap and a little warm water to wash container, lid,
mixing paddles/pump, refrigerator tank, and tap. Rinse carefully with
water in order to remove any residual of soap.
d.
To maintain a high standard of flavor, leave the dispenser turned on
night and day in order to avoid deposit.
e.
If the dispenser is out of use for a long time, remove the power plug and
clean all parts carefully. Keep the dispenser away from dust and cover it
with a plastic sheet.
Servicing:
Dispenser servicing is very simple. After disconnecting the dispenser. Remove
panels and clean inside parts, especially condenser fins, with a brush. (FIG.7)
Dust reduces the performance of the machine, so clean at least once a month.

November 2018
DISASSEMBLING AND ASSEMBLING:
a.
Disconnect the unit by removing the plug.
b.
Lift lid off.
c.
Pull mixing paddle off. For the pump disassembling, follow the
instructions reported on the
(Fig. 5 & 6).
d.
Lift container with both hands with a light, swinging motion. Should you
have difficulty, it is necessary to the wet stainless steel refrigerator and
gasket.
e.
To remove water tray and lift it from its setting.
f.
To disassemble the back and side panels, loosen the screws under the
unit,pushing up, and then unlatch.
g.
To disassemble front panel, loosen the side screws.
To reassemble the unit, repeat the above operations in reverse.
Maintenance and Service:
Any necessary repairs to the machine should be undertaken exclusively by an
authorized repair center using original replacement parts.
The electrical cord should not be replaced by the user.
When the machine is no longer in use, it is recommended that it be made
inoperable by unplugging the machine and cutting the electrical cord.

November 2018
TECHNICAL SPECIFICATIONS:

November 2018

November 2018
OPERATING FIGURES:

November 2018
OPERATING FIGURES:

November 2018
TROUBLE SHOOTING:
Wait 30 seconds before removing the panels so that all the moving parts inside the
machine will be stopped.
Symptom
Cause
Solution
No power to
machine
• Plug is not in
• Main switch is not to set
to the [ON] position
•
Feeder cable is broken
•
Main switch is broken
• Insert plug
•
Switch main switch to [ON]
•
Replace feeder cable
• Replace main switch
Machine is not
cooling
• Compressor does not
start
•
Gas leak into the cooling
circuit
• Condenser is clogged
•
Fan motor is burnt
• Lack of air flow
• See "compressor does not
start" section
•
Find leak. Filter it out and
re-charge the cooling circuit
•
Clean the condenser
•
Replace fan motor
• Increase distance between the
machine and other obstacles
/heating sources
Compressor does
not start
• Main switch is broken
• Compressor protector is
broken
• Compressor relay is
broken
• Compressor motoris
broken
• Replace main switch
• Replace compressor protector
• Replace compressor relay
• Replace motor
One bowl is not
cooling
• Gas leak into the cooling
circuit
• Condenser is clogged
• Lack of air flow
• Tube of the cooling circuit
is clogged
• Filter is clogged
•
Find leak. Filter it out and
re-charge the cooling circuit
• Clean the condenser
• Increase distance between the
machine and other obstacles
/heating sources
• Cut the tube. Eliminate clog,
re-charge the cooling circuit
• Replace the filter
The mixing paddles
are not working
•
The mixing motor is
broken
•
Replace the mixing motor
The pump is not
working
• The pump motor is broken
• The pump switch is
broken
• Replace the pump motor
• Replace the pump switch

November 2018
November 2018
Structure Diagram
Structural Diagram

ACE Equipment One Year Limited Warranty
ACE warrants its equipment against defects in materials and workmanship, subject to the following conditions:
ACE Equipment is warranted for one year, effective from the date of purchase by the original owner. A copy of the
original receipt or other proof of purchase is required to obtain warranty coverage. This warranty applies to the original
owner only, and is not assignable.
Should any product fail to function in its intended manner under normal use within the limits defined in this warranty, at
ACE’s discretion, such product will be repaired, replaced with a refurbished unit, or replaced with a new unit by ACE,
after defective unit has been inspected and defect has been confirmed. ACE does not assume any liability for extended
delays in replacing any item beyond its control. This warranty does not apply to rubber and non-metallic synthetic parts
that may need to be replaced due to normal usage, wear or lack of preventativemaintenance.
This warranty covers products shipped into the 48 contiguous United States. Warranty coverage on products used outside
the 48 contiguous United States, Hawaii, Alaska, Puerto Rico, and Canada, cover parts only.
The following conditions are not covered by warranty:
•
Equipment failure relating to improper installation, improper utility connection or supply and problems due to
improper ventilation.
•
Equipment that has not properly been maintained, damage from improper cleaning, and water damage to
controls.
•
Equipment that has not been used in an appropriate manner, or has been subject to misuse, neglect, abuse,
accident, alteration, negligence, damage during transit, delivery or installation, fire, flood, riot, or act of God.
•
Equipment that has the model number or serial number removed or altered.
•
Equipment on which the security seal has been broken.
If the equipment has been changed, altered, modified, or repaired without express written permission from ACE, then the
manufacturer shall not be liable for any damages to any person or to any property, which may result from the use of this
equipment thereafter.
This equipment is intended for commercial use only and this warranty is void if equipment is used in other than a
commercial application.
For warranty and non-warranty related issues, technical support, please contact NSA at 1-877-672-7740. To purchase
replacement parts and warranty registration visit www.admiralcraft.com.Please have your model number, serial number
and proof of purchase ready. It is not necessary to contact the place where you originally purchased your product from.
“THE FOREGOING WARRANTY IS IN LIEU OF ANY AND ALL WARRANTIES EXPRESSED OR IMPLIED
INCLUDING ANY IMPLIED WARRANTY OF MERCHANTABILTY OR FITNESS FOR PARTICULAR
PURPOSES AND CONSTITUTES THE ENTIRE LIABILITY OF ACE. IN NO EVENT DOES THE LIMITED
WARRANTY EXTEND BEYOND THE TERMS STATED HEREIN.”
WARRANTY
REGISTRATION
National Service America • 230 Park Ave, 3rd Floor WEST • New York, NY • 10169
CARD
MAIL CARD
IMMEDIATELY
(Name of Business) (Dealer Purchased From)
(Address) (City) (State) (Zip Code)
(Model Number) (Serial Number)
This card must be
mailed immediately
after installation date
This is to inform that I,
(Please print name of individual who owns business)
have had the above installed in my place of business
(Date of Purchase)
for warranty to be in
effect. (Contact Phone Number) (Contact E-mail) (Signature of Individual Who Owns Business)
The abovewarranties areineffect from this installation date, or 90 days, whichever comes first.
This manual suits for next models
1
Table of contents
Other Adcraft Dispenser manuals
Popular Dispenser manuals by other brands

National
National NC-ER22N operating instructions

Hydro
Hydro EvoClean 1214GB user manual

Georgia Pacific
Georgia Pacific GP PRO Pacific Blue Ultra 56602A reference guide

Silvercrest
Silvercrest 304340 Operation and safety notes

Cornelius
Cornelius 2 Flavor Training manual

BOWMAN
BOWMAN BK211-0111 quick start guide