manuals.online logo
Brands
  1. Home
  2. •
  3. Brands
  4. •
  5. ADDER
  6. •
  7. Extender
  8. •
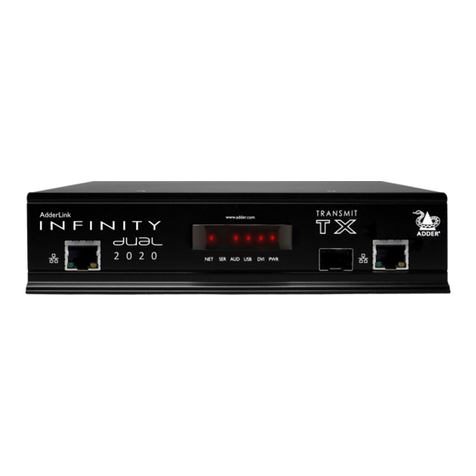
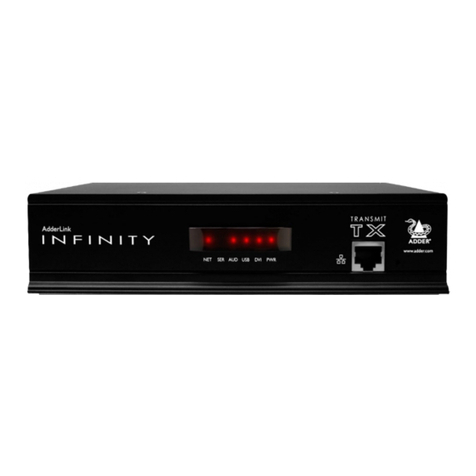
  9. ADDER AdderLink Infinity 100T User manual

ADDER AdderLink Infinity 100T User manual

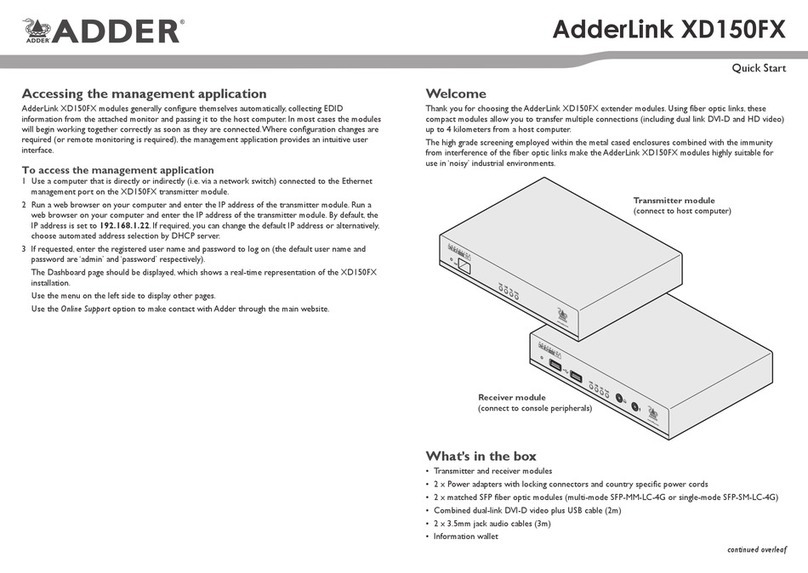
Welcome
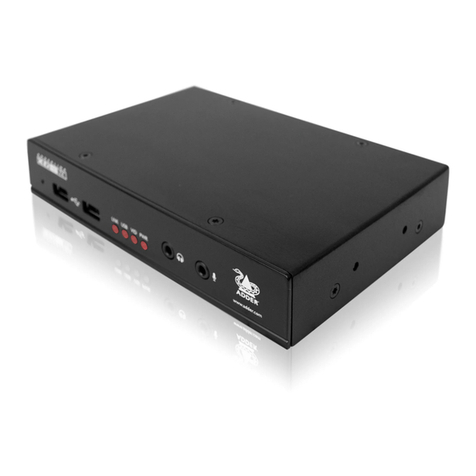
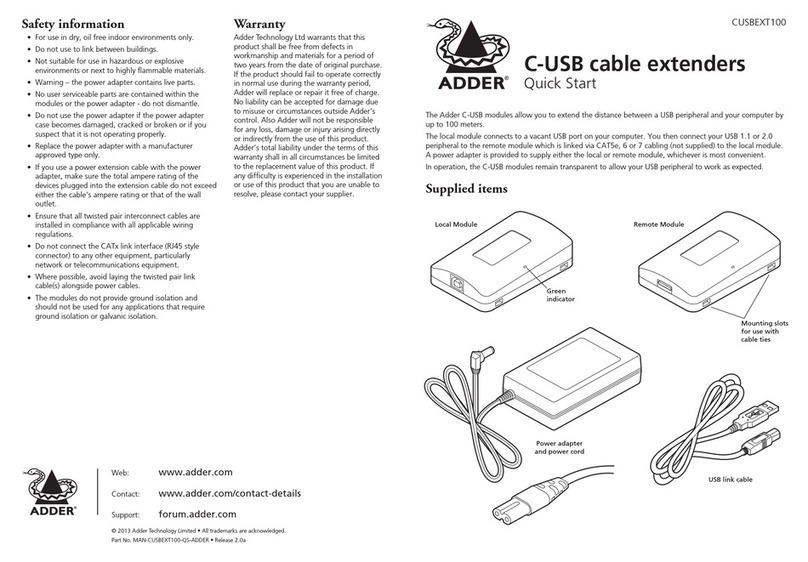
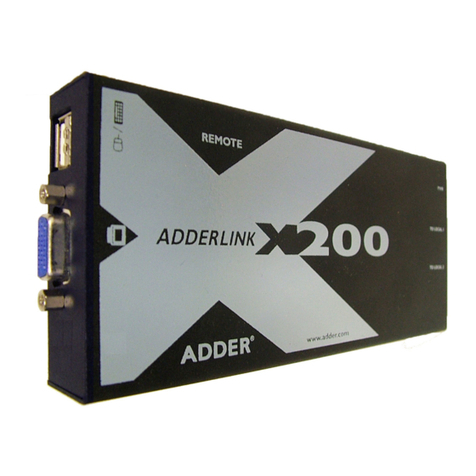
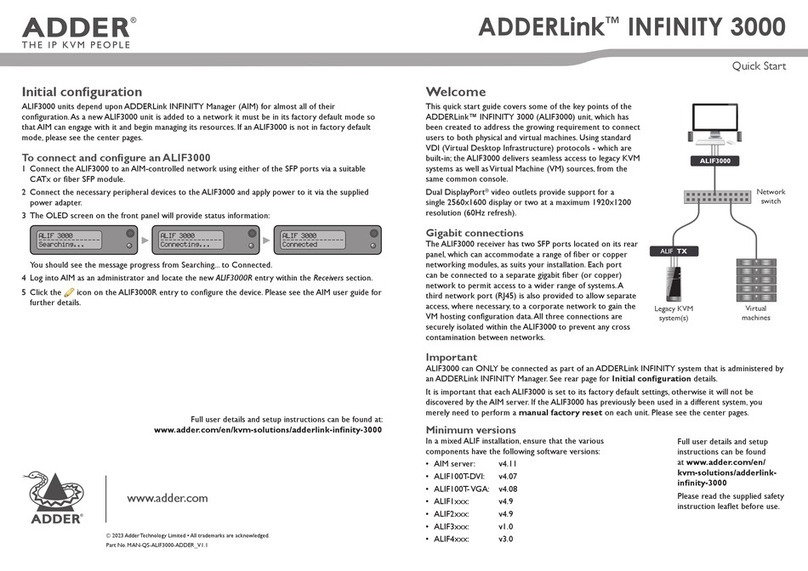
This quick start guide covers some of the key points of the ALIF100T unit. Full user details and setup
instructions can be found at www.adder.com/en/kvm-solutions/adderlink-innity-100t
Initial conguration
Please see the next page for Connection details.
ALIF units can be linked in two mains ways: Direct or Networked.
Direct linking
Where ALIF transmitters and receivers are directly linked to each other, very little conguration action
is required, provided that they both have their factory default settings in place - just link them together.
If the standard settings have been changed in a previous installation, you merely need to perform a
manual factory reset on each unit. Please see the next page for further details.
AdderLink Innity 100T
Quick Start
continued overleaf
Safety information
• For use in dry, oil free indoor environments.
• Not suitable for use in hazardous or explosive environments or next to highly ammable materials.
• No user serviceable parts are contained within the module - do not dismantle.
Radio Frequency Energy
All interface cables used with this equipment must be shielded in order to maintain compliance
with radio frequency energy emission regulations and ensure a suitably high level of immunity to
electromagnetic disturbances.
European EMC directive 2014/108/EC
This equipment has been tested and found to comply with the limits for a class A
computing device in accordance with the specications in the European standard EN55032.
In a residential environment, this equipment may cause radio interference.
FCC Compliance Statement (United States)
This equipment generates, uses and can radiate radio frequency energy and if not installed and used
properly, that is, in strict accordance with the manufacturer’s instructions, may cause interference to
radio communication. It has been tested and found to comply with the limits for a class A computing
device in accordance with the specications part 15 of FCC rules, which are designed to provide
reasonable protection against such interference when the equipment is operated in a commercial
environment. Operation of this equipment in a residential area may cause interference, in which case
the user at his own expense will be required to take whatever measures may be necessary to correct
the interference. Changes or modications not expressly approved by the manufacturer could void the
user’s authority to operate the equipment.
Canadian Department of Communications RFI statement
This equipment does not exceed the class A limits for radio noise emissions from digital apparatus set
out in the radio interference regulations of the Canadian Department of Communications.
Le présent appareil numérique n’émet pas de bruits radioélectriques dépassant les limites applicables aux
appareils numériques de la classe A prescrites dans le règlement sur le brouillage radioélectriques publié par le
ministère des Communications du Canada.
© 2018 Adder Technology Limited • All trademarks are acknowledged.
Part No. MAN-QS-ALIF-ADDER_V1.2
Web: www.adder.com
Contact: www.adder.com/contact-us
Support: www.adder.com/support/contact-support
ALIF RX
ALIF100T
ALIF RX
ALIF RX
ALIF RX
Gigabit
Ethernet
ALIF100T
Networked linking
Where ALIF units are connected via networked links, you can either congure them individually, or
congure them collectively using an A.I.M. server:
• Conguring networked ALIF units individually -You need to specify the network addresses
of the ALIF units so that they can locate each other. This is done by running the AdderLink Innity
browser-based conguration utility on a computer system linked to the same network as the ALIF
units. Please see the next page for further details.
• Conguring networked ALIF units collectively - The AdderLink Innity Management (A.I.M.)
server allows you to congure, control and coordinate any number of ALIF transmitters and
receivers from a single application. See adder.com for details.
IMPORTANT: When using A.I.M. to congure ALIF units, it
is vital that all units that you wish to locate and control
are set to their factory default settings. Otherwise they will
not be located by the A.I.M. server. If necessary, perform a
manual factory reset on each ALIF unit. See next page.
Note: If you are using one or more ALIF100T transmitters
within an installation managed by an A.I.M. server, the A.I.M.
server must be running rmware version 4.7 or above.
Warranty
Adder Technology Ltd warrants that this product shall
be free from defects in workmanship and materials for a
period of two years from the date of original purchase.
If the product should fail to operate correctly in normal
use during the warranty period,Adder will replace or
repair it free of charge. No liability can be accepted for
damage due to misuse or circumstances outside Adder’s
control.Also Adder will not be responsible for any loss,
damage or injury arising directly or indirectly from the
use of this product.Adder’s total liability under the terms
of this warranty shall in all circumstances be limited to
the replacement value of this product. If any difculty is
experienced in the installation or use of this product that
you are unable to resolve, please contact your supplier.
Connections
Status
indicators
(see below)
Black USB plug provides USB
signals (plus power if the
external power adapter is not
present)
Red USB plug provides power
only when the external power
adapter is not present
DVI-D (or DisplayPort)
connector input
Ethernet port (plus
indicators) - Either link
directly to an ALIF receiver
or via a network switch
Optional external
power input
Reset button
(see below
right)
Cable tie
mounting slot
AdderLink Innity browser-based conguration utility
Use this utility when conguring the ALIF100T to work with ALIF receivers
which are linked via a network.You will need to use a computer connected to
the same network as the ALIF100T unit (you can also connect them directly).
To access the browser-based configuration utility
Run a web browser on your computer and enter the standard IP address of the
ALIF100T unit:
169.254.1.33
Note: If the IP address of ALIF100T unit has been changed and is not known, providing
it is appropriate to do so, perform a manual factory reset (see below) to restore the
default address.
The opening page of the ALIF conguration utility should be displayed:
Full user details and setup instructions can be found at:
www.adder.com/en/kvm-solutions/adderlink-innity-100t
Main status indicators
• Off No power
• Green Operating - Video, USB and network link all
present
• Orange Operating - But video, USB and/or network link
missing.
• Red (momentarily) Unit is booting up, or
(consistently) Unit has failed, try rebooting.
• Red/green ashing Unit is in backup mode.
• Blue Factory reset has been activated.
• Red/blue ashing Unit is in upgrade mode.
• Fast green ash Unit is in identify mode.
To perform a manual factory reset
A factory reset returns ALIF100T unit to its default conguration.
1 Power on the ALIF100T unit.
2 Use a narrow implement (e.g. a straightened-out paper clip) to press-and-
hold the recessed reset button on the front panel for roughly fteen seconds,
until the status indicators turn blue (Note: alternating red/green indications will
occur during the fteen second period while the button is still pressed).
3 Release the reset switch. The indicators will remain blue for a short while
(less than ten seconds) while ALIF100T unit congures itself and should then
change to green if all connections are correct; or orange if one or more of
the video, USB and/or network links are missing.
NOTE: If you are performing a factory reset and intend to disconnect the
power immediately after the reset, you must wait at least 30 seconds after
you have released the reset button for it to complete the process.

Other manuals for AdderLink Infinity 100T

1

This manual suits for next models

2

Other ADDER Extender manuals

ADDER X-KVM Quick start guide

ADDER

ADDER X-KVM Quick start guide

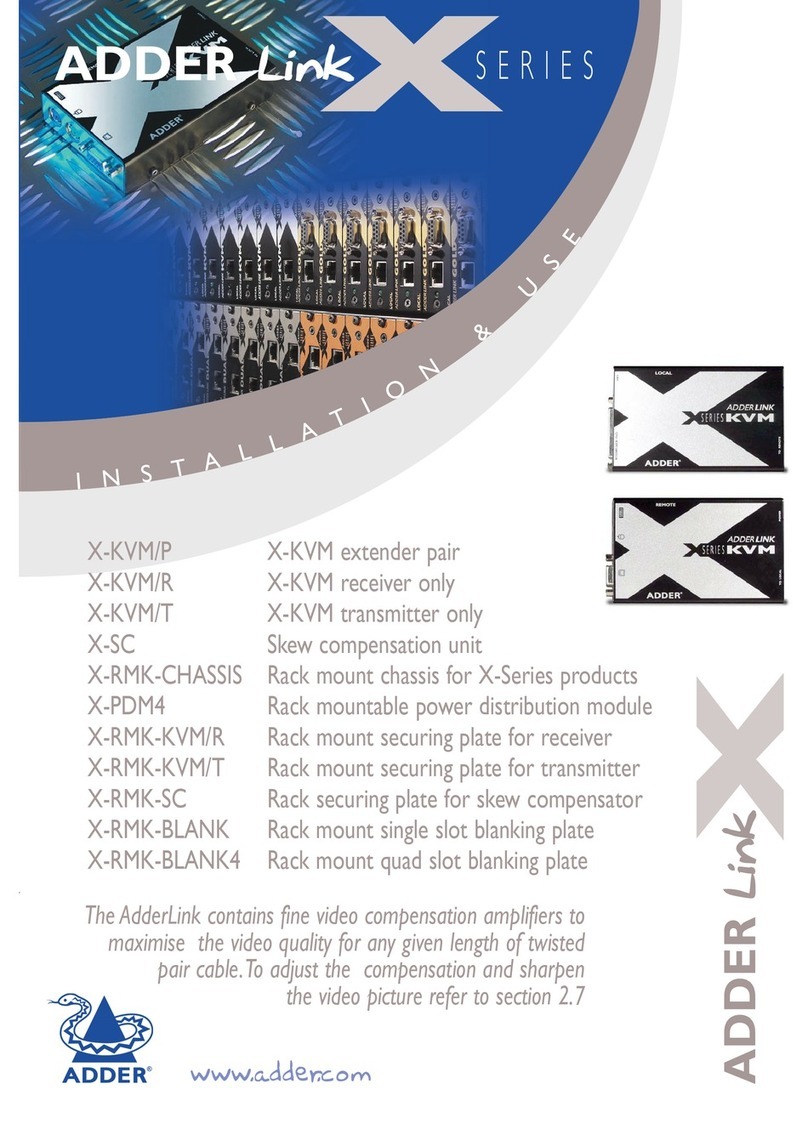
ADDER AdderLink X Series Quick start guide

ADDER

ADDER AdderLink X Series Quick start guide

ADDER ADDERLink INFINITY 3000 User manual

ADDER

ADDER ADDERLink INFINITY 3000 User manual

ADDER AdderLink XDIP User manual

ADDER

ADDER AdderLink XDIP User manual

ADDER ADDERLINK AV200 Series User manual

ADDER

ADDER ADDERLINK AV200 Series User manual

ADDER AdderLink XD522 User manual

ADDER

ADDER AdderLink XD522 User manual

ADDER AdderLink Infinity Manager User manual

ADDER

ADDER AdderLink Infinity Manager User manual

ADDER AdderLink X-DVIPRO User manual

ADDER

ADDER AdderLink X-DVIPRO User manual

ADDER ADDERLINK X-DVI PRO User manual

ADDER

ADDER ADDERLINK X-DVI PRO User manual

ADDER AdderLink LPV User manual

ADDER

ADDER AdderLink LPV User manual

ADDER AdderLink Infinity Manager User manual

ADDER

ADDER AdderLink Infinity Manager User manual

ADDER ALGTX Quick start guide

ADDER

ADDER ALGTX Quick start guide

ADDER AdderLink Digital iPEPS User manual

ADDER

ADDER AdderLink Digital iPEPS User manual

ADDER AdderLink Infinity Manager User manual

ADDER

ADDER AdderLink Infinity Manager User manual

ADDER AdderLink X-Series User manual

ADDER

ADDER AdderLink X-Series User manual

ADDER AdderLink XD150 User manual

ADDER

ADDER AdderLink XD150 User manual

ADDER AdderLink X-DVI User manual

ADDER

ADDER AdderLink X-DVI User manual

ADDER CUSBEXT100 User manual

ADDER

ADDER CUSBEXT100 User manual

ADDER Link X200 User manual

ADDER

ADDER Link X200 User manual

ADDER ALIF 2112T User manual

ADDER

ADDER ALIF 2112T User manual

ADDER AdderLink X100 User manual

ADDER

ADDER AdderLink X100 User manual

ADDER AdderLink Infinity 100T User manual

ADDER

ADDER AdderLink Infinity 100T User manual

ADDER AdderLink X-USBPRO User manual

ADDER

ADDER AdderLink X-USBPRO User manual

ADDER ALIF 2112T User manual

ADDER

ADDER ALIF 2112T User manual

Popular Extender manuals by other brands

O2 Boostbox Setup and installation guide

O2

O2 Boostbox Setup and installation guide

SIIG CE-H21U11-S1 installation guide

SIIG

SIIG CE-H21U11-S1 installation guide

SIIG AV-GM02D3-S1 manual

SIIG

SIIG AV-GM02D3-S1 manual

Gefen ADB-100 user manual

Gefen

Gefen ADB-100 user manual

weBoost DRIVE 4G-X FLEET user manual

weBoost

weBoost DRIVE 4G-X FLEET user manual

Comprehensive CHE-HD300 user manual

Comprehensive

Comprehensive CHE-HD300 user manual

Inline VKM01 Operation manual

Inline

Inline VKM01 Operation manual

Key Digital KD-FIX418 operating instructions

Key Digital

Key Digital KD-FIX418 operating instructions

ZyXEL Communications WRE6505 quick start guide

ZyXEL Communications

ZyXEL Communications WRE6505 quick start guide

Telex TELEXo quick start guide

Telex

Telex TELEXo quick start guide

Xylem LOWARA Resvari Operating and maintenance instructions

Xylem

Xylem LOWARA Resvari Operating and maintenance instructions

Crestron DM-TXRX-100-STR Do guide

Crestron

Crestron DM-TXRX-100-STR Do guide

Lenkeng LKV375 user manual

Lenkeng

Lenkeng LKV375 user manual

Extron electronics DTP HDMI 230 user guide

Extron electronics

Extron electronics DTP HDMI 230 user guide

ATEN CE790 user manual

ATEN

ATEN CE790 user manual

TP-Link TL-WA854RE Quick installation guide

TP-Link

TP-Link TL-WA854RE Quick installation guide

Cat5 UE02 instruction manual

Cat5

Cat5 UE02 instruction manual

GoMax Electronics EX-57VJ-A user manual

GoMax Electronics

GoMax Electronics EX-57VJ-A user manual

manuals.online logo
manuals.online logoBrands
  • About & Mission
  • Contact us
  • Privacy Policy
  • Terms and Conditions

Copyright 2025 Manuals.Online. All Rights Reserved.