ADEEPT PiCar-B User manual


www.adeept.com
1
Warning
Please pay attention to the following issues when purchasingorusingtheproduct:
There are small components included in this kit. Swallowing mistakenly or misoperation can
cause serious infection and be even fatal. When an accident occurs, please seek medical
assistance immediately.
Please place the product in a safe place where an under-6-year-old cannot touch, who should
not use or approach the product.
Juveniles should use the product with their parents.
Do not place the product or the components near any AC socket orothercircuitstoavoid
electric shock.
Do not use the product near any liquid or flame.
Do not use or store the product in an extreme environment such as in extremely low or high
temperature and heavy humidness.
Please remember to power off when the product is not in use.
Do not touch the moving or rotating part of the product.
The product may get heat at some part, which is just normal. Butmisoperationmaycause
overheat.
Misoperation may cause damage to the product. Please take care.
Do not connect the positive and negative poles of the power inversely, or the devices in the
circuit may be damaged.
Please place and put the product gently. Do not smash or shock it.
About
Adeept is a technical service team of open source software andhardware.Dedicatedtoapplying
the Internet and the latest industrial technology in open source area, we strive to provide the
best hardware support and software service for general makers and electronic enthusiasts
around the world. We aim to create infinite possibilities with sharing. No matter what field you
are in, we can lead you into the electronic world and bring yourideasintoreality.
The code and manual of our product are open source. You can check on our website:
http://www.adeept.com/
If you have any problems, feel free to send an email for technical support and assistance:
support@adeept.com
On weekdays, we usually will reply within 24 hours. Also welcome to post in our official forum:
http://www.adeept.com/forum/

www.adeept.com
2
Copyright
This user manual and code can be used for learning, DIY, refitting, etc., except for commercial
purpose. The Adeept Company owns all rights of contents in themanual,includingbutnot
limited to texts, images, data, etc. Any distribution or printing should be implemented with the
permission of the Company, or it will be deemed illegal.

www.adeept.com
contents
1. Components List.............................................................................................................................. 1
1.1. Acrylic Plates........................................................................................................................ 1
1.2. Machinery Parts................................................................................................................... 3
1.3. Transmission Parts................................................................................................................4
1.4. Electronic Parts.....................................................................................................................5
1.5. Tools......................................................................................................................................6
1.6. Self-prepared Parts...............................................................................................................6
2. Assembly..........................................................................................................................................7
2.1. Preparations before Assembly............................................................................................. 7
2.2. Car Light and Battery Holder Assembly............................................................................... 9
2.3. Rear wheel assembly..........................................................................................................18
2.4. Front wheel assembly........................................................................................................ 26
2.5. Front part assembly........................................................................................................... 37
2.6. Raspberry Pi assembly.......................................................................................................46
2.7. Install and Remove Batteries............................................................................................. 50
2.8. Circuit Connection..............................................................................................................51
3. Software & Hardware....................................................................................................................52
3.1. Software Installation.......................................................................................................... 52
3.2. Download Program............................................................................................................ 57
3.3. Set Up a Raspberry Pi......................................................................................................... 57
3.4. Install Python3.7 in the PC................................................................................................. 66
3.5. Run the PiCar-B.................................................................................................................. 71
4.Afterword....................................................................................................................................... 76

www.adeept.com
1
1. Components List
1.1. Acrylic Plates
A01
1pcs
A02
1pcs
A03
1pcs
A06
1pcs
A05
1pcs
A04
1pcs
A07
1pcs
A09
2pcs
A08
2pcs

2
www.adeept.com
The acrylic plates are fragile, so please be careful when assembling them in case of breaking.
The acrylic plate is covered with a layer of protective film. You need to remove it first.
Some holes in the acrylic may have residues, so you need to clean them before the use.
A12
1pcs
A11
2pcs
A10
2pcs
A16
1pcs
A15
1pcs
A14
1pcs
A13
1pcs
A18
1pcs
A17
1pcs

www.adeept.com
3
1.2. Machinery Parts
www.adeept.com
M2
Nut
X26
www.adeept.com
M3
Nut
X12
www.adeept.com
M4
Nut
X2
www.adeept.com
M2*10
Screw
X11
www.adeept.com
M2*14
Screw
X8
www.adeept.com
M2.5*8
Screw
X8
www.adeept.com
M3*8
Screw
X32
www.adeept.com
M3*12
Screw
X9
www.adeept.com
M3*18
Screw
X1
www.adeept.com
M4*6
Screw
X2
www.adeept.com
M4*40
Screw
X2
www.adeept.com
M3*10
Countersunk
Head
Screw
X2
www.adeept.com
M1.4*6
Self-tapping
Screw
X8
www.adeept.com
M4
Spring
Washer
X6
www.adeept.com
F624ZZ
Bearing
X6
www.adeept.com
F687ZZ
Bearing
X4
www.adeept.com
M2*6
Copper
Standoff
X4
www.adeept.com
M2.5*10+6
Copper
Standoff
X4
www.adeept.com
M2.5*14
Copper
Standoff
X4
www.adeept.com
M3*12
Copper
Standoff
X4
www.adeept.com
M3*30
Copper
Standoff
X11
www.adeept.com
Nylon
Isolation
column
X2

4
www.adeept.com
1.3. Transmission Parts
Bevel gear unit
M3*3 Locking Screw x2
Bevel gear x2
S12D4 Coupling Set
M4*4 Locking Screw x4
S12D4 Coupling x2
D3.9L120 Axle x1
Motor x1
Wheel x4
Servo x3

www.adeept.com
5
1.4. Electronic Parts
Raspberry Pi Camera X1
Adeept Motor HAT X1
18650x2 Battery Holder X1
Adeept Ultrasonic Module X1
Adeept RGB LED Module X2
3-CH WS2812 RGB LED X4
3-CH Line Tracking Module X1
Raspberry P1 Camera Ribbon X1
3-Pin Wires -A X3
3-Pin Wires -B X1

6
www.adeept.com
Hex Wrench-2.0mm X1
Hex Wrench-1.5mm X1
Cross Socket Wrench X1
Cross Screwdriver X1
Large Cross-head Screwdriver X1
Winding Pipe X1
Raspberry Pi X1
1.5. Tools
1.6. Self-prepared Parts
Ribbon X1
4-Pin Wires X3
5-Pin Wires X1
18650 Battery X2

www.adeept.com
7
Assemble the following components
Raspberry Pi Camera x1
Raspberry Pi Camera Ribbon x1
Effect diagram after assembling
Assemble the following components
Effect diagram after assembling
2. Assembly
2.1. Preparations before Assembly
1. Connect the Raspberry Pi Camera and the ribbon.
2. Connect the Adeept Ultrasonic Module with 4-Pin wires.
The connection diagrams of the remaining modules and wires are as follows:
Adeept Ultrasonic Module x1
4-Pin wires x1
Adeept RGB LED Module+4-Pin wires 2 sets

www.adeept.com
8
Effect diagram after assembling
Effect diagram after assembling
3. Screw the M3*3 Locking Screw into the bevel gear (2 sets).
4. Screw the M4*4 Locking Screw into the S12D4 Coupling (2 sets).
3-CH Line Tracking Module+5-Pin wires 1 set
The two plugs of 3-Pin Wires-A are small plugs, 3-Pin Wires-B has a small plug at one
end and a large plug at the other end. To prevent confusion between the following
two components when reading the manual, we define the following two
components as 3-CH WS2812 RGB LED-A and 3-CH WS2812 RGB LED-B.
3-CH WS2812 RGB LED+3-Pin Wires -A 3 sets
Defined 3-CH WS2812 RGB LED-A
Wires are connected to the
input of 3-CH WS2812 RGB LED
(the end marked with a white
strip pattern)
3-CH WS2812 RGB LED+3-Pin Wires -B 1 set
Defined as 3-CH WS2812 RGB LED-B
Assemble the following components
M3*3 Locking Screw x1
Bevel gear
x1
Assemble the following components
M4*4 Locking Screw x2
S12D4 Coupling x1

www.adeept.com
9
Effect diagram after assembling
2.2. Car Light and Battery Holder Assembly
1. Fix two M3*12 Copper Standoff on A01.
Assemble the following components
M3*12 Copper Standoff is fixed on the
marked side of A01
A01 x1
M3*12 Copper
Standoff x2
M3*8 Screw
x2

www.adeept.com
10
Effect diagram after assembling
2. Fix A06 on A01.
Assemble the following components
M3 Nut x4
A06 x1
For the convenience of
reading, some modules of
the manual will display
other colors; the actual
color shall prevail.
M3*12 Screw x4

www.adeept.com
11
Effect diagram after assembling
3. Fix M2*6 Copper Standoff on A01.
Assemble the following components
M2*6 Copper
Standoff x2
M2*14 Screw x2

www.adeept.com
12
Effect diagram after assembling
4. Fix one 3-CH WS2812 RGB LED-A on M2*6 Copper Standoff.
Assemble the following components
M2 Nut x2
3-CH WS2812 RGB LED-A
input (the end marked
with a white strip pattern)
is on the back.
3-CH WS2812
RGB LED-A
x1

www.adeept.com
13
Effect diagram after assembling
5. Follow step 3 and 4, fix another 3-CH WS2812 RGB LED-A on A01.
Before install the 3-CH WS2812 RGB LED-A,
pass the 3-Pin Wires-A on the 3-CH WS2812
RGB LED-A through A01 via the hole here.
3-CH WS2812 RGB
LED-A input (the end
marked with a white
strip pattern) is in the
front.

www.adeept.com
14
6. Fix 18650x2 Battery Holder on A01.
Assemble the following components
18650x2 Battery
Holder x1
M3*10 Countersunk
Head Screw x2
M3 Nut x2
Effect diagram after assembling
After the 18650x2 Battery Holder is fixed, connect the 3-Pin
Wires -A of 3-CH WS2812 RGB LED-A on the left to the 3-CH
WS2812 RGB LED-A on the right.

www.adeept.com
15
7. Fix one 3-CH WS2812 RGB LED-A and 3-CH WS2812 RGB LED-B respectively on both sides of
the A02 .
Assemble the following components
With reference to the position of the two holes here (to the right), 3-CH WS2812
RGB LED-A and 3-CH WS2812 RGB LED-B cannot be fixed to the othersideofA02.
And 3-CH WS2812 RGB LED-A is on the left side, the input end (theendmarkedwith
awhitestrippattern)facesup,3-CHWS2812RGBLED-Bisontherightside,andthe
input end (the end marked with a white strip pattern) faces down.
A02 x1
M2*10 Screw
x4
3-CH WS2812
RGB LED-B x1
3-CH WS2812
RGB LED-A x1
M2 Nut x4
Effect diagram after assembling
After assembly, connect the wires on the input end of
3-CH WS2812 RGB LED-A to the output end of 3-CH
WS2812 RGB LED-B
Output end of
3-CH WS2812
RGB LED-B
Input end of
3-CH WS2812
RGB LED-A

www.adeept.com
16
8. Fix A02 on A01.
Assemble the following components
A02
M3 Nut x2
A01
M3*12 Screw x2
Effect diagram after assembling
Table of contents
Other ADEEPT Robotics manuals
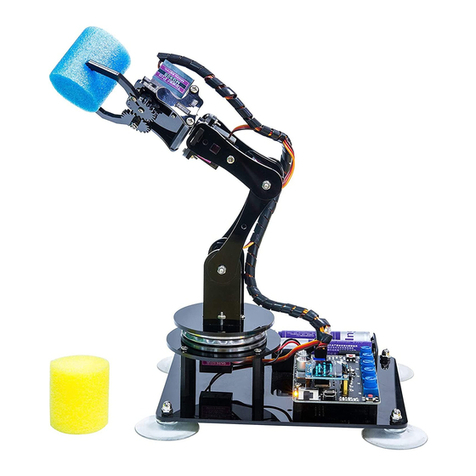
ADEEPT
ADEEPT ADA031 User manual
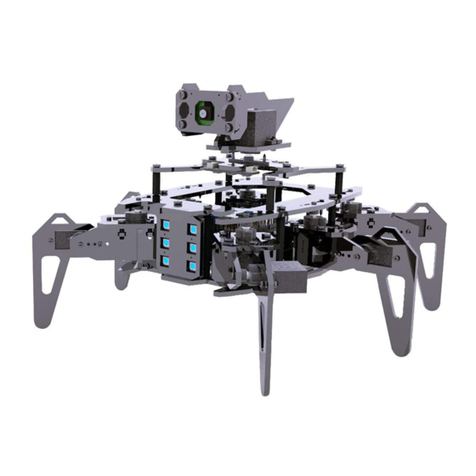
ADEEPT
ADEEPT RaspClaws User manual

ADEEPT
ADEEPT RaspRover User manual

ADEEPT
ADEEPT RaspArm User manual
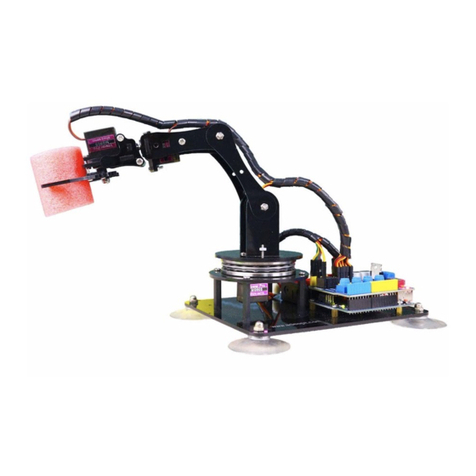
ADEEPT
ADEEPT Robotic Arm User manual
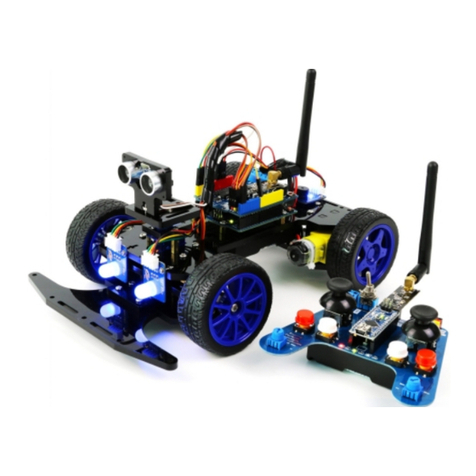
ADEEPT
ADEEPT Smart Car Kit User manual
ADEEPT
ADEEPT PiCar-Pro User manual
ADEEPT
ADEEPT Hexapod 6 Legs Spider Robot User manual
ADEEPT
ADEEPT RaspTank User manual
ADEEPT
ADEEPT Hexapod User manual
