ADEEPT ADA031 User manual

www.adeept.com
1

www.adeept.com
1
Warning
Please pay attention to the following issues when purchasing or using the product:
There are small components included in this kit. Swallowing mistakenly or misoperation can
cause serious infection and be even fatal. When an accident occurs, please seek medical
assistance immediately.
Please place the product in a safe place where an under-6-year-old cannot touch, who should
not use or approach the product.
Juveniles should use the product with their parents.
Do not place the product or the components near any AC socket or other circuits to avoid
electric shock.
Do not use the product near any liquid or flame.
Do not use or store the product in an extreme environment such as in extremely low or high
temperature and heavy humidness.
Please remember to power off when the product is not in use.
Do not touch the moving or rotating part of the product.
The product may get heat at some part, which is just normal. But misoperation may cause
overheat.
Misoperation may cause damage to the product. Please take care.
Do not connect the positive and negative poles of the power inversely, or the devices in the
circuit may be damaged.
Please place and put the product gently. Do not smash or shock it.
About
Adeept is a technical service team of open source software and hardware. Dedicated to applying
the Internet and the latest industrial technology in open source area, we strive to provide the
best hardware support and software service for general makers and electronic enthusiasts
around the world. We aim to create infinite possibilities with sharing. No matter what field you
are in, we can lead you into the electronic world and bring your ideas into reality.
The code and manual of our product are open source. You can check on our website:
http://www.adeept.com/
If you have any problems, feel free to send an email for technical support and assistance:
support@adeept.com
On weekdays, we usually will reply within 24 hours. Also welcome to post in our official forum:
http://www.adeept.com/forum/

www.adeept.com
2
Copyright
This user manual and code can be used for learning, DIY, refitting, etc., except for commercial
purpose. The Adeept Company owns all rights of contents in the manual, including but not
limited to texts, images, data, etc. Any distribution or printing should be implemented with the
permission of the Company, or it will be deemed illegal.

www.adeept.com
3
contents
1. Components List..............................................................................................................................1
1.1. Acrylic Plates........................................................................................................................ 1
1.2. Machinery Parts................................................................................................................... 3
1.3. Electronic Parts.....................................................................................................................4
1.4. Tools......................................................................................................................................5
1.5. Self-prepared Parts...............................................................................................................5
2.Introduction of Robotic Arm............................................................................................................ 6
3.Arduino and Processing Environment Installation...........................................................................8
4. Assembly........................................................................................................................................21
4.1. Pedestal Assembly..............................................................................................................21
4.2. Install and Remove Batteries........................................................................................ 32
4.3. Turnplate and Rocker Arm Assembly.................................................................................33
4.4.Play 1................................................................................................................................... 47
4.5.Play 2................................................................................................................................... 49
4.6.Circuit Connection...............................................................................................................55
5.Combinations of the robotic arm...................................................................................................56
6.Functions of the robotic arm......................................................................................................... 57
6.1. Potentiometer control mode..........................................................................................57
6.2.Learning mode................................................................................................................. 63
6.3. Processing controls servo.............................................................................................70
6.4. Imitation function.............................................................................................................78
6.5. Processing controls robotic arm to write and draw...................................................82
7.Afterword....................................................................................................................................... 88

www.adeept.com
1
1. Components List
1.1. Acrylic Plates
A01
1pcs
A03
1pcs
A04
1pcs
A02
1pcs
A07
1pcs
A08
1pcs
A06
1pcs
A05
1pcs

www.adeept.com
2
The acrylic plates are fragile, so please be careful when assembling them in case of breaking.
The acrylic plate is covered with a layer of protective film. You need to remove it first.
Some holes in the acrylic may have residues, so you need to clean them before the use.
A15
1pcs
A17
1pcs
A10
1pcs
A09
3pcs
A13
1pcs
A11
1pcs
A12
1pcs
A16
1pcs
A14
2pcs
A18
1pcs
A19
1pcs

www.adeept.com
3
1.2. Machinery Parts
M3
Lock
Nut
www.adeept.com
M3*5
Screw
M2*10
Screw
www.adeept.com
www.adeept.com
M2*4
Screw
www.adeept.com
X12
M3*18
Screw
M3*8
Screw
www.adeept.com
X7
X8
www.adeept.com
www.adeept.com
X2
M3*10
Countersunk
Head
Screw
X4
www.adeept.com
X2
www.adeept.com
X16
www.adeept.com
www.adeept.com
X4
X4
X1
www.adeept.com
www.adeept.com
M3*8
Copper
Standoff
X5
M3*30
Nylon
Standoff
M3
Nut
X2
X3
X9
M3*40
Nylon
Standoff
www.adeept.com
M3*6
Copper
Standoff
M3*12
Screw
M2.5*7
Screw
M2*6
Copper
Standoff
www.adeept.com
X3
Sucking disc component
Cap Nut
X4
www.adeept.com
M2
Nut
X9
51108 Bearing
Sucking Disc
X4

www.adeept.com
4
1.3. Electronic Parts
Servo X5
Adeept Arm Drive Board X1
USB Cable X1
Adeept UNO R3 Board X1
OLED X1
Adeept Touch Button X1
18650x2 Battery Holder X1
3-Pin Wire X1
4-Pin Wire X1
Servo Extension Cable X1

www.adeept.com
5
Cross Socket Wrench X1
Large Cross-head Screwdriver X1
1.4. Tools
1.5. Self-prepared Parts
Ribbon X1
Pencil X1
18650 Battery X2
Winding Pipe X1

www.adeept.com
6
2.Introduction of Robotic Arm
Nowadays, under the progress of science and technology, the biggest difference between a
robotic arm and a human arm lies in flexibility and strength. That is, the biggest advantage of the
robotic arm is that normally it can repeat the same motion without feeling tired. Today Adeept
recommends a robotic learning kit to learn how to assemble a robotic arm and learn how to
write the code to control the robotic arm to perform the specific motions. We provide a
completed using method for learning Arduino and Processing-- write PC software and send
motion commands to the robotic arm with Processing; write the motion of the servo of the
robotic arm with Arduino.
The following figure shows that we control the robotic arm to pick up the object through the
keyboard with serial communication.

www.adeept.com
7
The following figure shows that we control the robotic arm to write and draw through the mouse
with serial communication.
We have added the learning and memory function to the robotic arm. We let the robotic arm to
record the manually controlled mechanical movements we made, and the robotic arm can learn
repeatedly, such as repeat moving the object, repeat drawing the same graphic, repeat keyboard
input and repeat turning book pages.

www.adeept.com
8
3.Arduino and Processing Environment
Installation
More about building up Arduino development environment please check this video
More learning videos please click on http://www.adeept.com/video/
Let's take the Windows 64-bit system as an example (the Arduino IDE also supports MAC and
Linux). First open the browser and enter the URL https://www.arduino.cc/en/Main/Software and
you will see the following interface.
Click “JUST DOWNLOAD”.

www.adeept.com
9
Run the downloaded file.
Click “I Agree”.
Click “Next”.

www.adeept.com
10
Leave the installation path as default, click "Install".
Then enter the installation process, please wait.
If the option pops up during the installation process, please select "Install".

www.adeept.com
11
When the installation is complete, click "Close".
After the installation is complete, you can see the icon of the Arduino IDE on your computer
desktop.
Click to run Arduino, the following interface will appear.

www.adeept.com
12
Let's write a simple program that lights up the LEDs on the UNO board and lets them flash.
Code:
Next we connect the UNO to the computer with a USB cable.
Open the system device manager, you will see the UNO port number is COM7. It may be
recognized differently on different computers for example COM1, COM2, COM3 and so on.

www.adeept.com
13
Next, go back to the Arduino IDE interface and select the model of the control board. Click on
"Tools" -> "Board" -> "Arduino/Genuino Uno", as shown below
Next click “Tools”->”COM7(Arduino/Genuino Uno)”

www.adeept.com
14
When finish selecting, upload the code to UNO by clicking "Upload".
When the code is successfully downloaded to UNO, you can see the LED flashes.

www.adeept.com
15
More details about the download and usage of Processing, please click on this video
More learning videos please click on http://www.adeept.com/video/
Open your browser and enter the URL www.processing.org
Click on "Download Processing"

www.adeept.com
16
The operating system we choose to use here is windows 64-bit, select "Windows 64-bit"
When finish downloading, you will get a compressed file "processing-3.4-windows64.zip".
Table of contents
Other ADEEPT Robotics manuals

ADEEPT
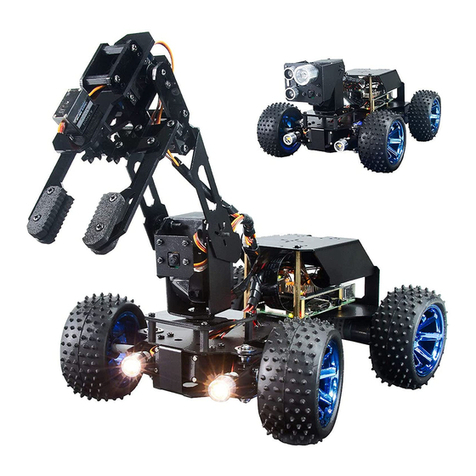
ADEEPT RaspArm User manual
ADEEPT
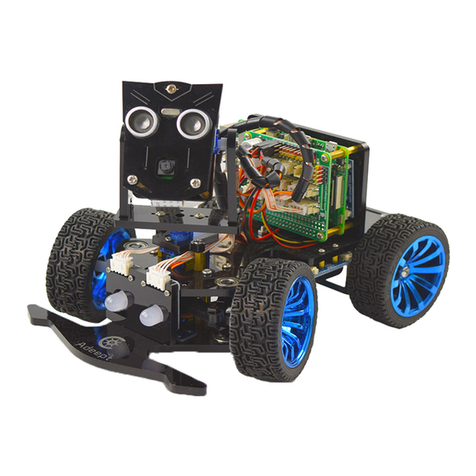
ADEEPT PiCar-B User manual
ADEEPT
ADEEPT RaspRover User manual
ADEEPT
ADEEPT RaspClaws User manual

ADEEPT
ADEEPT RaspClaws User manual

ADEEPT
ADEEPT Quadruped Robot User manual
ADEEPT
ADEEPT PiCar-Pro User manual
ADEEPT
ADEEPT RaspTank User manual
ADEEPT
ADEEPT Robotic Arm User manual
ADEEPT
ADEEPT Smart Car Kit User manual
Popular Robotics manuals by other brands

ZNJ
ZNJ RM-X52-TNM manual
Pudu
Pudu PuduBot PD1 Standard user manual
Robotelf Technologies Co., Ltd.
Robotelf Technologies Co., Ltd. Robelf RBE001 user manual
RoboSpecies
RoboSpecies RobotriX Electronica instructions
JOOLA
JOOLA INSIDE 15 instruction manual
Mitsubishi Electric
Mitsubishi Electric CR800-D Series user manual
