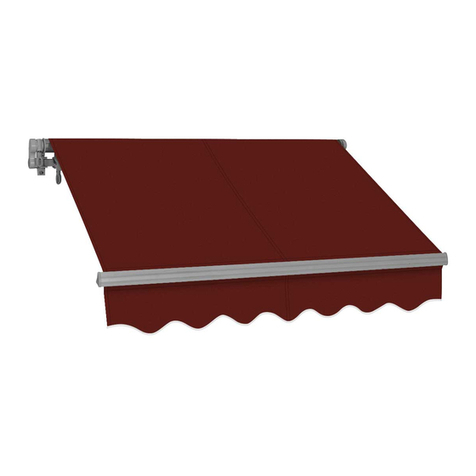
Advaning CLASSIC Series User manual

CLASSIC SERIES
Retractable Awning
For your safety and the safety of others, please read all of the instructions and warnings
in this manual carefully before peceeding with installation and usage
Owner’s Manual

1
Safety instructions and warnings........................................... 2
Package contents and parts .............................................. 3
Tool requirements ...................................................... 4
Awning terminology and location .......................................... 4
Installation
Bracket placement reference chart ................................... 5
Pre-Installation guide .............................................. 6
Install wall brackets
Standard stud installation ....................................... 7
Masonry installation ............................................ 8
Install ceiling brackets ............................................ 11
Install awning onto brackets ....................................... 12
Ready your awning............................................... 13
Electric awnings, power cord connection ............................. 13
Electric awnings, prepare your remote control ......................... 13
Operation
Manual model................................................... 14
Electric model .................................................. 14
Fabric rolling direction ........................................... 15
Adjust awning pitch .............................................. 15
Maintenance.......................................................... 16
Warranty and customer service ........................................17~18
The awning arms contain tensioned
cables. Always use caution, securely tie
the awnings arms to the awning when
performing installation, adjustments, or
repairs. Sudden movement of tension
arms can result in serious personal injury,
product and/or property damage.
CAUTION
Fig.1
SAFETY INSTRUCTIONS
In order to avoid
accidental injury or
damage, DO NOT
remove arm safety
restraints until
instructed.
TABLE OF CONTENTS
www.advaning.com

2
SAFETY FIRST, PLEASE READ THE FOLLOWING POINTS TO REDUCE THE RISK OF
FIRE, ELECTRIC SHOCK OR PERSONAL INJURY.
SAFETY INSTRUCTIONS AND WARNINGS
Installation
• Pay close attention throughout the installation process to ensure that the Advaning awning is installed properly and
according to the safety guidelines outlined herein.
• Do not attempt installation while under the inuence of alcohol or drug substances.
• Do not remove the safety restraints from the awning’s lateral arms until instructed to do so. The arms contain tensioned
springs and may release very quickly. Always ensure no persons or objects are directly in arm projection path at all
times.
• Do not proceed with an installation if you feel that you cannot properly and safely complete, please seek professional
help.
• Always wear protective gear and gloves when handling sharp metal parts.
• Only perform installation/maintenance/cleaning in dry and optimal weather conditions.
• 2 or more persons are recommended for installation. Installation will require to lift the assembled awning onto the
brackets. Ensure help is available to help lift.
Usage
• Only use Advaning recommended accessories and original replacement parts.
• Only perform installation/maintenance/cleaning in dry and optimal weather conditions.
• Do not place any heat source or open ame under or near the awning.
• Do not place, hang, or stand objects or persons on the awning itself. Doing so can damage the awning or cause severe
personal injury and in extreme cases death.
• Do not carry out any maintenance other than what is shown in this manual. For any issues that are not covered in this
• The product should only be operated by an adult that understands all the functions and operations. Please keep
unsupervised children away from playing with the awning or its parts.
• The product should be used only as described in this Advaning Owner’s manual.
Electric Awnings Only
• Do not disassemble the awning motor, please seek support from Advaning Customer Service. Email: [email protected].
• Do not handle any part of the power plug or motor with wet hands or objects. Doing so could induce an electric shock.
• Do not use the electric option if the cord or plug is damaged. For damaged power cords and plugs, please seek
• Ensure that the power cord is not strained and that it has ample slack to avoid damage. Avoid pulling the cord around
sharp edges or corners. Keep the power cord away from high trafc areas.
• Do not pull or tug on the cord. Grasp the plug by the base when unplugging the device to avoid damage. Rewind the
cord and store to prevent a tripping hazard.
DO NOT keep the
awning open during:
A: RAIN
B: SNOW
C: STRONG WIND
D: UNSUPERVISED
PERIODS
SAFETY INSTRUCTIONS AND WARNINGS
Fig.2
A B C D
www.advaning.com

3
Model Size 8’~10’ 12’~16’
Parts name Quantity
Wall/ceiling dual
bracket set
Wall/ceiling
bracket 2 3
Retaining hex bolt 2 3
Retaining nut 2 3
3/8” washer 2 3
3/8” x 4” Lag screw 4 6
3/8” Flat washer 4 6
M13 x 3”
Expansion Bolt
Expansion bolt 4 6
Washer 4 6
Hex bolt 4 6
Before attempting your
install, please ensure that
the package contains all
parts and qty’s as listed
for your awning size.
*Motorized models Include:
• 16ft power cord
• Motor Regulator
• Remote Control Kit
-Remote with cover screw
-Battery
-Wall Cradle
-Wall Mount with screws
Advaning’s motorized awnings
allow users to set a custom
stop setting with the Motor
Regulator tool.
To safeguard your awnings
warranty, we ask that you
contact Advaning’s customer
support for proper instructions
before attempting any
adjustments. Adjustments
without safeguarding your
warranty rst voids the motors
warranty.
If no custom settings are
needed, please save the
Motor Regulator tool with your
Owner’s Manual in case it is
needed in the future.
PACKAGE CONTENTS AND PARTS
Fig.3
Assembled Awning Qty: 1
Hand Crank Qty: 1 (63 Inches Length)
Remote Control Kit*
Qty: 1
Motor Regulator*Qty: 1
www.advaning.com

4
REQUIRED TOOLS
AWNING TERMINOLOGY AND LOCATION
Fig.5
Fig.4
Arm shoulder
Cassette
Crank loop
Torsion bar
Roller tube
Awning fabric
Front bar
Valance
Powercord
Retractable arms
Easy PitchTM loop
Wall/ceiling bracket
Lag screw
Retaining bolt
Electric model only
www.advaning.com
Minimum 2 people to install
REQUIRED TOOLS
Marker / pencil
Measuring tape
Electronic Stud nder
Chalk line / laser level
Level
3/8” socket wrench
*Wood Drill Bit
1/2” Masonry Drill Bit
Power Drill / Hammer
Drill (Masonry)
Ladders (2)
*Dependent on wood species: 1/4” ~ 9/32” drill bit.
1
5
6
3
7
2
4
8
9
10
1
1
9
3
6
7
6
2
2
4
4
5
5
7
8
89
12
10
13
14
3
10
11
12
13
14
11
11
1
5
6
3
7
2
4
8
9
10

5
INSTALLATION
Fig.6
www.advaning.com
Left awning shoulder
Right awning shoulder
BRACKET
PLACEMENT
REFERENCE
CHART
Use the illustrations
below for optimal bracket
placement.
IMPORTANT
ALL BRACKETS MUST BE MOUNTED DIRECTLY ONTO WALL STUDS OR
OTHER MAJOR STRUCTURAL SUPPORTS.
FOR OPTIMAL BALANCE OF THE AWNING WEIGHT DISTRIBUTION, PLEASE
ATTEMPT TO FOLLOW THE BRACKET PLACEMENT AS ILLUSTRATED.
NOTE: NOT EVERY INSTALLATION IS IDENTICAL AND MOST STUDS/
STRUCTURAL SUPPORTS WILL NOT ALWAYS ALIGN, THE BRACKETS MAY BE
MOVED TO BEST SAFELY FIT YOUR SPECIFIC STUD/STRUCTURAL SUPPORT
LOCATION WHILE SUPPORTING THE AWNING ONCE INSTALLED.
A
A
B
B
8 ~ 10 feet awning
12-16 feet awning
A
B

6
INSTALLATION
Fig 7
Fig 8
Side view
www.advaning.com
Locate a position that is
Recommended: 8 to 10
ft. above the ground/
oor, deck etc.
Recommended (for
wall mounts only):
Minimum of 1 inch
clearance below the
roof/eave/overhang
etc.
Critical: Minimum
of 10 inches clear
vertical run length
(no obstructions) –
depending on awning
size.
Run length should be free
and clear of any obstruc-
tions along the entirety
of planned install site.
Personal & specic struc-
tural physicalities may
require deviation from
the recommended mea-
surements, consult with
a professional installer
who can best assess your
installation site and en-
sure a safe and full func-
tion of the awning once
installed.
PRE-INSTALLATION
GUIDE Roof, eave or overhang
Roof, eave or overhang
Recommended
8~10 feet
Minimum 1 inch
Ground, oor or deck
Ground, oor or deck
Minimum 10 inch
clear space
A
Recommended
8~10 feet*
C10 inch clear space
BMinimum 1 inch
Front
Bar
8 ~ 11 feet projection space
A
B
C

7
INSTALLATION
Fig 9
Fig 10
Fig 11 Fig 12
www.advaning.com
General stud framing
installation
WALL MOUNT
INSTALLATION
Measure and mark
where the top of your
awning bracket will
be placed.
Use a level and chalk
line or laser level to
mark your bracket
guide line.
Locate and mark
the center of the
wall studs along this
line using a st ud
nder. *Follow your
specic stud nders
manufacturer’s
instructions to
properly locate studs.
Align the top of the
bracket to the chalk
line.
Align the center of
the bracket mounting
holes with the center
of the stud.
Use a level to make
sure the bracket is
straight and mark
the center of the
mounting holes.
Drill mounting pilot
holes.
Bracket
Center of stud
Wood
3.5”
1Minimum 1 inch
Level Chalkliner
Stud nder
Level
1
Recommended
8~10 feet
2
3
4
5
6
7
Marker/pencil
1
2
3
4
5
6
7

8
INSTALLATION
Fig 13 Fig 14
Fig 15
Fig 16
www.advaning.com
Place bracket over
pre-drilled holes and
use a level to ensure
the bracket is leveled
and square to line.
Use a lag screw and
washer to secure the
bracket to your wall/
surface, repeat for
each bracket.
For proper installation
of brackets on uneven
surfaces or siding, use
shims or spacers to level
the bracket.
Due to a variety of
siding nishes/materials,
Advaning recommends
contacting the siding
manufacture for
necessary requirements
before using shims,
cutting or drilling into
your siding.
Masonry Installation
General (solid) masonry
installation
Masonry Installation detailed photos and tips available via www.advaning.com
CAUTION: Brackets must
be installed directly onto
solid brick or concrete.
Avoid severe personal
injury & property damage
- Never install brackets to
grout, mortar or hollow
masonry substrates
Bracket Bracket
washer
Washer
Lag screw
Lag screw
Shim/spacer
Siding
Wall
Wall
Level
8
9
8
9

9
INSTALLATION
Fig 20
Fig 18 Fig 19
Fig 17
www.advaning.com
Follow instructions
for standard instal-
lation step 1 and 2
(page 7).
Use the recommend-
ed bracket location
chart (page 5) to nd
bracket location for
your awning model
along the line.
Align the top of the
bracket to the chalk
line and use a level to
make sure the bracket
is straight.
Mark the center of
the bracket mounting
holes.
Drill mounting pilot
holes.
3.25”
Bracket Center
Bracket locations base
on your awning model
Solid
Masonry
Wall
Marker/pencil
2
3 4
5
3
4
5
1
2

10
INSTALLATION
Fig 21
Fig 23 Fig 24
Fig 26
Fig 22
Fig 25
www.advaning.com
Clean the pilot hole
and remove excess
dust/debris with a
vacuum. Insert an ex-
pansion bolt set into
each hole ( a hammer
may be used).
Leave the hex bolt
head outside of the
hole.
Using a socket wrench
tighten the hex bolt,
this will cause the
anchor/wedge to
expand and lock the
sleeve in place.
Unscrew and remove
the hex bolt. Ensuring
the sleeve and
anchor/wedge are
locked within the
wall.
Place the wall bracket
over the holes and
use a level to make
sure the bracket is
straight.
Re-insert the hex bolt
with washer through
bracket and into the
xed sleeve.
Tighten the hex bolts
to secure wall bracket
to surface.
Masonry Installation detailed photos and tips available via www.advaning.com
Tighten
Socket
wrench
Bracket
Level
Expansion bolt set
Hex bolt
Hex bolt
Tighten bolt head
Leave hex bolt
head outside
Wall
Wall
Wall Wall
Bracket
6
7
8
910
11
12
6
7
8
9
10
11
12

11
INSTALLATION
Fig 27
Fig 28
Fig 29 Fig 30
www.advaning.com
SOFFIT/CEILING
INSTALLATION
Locate a main struc-
tural support (ex:
stud/truss), straight
at and leveled edge
of your roof, eave or
overhang that is clear
and free of obstruc-
tions.
Using a chalk line or
laser level, mark a line
that runs the entire
length of your aw-
ning. The awning will
stand 10” off of this
line.
Use the recommend-
ed bracket location
chart (page 5) to
determine bracket
locations for your
awning model along
the line.
Place the soft/ceiling
mount side of bracket
in place, use a level
to ensure bracket is
straight and mark the
center of the mount-
ing holes.
Drill mounting holes.
General wood framing
installation
Level
Bracket
3.5”
Roof, eave or overhang
Chalkliner
Minimum 10 inch
clear space
Roof, eave or overhang
Bracket locations base on your awning model
Marker/pencil
1
2
3
4
5
1
2
3
4
5

12
INSTALLATION
Fig 31 Fig 32
www.advaning.com
Place bracket over
the pre-drilled holes
and use a level to
ensure the backet is
square to line.
Use a lag screw and
washer to secure the
bracket to your soft/
ceiling, repeat for
each bracket.
INSTALLING
AWNING ONTO
BRACKETS
Remove the retain-
ing bolts from each
bracket.
Lift and slide the aw-
ning to brackets and
slide the torsion bar
into the bracket fork.
Insert the retaining
bolt and washer into
the bracket fork holes
and secure with nut.
Securely tighten the
bolts with a socket
wrench.
Fig 35
Fig 33
Fig 34
Washer
Lag screw
Socket wrench
Washer
Retaining
bolt
Nut
Torsion bar
Bracket Bracket
67
1
2
3
4
6
7
1
2
3
4

13
INSTALLATION
Fig 36
Fig 37
PREPARE REMOTE
CONTROL
Your remote awning will
come with a CR2430
battery.
Note: Additional re-
mote information in
Maintenance Section,
Page 16
www.advaning.com
Plug into a GFI rated
outdoor socket.
Use a drip loop to
avoid water collecting
on electrical socket.
Never modify the
cord or plug.
ELECTRIC
AWNINGS
CAUTION: The arms con-
tain tensioned springs
and may release very
quickly.
Before removing the
safety restraints, make
sure that no persons or
objects are directly in
arm projection path.
Motorized Awning: Do
not plug in the power
cord at this step.
READY YOUR
AWNING
Power cord connection
Position yourself un-
der the awning.
With scissors, care-
fully cut the safety
restraints from the
arms one at a time.
Avoid damaging your
awning – Do not use
a knife or blade.
Fig 38
Ensure the batteries
(+) symbol faces out-
ward.
Replace the battery
cover and secure
with screw.
Drip loop
CR2430
Battery
Battery
cover
1
2
2
1
2
1
2
1
21
1
2

14
OPERATION
2
Fig 39
Fig 40
www.advaning.com
Use the hand crank
to open the awning
fully then close it
completely to test for
proper operation.
Use the hand crank
and open the awning
to desired extension.
Use the remote con-
trol to deploy (open)
the awning fully then
use the remote control
to retract (close) the
awning completely.
Use the remote con-
trol’s stop button
(center) to stop the
awning at a desired
extension.
Note: Additional remote
information in Mainte-
nance Section, Page 16
MANUAL
OPERATION
REMOTE CONTROL
OPERATION –
MOTORIZED
AWNINGS ONLY
To keep the fabric taut,
always reserve a small
portion of the awning
fabric on the roller tube
Correct rolling instruc-
tions: Page 15, Fig 41.
Arms will not
fully straighten
when extended
OPENCLOSE
Remote
control
1
3
2
1 2
1
1
2
2

15
Fabric Fabric Fabric
EXTEND OUT 1/3 OR 2FT MAKE ADJUSTMENT UP OR DOWN EXAMPLE OF LOWERED PITCH
EXTEND OUT FULLY
1 32 4 5
OPERATION
Fig 43
Fig 44
Fig 42
Fig 41
CORRECT INCORRECT
Fabric
Fabric
www.advaning.com
FABRIC ROLLING
DIRECTION
Note: If pitch is adjusted
upwards above the facto-
ry setting of 15 degrees,
we recommend lowering
the pitch down to prop-
erly close the awning.
Open the awning
about 1/3 extension
or 2ft out.
With the aid of a
helper supporting the
front bar of the aw-
ning, hook the hand
crank through one
of the Easy Pitch™
loops.
Turn the hand crank
to adjust the awnings
pitch up or down.
Repeat the adjust-
ment to all Easy
Pitch™ loops.
Fully open the awning
and with the use of a
level ensure the front
bar is straight and
leveled.
ADJUST AWNING
PITCH
Always ensure the fabric
is rolled over the fabric
roller tube.
Front bar
8-16ft awning: 2 Easy PitchTM loops
23
2
1
2
3
4
5

16
MAINTENANCE
www.advaning.com
PREPARING YOUR AWNING FOR INCLEMENT WEATHER
Always retract and your awning closed whenever inclement weather is in the forecast to prevent damage from
accumulated water, snow or from strong gusts of winds. For more detailed information regarding wind, please
view our wind guide via www.advaning.com
GENERAL CARE
A. Keep the awning fully close when not in use and at night to help maintain fabric appearance and avoid
any weather related damage.
B. Protect the awnings cassette with a soft cover during prolonged periods of non-use.
C. Lubricating your awning’s moving parts once a year to prevent noises. A dry silicone lubricant or lithium
grease spray is recommend. Lubrication instructions are available via www.advaning.com
CLEANING CARE
To clean your awnings fabric, lower the pitch via the Easy Pitch™ loops and open the awning to see and access
the top of the fabric and for proper drainage. Use a mild soap and water mix (1 part soap to 2 parts water)
and standard garden hose to gently remove any accumulated dust, dirt, or debris. Raise the pitch to its regular
setting and allow the awning to fully dry before retracting/closing. To dust the awning, a damp cloth, chamois,
or soft bristle brush is recommended.
PROTECTING THE FABRIC FROM MILDEW
Should the awning’s fabric get wet, allow it to fully dry before retracting to prevent mildew and prolong the
life of the fabric. If you must retract the awning while wet, open the awning as soon as the weather permits to
allow the fabric to fully dry and remove any dirt deposits to preserve the fabric.
FRAME CARE
Perform annual maintenance on your awning such as cleaning the frame with a chamois cloth when necessary.
It is important to inspect the fasteners, connections and the condition of the metal components.
MOTOR NOTICE
The electric motor is equipped with an automatic overheat protection shutoff system. If you run your awning
several times continuously, the motor will stop its operation. It will resume normal operation after 30 minutes.
Do not attempt to disassemble or modify the motor. Should your motor not operate correctly, please close
MOTOR CARE
To prevent water from entering the power outlet and damaging the motor, form a drip loop as shown in gure
37. The bottom of the loop is lower than the power outlet to prevent water from pooling near the electrical
socket and power plug.
REMOTE CARE
Your remote uses a CR2430 battery, this battery may be replaced as needed. Always ensure that the battery is
properly clipped in place + symbol facing out and cap secured with screw. In the case of remote malfunction
instructions.

17
WARRANTY AND CUSTOMER SERVICE
www.advaning.com
ADVANING 3-YEAR LIMITED MANUFACTURER’S WARRANTY FOR CLASSIC SERIES RETRACTABLE
AWNINGS
Advaning’s warranty provides coverage for all of its original Advaning Classic Series awnings that are sold and
installed within the United States of America and Canada to be free of defects of materials and workmanship.
This warranty only applies to the original owner/purchaser of the product and is only effective on a basis of
thirty six (36) months or three (3) years from the date of purchase. Any defects or issues presented to Advaning
within the warranty period will be promptly handled by Advaning customer service and resolved within a
reasonable timeframe.
Entire awning framework, including extruded & die cast component parts, springs & cables are covered.
Should the purchaser/original owner submit a warranty claim within the warranty period Advaning will provide
a resolution option that may include; new replacement parts or instructions for repair or both. Powder coated
and painted nishes are excluded and are NOT covered under this limited warranty.
During the warranty period, owners in Canada, Hawaii, Alaska and Puerto Rico are covered for parts/
replacements at no charge, however, the owner would assume all shipping/handling and applicable duties and
taxes. Advaning’s Warranty does not cover any return shipping or prepaid return labels. Should the purchaser/
owner notify Advaning within the warranty period from the date of the original purchase and after deemed
defective by Advaning, will the warranty claim be resolved by either of the following: A. Defective component
replacement (shipping charges may apply), B. Detailed instructions for correcting the issue, Or a combination
of both A and B.
WARRANTY LIMITATION AND EXCLUSION
The warranty will be in effect once the awning is fully paid for.
Advaning is not responsible for damages due to faulty modications, installation, or re-installation.
Advaning assumes no liability for damage to the structure to which the awning is attached, or to the property
located underneath the awning. This limited warranty does not cover damage from ice, snow, hail, high winds,
vandalism, neglect, improper use, or any natural disasters. This limited warranty does not cover degradation
due to salt corrosion, oxidation, and chipping or peeling of the paint.
Problems and Warranty Claims
If you experience a problem with your Advaning product, please contact Advaning Customer Service at
• Prior to contacting Advaning via phone or email for warranty claims, please have your model name/
number, serial/lot number, original proof of purchase*, and a description of difculty experience ready
for our Customer Service team. Most issues can be resolved over the telephone by our trained Customer
Service representatives. If any issues arise that cannot be solved over the phone or email, Advaning will
issue a Return Merchandise Authorization (“RMA”) number, and arrange replacement parts for you.
*Proof of Purchase: A valid sales/purchase receipt is required with authorized reseller/retailer name, the
purchase date and the model number of the item purchased.
• Submitting a claim will not extend or alter the warranty coverage period. Any work done by a 3rd party
or non-authorized person/Advaning agent will void the warranty.
THIS WARRANTY IS EXCLUSIVE AND IS IN LIEU OF ANY AND ALL OTHER WARRANTIES, EXPRESSED OR
IMPLIED. NO IMPLIED WARRANTIES OF MERCHANTABILITY OR FITNESS FOR A PARTICULAR PURPOSE

18
WARRANTY AND CUSTOMER SERVICE
www.advaning.com
ARE GIVEN, ANY AND ALL LIABILITY FOR BREACH OF ANY IMPLIED WARRANTY OR WARRANTY CREATED
BY LAW IS DISCLAIMED.
Some states do not allow limitations on how long an implied warranty lasts, so the above limitation may not
apply to you.
UNDER NO CIRCUMSTANCES SHALL ADVANING, INCLUDING ITS SUBSIDIARIES AND AFFILIATES BE
LIABLE FOR INCIDENTAL OR CONSEQUENTIAL DAMAGES WITH RESPECT TO ECONOMIC LOSS, INJURY,
DEATH OR PROPERTY DAMAGE, WHETHER AS A RESULT OF BREACH OF THIS WARRANTY, NEGLIGENCE
OR OTHERWISE.
Some states do not allow the exclusion or limitation of incidental or consequential
damages, so the above limitation or exclusion may not apply to you in
whole or in part. This warranty gives you specic legal rights. You may also
have other rights that vary from state to state.
What is Not Covered by the Advaning Limited Warranty
This warranty is non-transferable and does not cover product purchases from the initial buyer to a third party.
This warranty does not cover incidental damages, such as loss of time, loss of use, or installation costs of
defective, repaired or replaced product. This warranty does not cover product that has been damaged or
rendered defective as a result of:
(a) Neglect, abuse or misuse.
(b) Modication of the original product.
(c) Improper use or installation using products not manufactured by Advaning.
(d) Service provided by anybody other than Advaning.
(e) Abnormal mechanical or environmental conditions.
(f) Unusual physical or electrical stress -including failure or uctuation of electrical power, lighting, static
electricity, re, tornadoes, or other natural disasters.
Shipping Damage Claim:
On the occasion of a damage claim caused by the shipper/shipping company, the owner must contact their
point of sale and the delivering freight carrier within 3 days of signing for the delivery in order to make a
claim. Failure to report freight damage and missing parts in a timely manner and in accordance to the carrier’s
guidelines may result in you incurring all costs. Likewise, there are 5 days from the time of delivery to report
missing parts to Advaning.
For more information, please contact the corporate ofce.
Advaning Customer Service Center
Email: [email protected]
LIMITED TIME OFFER – Free, 8 Months *Extra Warranty Coverage
Register your awning purchase within 60 days of purchase along with **installation photos to receive an *Extra
8 months of warranty coverage.
www.advaning.com/warranty-registration
*parts only, shipping not included. / **submitting photos grants Advaning permission to reproduce any portion
of the photo image for print, web, or any other marketing purpose including social media outlets.

CONTACT
INFORMATION
Product Questions?
by phone at 714-622-2600, or by chat on our website;
www.advaning.com
Advaning Customer Service is available Monday through
Friday from 8:30 a.m. to 4:00 p.m. PST
www.advaning.com
C.OM.V05.2207
Other manuals for CLASSIC Series
1
Table of contents
Other Advaning Accessories manuals
Advaning
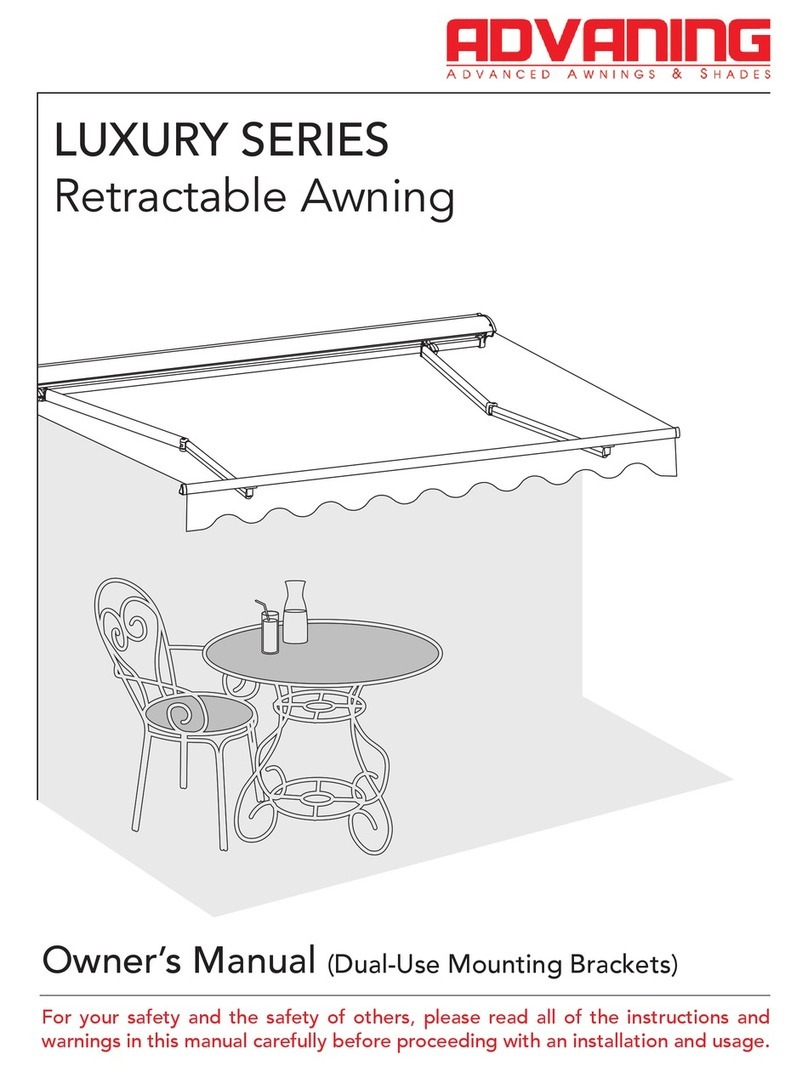
Advaning LUXURY Series User manual
Advaning
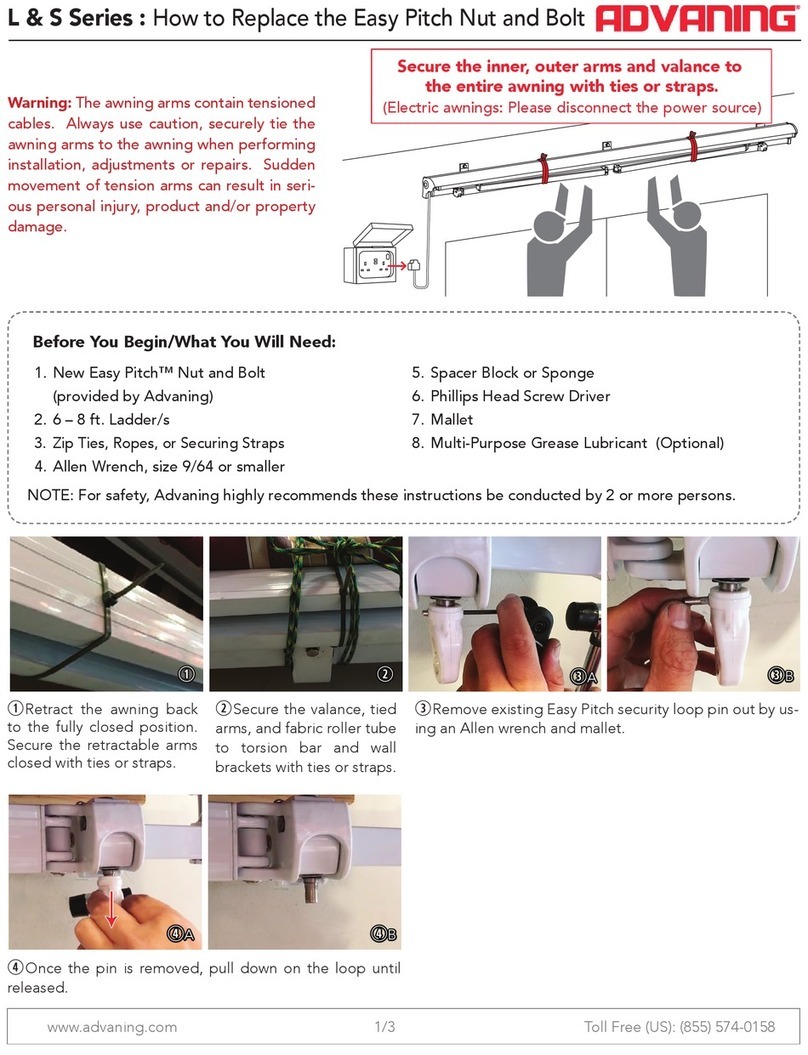
Advaning S series User manual
Advaning
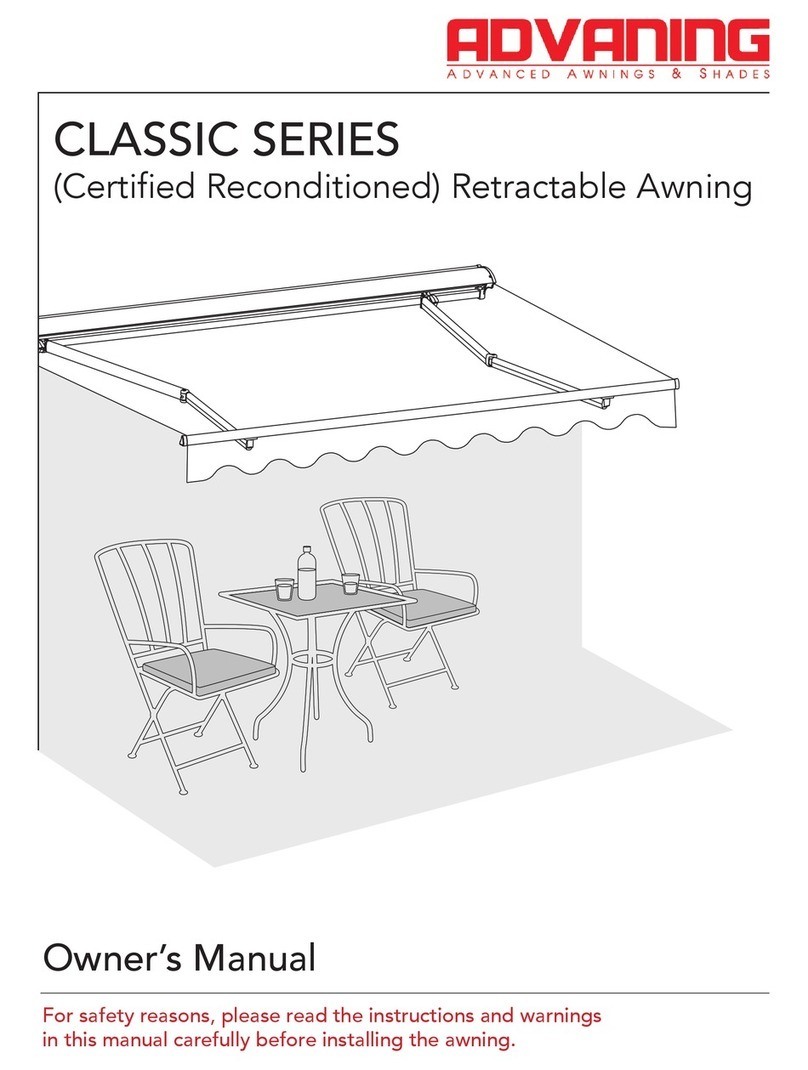
Advaning CLASSIC Series User manual

Advaning
Advaning PA SERIES User manual
Advaning
Advaning GA Series User manual
Advaning
Advaning S series User manual
Advaning
Advaning FS SERIES User manual
Advaning
Advaning SG Series User manual

Advaning
Advaning PA SERIES User manual

Advaning
Advaning PN Series User manual

