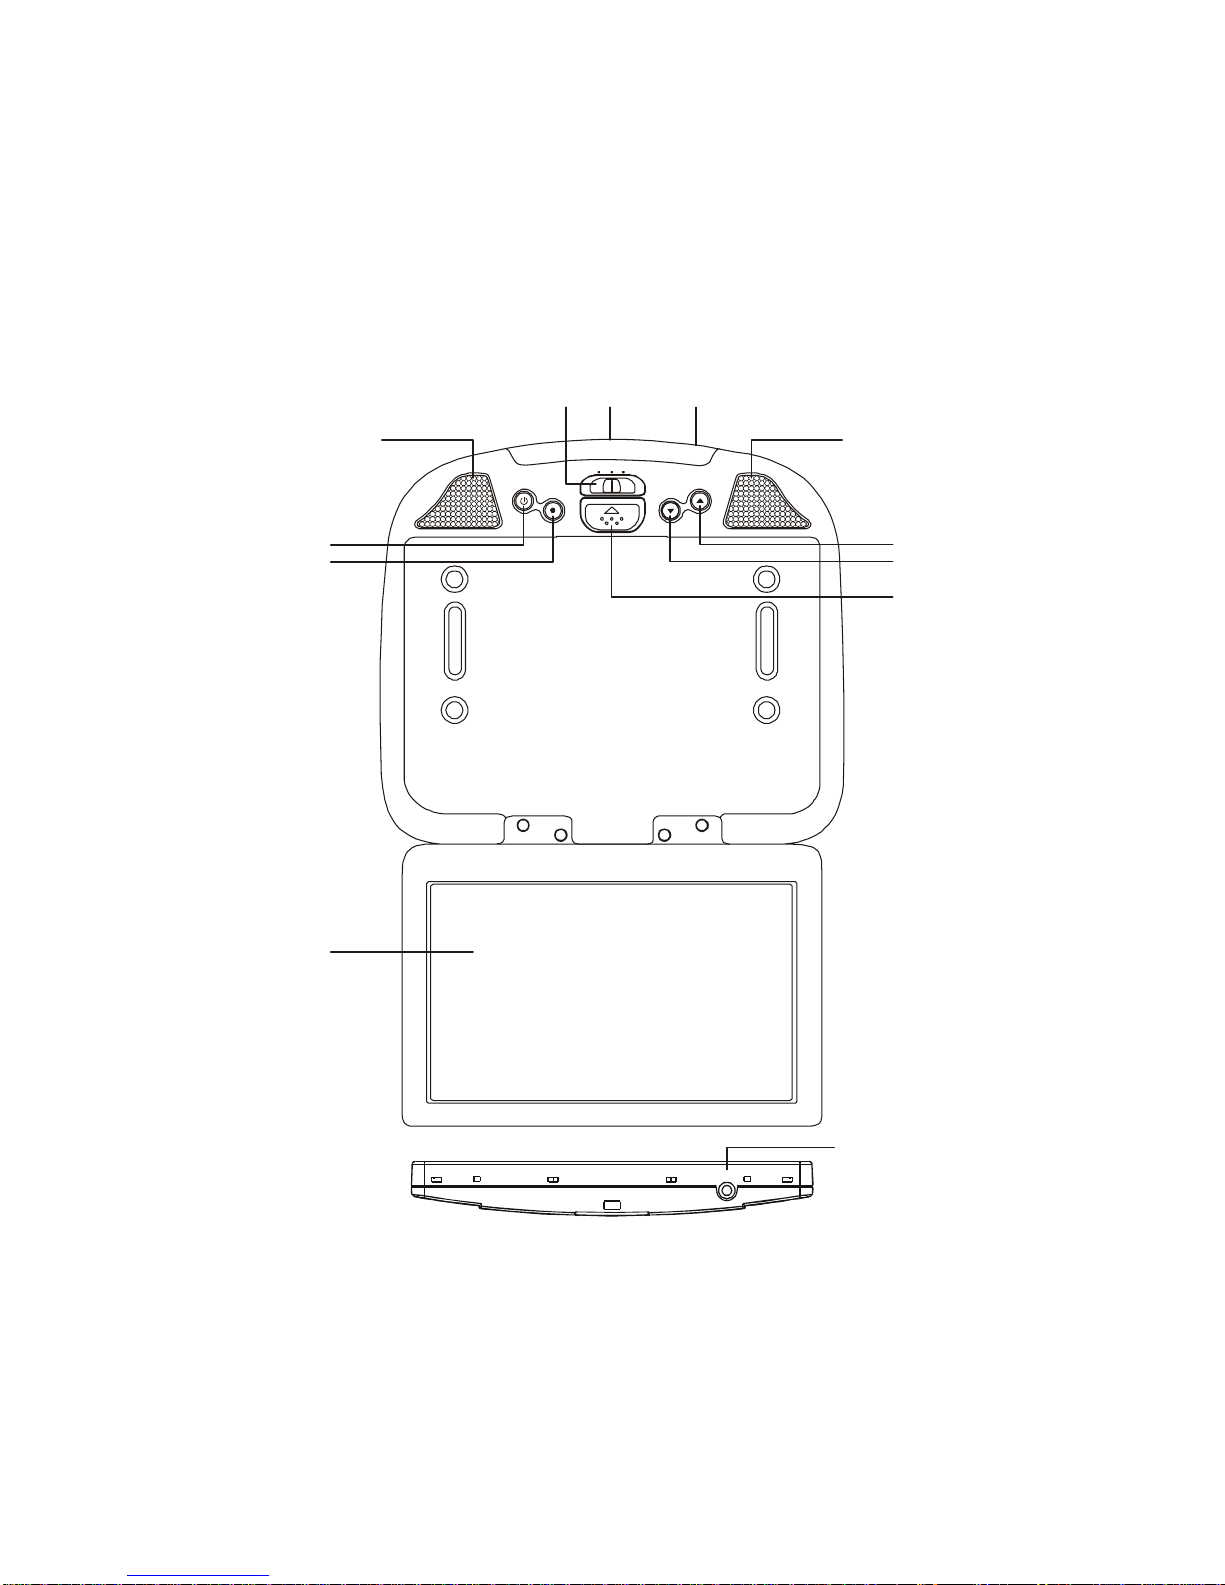
AEC MM1021 User manual

MM1021
10.2” LCD OVERHEAD MONITOR
OPERATIONMANUAL
POWER
MENU
ON OFF AUTO
DOWN
UP

Important Notice
AnLCD paneland/or videomonitor maybe installedin amotor vehicleand visibleto the
driver if the LCD panel or video monitor is used for vehicle information, system control,
rear or side observation or navigation. If the LCD panel or video monitor is used for
televisionreception, videoorDVD play,theLCD panelorvideomonitormust beinstalled
sothat thesefeatureswill onlyfunctionwhenthevehicleisin“park” orwhenthe vehicle’s
parking brake is applied.
An LCD panel or video monitor used for television reception, video or DVD play that
operates when the vehicle is in gear or when the parking brake is not applied must be
installedto therearof thedriver’sseat whereit willnot bevisible, directlyorindirectly,to
the operator of the motor vehicle. It is unlawful in most jurisdictions for a person to drive
a motor vehicle which is equipped with a screen that is located in the motor vehicle at
any point forward of the back of the driver’s seat, or that is visible, directly or indirectly,
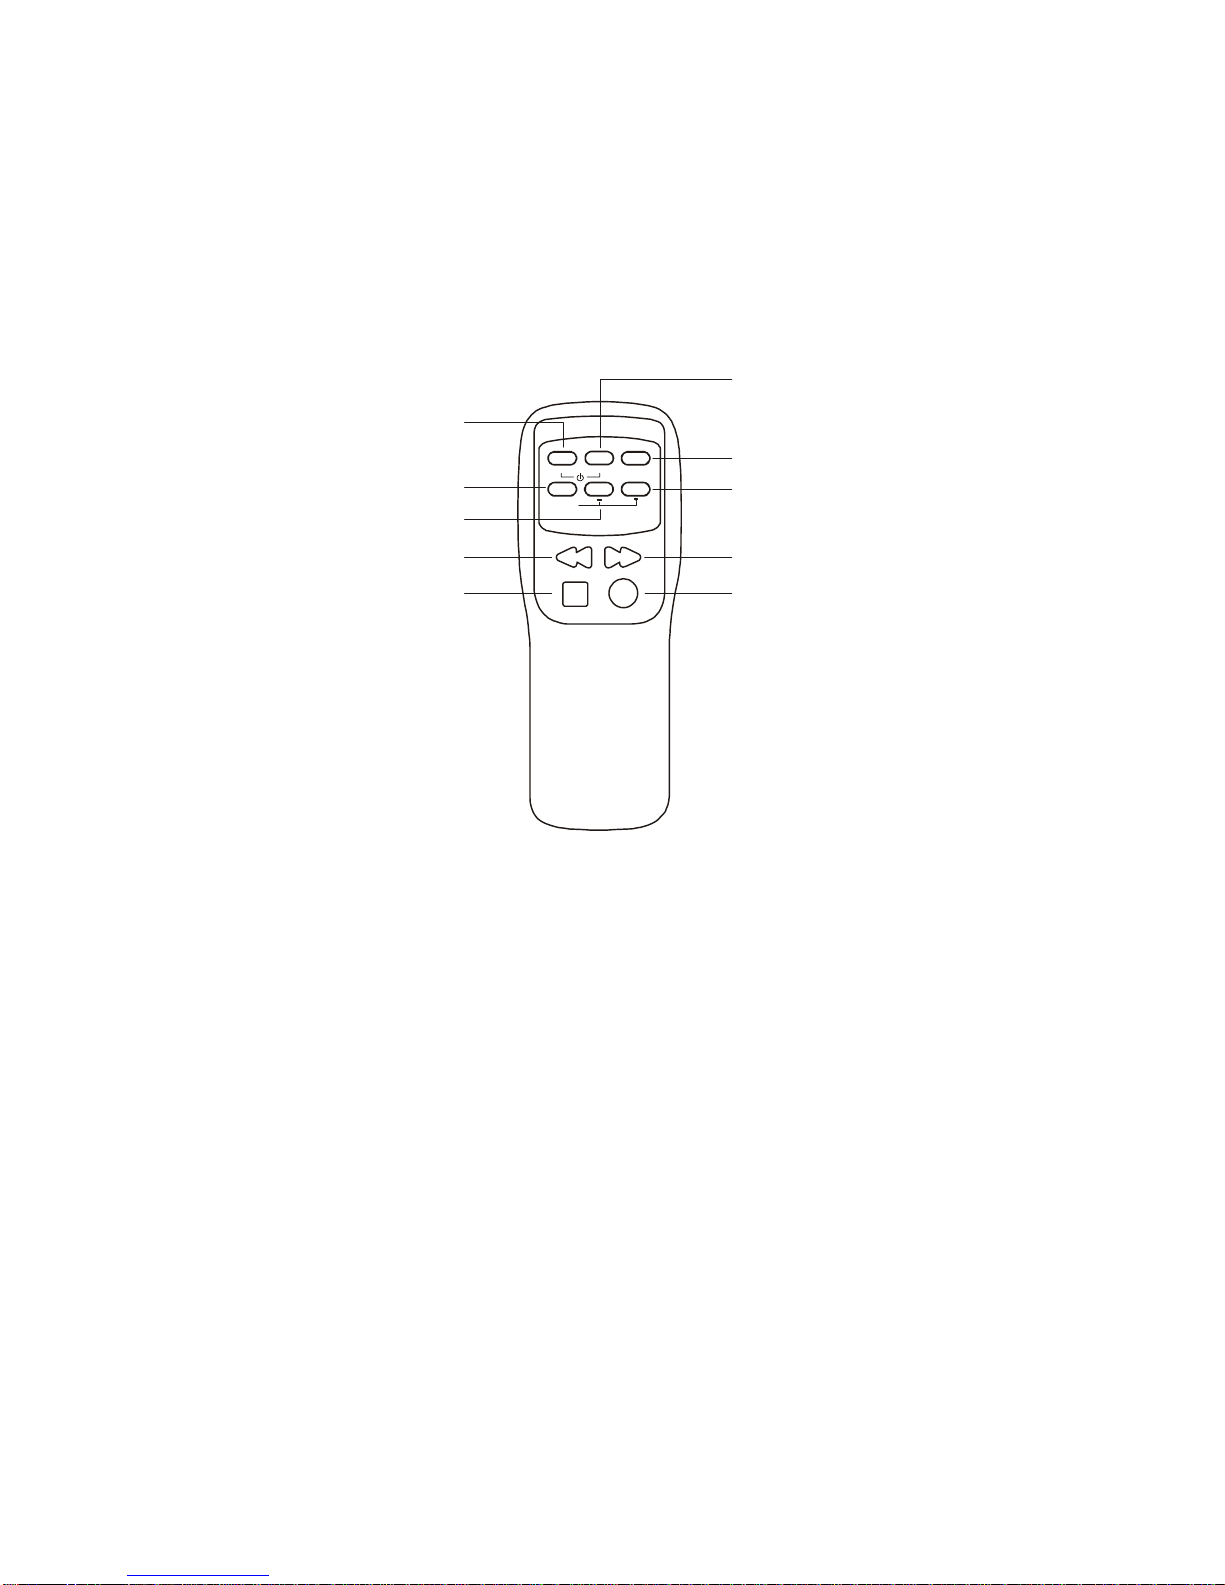
to the driver while operating the vehicle. In the interest of safety, the MM801 should
never be installed where it will be visible, directly or indirectly, by the operator of the
motor vehicle. Warnings
Do not use any solvents or cleaning materials when cleaning the video monitor.
Do not use any abrasive cleaners.
Safety Precaution
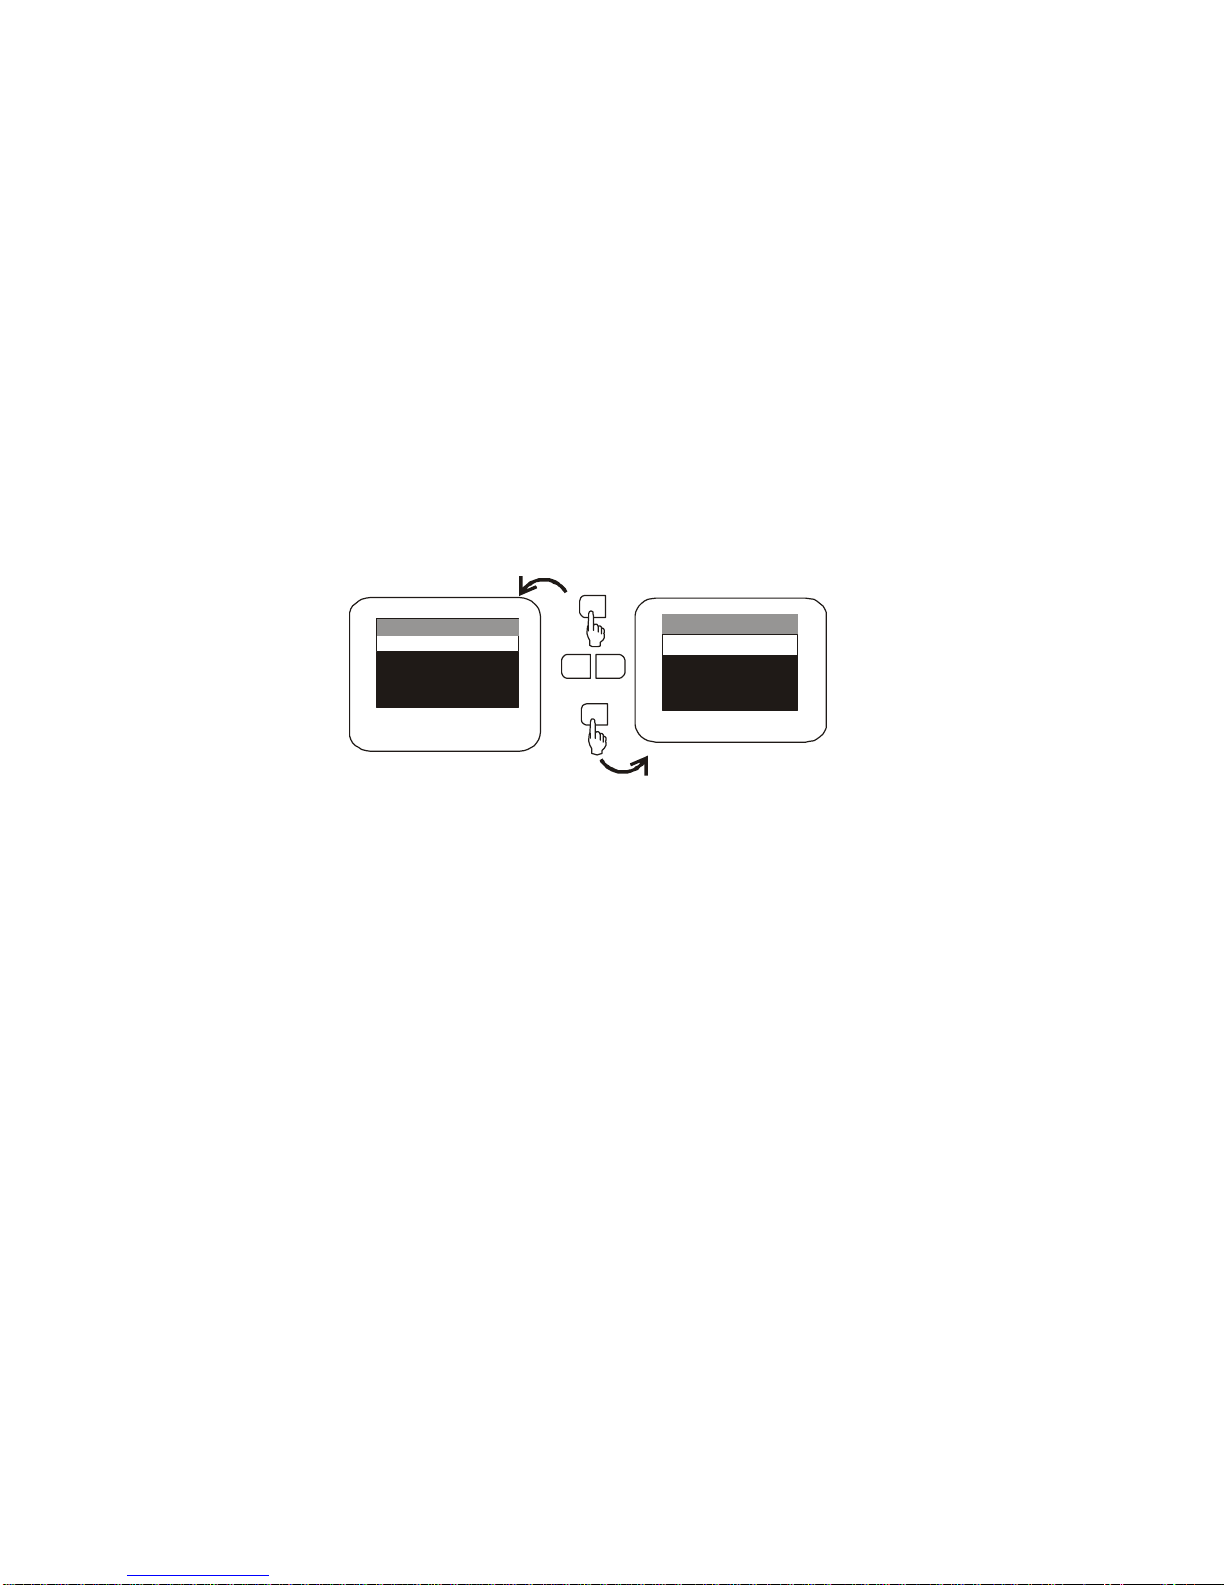
For safety reasons, when changing video media it is recommended that the vehicle is
not in motion, and that you do not allow children to unfasten seatbelts to change tapes
or make any adjustments to the system. System adjustments can be accomplished
usingtheremote controlunit, whileseatbelts remainfastened. Enjoyyour Movies2 Go
entertainment system but remember-safety of all passengers remains the number
one priority.
Licensedunderoneormoreofthefollowingpatents,
PatentNOS. 5,775,762 and 5,927,784

Congratulations on your purchase of the Movies 2 Go MM1021 drop-down
Video Monitor. The MM1021 has been designed to give you and your family
many years of video entertainment in the mobile environment. Please read
the directions that follow to familiarize yourself with the product and to ensure
that you obtain the best results from your equipment.
NOTE: Installation options vary, see the individual owner’s manuals for
each component in your system to obtain a full understanding of each
component’s operation.
FEATURES
!10.2”TFT(ThinFilmTransistor)ActiveMatrixLCD(Liquid
CrystalDisplay)Monitor
!OSD(OnScreenDisplay)forControlofPictureQualityand
Functions
!InfraredTransmitterforOptionalIRWirelessHeadphones
!TwoAudio/VideoSourceInputs
!PowerON/OFF
!DomeLightswithBuilt-inThreeWaySwitch
!VideoDisplayON/OFFControl(whenLCDPanelisOpened
andClosed)
!FullFunctionRemoteControl

4MM1021
FRONT PANEL FEATURES
POWER
MENU
ON OFF AUTO
21
33
4
5
67
8
10
9
11
AUX
DOWN
UP

5MM1021
1. Infrared Transmitter – Used to transmit audio to wireless headphones.
2. Remote Sensor – For Remote Control operation of the MM1021.
3. Dome Lights – Provide additional interior illumination.
4. Three Position Dome Light Switch
• Auto – Automatically switches on the dome lights in conjunction with the
vehicle’sinteriorillumination.
• Off – The Dome lights will not turn on in this position.
• On – Turns on the Dome lights.
5. Power ON/OFF – Turn the MM1021 on and off.
6. Menu/Enter Button – Pressing this button will display the OSD menu
(Select Video, Set Picture, Mode Select).After accessing the menu, it is used
as the Enter function.
7. Select Up Button – Select menu item, source selection and picture quality
adjustments.
8. Select Down Button – Select menu item, source selection and picture
quality adjustments.
9. Screen Release – Slides in the direction of the arrow to release the drop
down screen.
10. LCD Panel – Display the video source and the On Screen Displays (OSD).
11. AUX –AUX Input jack.
FRONT PANEL

6MM1021
TURNING THE MM1021 ON OR OFF
1. Sliding the screen release lock forward will unlock the LCD screen and drop
downslightly. Move thescreendownwardandpivotituntilacomfortableviewing
angle is reached. The internal friction detent will hold the screen in position
while the system is in use.
2. Press the power button to turn on the MM1021.
3. After the unit is turned ON and begins to display a picture, adjust the viewing
angle by pivoting the screen to optimize the picture quality. (NOTE: The video
source (DVD/VCP/Game will need to be turned on also).
4. Remember to turn the unit OFF and pivot the LCD to the locked position when
not in use.
Power
ON/OFF
Switch
POWER
MENU
ON OFF AUTO
DOWN
UP

7MM1021
OPERATION
OVERHEAD DOME LIGHTS
TheDome Lightsintegrated intothe MM1021are controlledby athree positionslide
switch. Sliding the switch to the ON position will turn the lights ON. The OFF
position will prevent the lights from turning ON with the vehicle’s interior lighting,
and the auto position will allow the lights to turn ON and OFF with the vehicle’s
interior lighting. Do not leave the vehicle unattended with the dome light switch in
the ON position as this could result in a discharged battery.
Consult the Installation Manual for dome light wiring information.
POWER
MENU
ON OFF AUTO
Dome
Light
Switch
DOWN
UP

8MM1021
REMOTE CONTROL SENSOR
The MM1021 infrared sensor will relay signals from the remote control to allow an
auxiliary source to be controlled simply by pointing its remote control at the remote
sensor eye. This provides control of auxiliary equipment such as a Video Cassette
Player or DVD Player. The infrared sensor can relay signals from most
manufacturer’s remote controls to its respective component connected to the AV1
input1, suchas aDVDplayer. In thiscaseyoumustuse theremote controlsupplied
with the DVD player.
Remote Control Sensor Infrared Transmitter
POWER
MENU
ON OFF AUTO
DOWN
UP

9MM1021
LCD SOURCE
MENU/
ENTER
V
CP
STOP
PLAY
REW FWD
1
4
5
7
10
2
3
6
8
9
1 LCD : Power On / Off Button for the MM1021 monitor
2 VCP : Power On / Off Button for an OptionalAudiovox VCP
3 SOURCE : Button for selection ofAV1 andAUX
4 MENU/ENTERButton
5 – : Volume / Select Down Button
6 + : Volume / Select Up Button
7 REW : ........Rewinds Tape
8 FWD : ........ Fast Forwards Tape
9 STOP : ........Stops Tape
10 PLAY : ........ Plays Tape
REMOTE CONTROL UNIT BUTTONS CONTROLS

10 MM1021
SELECT VIDEO
There are 2 inputs to select from. Pressing the source button on the remote control will
changethe source selected in the following order:AV1andAUX.
The source can also be changed by pressing the menu button. Use the - or + button to
highlight SELECT VIDEO and press the MENU button to enter the submenu. Then, press
the - or + button to select fromAV1orAUX. Press MENU to confirm the setting.
EXIT THE MENU
To exit the main menu, press the MENU button of Remote Control again to Exit, the menu
willdisappear.
NOTE: The menu also disappears from the screen automatically if you do not press
any button within a five seconds.
SELECT VIDEO
AV1
AUX
MENU
SET PICTURE
MODE SELECT
EXIT
SELECT VIDEO
EXIT
MENU
-
+
MENU

11MM1021
To darken the picture
Decrease the contrast
for soft color
To decrease the color
intensity
Increases the
greenish skin tones
To brighten the picture
Increase contrast for
vividcolor
To increase the color
intensity
Increases the redish
skin tones
To restore the factory settings, select RESET and press the ENTER button. All
the picture adjustments (BRIGHTNESS, CONTRAST, COLOR and TINT) will go
back to the factory settings.
BRIGHTNESS
CONTRAST
COLOR
TINT
SET PICTURE
Whenwatchingthe program,thequalityof thepicturecanbe adjustedtosuityourpreference.
Press the MENU button on the Remote Control or front panel, the main menu will appear.
Press the - or + button to select the item you want to adjust. Press the MENU button again
toselectthe item. For example: Press the MENU button, highlight SET PICTURE and press
the MENU button. The PICTURE menu will appear, highlight BRIGHTNESS and press the
MENU button. Then press the - or + button to adjust to the desired level.
Description of Adjustment Items:
Item Press DOWN button Press UP button
PICTURE
CONTRAST
BRIGHTNESS
COLOR
MENU
CONTRAST
TINT
RESET
EXIT
MENU
SELECT VIDEO
SET PICTURE
MODE SELECT
EXIT
-
+
MENU
MENU
-
+
MENU

12 MM1021
SCREENMODESELECT
This allows the user to change the SCREEN format (Aspect ratio, 4:3 or 16:9 )
To select the screen format highlight MODE SELECT and press the ENTER button to
enter the submenu. Then press the UP or DOWN button to select from16:9 or 4:3. Press
ENTER to confirm the setting.
MODE SELECT
16 : 9
4 : 3
MENU
SELECT VIDEO
SET PICTURE
MODE SELECT EXIT
EXIT

13MM1021
OPTIONAL ACCESSORIES
WIRELESS HEADPHONES
The MM1021includes a built in infrared transmitter for use with Movies 2 Go
wireless headphones (PN MMIRHS). Turning the Wireless Headphone switch
ON will activate the internal IR receiver and the volume can then be adjusted
separately with the controls on each headset. Any number of wireless
headphones can be used, but all must be within direct line of sight from the
transmitter. See the documentation accompanying your Movies 2 Go wireless
headphones for more detailed information.
AV 1
Inmost installations,aDVDPlayerwillbeconnected totheAV1input.ToviewaDVD
cassette,turntheMM801ON andpressthe Menubutton,the mainmenuwill appear.
Select SOURCE and then press the menu/enter button. Then press the “UP or
DOWN” button until “AV1” is highlighted on the screen then press the menu/
enterbuttontoconfirm yourselection.* Thesource canalso beselectedby pressing
thesourcebuttononthe remotecontrol.The MM1021is nowready toplay theaudio
and video signals from the DVD connected to the “AV1” input. Press play on the
DVD or on the DVD remote control to view the DVD. For more information see
the operator’s manual accompanying your DVD player.
AUX
The second AV input may be connected to a DVD player, video game system,
camcorderorother audio/videosourceconnected tothe suppliedAV adaptercable
input.ToplaytheAUXsource, turnthe MM1021ON and pressthe Menubutton, the
main menu will appear. Select SOURCE and then press the menu/enter button.
Then press the UP or DOWN” button until “AUX” is highlighted on the screen then
press the menu/enterbutton to confirm your selection.

14 MM1021
TROUBLESHOOTING
1. When there is No Picture
• Check that the signal source is connected.
• Check that AV1/AUX is selected correctly.
• Check that the signal source is turned on.
2. When the IR Sensor is Inoperative
• Verify that the batteries in the remote are fresh.
• Verify that the remote sensor eye is not obstructed.
• Verify that the infrared transmitter is affixed over the sensor
eye of the component to be controlled.
* The source can also be selected by pressing the source button on the remote
control.Turn the source component on with its power button or remote control. The
MM801isnow readyto playtheaudio andvideo signalsfromthe sourceconnected
toAUXinput.

15MM1021
SPECIFICATIONS
LCD Backlighting CCFL
Resolution 800 X 480
Pixels 1,152,000
OperationTemperature 0 - 50º C
StorageTemperature -20 - 70º C
ExpectedBacklightlife 10,000Hours
Video Display System NTSC
PowerSource 12VDC

AEC (the Company) warrants to the original retail purchaser of this product that should this product or any
part thereof, under normal use and conditions, be proven defective in material or workmanship within 12
months from the date of original purchase, such defect(s) will be repaired or replaced with reconditioned
product (at the Company's option) without charge for parts and repair labor.
To obtain repair or replacement within the terms of this Warranty, the product is to be delivered with proof
of warranty coverage (e.g. dated bill of sale), specification of defect(s), transportation prepaid, to the
Company at the address shown below.
This Warranty does not extend to the elimination of externally generated static or noise, to correction of
antenna problems, to costs incurred for installation, removal or reinstallation of the product, or to damage
to tapes, discs, speakers, accessories, or vehicle electrical systems.
ThisWarrantydoesnotapplytoanyproductorpartthereofwhich,intheopinionoftheCompany,hassuffered
or been damaged through alteration, improper installation, mishandling, misuse, neglect, accident, or by
removal or defacement of the factory serial number/bar code label(s). THE EXTENT OF THE COMPANY'S
LIABILITYUNDERTHISWARRANTYISLIMITEDTOTHEREPAIRORREPLACEMENTPROVIDEDABOVE
AND, IN NO EVENT, SHALL THE COMPANY'S LIABILITY EXCEED THE PURCHASE PRICE PAID BY
PURCHASER FOR THE PRODUCT.
ThisWarrantyisinlieuofallotherexpresswarrantiesorliabilities. ANYIMPLIEDWARRANTIES,INCLUDING
ANY IMPLIED WARRANTY OF MERCHANTABILITY, SHALL BE LIMITED TO THE DURATION OF THIS
WRITTENWARRANTY. ANYACTIONFORBREACHOFANYWARRANTYHEREUNDERINCLUDINGANY
IMPLIED WARRANTY OF MERCHANTABILITY MUST BE BROUGHT WITHIN A PERIOD OF 24 MONTHS
FROM DATE OF ORIGINAL PURCHASE. IN NO CASE SHALL THE COMPANY BE LIABLE FOR ANY
CONSEQUENTIAL OR INCIDENTAL DAMAGES FOR BREACH OF THIS OR ANY OTHER WARRANTY,
EXPRESS OR IMPLIED, WHATSOEVER. No person or representative is authorized to assume for the
Company any liability other than expressed herein in connection with the sale of this product.
Some states do not allow limitations on how long an implied warranty lasts or the exclusion or limitation
of incidental or consequential damage so the above limitations or exclusions may not apply to you. This
Warranty gives you specific legal rights and you may also have other rights which vary from state to state.
U.S.A. : AEC, 150 MARCUS BLVD., HAUPPAUGE, NEW YORK 11788"1-800-645-4994
CANADA : CALL1-800-645-4994 FORLOCATION OFWARRANTY STATIONSERVINGYOURAREA
12 MONTH LIMITED WARRANTY
Applies to AEC Mobile Video Products
© Copyright 2004 AEC, 150 Marcus Blvd. Hauppauge, NY 11788
128-7143
Table of contents
Other AEC Car Video System manuals