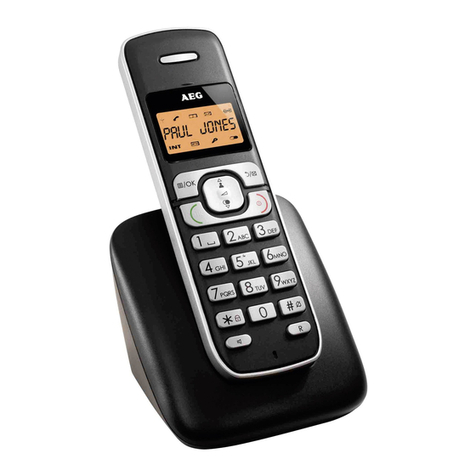
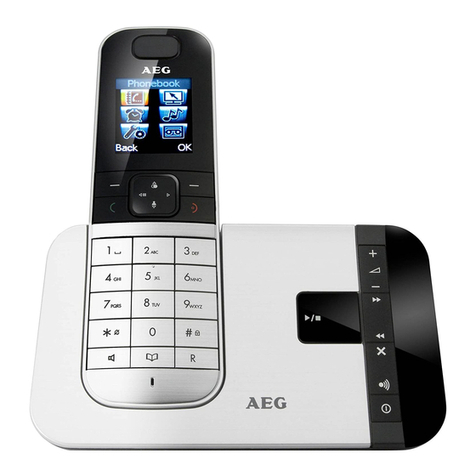
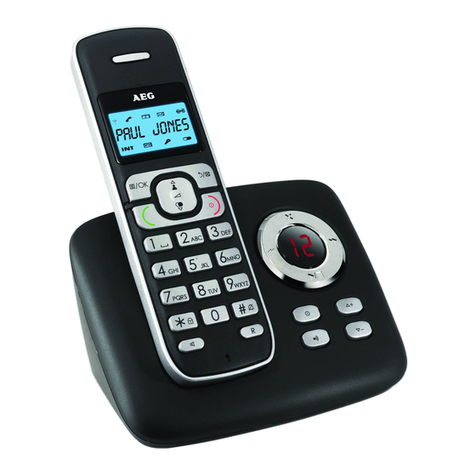
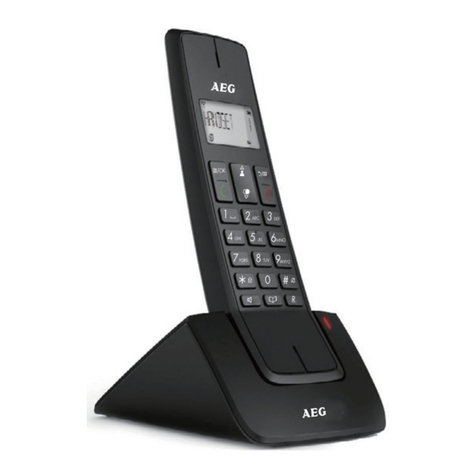
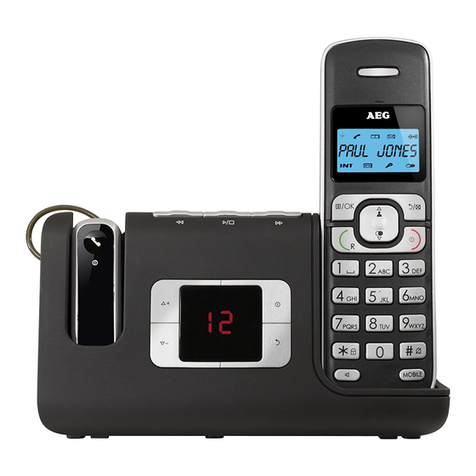
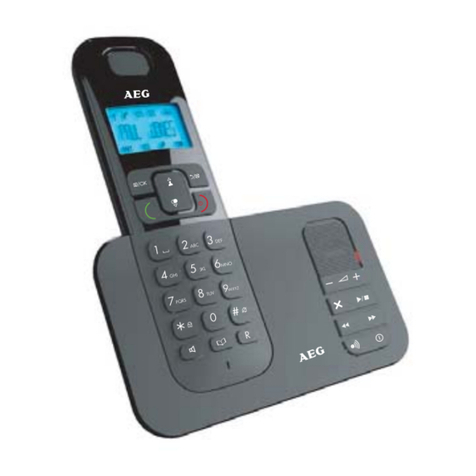
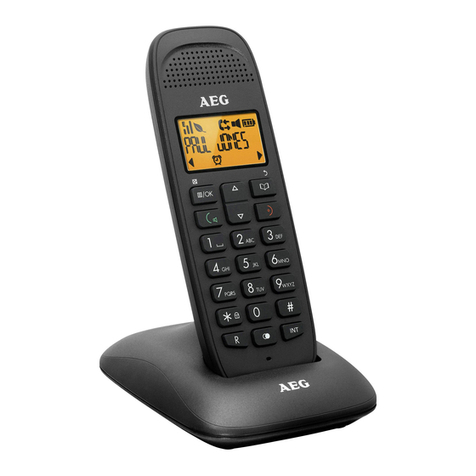
AEG Voxtel D80 User manual

1
UK
CORDLESS
TELEPHONE
Voxtel D80
Voxtel D80 twin
Voxtel D80 triple
USER GUIDE
UK
V3

2
A
B
D
C
E
F
G
H
I
J
K
L
M
A
P1 P2
P3
P4 P5

3
2
UK
1. BECAUSE WE CARE
Thank you for purchasing this product. This product has been designed and
assembled with utmost care for you and the environment. This is why we supply
this product with a quick installation guide to reduce the number of paper (pages)
and therefor save trees to be cut for making this paper.
A full and detailed user guide with all the features descripted can be found on
our website www.aegtelephones.eu. Please download the full user guide in case
you want to make use of all the advanced features of your product. To save the
environment we ask you not to print this full user guide. Thank you for supporting
us to protect our environment.
2. GETTING STARTED
2.1 Location
Place the base within 1.5 metres of a mains power outlet easy to access so that in
case of any problem you can disconnec the device from the power.
Make sure that it is at least 1 metre away from other electrical appliances to avoid
interference. The phone works by sending radio signals between the handset and
base. The strength of the signal depends on where the base is placed. Placing it as
high as possible ensures the best signal.
2.2 Signal strength
The icon on the handset indicates that it is within range of the base. When out of
range of the base, the icon flashes. When on a call, a warning beep will be heard.
IMPORTANT
The base station must be plugged into the mains power at all times. Use only the
power adapter supplied with the product.
2.3 Connecting the base(see P5)
1. Plug the telephone line cord into the socket marked on the underside of
the base.Plug the other end of the telephone line cord into the telephone wall
socket.
2. Plug the power adapter connecter into the socket marked of the base and
plug the other end into the mains power wall socket.
2.4 Installing and charging the handset(see P3)
1. Remove the battery cover from the back of the handset and insert the
2 x AAA NiMH rechargeble batteries supplied. Please note the ‘+’ and ‘-’
markings inside the battery compartment and insert in the correct direction.
4
2. Slide the battery cover back into place.
3. When charging the batteries for the first time, place the handset on the base
to charge for at least 24 hours continuously.
4. When the handset is fully charged, icon will appear steadily on the display.
Note: Press and hold Menu to switch the idle screen between handset name and
number and the time and handset number.
2.5 Set display language
To change the display language :
1. Press the left soft key and / to select “PERSONAL SET”.
2. Press
OK
and / to select “LANGUAGE”.
3. Press
OK
and / to select the desired language.
4. Press
OK
to confirm.
2.6 Date and time
When subscribed to Caller ID, the date and time is set automatically for all
handsets when the first call is received. If there is no Caller ID, the date and time
can be set manually.
Set the date and time manually
1. Press , scroll to « CLOCK/ALARM » and press
OK
.
The display shows « DATE & TIME ».
2. Press
OK
to select.
3. Enter the date using the keypad (e.g. 12--08--14 for 12th of August 2014) and
press
OK
to confirm.
4. Enter the time using the keypad (e.g. 06--30 for 6.30) then scroll /to
choose AM or PM and press
OK
to confirm.
3. GETTING TO KNOW THE PHONE
3.1 Overview of the handset(see P1)
A Earpiece
B Display

5
4
UK
CDuring a call, press to increase earpiece volume.
When the phone is ringing, press to increase the
handset ringer volume.
Press to scroll through the menu options, redial list, call
list and phonebook entries.
D
OK
Menu key : Press to open the Menu.
Press to select menu options and to confirm a
displayed option.
During a call, press to turn mute on/off.
EPress to make and answer a call.
FPress and hold to lock or unlock the keypad.
G
R
To generate a FLASH signal used with PABX or some
network services.
HIn standby mode, press to open the phonebook menu.
In editing mode, press to delete characters and digits.
Go back to the previous menu level.
IPress to end a call.
When viewing the redial / call list / phonebook or when
in the menu, press to exit and return to standby.
Press and hold for 3 seconds to switch the handset on /
off.
JDuring a call, press to decrease earpiece volume.
When the phone is ringing, press to decrease the
handset ringer volume.
Press to scroll through the menu options, redial list, call
list and phonebook entries.
In standby mode, press to open the call list.
KPress and hold to enter a pause (P) when pre-dialling or
storing numbers.
LUsed to make internal calls and transfer calls to other
handsets registered to the base.
MRedial key

6
3.2 Handset LCD Display icons(see P2)
Signal strenght icon
Eco mode is ON
Eco + is ON (zero emission)
Handset ringer is off
Indicates a missed call
Steady on when making an outgoing call
Flashes to indicate an incoming or internal call
Indicates an incoming call when viewing the calls list
Indicates an outgoing call when viewing the calls list
Menu is open
Keypad is locked
Alarm is set
Indicates new voicemail message(s) received
Phonebook is opened
More text
Battery is fully charged
Battery is partially charged
Battery is running low
Flashed when battery is almost empty

7
6
UK
3.3 Overview of the base(see P4)
APaging key : Press to find misplaced handsets registered to the
base. Long press to start registration of handsets to the base.
3.4 Navigating the menus
The phone has an easy to use menu system. When the handset is switched on and
in standby:
1. Press to open the main menu.
2. Then use / buttons to scroll through the available options.
3. Press
OK
to select an option.
To return to the previous menu level, press . To exit the menu and return to
standby, press .
Note: If no buttons are pressed for 30 seconds, the handset returns to standby
automatically.
3.5 Menu map
PHONEBOOK
-VIEW
-ADD NEW
-EDIT
-DELETE*
-DELETE ALL*
CLOCK/ALARM
-DATE & TIME
-SET ALARM
PERSONAL SET
-HANDSET TONE
-RING VOLUME
-RING MELODY
-KEY TONE
-HANDSET NAME
-AUTO ANSWER
-LANGUAGE

9
8
ADVANCED SET
-ECO MODE
-ZERO EMIT
-AUTO PREFIX
-RECALL TIME
-DIAL MODE
-CHANGE PIN
-REGISTER
-UNREGISTER
-RESET
Note: The dial mode is based on the country version, for some countries it will not show
in the menu and is preset to tone dialling.
*Only available if a phonebook entry is stored.
4. USING THE PHONE
4.1 Switch the handset on/off
Press and hold to switch the handset on or off.
4.2 Calls
4.2.1. Make a call
1. Press .
2. When there is a the dial tone, dial the number.
Note: The handset will automatically time the duration of all external calls. The call timer
will display after 10 seconds. When the call ends, the total duration of the talk time
flashes for 3 seconds.
4.2.2. Preparatory dialling
1. Dial the number first. If a mistake is made press to delete the last digit.
2. Press to dial.
4.2.3. End a call
Press , or place the handset on the base or charger.
4.2.4. Receive a call
When an external call is received, the phone rings and icon flashes on the display.
1. Press to answer the call or lift the handset from the base or charger to
answer the call.
Note: To answer calls by pressing even when the handset is lifted, switch Auto answer off.

9
8
UK
4.3 Adjust the earpiece volume
During a call, press /to increase or decrease the volume.
4.4 Redial
The last 10 dialled numbers are stored in the redial list.
4.4.1. View or dial an entry
1. Press to open the Redial list.
2. Scroll / to the required entry.
3. Press to dial the displayed entry or press to return to standby.
Note: If you have Caller ID and the caller’s number exactly matches an entry stored in
the phonebook, the name is displayed.
4.4.2. Copy a Redial list number to the phonebook
1. Press to open the Redial list.
2. Scroll / to the required entry.
3. Press
OK
. The display shows « SAVE NUMBER ».
4. Press
OK
again. The display shows « ENTER NAME ».
5. Enter the name and press
OK
. The number is displayed.
6. Edit the number if necessary, then press
OK
. The number is stored.
Note: See ‘Entering names’ and ‘Writing tips’ on page page 11.
4.4.3. Delete an entry
1. Press to open the Redial list.
2. Scroll /to the required entry and press
OK
. The display shows
« DELETE ».
3. Press
OK
, the display shows « CONFIRM? »
4. Press
OK
to confirm or to cancel.
4.4.4. Delete the entire Redial list
1. Press to open the Redial list.
2. Scroll / to the required entry and press
OK
.
3. Scroll to « DELETE ALL» .
4. Press
OK
, the display shows « CONFIRM? »
5. Press
OK
to confirm or to cancel.

10
4.5 Lock/unlock the keypad
The keypad can be locked so that it cannot be operated accidentally while carrying
it around.
Note: When the keypad is locked an incoming call can still be answered and the
handset will operate as normal. When the call ends, the keypad lock comes on again.
1. Press and hold *. KEYS LOCKED and icon is displayed.
2. Press and hold *again to unlock the keypad.
4.6 Mute
The handset can be muted so that a conversation can be held without the caller
hearing.
1. During a call, press . The display shows « MUTE ON » and the caller cannot
hear. Press again to resume the call.
4.7 Intercom
4.7.1. Make an internal call
If more than one handset is registered to the base, internal calls can be made
between two handsets.
1. If only 2 handsets are registered to the base, press and the other handset
rings automatically.
2. If more than 2 handset are registered to the base press and scroll to the
handset number and press to call this handset.
4.7.2. Receive an internal call
When an internal call is received, icon flashes and the handset number that is
calling is displayed. Press to answer the call.
4.7.3. Transfer a call
To transfer an external call to another handset registered to the base.
During an external call:
1. If only 2 handsets are registered to the base, press and the other handset
rings automatically.
2. If more than 2 handset are registered to the base press and scroll to the
handset that is to be called and press .
3. When the other handset answers, press to complete the transfer.
Note: If there is no answer from the other handset press to return to the external
caller. The external call resumes automatically after 60 seconds if there is no answer.

11
10
UK
4.8 3-way conference call
To hold a 3-way conference call between 2 internal callers and 1 external caller.
During a call with an external caller:
1. Press on the second handset to start a conference call.
2. Press to end the call.
4.9 Paging/Find handset
Page can be used to locate a missing handset. .
1. Press on the underside of the base. All handsets registered to the base will
ring.
2. To stop the ringing, press on the base again or press any button on the
handset.
5. PHONEBOOK
The phonebook can store up to 50 names and numbers. Names can be up to 12
characters long and numbers up to 24 digits.
5.1 Store a name and number
When subscribed to Caller ID, to display the name of the caller instead of the
number, save the full telephone number including the area code to the phonebook.
To prevent unnecessary duplicated entries, the same name can be stored only
once.
1. Press . The display shows « PHONEBOOK ».
2. Press
OK
scroll to « ADD NEW ».
3. Press
OK
the display shows « ENTER NAME ».
4. Enter the name and press
OK
. The display shows « ENTER NUMBER ».
5. Enter the number and press
OK
the entry is saved.
6. Press to return to standby.
5.1.1. Entering names
Use the keypad letters to enter names, e.g. to store TOM:
Press 8once to enter T.
Press 6three times to enter O.
Press 6once to enter M.
5.1.2. Writing tips
Press to delete the last character or digit. Press /to move between
characters/digits. Press 1to insert a space.

12
5.2 View or dial an entry
1. Press . to open phonebook.
2. Scroll / to the required entry. OR
Enter the first letter of the name to search alphabetically. The first name that starts
with this letter or the nearest letter in the alphabet will be displayed.
Scroll /to the required entry.
3. Press to dial or to return to standby.
Note: When the name is displayed, to switch between the name and number press
OK
5.3 Edit a name and number
1. Press . The display shows « PHONEBOOK ».
2. Press
OK
, scroll to « EDIT » and press
OK
3. Scroll / to the entry that needs to be edited or search alphabetically and
press
OK
. The existing name is displayed.
4. Press to delete the name if required, then enter the new name and press
OK
. The existing number is displayed.
5. Press to delete the number if required, then enter the new number and
press
OK
the entry is saved.
6. Press to return to standby.
5.4 Delete an entry
1. Press . The display shows « PHONEBOOK ».
2. Press
OK
, scroll to « DELETE » and press
OK
.
3. Scroll /to the entry that you want to delete or search alphabetically and
press
OK
. The display shows « CONFIRM? ».
4. Press
OK
to confirm or to cancel.
6. CALLER ID AND CALLS LIST
MPORTANT
To use Caller ID, first subscribe to the service from the telephone provider. A
subscription fee may be payable. To ensure that the caller’s name is displayed,
make sure the full telephone number, including the area code is stored in the
phonebook.
If the caller’s number is stored in the phonebook, the name assigned to it will be
displayed.
If the number is unavailable, « UNKNOWN » will be displayed.
If the call is from an international number, « INTERNATION. » will be displayed.

13
12
UK
6.1 Caller Display
If subscribed to Caller ID, the caller’s number will be displayed (provided it is not
withheld) prior to answering the call. The display can show the first 12 digits or
characters of the phone numbers and name.
If the caller’s name and number are stored in the phonebook and a number match
is found, the caller’s name will be displayed instead.
6.2 Call list
The Call list stores details of the last 20 received calls, including the phone number
and date and time of the call.
The Call list also displays if there are unanswered calls.
The caller’s details are stored in the Call list whether or not the call has been
answered. When the list is full and a new call is received, the oldest entry will be
deleted automatically.
6.2.1. View the Call list
1. Press to open the Call list. If there are no calls in the list, the display shows
« LIST EMPTY ».
2. Scroll / to the required entry.
3. Press
OK
the display show «VIEW », press
OK
.
4. The display shows the date and time of the call.
6.2.2. Dial a number in the Call list
1. Press to open the Call list.
2. Scroll / to the required entry.
3. Press to dial the displayed entry.
6.3 Copy a Calls list number to the phonebook
1. Press to open the Calls list.
2. Scroll /to the required entry.
3. Press
OK
repeatedly until the display shows « ADD ? ».
4. Press
OK
again. The display shows « NAME ? ».
5. Enter the name and Press
OK
. The number is displayed.
6. Edit the number if necessary, then Press
OK
.
7. press /to select the required ringer melody and Press
OK
. The
number is stored.
Note: See ‘Entering names’ and ‘Writing tips’ on page page 11.

14
6.4 Delete an entry
1. Press to open the Call list.
2. Scroll / to the required entry
3. Press
OK
scroll to « DELETE ».
4. Press
OK
the display shows « CONFIRM ? ».
5. Press
OK
to confirm or to cancel.
6.5 Delete the entire Calls list
1. Press to open the Calls list.
2. Press
OK
and scroll to « DELETE ALL ? ».
3. Press
OK
to confirm or to cancel.
7. CLOCK AND ALARM
7.1 Setting the date and time
If you have subscribed to Caller ID Service, the date and time will be set on your
handset whenever a call is received. You can also manually set the date and time.
1. Press , scroll to « CLOCK/ALARM » and press
OK
.
The display shows « DATE & TIME ».
2. Press
OK
to select.
3. Enter the date using the keypad (e.g. 12--08--14 for 12th of August 2014) and
press
OK
to confirm.
4. Enter the time using the keypad (e.g. 06--30 for 6.30) then scroll /to
choose AM or PM and press
OK
to confirm.
7.2 Setting the alarm
1. Press , scroll to « CLOCK/ALARM » and press
OK
.
2. Scroll to « SET ALARM », press
OK
.
3. Scroll /to select « ON » or « OFF » and press
OK
.
4. If you select ON enter the time using 12 hour format « HH - MM » (e.g 04:45
for 2:45), then scroll /to choose AM or PM and press
OK
to confirm.
Note: Once the alarm is set to on, the icon is displayed. When the alarm goes off
the icon flashes. To stop the alarm press any button on the handset.

15
14
UK
8. PERSONAL SET
8.1 Handset tones
8.1.1. Handset ringer volume
The handset ring volume can be set to different volume level. Choose from 5
volume levels or Off.
1. Press , scroll to « PERSONAL SET » and press
OK
2. Press / to select « HANDSET TONE » and press
OK
3. The display shows « RING VOLUME », press
OK
4. Press / to select the volume (1 - 5 or « OFF »).
5. Press
OK
to confirm or to return to the previous menu.
Note: When the phone is ringing, adjust the ringer volume by pressing /.
8.1.2. Handset ringer melody
Different ringer melodies can be set. Choose from 5 different ringer melodies.
1. Press , scroll to « PERSONAL SET » and press
OK
2. Press / to select « HANDSET TONE » and press
OK
3. Press / to select « RING MELODY » and press
OK
4. Press / to select the ringer melody (1 - 5).
5. Press
OK
to confirm or to return to the previous menu.
8.1.3. Key tones
1. Press , scroll to « PERSONAL SET » and press
OK
2. Press / to select « HANDSET TONE » and press
OK
3. Press / to select « KEY TONE » and press
OK
4. Press / to select ON or OFF.
5. Press
OK
to confirm or to return to the previous menu.
8.2 Handset name
When using more than one handset with the base, a personalized name can be set for
each handset to easily distinguish between them. A name can be up to 10 characters
long.
1. Press , scroll to « PERSONAL SET » and press
OK
.
2. Scroll to « HANDSET NAME » and press
OK
.
3. Enter the new handset name and press
OK
to confirm.
To delete the current name or if a mistake is made, press to delete the last
character or digit. See ‘Entering names’ and ‘Writing tips’ on page page 11.

16
8.3 Auto answer
The phone is set to answer calls by lifting the handset off the base or charger. This
feature can be switched off so that calls can only be answered by pressing .
1. Press , scroll to « PERSONAL SET » and press
OK
.
2. Scroll to « AUTO ANSWER » and press
OK
3. Press / to select « ON » or « OFF ».
4. Press
OK
to confirm or to return to the previous menu.
9. BASE SETTINGS
9.1 Eco mode
By operating the phone in Eco mode the power emissions level can be reduced.
When the Eco mode is set to ON, the base transmission power will be reduced.
This feature is set to OFF by default.
1. Press , scroll to « ADVANCED SET » and press
OK
.
2. The display shows « ECO MODE », press
OK
3. Press / to select « ON » or « OFF ».
4. Press
OK
to confirm or to return to the previous menu.
Note: When ECO mode is set to ON, the handset range will be reduced.
9.2 Zero Emission (Eco +)
When Zero emission is activated and the unit has been idle for 1 minute the
transmitted power between the handset and the base will stop. An incoming call
or pressing any key on handset will activate the unit and it will revert back to the
normal mode. This feature is set to OFF by default.
1. Press , scroll to « ADVANCED SET » and press
OK
.
2. Scroll to « ZERO EMIT », press
OK
.
3. Press / to select « ON » or « OFF »
4. Press
OK
to confirm or to return to the previous menu.
9.3 Auto Prefix
You can set the phone to detect a dialling number and replace it with another number.
The number to be detected can be up to 5 digits long. It can be replaced with a
number up to 10 digits.
1. Press , scroll to « ADVANCED SET » and press
OK
.
2. Scroll to « AUTO PREFIX », press
OK
.

17
16
UK
3. DIGIT DETECT is displayed. Press
OK
.
4. Enter the number you want to be detected and press
OK
.
5. Scroll to PREFIX and press
OK
.
6. Enter the number you want it replaced with.
7. Press
OK
to confirm or to return to standby.
9.4 Recall Time
This setting is useful to access certain network and PABX/switchboard services.
The default recall time is suitable for your country and network operator. It is unlikely
that you should need to change this setting unless advised to do so.
1. Press , scroll to « ADVANCED SET » and press
OK
.
2. Scroll to « RECALL TIME », press
OK
.
3. Press / to select « SHORT », « MEDIUM » or « LONG ».
4. Press
OK
to confirm or to return to the previous menu.
9.5 Dial mode
The default dialling mode is suitable for your country and network operator. It is unlikely
that you should need to change this setting unless advised to do so.
1. Press , scroll to « ADVANCED SET » and press
OK
.
2. Scroll to « DIAL MODE », press
OK
.
3. Press / to select « TONE » or « PULSE ».
4. Press
OK
to confirm or to return to the previous menu.
9.6 Change base PIN code
Some functions are protected by a 4 digit PIN code which must be entered if the
settings are changed. The default PIN is 0000. The PIN can be changed to a preferred
number.
When entering a PIN, the digits are shown as ****.
1. Press , scroll to « ADVANCED SET » and press
OK
.
2. Scroll to « PIN CODE » and press
OK
.
3. Enter a new 4 digit PIN and press
OK
.
4. Re-enter the new PIN.
5. Press
OK
to confirm or to return to the previous menu.
IMPORTANT
If the PIN code is changed, please keep a record of the new number.

19
18
9.7 Registering an additional handset
Up to 4 handsets can be registered to the base to extend the phone system without
having to install extension sockets for each new phone.
Note: Handset batteries must be fully charged before registration. Hold the
handset close to the base during the registration process.
Handsets that were supplied with the base are already pre-registered.
On the base:
1. Press and hold Page for 5 seconds. The base will remain in registration mode
for 90 seconds.
On the handset:
1. If the handset us not register to a base press
OK
and then enter the 4 digit PIN
code (default = 0000) and press
OK
.
2. If the handset is already register to a base press , scroll to « ADVANCED
SET » and press
OK
.
3. Scroll to « REGISTER » and press
OK
.
4. Enter the 4 digit PIN code (default = 0000) and press
OK
.
A beep will be heard if the registration is successful. The handset is automatically
assigned an available handset number. Use this number when making internal calls.
Notes: If registration is not successful the first time, please repeat the process again
in case the base registration period ran out of time. If the base is not found after a
few seconds, the handset returns to standby. Try registering again.
If there are already 4 handsets registered to the base, the registration will fail. De-
register a handset before registering a new one.
9.8 De-register a handset
Use one handset to de-register another. The handset being used cannot de-register
itself.
1. Press , scroll to « ADVANCED SET » and press
OK
.
2. Scroll to « UNREGISTER » and press
OK
.
3. Enter the 4 digit PIN code (default = 0000) and press
OK
.
4. Scroll to highlight the handset that needs to be de-registered. A
confirmation beep will be heard and the display will return to the previous
menu.
9.9 Restore default settings
The phone can be restored to its default (original) settings. All the handsets that
are registered to the base will be retained and not deleted.

19
18
UK
IMPORTANT
Resetting the phone to its default settings will delete all entries in the Call
list. Current handset and base settings will also be reset. Entries stored in the
phonebook are retained.
1. Press , scroll to « ADVANCED SET » and press
OK
2. Scroll to « RESET » and press
OK
3. The display shows « RESET ? ».
4. Press
OK
to confirm or to return to the previous menu. The phone will
restart automatically.
9.10 Default settings
Key beep ON Calls list Empty
Auto answer OFF Redial list Empty
Ringer melody 1 PIN code 0000
Ringer volume 3 Dial mode Tone
Ear volume 2 Eco mode OFF
Phonebook Unchanged Keypad lock OFF
10.HELP
No dial tone
.Use only the telephone line cord supplied.
.Check that the telephone line cord is connected properly.
.Check that the mains power is connected properly and switched on.
No display
.Check that the batteries are inserted correctly and fully charged. Use only approved
rechargeable batteries supplied.
.Check that the handset is switched on. Press and hold .
.Reset the base by removing the batteries and disconnecting the mains power. Wait
for around 15 seconds before connecting it again. Allow up to one minute for the
handset and base to synchronize.
icon flashes
.Handset is out of range. Move closer to the base.
.Make sure that the handset is registered to the base.
.Check that the mains power is connected properly and switched on.

21
20
Keypad does not seem to work
.Check that the keypad lock is not on.
icon is not scrolling during charge
.Adjust the handset slightly on the base.
.Clean the charging contacts with a cloth moistened with alcohol.
.Check that the mains power is connected properly and switched on.
.The battery is full. When the handset is fully charged, icon will appear steadily
on the display.
No Caller Display
.Check the subscription with the network operator, see.
.The caller may have withheld their number.
.The record cannot be found in the phonebook. Check that the correct name/number
is stored in the phonebook, with the full area code.
I have forgotten my PIN!
.Restore the phone to its default settings.
Cannot register a handset to the base
.Up to a maximum of 4 handsets can be registered to a base. De-register a handset
in order to register a new one, see.
.Check that correct PIN code (default = 0000) has been entered.
.Check that the handset and base are at least one metre away from other electrical
equipment to avoid interference when registering.
Handset does not ring
.The handset ringer volume may be set to Off.
Noise interference on my phone or on other electrical equipment
nearby
.Place the phone at least one metre away from electrical appliances or any metal
obstructions to avoid any risk of interference.
Other manuals for Voxtel D80
1
This manual suits for next models
2
Table of contents
Other AEG Cordless Telephone manuals

AEG
AEG Designer 10 User manual

AEG
AEG Voxtel D85 twin User manual

AEG
AEG Voxtel S100 User manual

AEG
AEG voxtel D550BT User manual

AEG
AEG Voxtel D210 User manual

AEG
AEG LOOP User manual

AEG
AEG Voxtel D220BT User manual

AEG
AEG Voxtel D220BT User manual

AEG
AEG Voxtel D235 User manual

AEG
AEG Smart 64 Instruction manual