AEG VS92903M User manual

VS92903M
EN User Manual 02


2
www.aeg.com
CONTENTS
1. SAFETY INFORMATION .................................................................................................... 3
2. SAFETY INSTRUCTIONS................................................................................................... 4
3. PRODUCT DESCRIPTION ................................................................................................. 6
4. BEFORE USING FOR THE FIRST TIME............................................................................7
5. CONTROL PANEL .............................................................................................................. 7
6. DAILY USE.......................................................................................................................... 8
7. VACUUM FOOD PACKAGING FOR................................................................................... 9
8. VACUUM PACKAGING FOR FOOD PRESERVATION.................................................... 10
9. ADDITIONAL FUNCTIONS ............................................................................................... 11
10. CLEANING AND MAINTENANCE................................................................................... 12
11. TROUBLESHOOTING .................................................................................................... 13
12. ENVIRONMENTAL CONSIDERATIONS ........................................................................ 14
12. INSTALLATION............................................................................................................... 14
FOR PERFECT RESULTS
Thank you for choosing this AEG product. We have created it to give you impeccable
performance for many years, with innovative technologies that help make life simpler –
features you might not find on ordinary appliances. Please spend a few minutes
reading to get the very best from it.
Visit our website to:
Get usage advice, brochures, trouble shooter, service information:
www.aeg.com
Register your product for better service:
www.aeg.com/productregistration
Buy Accessories, Consumables and Original spare parts for your appliance:
www.aeg.com/shop
CUSTOMER CARE AND SERVICE
We recommend the use of original spare parts.
When contacting Service, ensure that you have the following data available.
The information can be found on the rating plate. Model, PNC, Serial Number.
Warning / Caution-Safety information.
General information and tips.
Environmental information.
Subject to change without notice.

3
ENGLISH
1. SAFETY INFORMATION
Carefully read the instructions before installing and
using the equipment. The manufacturer is not
liable for improper installation and use of the
equipment that may cause injuries and damage.
Always keep the instructions at hand, so they can
be easily referred to during use.
1.1. Safety of children and vulnerable adults
WARNING!
Risk of choking, injury or permanent disability.
This appliance can be used by children aged
8 years and above and persons with reduced
physical, sensory or mental capabilities or
lack of experience and knowledge if they are
given supervision or instructions concerning
how to use the appliance in a safe way and
understand the hazards involved.
Children should not play with the appliance.
Keep packaging materials away from
children.
Keep children and pets away from the
appliance during operation or when cooling.
Cleaning and maintenance should not be
done by children without supervision.
1.2. Warnings on general safety
During installation, follow the instructions
supplied separately.
Only qualified personnel can install the
appliance and replace the cable.
Do not use steam cleaners to clean the
appliance.

4
www.aeg.com
Disconnect the appliance from the power
supply before carrying out any maintenance
operation.
Do not use abrasive detergents or metal
scrapers to clean the appliance.
2. SAFETY INSTRUCTIONS
2.1. Installation
WARNING!
Installation must be carried out by
qualified personnel only
Remove the packaging material.
Do not install or use the appliance if
damaged.
Comply with the instructions
supplied with the appliance.
Always pay attention when moving
the appliance and wear safety
gloves.
Do not turn the appliance upside
down or tilt it! This may cause oil
to leak from the pump and
damage the equipment.
Respect the minimum distance from
other appliances.
Make sure the appliance is installed
and secured to a fixed structure.
The sides of the appliance must be
adjacent to other equipment or
units having the same height.
2.2. Electrical connection
WARNING!
Risk of fire and electric shock.
All the electrical connections must
be made by a qualified electrician.
The appliance must be earthed.
Make sure that all the electrical data
shown in the data plate of the
model correspond to those of the
system. Otherwise, contact an
electrician.
Always use a correctly installed
shockproof socket.
Do not use multi-plug adapters or
extension cables.
Make sure not to damage the mains
plug and the mains cable. Contact
the Assistance Service or an
electrician to change any
damaged mains cable.
Shock protection devices must be
fastened in such a way that they
cannot be removed without tools.
Connect the mains plug to the mains
socket only once installation has
been completed. Make sure that
the mains plug can be accessed
after installation.
Do not connect the mains plug if the
mains socket is loose.
Do not pull the mains cable to
disconnect the appliance. Pull
only the mains plug.
Use only suitable isolation devices:
circuit breakers, fuses (screw type
fuses must be removed from the
fuse holder), earth fault current
releases and relays.
The electric system must be
equipped with a means for
disconnection, with a contact
separation in all poles that provide
full disconnection under overvoltage
category III.

5
ENGLISH
2.3. Use
WARNING!
Risk of injury, burns, electric shock
or explosion
Use this appliance in a household
environment.
Do not modify the specifications of
this appliance.
Do not leave the appliance
unattended during operation.
Switch off the appliance after use.
Do not use the appliance with wet
hands or when it could come into
contact with water.
Do not apply pressure on the
drawer.
Do not use the appliance as a work
surface or as a support surface.
Avoid the presence of sparks or
open flames near the appliance
when you open the drawer.
Do not place or keep flammable
liquids, materials or objects on the
appliance, or inside or close to it.
WARNING!
You may damage the appliance
Pay attention when you remove or
insert the accessories.
Do not touch the sealing bar (5)
immediately after sealing.
You may get burnt due to the
residual heat.
In the event of a power failure during
a work cycle with closed cover (3),
do not force the cover with a tool
to open it, wait until power is
restored.
Do not place any weight on the
cover (3)!
Prevent any object from falling on
the cover! This can compromise
the integrity, causing cracks or
damage. Do not proceed with
packaging if the cover has cracks
or is broken.
Contact the Technical Assistance
Service to replace it.
2.4. Cleaning and maintenance
WARNING!
There is a risk of injury, fire or
damage.
Before carrying out any maintenance
operation, switch off the appliance
and disconnect the plug from the
mains socket
Check that the appliance is cold.
Clean the appliance on a regular
basis to prevent the surface
materials from wearing.
Clean the appliance using a damp
and soft cloth Use neutral
detergents only. Do not use
abrasive products, alcohol-based
detergents, abrasive sponges,
solvents or metal objects.
Follow the safety instructions
indicated on the packaging, in the
event you use sprays.
2.5. Disposal
WARNING!
Risk of injury and choking.
Disconnect the plug from the power
supply.
Remove the mains cable and
dispose of it.
5
3
3

6
www.aeg.com
3. PRODUCT DESCRIPTION
This product is ideal for:
Vacuum food packaging for the
“SOUS VIDE” cooking methods
(see chapter 7).
Removing the air from the
pouches ensures perfect cooking
results, thanks to the
homogeneous heat.
transfer and retention of minerals
and vitamins that would otherwise
be dispersed.
Vacuum packaging for food
Preservation (see chapter 8).
Food marinades/infusion
(see chapter 8).
ON/OFF switch
Control panel
Cover
Tank
Sealing bar
3.1. Accessories
Volume Reducer
With these pouches, food can be stored and cooked
at a temperature ranging between 0°C and 120°C
(max. 30min at 120ºC)
The supplied pouches are ideal for the “sous vide”
vacuum cooking method.
Pouches order code:9029794014
50 pouches for vacuum cooking and storage.
(25 pieces, dimensions: 20x30 cm + 25 pieces
dimensions: 25x35 cm)
www.aeg.com/shop
External vacuum” fitting”
(see chapter 9)

7
ENGLISH
4. BEFORE USING FOR THE FIRST TIME
WARNING!
Ensure oil has been added before
operating the appliance. Refer to
Installation section for how to do this.
WARNING!
Refer to the chapters on safety.
4.1. Cleaning for the first time
Remove all the parts from the
appliance.
Clean the appliance before you use
it for the first time.
Refer to the "Cleaning and
maintenance" chapter.
4.2. First connection
Connect the appliance to the power
supply.
Use the ON/OFF switch -1- locate to
the left of the control panel to
switch the appliance on.
Before using the appliance, proceed
with the “Conditioning Program”
as shown below:
Close the cover with the empty tank.
Select program P7 using the keys
-9- and -10-.
Press Start -8- .
Wait for the cycle to end (about 3
minutes).
At the end of the cycle, the display
shows P7 again.
Now the machine is ready for use.
5. CONTROL PANEL
ON/OFF switch
Selection button
ON/OFF LED
Start button
Vacuum function LED
“DECREASE” button, reduces the set function
values and selects the programs
Sealing function LED
“INCREASE” button, increases the set
Function values and selects the programs
Air return function LED
Display. Displays the selected functions and
the relative setting data.
Stop button

8
www.aeg.com
6. DAILY USE
Refer to the chapters on safety
Switch the appliance on using the
ON/OFF -1- switch and wait until
the display shows the last
program performed (e.g. P1).
Lift the cover and place the pouch
containing the food to be packed
inside the tank, leaving at least 2
cm beyond the sealing bar (see
figure)
For small products, use the supplied
filler plate, as it helps position the
pouch in the correct position with
respect to the sealing bar.
Close the cover and select the
required program pressing
DECREASE/INCREASE -9-, -10
and then press Start -8-.
During the vacuum stage, the
display shows the progress (in
percentage) until the set value is
reached.
The display now shows the sealing
time, after which the environmental
pressure is restored inside the tank.
Now you can open the cover, as
soon as the display shows the
program number (e.g. P1).
Programs from P1 to P5 can be set
according to the consumer's
requirements.
By default, the set vacuum is 99.9%
and the recommended sealing
time for the supplied pouches is 2
seconds.
These parameters are suitable for the
normal use of the machine.
Refer to the following table for other
settings.
RECOMMENDED VACUUM % TABLE
“Value for food preservation purpose”
Food
Vacuum Recommended
Meat
99.9%
Cheese
99.9%
Grated cheese
35 - 50%
Fruit
99.9%
Jam and cream
99.9%
Soups
99.9%
Sandwiches
60 - 70%

9
ENGLISH
Food
Vacuum Recommended
Pasta
99.9%
Fish, shellfish
99.9%
Sausages
99.9%
Cured meats
99.9%
Vegetables
99.9%
Fresh vegetables (salad, tomatoes)
35 - 50%
Stop button
This button immediately stops suction and
the machine proceeds by sealing the
pouch automatically. This function must be
used for packing liquid and hot products,
which can boil during the vacuum cycle.
MODIFYING THE PARAMETERS
We recommend modifying the “vacuum %
” parameters for some foods (see the
recommended vacuum % table).
The pouch sealing time can be modified
(from 0 to 4 seconds) for pouches with
different thickness compared to those
supplied.
Note: The bags supplied with this
appliance are intended to be used with the
default sealing time of 2 seconds.
To modify these parameters, proceed as
follows:
Press buttons -9-, -10- to select the
program to be modified (e.g. P2).
Press the selection button -7-
The display shows the vacuum
percentage (99.9%).
Enter the desired number by pressing
buttons -9-, -10- .
Press the selection button -7-
The display shows the sealing time (2
seconds).
Enter the desired value by pressing
buttons -9-, -10- .
By pressing -7- again, the display
shows the program (e.g. P2). The
displayed program means that the set
parameters have been saved.
7. VACUUM FOOD PACKAGING FOR “SOUS VIDE”
COOKING METHOD
With this method, the food sealed in the
vacuum pouch is then slowly steam
cooked or cooked in low temperature
water.
Vacuum is set at 99.9%, which is ideal for
this cooking method.
The benefits provided are many:
the flavour and texture of the food are
better
both flavour and aromas are preserved,
as the cooking process does not
disperse them
The reduced loss of liquid makes the
food softer and less dry.
Nutrients like minerals and vitamins are
preserved by the sealed pouch.
You don't need to add oils or fats for
cooking.

10
www.aeg.com
8. VACUUM PACKAGING FOR FOOD PRESERVATION
Removing air preserves food for longer periods.
Food preservation table
The following table shows the preservation time of vacuum food. Please remember that
times are indicative.
Indicative food preservation time
Under normal conditions
Vacuum
At room temperature (+20° / +25°C)
Bread
2 days
Up to 8 days
Dry biscuits
120 days
up to 360 days
Dry pasta, rice
180 days
up to 360 days
Dried fruit
120 days
up to 360 days
Flour, tea, coffee
120 days
up to 360 days
Refrigerated at +3° / +5°C
Red and white meat
2 days
up to 4 days
Fresh bread
1 - 2 days
up to 4 days
Cured meat
4 - 6 days
up to 15 days
Soft cheese
5 - 7 days
up to 15 days
Hard cheese
15 - 20 days
up to 30 days
Raw vegetables
1 - 3 days
up to 7 days
Soups
2 - 3 days
up to 5 days
Pasta, risotto, lasagne
2 - 3 days
up to 5 days
Times refer to fresh food stored correctly
before vacuum packaging.
For cooked food, times refer to food
refrigerated immediately after vacuum
packaging.
In the event of refrigerated food, make sure
that the refrigerator can reach and maintain
the required temperature.
We always recommend checking the
condition of the food before you eat it after
a prolonged preservation.

11
ENGLISH
MARINATING IN THE POUCH
Use the ON/OFF switch -1- located
to the left of the control panel to
switch the appliance on.
Place the food with the marinade
inside the pouch. Place the pouch
inside the tank.
Select one of the programs between
P1 and P5 with vacuum at 99.9%
and sealing time set at 2 seconds,
using keys keys -9- and -10-.
Close the cover and press Start -8- .
Open the cover, as soon as the
display shows the program (e.g. P1).
Store in the refrigerator for 9-12
hours.
9. ADDITIONAL FUNCTIONS
9.1. P6 “External vacuum”
This program must be used to
eliminate the air inside special air-tight
containers (not supplied with this
product).
Unscrew the intake fitting placed
inside the tank
Tighten the "external vacuum" fitting
Connect this fitting to the container
using the intake pipe.
With the open cover, start the
program by pressing Start
This program allows only the "vacuum"
program to be set.
9.2. P7 “Conditioning Program”
This program must be used in the
following situations:
Before using the machine for the first
time.
After a long stop period.
After having sealed products with
high humidity content (e.g. soups).
When you notice a decrease in
performance of the machine (e.g.:
time to reach vacuum is increased
or it does not reach it at all).
This program lasts about 3 minutes
and ensures a complete cleaning of
the pump, removing any liquid
emulsion that might be found in the oil.
Do not seal any product while this
program is running.
This program has no set variables.
Follow the indications below to start
the program:Close the cover with the
empty tank
Select program P7 using keys keys
-9- and -10- .
Press Start -8- .
Wait for the cycle to end (about 3
minutes).
At the end of the cycle, the display
shows P7 again.
Now the machine is ready for use

12
www.aeg.com
10. CLEANING AND MAINTENANCE
WARNING!
Refer to the chapters on safety
Clean the appliance after use.
Clean the Plexiglas cover (3) inside
and out using only neutral detergents
(water and soap).
Do not use abrasive products,
alcohol-based detergents, abrasive
sponges, solvents or metal objects.
Follow the safety instructions
indicated on the packaging, in the
event you use sprays.
Clean the sealing bar (5) using a dry
cloth. Remove any film residue that
deposits on the bar.
Before cleaning the tank (4),
especially when liquid remains are
in, it is recommended to remove the
sealing bar (5).
Clean the metal surfaces using
normal detergents suitable for
stainless steel.

13
ENGLISH
11. TROUBLESHOOTING
WARNING!
Refer to the chapters on safety.
PROBLEM
CAUSE
SOLUTION
The pouch is not
sealed correctly
The sealing time is not
correct.
The cover gasket is dirty
or worn.
The pouch is not placed
correctly on the sealing
bar.
The sealing bar is worn
(the Teflon coating is
burnt).
The blade placed under
the Teflon of the sealing
bar is broken.
Change the sealing time.
Clean or replace the cover
gasket (contact the Technical
Assistance Service for a
replacement).
Position the pouch correctly.
Replace the sealing bar (contact
the Technical Assistance Service
for a replacement).
Replace the blade (contact the
Technical Assistance Service for
a replacement).
Final vacuum is
poor
The set vacuum
percentage is incorrect.
The cover gasket is dirty
or worn.
The cover is not closed
correctly.
Change the vacuum percentage.
Clean or replace the cover
gasket (contact the Technical
Assistance Service for a
replacement).
Close the cover correctly.
Make sure that objects or dirt are
not found between the cover and
tank.
The cover does
not open
No power supply.
Wait until the power supply is
restored.
If the machine does not work properly after
the above-mentioned checks, contact the
assistance service describing the detected
defect.
Alarm messages
The appliance detects some alarms, which
are displayed -11- with the following
messages:
OIL:
Replace the pump oil.
Contact the technical assistance service.
OFF:
The electronic board is blocked.
Contact the technical assistance service.
EAA:
The appliance has not reached the
vacuum within the maximum set time
(160 seconds).
Make sure the cover is closed correctly.
The cover has not been closed during the
P7 program “Conditioning Program”.
Switch the appliance off and on to reset
the alarm.
FLA:
Power supply voltage is low.
Contact the technical assistance service.

14
www.aeg.com
12. ENVIRONMENTAL CONSIDERATIONS
Recycle materials that carry this
symbol. Dispose of the packaging in
special containers for recycling.
Help protect the environment and
human health and recycle waste
deriving from electric and electronic
devices.
Do not dispose of appliances
that carry this symbol together
with domestic waste.
Take the product to the nearest
recycling centre or contact your
local government/authority.
13. INSTALLATION

15
ENGLISH

16
www.aeg.com

17
ENGLISH

This document sets out the terms and conditions of the product
warranties for AEG Appliances. It is an important document. Please
keep it with your proof of purchase documents in a safe place for
future reference should you require service for your Appliance.
1. In this warranty:
(a) ‘acceptable quality’ as referred to in clause 10 of this warranty has
the same meaning referred to in the ACL;
(b)
‘ACL’ means Schedule 2 to the Competition and Consumer
Act 2010;
(c) ‘Appliance’ means any AEG product purchased by you and
accompanied by this document;
(d) ‘ASC’ means AEG authorised service centres;
(e) AEG is the brand controlled by Electrolux Home Products Pty Ltd
of 163 O’Riordan Street, Mascot NSW 2020, ABN 51 004 762 341
in respect of Appliances purchased in Australia and Electrolux (NZ)
Limited (collectively ‘Electrolux’) of 3-5 Niall Burgess Road, Mount
Wellington, in respect of Appliances purchased in New Zealand;
(f) ‘major failure’ as referred to in clause 10 of this warranty has the
same meaning referred to in the ACL and includes a situation when
an Appliance cannot be repaired or it is uneconomic for Electrolux,
at its discretion, to repair an Appliance during the Warranty Period;
(g) ‘Warranty Period’ means the Appliance is warranted against
manufacturing defects in Australia and New Zealand for
60 months, following the date of original purchase of the Appliance;
(h) ‘you’ means the purchaser of the Appliance not having purchased
the Appliance for re-sale, and ‘your’ has a corresponding meaning.
2. This warranty only applies to Appliances purchased and used in Australia
or New Zealand in normal domestic applications and is in addition to
(and does not exclude, restrict, or modify in any way) any non-excludable
statutory warranties in Australia or New Zealand.
3. During the Warranty Period Electrolux or its ASC will, at no extra
charge if your Appliance is readily accessible for service, without special
equipment and subject to these terms and conditions, repair or replace
any parts which it considers to be defective. Electrolux or its ASC may
use remanufactured parts to repair your Appliance. You agree that any
replaced Appliances or parts become the property of Electrolux. This
warranty does not apply to light globes, batteries, lters or similar
perishable parts.
4. Parts and Appliances not supplied by Electrolux are not covered by
this warranty.
5. To the extent permitted by law, you will bear the cost of transportation,
travel and delivery of the Appliance to and from Electrolux or its ASC. If
you reside outside of the service area, you will bear the cost of:
(a) travel of an authorised representative;
(b) transportation and delivery of the Appliance to and from Electrolux
or its ASC.
In all instances, unless the Appliance is transported by Electrolux or
an AEG authorised representative, the Appliance is transported at the
owner’s cost and risk while in transit to and from Electrolux or its ASC.
6. Proof of purchase is required before you can make a claim under
this warranty.
7. You may not make a claim under this warranty unless the defect
claimed is due to faulty or defective parts or workmanship. Electrolux is
not liable in the following situations (which are not exhaustive):
(a) the Appliance is damaged by:
(i) accident
(ii) misuse or abuse, including failure to properly maintain or
service
(iii) normal wear and tear
(iv) power surges, electrical storm damage or incorrect power supply
(v) incomplete or improper installation
(vi) incorrect, improper or inappropriate operation
(vii) insect or vermin infestation
(viii) failure to comply with any additional instructions supplied with
the Appliance;
(b) the Appliance is modied without authority from Electrolux in
writing;
(c) the Appliance’s serial number or warranty seal has been removed
or defaced;
(d) the Appliance was serviced or repaired by anyone other than
Electrolux, an authorised repairer or ASC.
8. This warranty, the contract to which it relates and the relationship between
you and Electrolux are governed by the law applicable where the Appliance
was purchased. Where the Appliance was purchased in New Zealand for
commercial purposes the Consumer Guarantee Act does not apply.
9. To the extent permitted by law and subject to your non-excludable
statutory rights and warranties, AEG excludes all warranties and
liabilities (other than as contained in this document) including liability
for any loss or damage whether direct or indirect arising from your
purchase, use or non use of the Appliance.
10. For AEG Appliances and services in Australia, the Appliances come
with a guarantee that cannot be excluded under the ACL. You
are entitled to a replacement or refund for a major failure and for
compensation for any other reasonably foreseeable loss or damage.
You are also entitled to have the Appliance repaired or replaced if the
Appliance fails to be of acceptable quality and the failure does not
amount to a major failure. The benets to you given by this warranty are
in addition to your other rights and remedies under a law in relation to
the Appliances or services to which the warranty relates.
11. At all times during the Warranty Period, Electrolux shall, at its discretion,
determine whether repair, replacement or refund will apply if an
Appliance has a valid warranty claim applicable to it.
12. For Appliances and services provided in New Zealand, the Appliances
come with a guarantee pursuant to the provisions of the Consumer
Guarantees Act, the Sale of Goods Act and the Fair Trading Act.
13. To enquire about claiming under this warranty, please follow these steps:
(a) carefully check the operating instructions, user manual and the
terms of this warranty;
(b) have the model and serial number of the Appliance available;
(c) have the proof of purchase (e.g. an invoice) available;
(d) telephone the numbers shown below.
14. You accept that if you make a warranty claim, Electrolux and its ASC
may exchange information in relation to you to enable Electrolux to
meet its obligations under this warranty.
Important Notice
Before calling for service, please ensure that the steps listed in clause 13 above have been followed.
FOR SERVICE
or to nd the address of your nearest
state service centre in Australia
PLEASE CALL 1300 363 664
For the cost of a local call (Australia only)
SERVICE AUSTRALIA
aeg.com/au
FOR SPARE PARTS
or to nd the address of your nearest
state spare parts centre in Australia
PLEASE CALL 13 13 50
For the cost of a local call (Australia only)
FOR SERVICE
or to nd the address of your nearest
authorised service centre in New Zealand
FREE CALL 0800 10 66 10
(New Zealand only)
SERVICE NEW ZEALAND
aeg.co.nz
FOR SPARE PARTS
or to nd the address of your nearest
state spare parts centre in New Zealand
FREE CALL 0800 10 66 20
(New Zealand only)
AEG_Warr_Oct15
Warranty
FOR SALES IN AUSTRALIA AND NEW ZEALAND
ALL AEG BRANDED APPLIANCES

943516-c
Other manuals for VS92903M
1
Table of contents
Other AEG Kitchen Appliance manuals
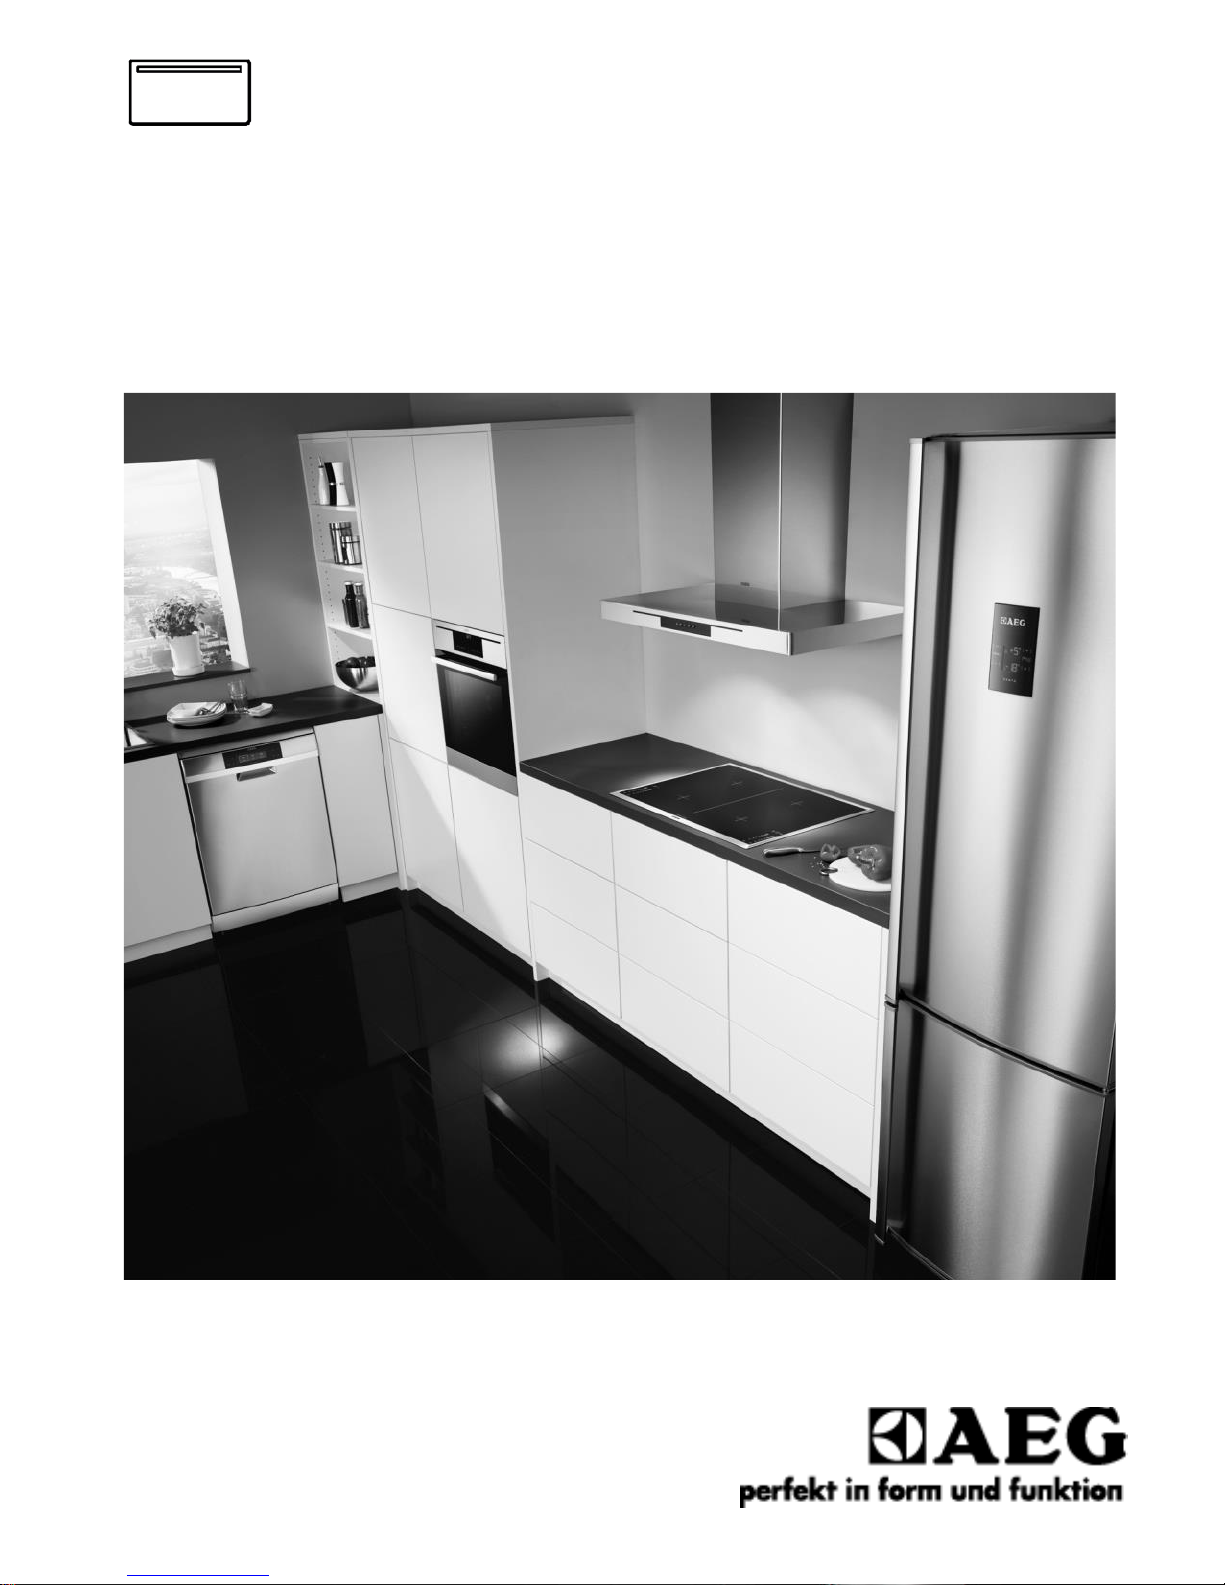
AEG
AEG COMPETENCE 3200 F User manual

AEG
AEG 47056VS User manual

AEG
AEG COMPETENCE 41056VH User manual

AEG
AEG AWUS040B8B User manual

AEG
AEG BS8354801M User manual

AEG
AEG HK634200XB User manual

AEG
AEG 30006VL-WN User manual

AEG
AEG 49332I-MN User manual

AEG
AEG COMPETENCE 5070 V User manual

AEG
AEG MaxiSense 49176IW-MN User manual