manuals.online logo
Brands
  1. Home
  2. •
  3. Brands
  4. •
  5. AeroGarden
  6. •
  7. Lawn And Garden Equipment
  8. •
  9. AeroGarden Wall Farm Deluxe Single Programming manual

AeroGarden Wall Farm Deluxe Single Programming manual

LIMITED WARRANTY
Due to continuing improvements, actual
product may differ slightly from the product
described herein. Some states do not allow
the exclusion or limitation of incidental or
consequential damages, so the above
limitation or exclusion may not apply to you.
This warranty gives you specific legal rights,
and you may have other legal rights that
vary from state to state. If you have any
questions please feel free to contact our
customer service representatives at
customerservice@aerogrow.com.
AeroGrow International, Inc., P.O. Box
18450, Boulder, CO 80308
What Is Covered
This warranty covers any defects in
materials or workmanship, with the
exceptions stated below.
How Long Coverage Lasts
This warranty runs for one (1) year from the
date of original purchase, for the original
purchaser/user.
What is Not Covered
The warranty shall not apply to problems
arising from: normal wear; failure to adhere
to enclosed assembly and installation
instructions; serial-numbered products if the
serial number has been removed or
defaced; products subject to negligence,
accident, improper use, maintenance or
storage; products damaged by
circumstances beyond AeroGrow
International, Inc.’s control; loss or damage
to removable parts; or products modified
(including, but not limited to, modifications
through the use of unauthorized parts or
attachments) or repaired by anyone other
than AeroGrow International, Inc., or its
designee. This warranty excludes all
incidental or consequential damages.
What AeroGrow Will Do
AeroGrow International, Inc., at its option,
will repair any defects in materials or
workmanship or will replace this product with
one of similar features and price. AeroGrow
International, Inc.’s sole obligation and your
exclusive remedy under this warranty shall
be limited to such repair or replacement.
To Return This Product
See our website at www.aerogrow.com for
instructions. Do not return products to
AeroGrow International, Inc. without our prior
consent. Unauthorized returns, as well as
C.O.D. shipments, will be refused.
300186AB 5/18/08
If you have any questions
please feel free to contact
Customer Service:
1-800-476-9669
or email:
info@aerogrow.com
© 2006 AeroGrow International, Inc.
5
Screw Top Mounting Bracket
into top set of pilot holes with
provided screws.
Tab
Slot
9
Slide Bottom Cover Plate into
place below AeroGarden Shelf
so that Tab connects with Slot.
10
Gently push Bottom Cover
Plate to secure to Shelf
Mounting Bracket.
11
Place AeroGarden on shelf.
Run electrical cord behind
Cover Plate and down through
Mounting Bracket.
If needed, use a 16 gauge
(or heavier) extension cord to
reach outlet.
6
Screw AeroGarden Shelf with
Mounting Bracket into bottom
set of pilot holes.
Push Top Cover Plate toward
wall until it connects with
Top Mounting Bracket.
8
pilot
holes
Install Shelf
Cut Out
Shelf
Support
7
Place Top
Cover Plate
over Shelf so
that Cut Outs
fit over Shelf Supports.
Hint: Angle Cover Plate slightly away
from wall.
center
line of
wood
stud
Mark and Drill Pilot Holes
1
Locate and mark center line
on wood stud.
Hold AeroGarden Shelf with
Mounting Bracket at desired
height and mark locations for
pilot holes.
29”
19”
Unpack Your Wall Farm
Box Contents:
Wall Farm Deluxe Single
Assembly & Installation Instructions
4 Screws
1AeroGarden Shelf
with Mounting Bracket
Shelf
Supports
1 Top Mounting Bracket
1 Top Cover Plate
Cut Outs
1 Bottom Cover Plate
Tools Needed
You will need the following tools to
assemble and install your Wall Farm:
Tape Measure
Pencil
Drill
•13/64” Drill Bit
(or smaller, e.g., 5/32”)
Phillips Head
Screwdriver
•
•
•
•
Selecting Wall Farm Location
Place your Wall Farm in a
location with:
29” height to allow space for the full
extension of raised lamp hood.
19” width
Easy access to a standard electrical
outlet (110V, polarized)
Away from:
Direct sources of heat
(e.g., stove, furnace vents)
Direct sources of cold
(e.g., window drafts, A/C vents)
•
•
•
•
•
pilot hole
marks
2
Measure up 10” from top pilot
hole mark and mark wall for
Top Mounting Bracket.
pilot hole
marks
3
Place base of Top Mounting
Bracket at mark made in Step 2
and mark locations for pilot holes.
center
line of
wood
stud pilot hole
marks
4
Drill four 1-1/2” deep pilot
holes with 13/64” drill bit.
Wall Farm must
be attached to
and centered on
a wood stud.
Wall Farm must
be attached to
and centered on
a wood stud.
Customer Service
Congratulations...
You have installed
your Wall Farm!
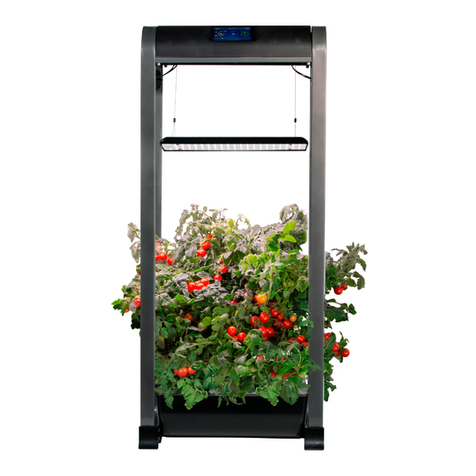
Mounting
Bracket
Wall Farm Deluxe Single
Assembly & Installation Instructions
center
line of
wood
stud
TM
LIMITED WARRANTY
Due to continuing improvements, actual
product may differ slightly from the product
described herein. Some states do not allow
the exclusion or limitation of incidental or
consequential damages, so the above
limitation or exclusion may not apply to you.
This warranty gives you specific legal rights,
and you may have other legal rights that
vary from state to state. If you have any
questions please feel free to contact our
customer service representatives at
customerservice@aerogrow.com.
AeroGrow International, Inc., P.O. Box
18450, Boulder, CO 80308
What Is Covered
This warranty covers any defects in
materials or workmanship, with the
exceptions stated below.
How Long Coverage Lasts
This warranty runs for one (1) year from the
date of original purchase, for the original
purchaser/user.
What is Not Covered
The warranty shall not apply to problems
arising from: normal wear; failure to adhere
to enclosed assembly and installation
instructions; serial-numbered products if the
serial number has been removed or
defaced; products subject to negligence,
accident, improper use, maintenance or
storage; products damaged by
circumstances beyond AeroGrow
International, Inc.’s control; loss or damage
to removable parts; or products modified
(including, but not limited to, modifications
through the use of unauthorized parts or
attachments) or repaired by anyone other
than AeroGrow International, Inc., or its
designee. This warranty excludes all
incidental or consequential damages.
What AeroGrow Will Do
AeroGrow International, Inc., at its option,
will repair any defects in materials or
workmanship or will replace this product with
one of similar features and price. AeroGrow
International, Inc.’s sole obligation and your
exclusive remedy under this warranty shall
be limited to such repair or replacement.
To Return This Product
See our website at www.aerogrow.com for
instructions. Do not return products to
AeroGrow International, Inc. without our prior
consent. Unauthorized returns, as well as
C.O.D. shipments, will be refused.
300186AB 5/18/08
If you have any questions
please feel free to contact
Customer Service:
1-800-476-9669
or email:
info@aerogrow.com
© 2006 AeroGrow International, Inc.
5
Screw Top Mounting Bracket
into top set of pilot holes with
provided screws.
Tab
Slot
9
Slide Bottom Cover Plate into
place below AeroGarden Shelf
so that Tab connects with Slot.
10
Gently push Bottom Cover
Plate to secure to Shelf
Mounting Bracket.
11
Place AeroGarden on shelf.
Run electrical cord behind
Cover Plate and down through
Mounting Bracket.
If needed, use a 16 gauge
(or heavier) extension cord to
reach outlet.
6
Screw AeroGarden Shelf with
Mounting Bracket into bottom
set of pilot holes.
Push Top Cover Plate toward
wall until it connects with
Top Mounting Bracket.
8
pilot
holes
Install Shelf
Cut Out
Shelf
Support
7
Place Top
Cover Plate
over Shelf so
that Cut Outs
fit over Shelf Supports.
Hint: Angle Cover Plate slightly away
from wall.
center
line of
wood
stud
Mark and Drill Pilot Holes
1
Locate and mark center line
on wood stud.
Hold AeroGarden Shelf with
Mounting Bracket at desired
height and mark locations for
pilot holes.
29”
19”
Unpack Your Wall Farm
Box Contents:
Wall Farm Deluxe Single
Assembly & Installation Instructions
4 Screws
1AeroGarden Shelf
with Mounting Bracket
Shelf
Supports
1 Top Mounting Bracket
1 Top Cover Plate
Cut Outs
1 Bottom Cover Plate
Tools Needed
You will need the following tools to
assemble and install your Wall Farm:
Tape Measure
Pencil
Drill
•13/64” Drill Bit
(or smaller, e.g., 5/32”)
Phillips Head
Screwdriver
•
•
•
•
Selecting Wall Farm Location
Place your Wall Farm in a
location with:
29” height to allow space for the full
extension of raised lamp hood.
19” width
Easy access to a standard electrical
outlet (110V, polarized)
Away from:
Direct sources of heat
(e.g., stove, furnace vents)
Direct sources of cold
(e.g., window drafts, A/C vents)
•
•
•
•
•
pilot hole
marks
2
Measure up 10” from top pilot
hole mark and mark wall for
Top Mounting Bracket.
pilot hole
marks
3
Place base of Top Mounting
Bracket at mark made in Step 2
and mark locations for pilot holes.
center
line of
wood
stud pilot hole
marks
4
Drill four 1-1/2” deep pilot
holes with 13/64” drill bit.
Wall Farm must
be attached to
and centered on
a wood stud.
Wall Farm must
be attached to
and centered on
a wood stud.
Customer Service
Congratulations...
You have installed
your Wall Farm!
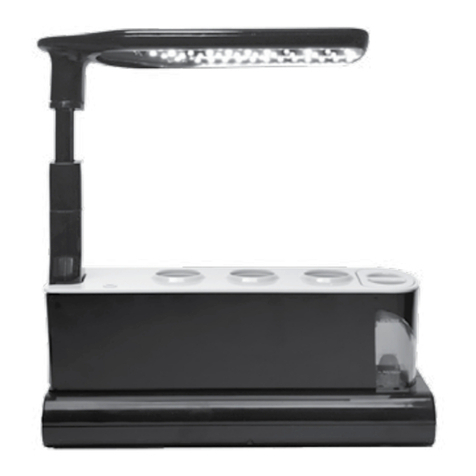
Mounting
Bracket
Wall Farm Deluxe Single
Assembly & Installation Instructions
center
line of
wood
stud
TM

Other AeroGarden Lawn And Garden Equipment manuals

AeroGarden Farm 12 User manual

AeroGarden

AeroGarden Farm 12 User manual

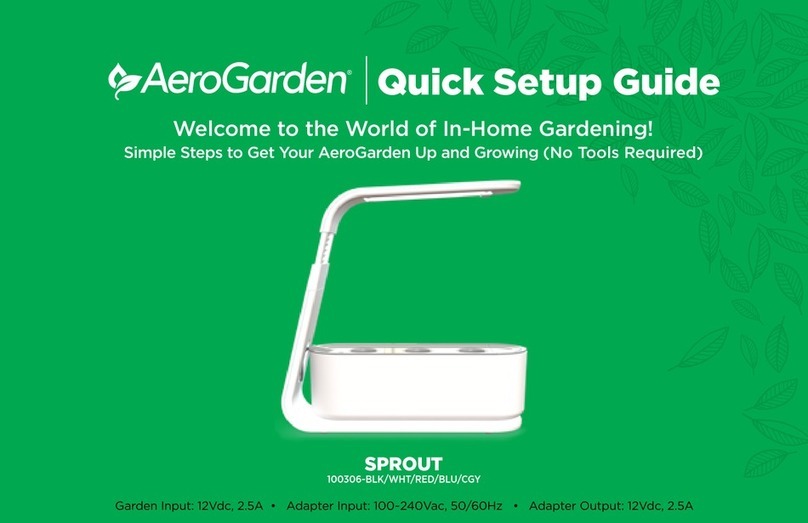
AeroGarden Sprout User manual

AeroGarden

AeroGarden Sprout User manual

AeroGarden Master Gardener Deluxe User manual

AeroGarden

AeroGarden Master Gardener Deluxe User manual

AeroGarden Sprout User manual

AeroGarden

AeroGarden Sprout User manual

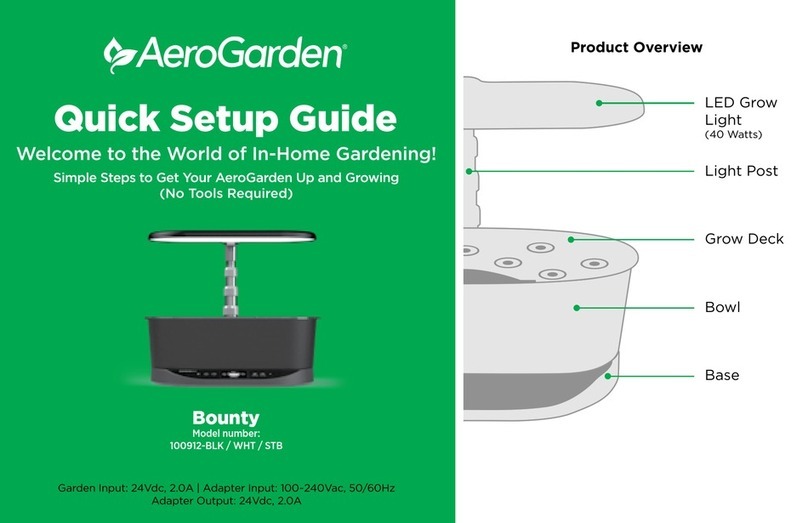
AeroGarden Bounty 100912-BLK User manual

AeroGarden

AeroGarden Bounty 100912-BLK User manual

AeroGarden Bounty Elite 100913-BSS User manual

AeroGarden

AeroGarden Bounty Elite 100913-BSS User manual

AeroGarden Harvest User manual

AeroGarden

AeroGarden Harvest User manual

AeroGarden EXTRA User manual

AeroGarden

AeroGarden EXTRA User manual

AeroGarden Farm Plus Operator's manual

AeroGarden

AeroGarden Farm Plus Operator's manual

AeroGarden Sprout User manual

AeroGarden

AeroGarden Sprout User manual

AeroGarden Farm Operator's manual

AeroGarden

AeroGarden Farm Operator's manual

AeroGarden Cherry Tomato User manual

AeroGarden

AeroGarden Cherry Tomato User manual

AeroGarden Farm Plus User manual

AeroGarden

AeroGarden Farm Plus User manual

AeroGarden MiniRose Garden User manual

AeroGarden

AeroGarden MiniRose Garden User manual

AeroGarden Harvest XL User manual

AeroGarden

AeroGarden Harvest XL User manual

AeroGarden Bounty User manual

AeroGarden

AeroGarden Bounty User manual

AeroGarden Harvest Series User manual

AeroGarden

AeroGarden Harvest Series User manual

Popular Lawn And Garden Equipment manuals by other brands

Sherpa SPB-500 Safety & Operating Instructions

Sherpa

Sherpa SPB-500 Safety & Operating Instructions

LITTLE BEAVER Kwik-Trench KT1200B Operator's manual

LITTLE BEAVER

LITTLE BEAVER Kwik-Trench KT1200B Operator's manual

AL-KO TECH 120 OHV user manual

AL-KO

AL-KO TECH 120 OHV user manual

Graf SICKER-TUNNEL TWIN Series Installation and maintenance instructions

Graf

Graf SICKER-TUNNEL TWIN Series Installation and maintenance instructions

Smith FS150.T.FlexHD Parts & user manual

Smith

Smith FS150.T.FlexHD Parts & user manual

Yeelight YLGJ042CN user manual

Yeelight

Yeelight YLGJ042CN user manual

Husqvarna 143AE15 Operator's manual

Husqvarna

Husqvarna 143AE15 Operator's manual

YAT YT6702 Assembly manual

YAT

YAT YT6702 Assembly manual

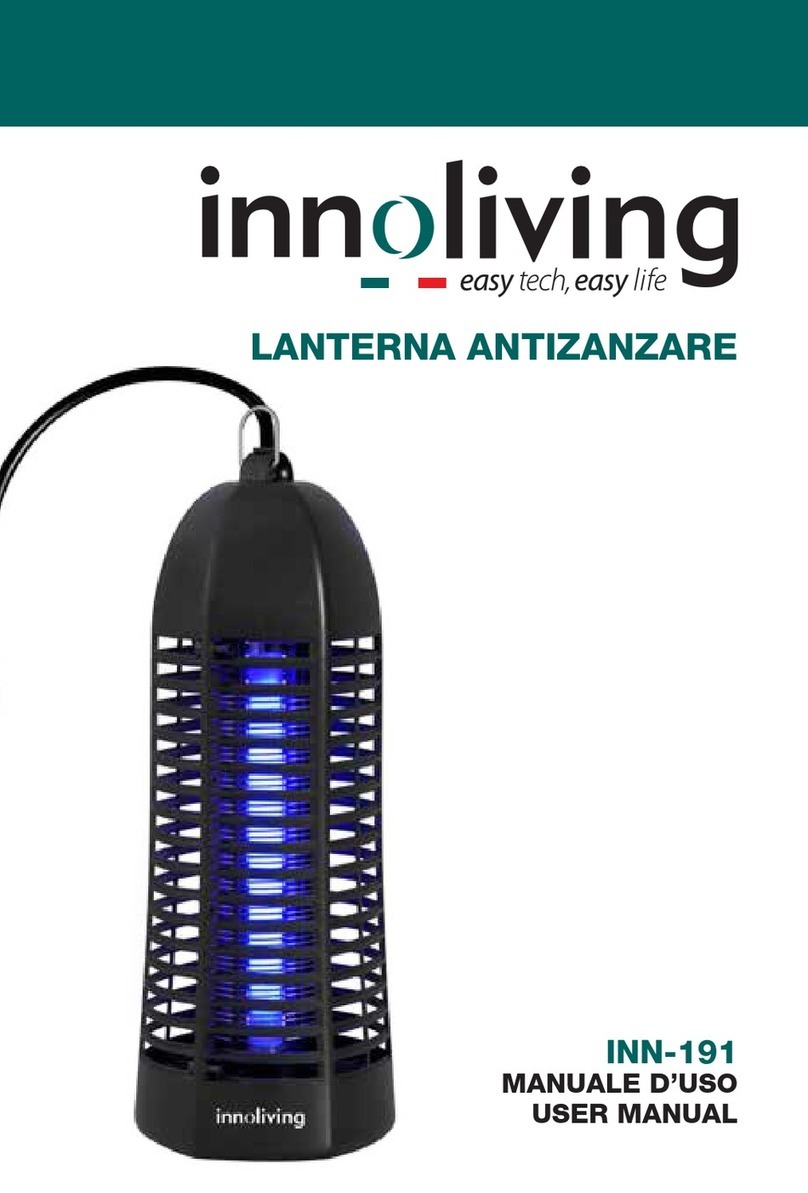
INNOLIVING INN-191 user manual

INNOLIVING

INNOLIVING INN-191 user manual

Parkside PAHE 20-Li A1 Translation of the original instructions

Parkside

Parkside PAHE 20-Li A1 Translation of the original instructions

Bosch AGS 7 Original instructions

Bosch

Bosch AGS 7 Original instructions

Duramaxx 10027112 manual

Duramaxx

Duramaxx 10027112 manual

Exmark MK443Q installation instructions

Exmark

Exmark MK443Q installation instructions

Dura Trel Oxford Assembly instructions

Dura Trel

Dura Trel Oxford Assembly instructions

Power Fist 8867699 user manual

Power Fist

Power Fist 8867699 user manual

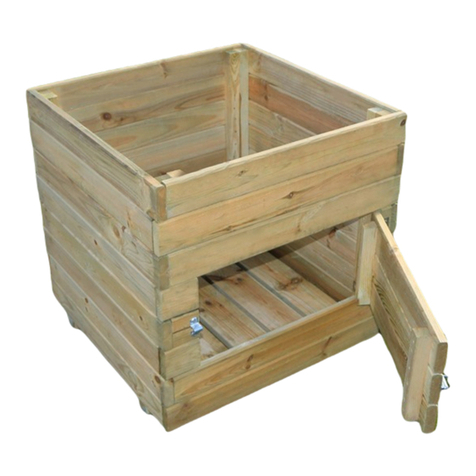
Zest 4 Leisure Square Potato Planter Assembly instructions

Zest 4 Leisure

Zest 4 Leisure Square Potato Planter Assembly instructions

Big League Lawns CheckMate Kubota W Walk-Behind Series installation guide

Big League Lawns

Big League Lawns CheckMate Kubota W Walk-Behind Series installation guide

FLORABEST 326879 Assembly, operating and safety instructions

FLORABEST

FLORABEST 326879 Assembly, operating and safety instructions

manuals.online logo
manuals.online logoBrands
  • About & Mission
  • Contact us
  • Privacy Policy
  • Terms and Conditions

Copyright 2025 Manuals.Online. All Rights Reserved.