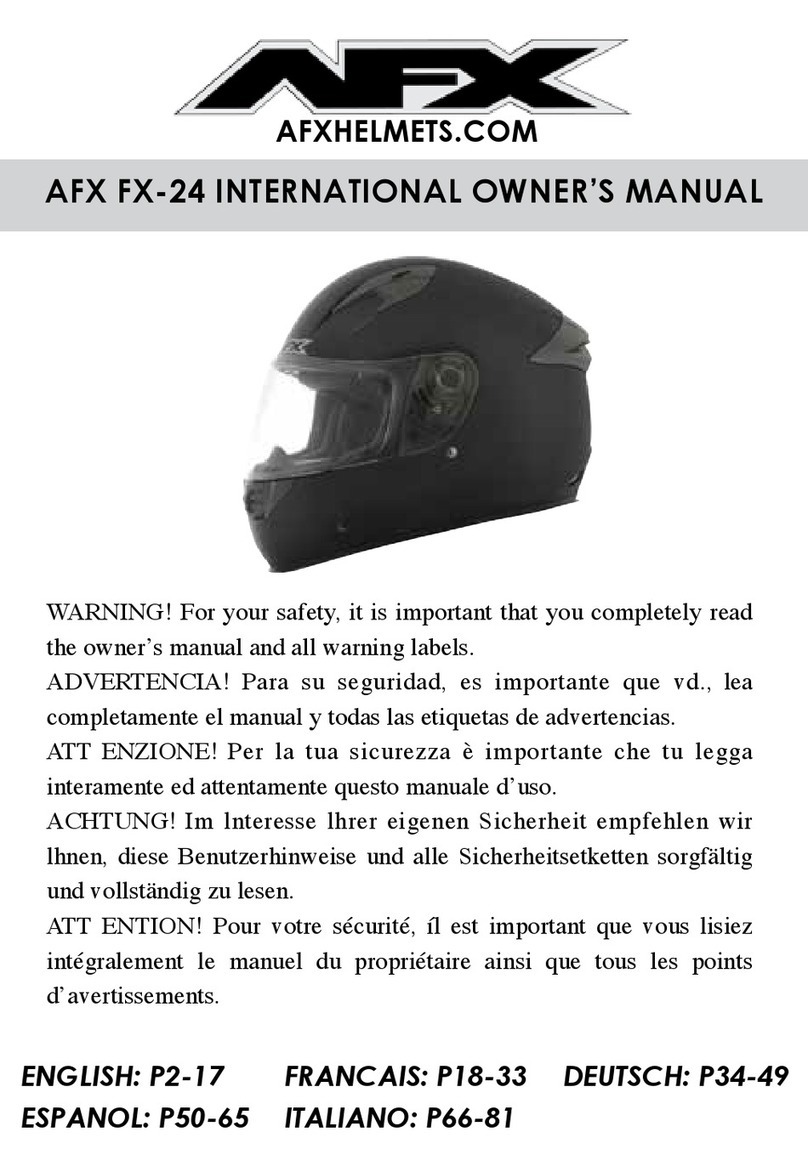
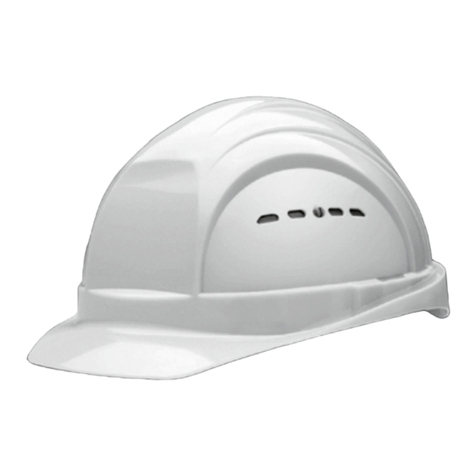
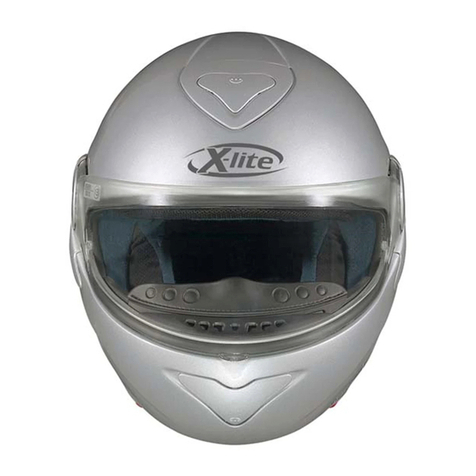
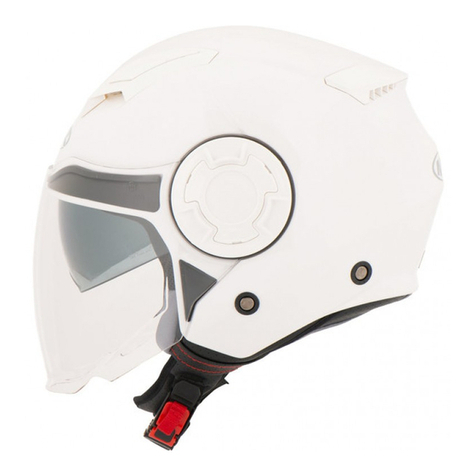
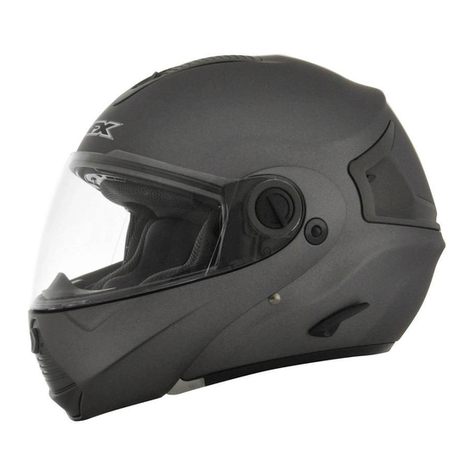
AFX FX-41DS User manual

AFXHELMETS.COM
WARNING! For your safety, it is important that you completely read
the owner’s manual and all warning labels.
ADVERTENCIA! Para su seguridad, es importante que vd., lea
completamente el manual y todas las etiquetas de advertencias.
ATT ENZIONE! Per la tua sicurezza è importante che tu legga
interamente ed attentamente questo manuale d’uso.
ACHTUNG! Im lnteresse lhrer eigenen Sicherheit empfehlen wir
lhnen, diese Benutzerhinweise und alle Sicherheitsetketten sorgfältig
und vollständig zu lesen.
ATT ENTION! Pour votre sécurité, íl est important que vous lisiez
intégralement le manuel du propriétaire ainsi que tous les points
d’avertissements.
ENGLISH: P2-21 FRANCAIS: P22-41
ESPANOL: P62-81 ITALIANO: P82-101
DEUTSCH: P42-61
AFX FX-41DS INTERNATIONAL OWNER’S MANUAL

IMPORTANT PLEASE READ THIS ENTIRE MANUAL
BEFORE YOU USE YOUR AFX HELMET
Thank you for purchasing an AFX helmet. Your AFX helmet was designed
for years of comfortable use. If you follow the advice here you should be
able to get the most enjoyment out of you new helmet.
Before using your new helmet, please take a moment to read the
following instructions for its use and care. Failure to read and
understand the contents of this owner’s manual and its associated
warnings could result in the helmet not protecting you in case of an
accident.
IMPORTANT
WEARING YOUR AFX HELMET
While no helmet can protect the user against all p o s s i b l e forms of
impact, the following safety instructions will help you get the maximum
benet and protection from your helmet.
1. To protect you as it is designed to do, your helmet must be the correct
tted size; too big or too small may not be safe. A properly tted helmet,
with the chinstrap fastened securely, will have a snug but comfortable
t. You will feel an even pressure all over your head, with no gaps. The
helmet must not be so loose that it can rotate freely front or back so that
it could be removed with the chinstrap fastened.
2. The chinstrap must be securely fastened at all times do not ride with
the chinstrap not fastened correctly. Make sure it remains snug at all
times, except when you take it off of course.
3. Do not modify your helmet in any way and never attach anything
to your helmet with screws or any type of adhesive. To preserve the
integrity and effectiveness of your helmet, do not alter its internal or
external structure in any way.
AFX HELMET CONSTRUCTION
ENGLISH
2

A helmet will only protect you if you wear it. So please remember to put
it on your head before you ride. If you feel wind in your hair (or what’s left
of your hair) you may have forgotten to put your helmet on. Please stop
riding immediately and put your helmet on. Further, the helmet must t
properly and be securely fastened on your head.
REMINDER
AFX HELMET CONSTRUCTION
This helmet is designed and engineered to the DOT & ECE STANDARDS,
which meets or exceeds DOT FMVSS 218 (USA/CANADA), ECE 22-05
(EUROPE,), Helmet Safety Standards.
Refer to the diagram below to familiarize your self with specic names
and terms used on this helmet before attempting to request replacement
parts or to replace owner serviceable parts on the helmet.
MAKE NO MODIFICATIONS TO THE HELMET. To maintain the full
effectiveness of this helmet, there should be no alteration to any parts
of the internal or external structure of this helmet or any it’s associated
component parts. Many types of Paints and adhesives may damage
and render your helmet ineffective, without the damage being visible to
the user. So don’t paint and stick anything to your helmet please. 3
1
2
5
6
7
9
8
10
11
12
14
3
15
13
4
1VISOR
2VISOR SCREW
3SUN SHIELD
4SHIELD
5VENTILATION
6QUICK RELEASE
7CHIN STRAP
8VENTILATION
9VENTILATION
10 OUTER SHELL
11 EPS
12 COMFORT LINER
13 SUN SHIELD LEVER
14 VENTILATION
15 BOTTOM EDGE TRIM

PROPER FITTING OF YOUR AFX HELMET
Determine the circumference of the widest part of your head by using
a exible tape measure. Generally, the widest part of a person’s head
is the area 2.5cm (1”) above the eyes and ears. However, we suggest
measuring at a few points both above and below that line to determine
the greatest measurement before referring to our size tables. We also
suggest testing the t of a helmet one size smaller and one size larger
then what the chart recommends. No helmet can provide protection if
it’s too uncomfortable to wear.
Helmets must fit snugly, but not painfully tight. While holding the
chinstraps outside of the helmet, pull it down over your head, taking
care that the chinstraps do not go up inside the helmet. A proper-tting
helmet will feel snug with fairly even pressure around the sides and top
of your head. On most modern helmets the liner is designed to be a little
extra snug at rst, but will break-in after several hours of riding to match
the particular shape of your head.
4
XS
6 3/4 - 6 7/8 hat
21 1/4 - 21 5/8 ”
54 - 55 cm
S
7- 7 1/8 hat
22 - 22 7/16 ”
56 - 57 cm
M
71/4 - 7 3/8 hat
22 13/16 - 23 1/4 ”
58 - 59 cm
L
7 1/2 - 7 5/8 hat
23 5/8 - 24 ”
60 - 61 cm
XL
7 3/4 - 7 7/8 hat
24 3/8 - 24 13/16 ”
62 - 63 cm
XXL
8- 8 1/8 hat
25 3/16 - 25 5/8 ”
64 - 65 cm
HELMETS SIZING CHART
xx
xx
x
x
1 2 3
HEAD MEASUREMENT

If you are not familiar with how a helmet should t and feel, be sure
to ask for assistance from a more experienced rider, or the retail store
where you purchased your helmet. As a rule, the helmet should not be
able to move around on your head without pulling on your skin. A loose
tting helmet is not only dangerous, but may also be noisy and tiring
to wear. Most people make the mistake of buying a helmet that’s too
large. IMPORTANT: Make sure that you fasten the chinstrap securely
beneath your chin when trying-on a helmet and then test to see that
the helmet cannot be removed from your head when fastened in that
manner. The helmet must not be so loose that it can rotate freely front or
back so that it could be removed with the chinstrap fastened
No helmet can protect the wearer against all possible or foreseeable
impacts. A helmet can only protect the portion of the head that is
covered by the helmet. For maximum protection, the helmet must be
well tted with the chinstrap securely fastened. Failure to follow these
instructions, the instructions printed on the helmet, and those contained
in the owner’s manual may result in the possibility of the helmet
coming off during an accident - possibly resulting in a severe head
injury or even death. While riding motorcycles, scooters, ATVs and
snowmobiles is fun, it can also be a dangerous pastime. At AFX, we
encourage you to enjoy riding responsibly, and to always ride within the
limits of your abilities.
5

6
IMPORTANT: Make sure that you always fasten the chinstrap securely
beneath your chin when wearing your helmet. Before you ride test to
see that the helmet cannot be removed from your head when fastened
in that manner.
The helmet must not be worn or fastened so loose that it can rotate freely
front or back so that it could be removed from your head with the
chinstrap correctly fastened.
The quick release retention system featured on this helmet offers the
rider the benets of being easy to do up and remove while wearing
bulky gloves; as well it offers a range of easy adjustability because of
the ratcheting nature of the system. Before you ride test to see that the
helmet cannot be removed from your head when the quick release
retention system is adjusted for your specic t.
To securely fasten the quick release retention systems for the rst time
please follow these very important set up safety instructions. Please take
appropriate time to initialize this procedure, when completed and set
up correctly it will provide a convenient and comfortable way to secure
your helmet. It may take several attempts to get just the right t based
on your requirement, but when correctly set up the quick release
retention system provides for a quick and convenient way to make sure
you have the helmet secured safely and correctly.
Put the helmet on and insert the ratchet tab into the ratchet receiver.
We recommend inserting the tab more then half way (5 clicks) into
the receiver to initially set up your specic t. If you don’t have enough
length on the strap please follow the illustrations to see how to lengthen
the strap. Alternately if you have too much length on the strap following
the illustrations in these directions can shorten it.
Under no circumstances should you cut the strap to make it shorter.
When correctly adjusted the quick release ratchet tab should be more
then half way (5 clicks) inserted into the ratchet receiver when you wear
the helmet. Any excess length of strap can be threaded back through
the strap buckle and the strap buckle can be positioned anywhere on
the ratchet tab side of the strap to allow for extra length of strap to be
secured.
Under no circumstances should the strap buckle be removed from this
system. When adjusting the strap through the strap buckle make sure
you always rethread it through correctly so the loose end is on the
outside and is threaded through as the illustration shows. The function of
the strap buckle is to stop the strap from unthreading from the ratchet
tab. Failure to incorrectly use the strap buckle as illustrated could result
in the failure of the retention system and the helmets ability to protect
you in an accident.
CHIN STRAP RETENTION SYSTEM: QUICK RELEASE

7
CHIN STRAP
1
2
3
4
PULL TAB
RATCHET RECEIVER
RATCHET TAB
STRAP BUCKLE
1
2
3
4
FASTEN CHIN STRAP
REMOVE CHIN STRAP
5
5
Please refer to the diagrams to make sure you have done up the strap
correctly, and as always do not ride with the chinstrap and retention
system not done up in the correct illustrated manner. And as a reminder
make sure before you ride, test to see that the helmet cannot be
removed from your head when the quick release retention system is
adjusted for your specic t.
To remove the chinstrap, lift the pull-tab on the ratchet receiver as
shown in the diagram below. Then you can pull out the ratchet tab.
Always make sure to inspect your chinstrap and retention system either
before or after every ride, if your chinstrap or retention system shows any
signs of wear the helmet should be replaced immediately. Never ride
with a helmet that has worn, damaged, or missing chinstrap or retention
system parts. Make no modication to the chinstrap or retention system
in anyway.
Please make sure that the chinstrap and retention
system is always fastened as instructed above. Failure
to do so may result in fatal injury or possible death.

INTERIOR: CHEEK PADS & COMFORT LINER
8
AFX helmet liners and cheek pads are made with a hypoallergenic and
anti-microbial nylon, most of which are removable and washable.
The size of this helmet is based on a combination of four factors: outer
shell size, inner EPS thickness, comfort liner thickness, and cheek pad
thickness. The t of the helmet can be customized by replacing your
existing cheek pads with thinner cheek pads (for a looser t), or thicker
cheek pads (for a tighter t). The t can also be customized by replacing
your existing comfort liner with a thinner comfort liner (for a looser t), or
thicker comfort liner (for a tighter t).
Please refer to the shell, liner and cheek pad compatibility chart
below, keep in mind these components can only be replaced inside the
group of sizes contained in each size range block.
And if you choose to take advantage of the ability to custom t your
helmet please keep in mind the instructions container earlier in the
proper tting guide.
XS S XL XXL
HELMET SHELL & EPS SIZE
38 34 24 22
CHEEK PAD THICKNESS (MM)
8 4 10 6
COMFORT LINER THICKNESS (MM)
M
28
8
L
30
8

INTERIOR: CHEEK PADS & COMFORT LINER
9
CHEEK PADCHEEK PAD
COMFORT LINER

COMFORT LINER REMOVAL
10
1
23
4
1
2
3
To reinstall the comfort liner, reverse steps 1 - 5.
4
5
5

COMFORT LINER REMOVAL CHEEK PAD REMOVAL
11
1
2
1
2
To reinstall the cheek pad, reverse steps 1 - 2.

VISOR REMOVAL
1
12
3
4
To reinstall the visor, reverse steps 1 - 4.
2
3 4 3
4
12

VISOR REMOVAL SHIELD REMOVAL
12
5
3
4
To reinstall the shield, reverse steps 1 - 5. 13

SUN SHIELD REMOVAL
12
3
4
14

SUN SHIELD REMOVAL SUN SHIELD INSTALLATION
123
45
5
6-1
6
6-2
7
15

SIDE COVER REMOVAL/INSTALLATION
To remove the side cover, reverse steps 1 - 7.
12 3
45
67
16

SIDE COVER REMOVAL/INSTALLATION VENTILATION
2
3
1
2
3
1
+
+
+
+
+
1
17

OPEN/CLOSE THE SUN SHIELD
18

OPEN/CLOSE THE SHIELD
To close the shield , reverse steps 1 - 3.
2
3
1
19

CARE & CLEANING OF YOUR AFX HELMET
STORAGE OF YOUR AFX HELMET
Keep your helmet in a secure place when you’re not using it. We
recommend storing the helmet in the protective bag that was provided
with your helmet; alternately we make a secure vented storage carry
bag available as an option. Please see afxhelmets.com for more
information
Helmets are tough, but to maintain appearance and integrity, your
helmet should be protected if it is to be stored for a long time. However
we don’t recommend storing your helmet for a long time because it’s
more fun to be riding then not riding. Any attempt to install or replace a
visor or shield should be done at room temperature, as these items may
be susceptible to crack in the very cold.
Be aware that pets are attracted by the accumulated salt from
perspiration and may be tempted to chew on the helmet liner and
cheek pads. This really does happen, so feed your pet’s food, not
helmets.
Clean your helmet liner only with mild soap and water. We recommend
a mild liquid soap solution with warm but not hot water. After cleaning
helmet interior, rinse with cold water and allow it to air dry at room
temperature. High heat and strong cleaning solvents will damage the
liner. Your helmet can be damaged without the damage being visible,
by any of the following:
• Gasoline, oil, petroleum-based uids and solvents
• Harsh or abrasive cleaning compounds
• Paints
• Adhesives
Automotive type waxes may be applied to the painted surfaces of the
helmet shell to protect the finish. Only use a wax suitable for a
clear-coated painted finish. If this helmet has a face shield we
recommend that you use only mild soap and warm water, and dry with
a soft cloth. Never use paper towels or tissues to wipe the face shields.
And never use any kind of commercial glass cleaner. You may however use
certain glass cleaners if they are approved for plastic surfaces. Please
read all warning labels on any protectant or cleaner before using
anywhere on your helmet.
20
Table of contents
Languages:
Other AFX Motorcycle Accessories manuals
AFX
AFX FX-75 INTERNATIONAL User manual
AFX
AFX FX-120 User manual
AFX
AFX INTERNATIONAL FX-60 User manual
AFX
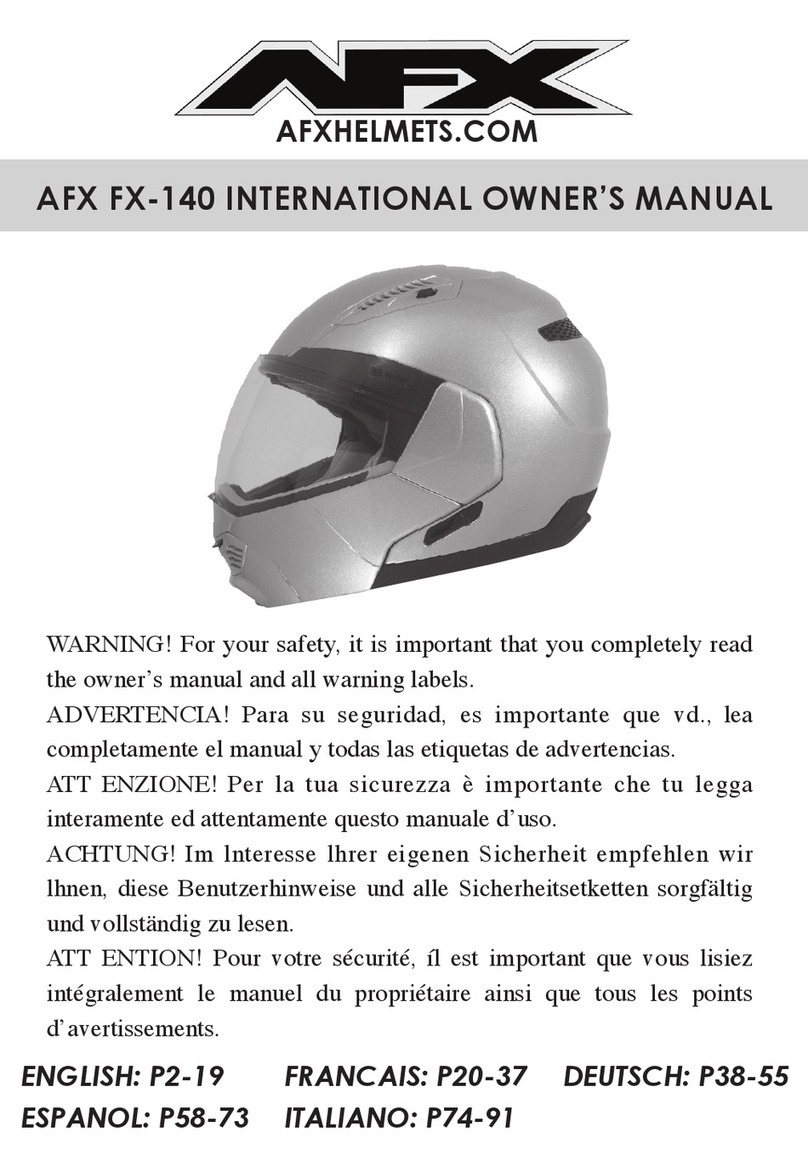
AFX FX-140 User manual
AFX
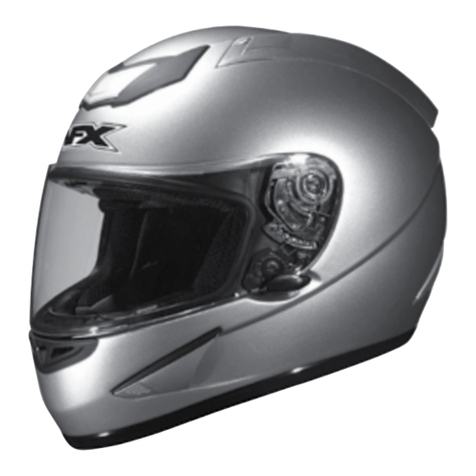
AFX FX-95 User manual
AFX
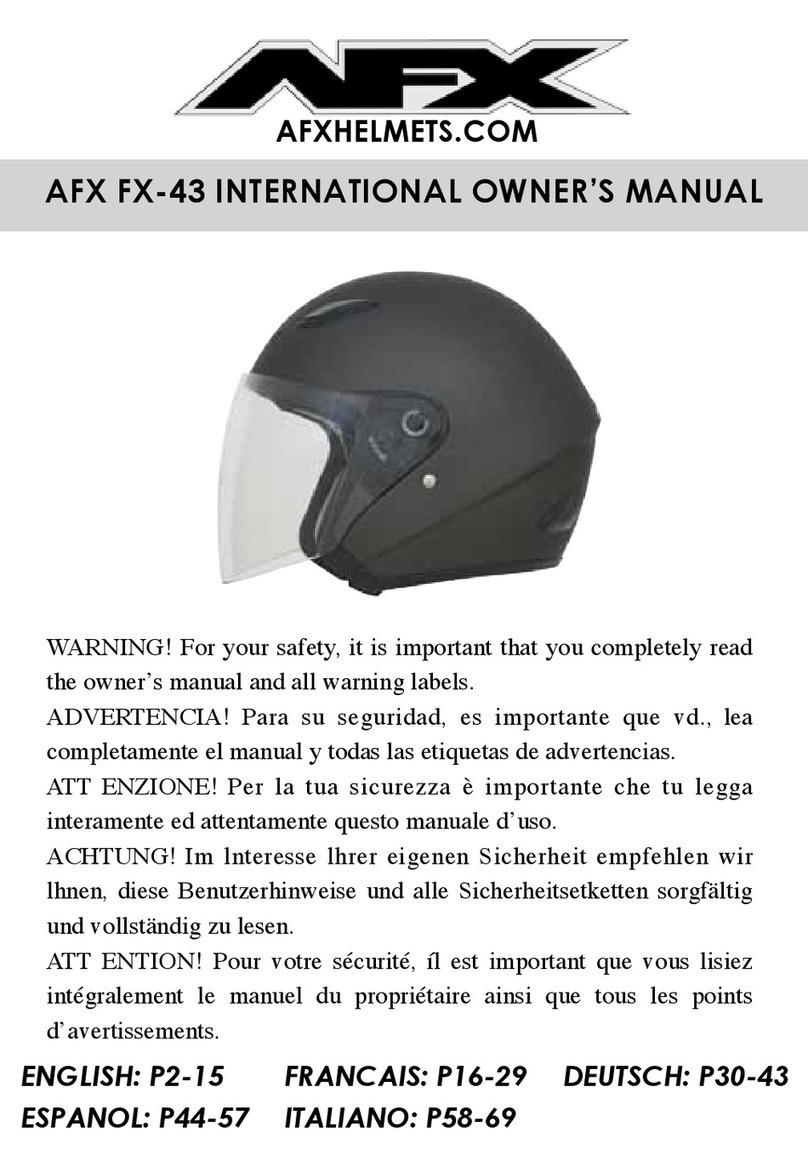
AFX FX-43 INTERNATIONAL User manual
AFX
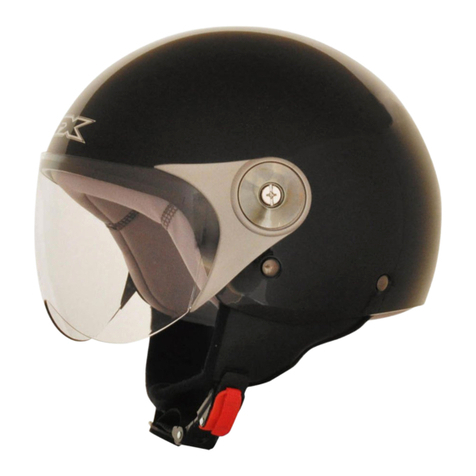
AFX FX-33Y User manual
AFX
AFX FX-36 User manual
AFX
AFX FX-19 User manual
AFX
AFX FX-42A INTERNATIONAL User manual
Popular Motorcycle Accessories manuals by other brands

gilles.tooling
gilles.tooling RCT10GT-K02 manual
Memphis Shades
Memphis Shades 2320-0168 quick start guide
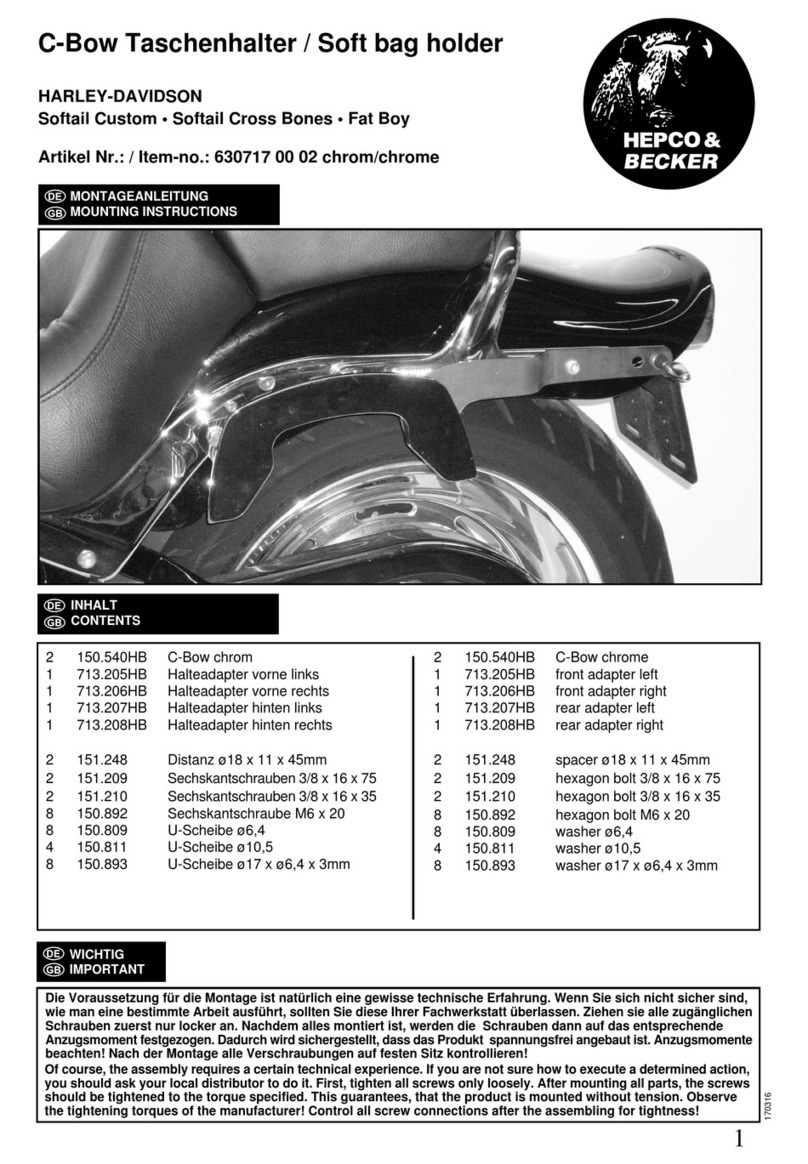
hepco & becker
hepco & becker 630717 00 02 Mounting instructions
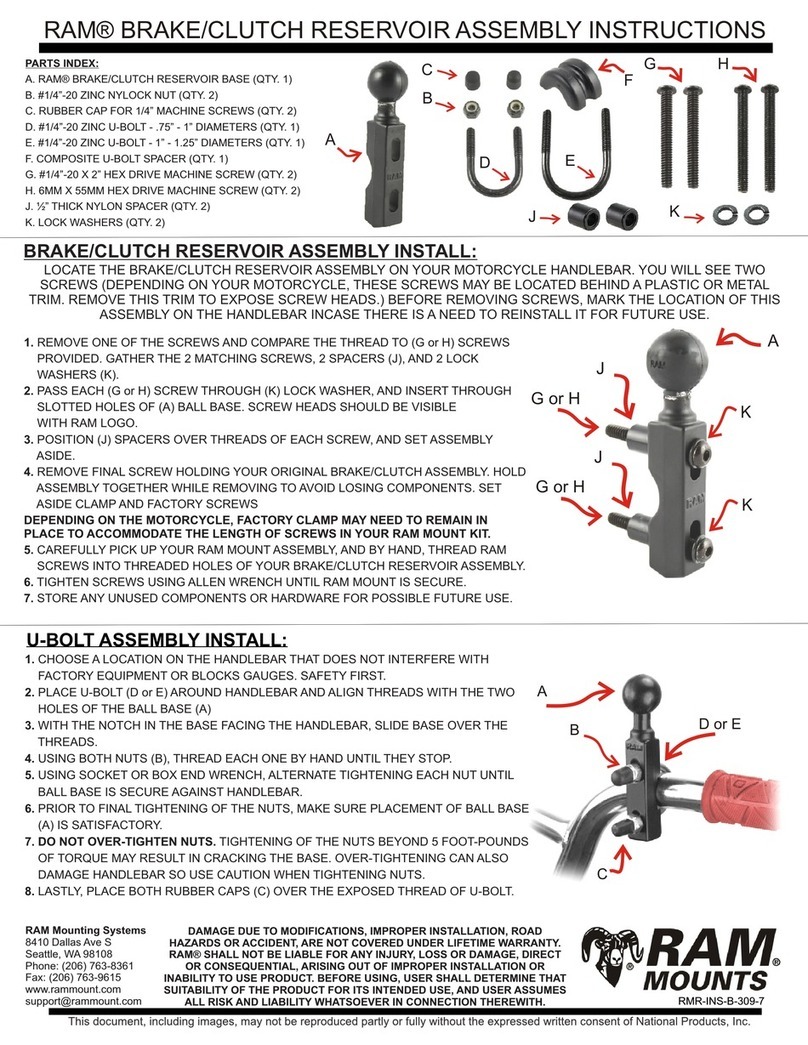
Ram Mounts
Ram Mounts RMR-INS-B-309-7 Assembly instructions
Tool it
Tool it HERMES LCD 9.13G manual
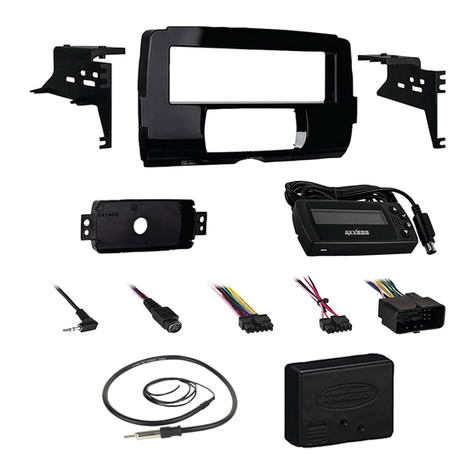
Metra Electronics
Metra Electronics 99-9700 installation instructions
