AG Neovo TX-2202A User manual

TX-2202A & TX-2202A White Touch Screen Monitor
User Manual
www.agneovo.com

TABLE OF CONTENTS
2
SAFETY INFORMATION
WEEE...........................................................................................................................................................4
PRECAUTIONS
Notice ...........................................................................................................................................................5
Cautions When Setting Up ........................................................................................................................... 5
Cautions When Using...................................................................................................................................6
Cleaning and Maintenance........................................................................................................................... 7
Notice for the LCD Monitor........................................................................................................................... 7
CHAPTER 1: PRODUCT DESCRIPTION
1.1 Package Contents .................................................................................................................................. 8
1.2 Removing/Attaching Cable Cover .......................................................................................................... 9
1.3 Adjusting the Tilt ...................................................................................................................................10
1.4 Wall Mounting....................................................................................................................................... 11
1.5 LCD Monitor Overview ......................................................................................................................... 12
1.5.1 Front View .................................................................................................................................12
1.5.2 Rear View..................................................................................................................................12
1.5.3 Control Buttons..........................................................................................................................13
CHAPTER 2: MAKING CONNECTIONS
2.1 Connecting the AC Power .................................................................................................................... 16
2.2 Connecting Input Source Signals ......................................................................................................... 16
2.3 Connecting Audio Device ..................................................................................................................... 17
2.4 Connecting the Wired OSD Controller ................................................................................................. 17
2.5 Connecting USB for Touch Screen Control .......................................................................................... 18
Touch Disable Function.................................................................................................................. 18
2.6 Ventilation Requirements for Enclosure Locating................................................................................. 19
CHAPTER 3: ON SCREEN DISPLAY MENU
3.1 Using the OSD Menu ........................................................................................................................... 20
3.2 OSD Menu Tree ................................................................................................................................... 22
CHAPTER 4: ADJUSTING THE LCD MONITOR
4.1 Picture Menu ........................................................................................................................................23
4.2 Colour Menu.........................................................................................................................................25
4.3 OSD Menu............................................................................................................................................26
4.4 Option Menu.........................................................................................................................................27
CHAPTER 5: APPENDIX
5.1 Warning Messages...............................................................................................................................28
5.2 Timing...................................................................................................................................................29
5.3 Touch Screen Driver Installation........................................................................................................... 30
5.3.1 Optional Calibration Tool Install................................................................................................. 30
5.3.2 Driver Installation Instructions ...................................................................................................31
5.4 Cleaning ...............................................................................................................................................32
5.5 Troubleshooting....................................................................................................................................33

3
TABLE OF CONTENTS
CHAPTER 6: SPECIFICATIONS
6.1 Monitor Specications .......................................................................................................................... 34
6.2 Monitor Dimensions.............................................................................................................................. 35

SAFETY INFORMATION
4
WEEE
Disposal of Waste Equipment by Users in Private Household in the European Union.
This symbol on the product or on its packaging indicates that this product must not be
disposed of with your other household waste. Instead, it is your responsibility to dispose of
your waste equipment by handing it over to a designated collection point for the recycling
of waste electrical and electronic equipment. The separate collection and recycling of
your waste equipment at the time of disposal will help to conserve natural resources and
ensure that it is recycled in a manner that protects human health and the environment.
For more information about where you can drop off your waste equipment for recycling,
please contact your local city ofce, your household waste disposal service or the shop
where you purchased the product.
For Private Households in the European Union.To help conserve natural resources
and ensure the product is recycled in a manner that protects human health and the
environment, we would like to bring your attention to the following:
• The crossed-out dustbin on the device or outer packaging indicates the product is
compliant with European WEEE (Waste Electrical and Electronic Equipment) Directive
• Always dispose of the old devices separately from household waste
• Batteries should be removed beforehand and disposed separately to the right
collection system
• You are responsible with regard to the deletion of personal data on old devices before
disposal
• Private households can hand in their old devices free of charge
• For more information about where you can drop off your waste equipment for recycling,
please contact your local city ofce, your household waste disposal service or the
shop where you purchased the product
5
PRECAUTIONS
PRECAUTIONS
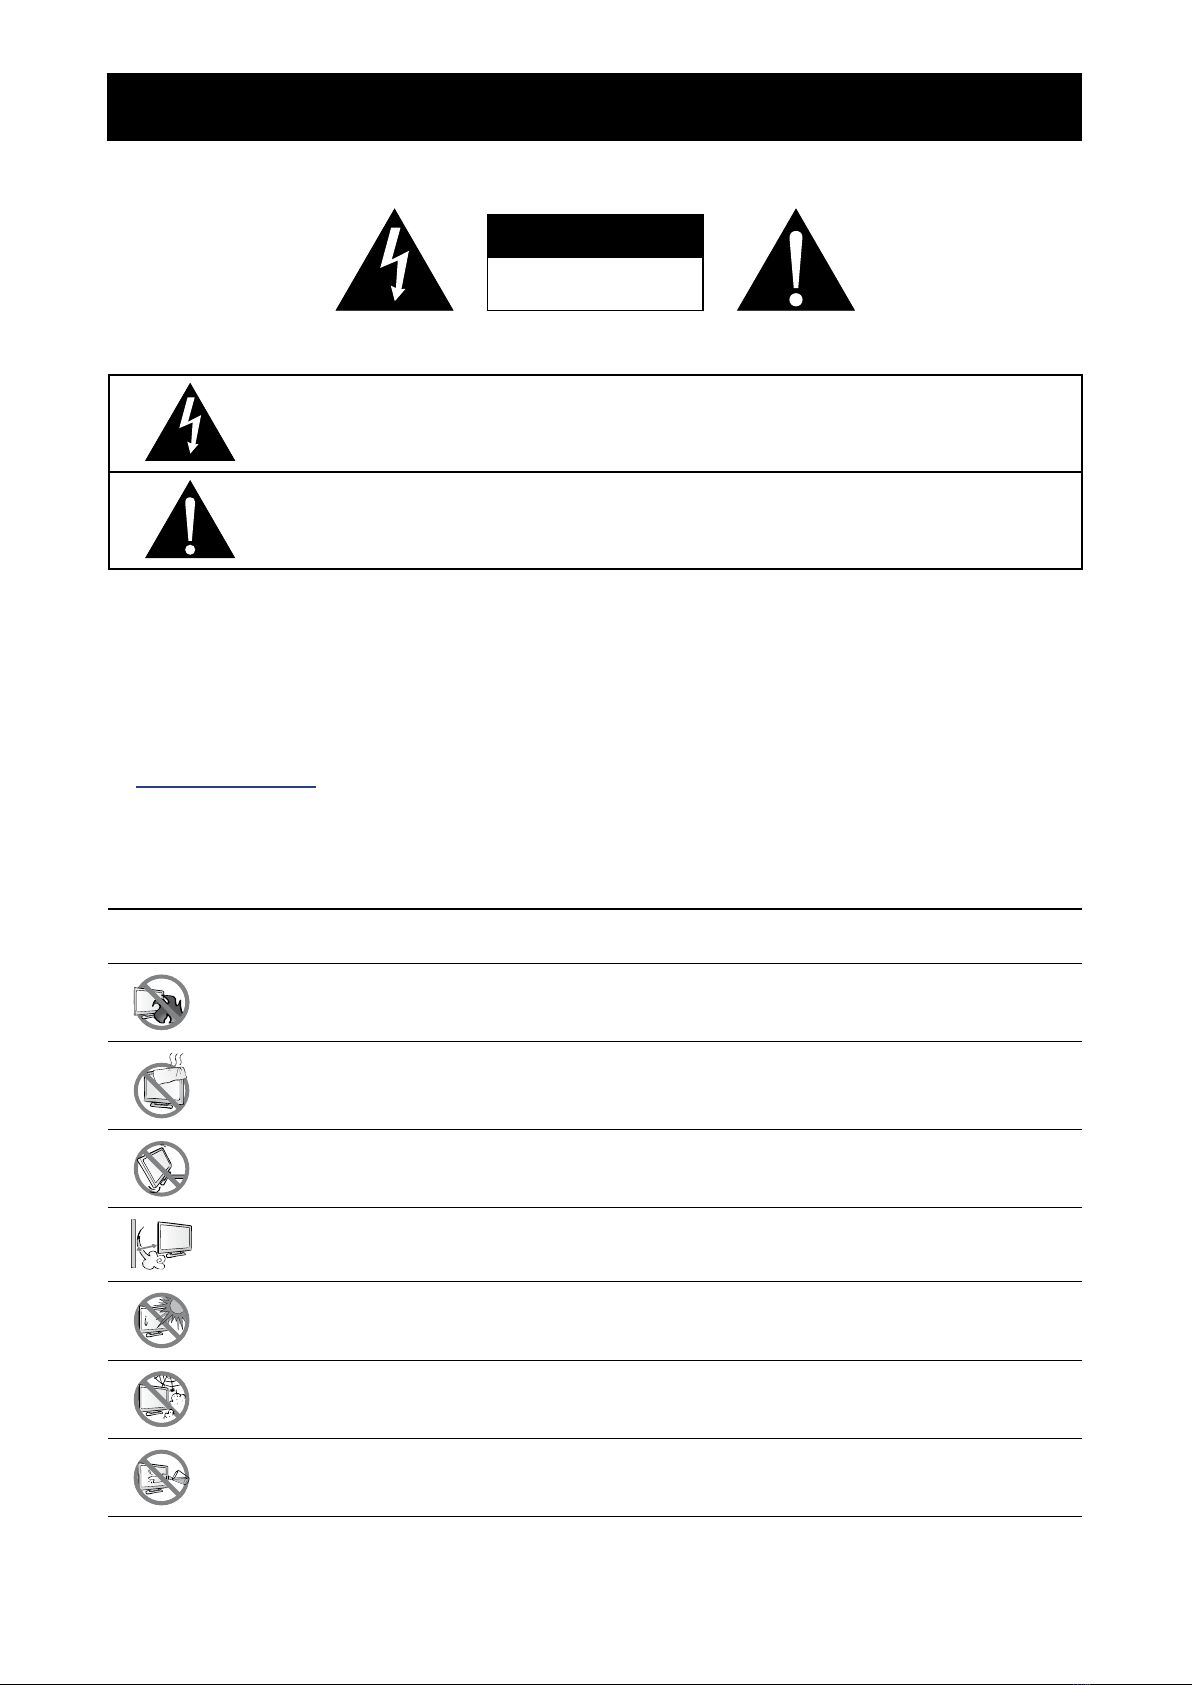
CAUTION
RISK OF ELECTRIC SHOCK
DO NOT OPEN
Symbols used in this manual
This icon indicates the existence of a potential hazard that could result in personal injury
or damage to the product.
This icon indicates important operating and servicing information.
Notice
• Read this User Manual carefully before using the LCD monitor and keep it for future reference.
• The product specications and other information provided in this User Manual are for reference only. All
information is subject to change without notice. Updated content can be downloaded from our web site at
www.agneovo.com.
• To protect your rights as a consumer, do not remove any stickers from the LCD monitor. Doing so may
affect the determination of the warranty period.
Cautions When Setting Up
Do not place the LCD monitor near heat sources, such as a heater, exhaust vent, or in direct
sunlight.
Do not cover or block the ventilation holes in the housing.
Place the LCD monitor on a stable area. Do not place the LCD monitor where it may subject to
vibration or shock.
Place the LCD monitor in a well-ventilated area.
Do not place the LCD monitor outdoors.
Do not place the LCD monitor in a dusty or humid environment.
Do not spill liquid or insert sharp objects into the LCD monitor through the ventilation holes.
Doing so may cause accidental re, electric shock or damage the LCD monitor.
Precautions
Table of contents
Other AG Neovo Touchscreen manuals

Popular Touchscreen manuals by other brands


Advantech
Advantech IDP31-215W Series user manual

Element
Element VK Series user manual

Johnson Controls
Johnson Controls Advanced Graphic Touchscreen Display Installation and operation manual

Elo TouchSystems
Elo TouchSystems 2799L user manual

Elo TouchSystems
Elo TouchSystems 2020L Product dimensions

Wiggly-Amps
Wiggly-Amps Engage installation instructions


