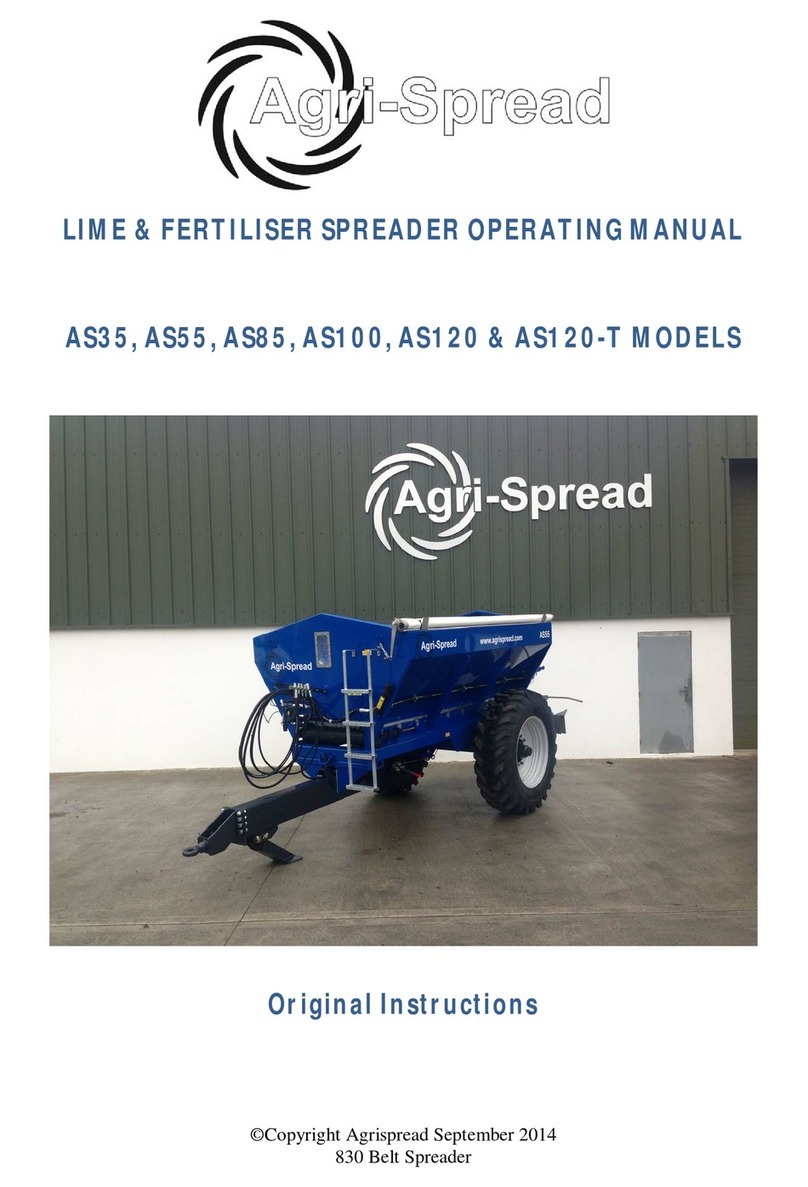
Agri-Spread Chain AS55C User manual

©Copyright Agrispread May 2013
730 Chain Spreader
TRAILER SPREADER OPERATING MANUAL
AS55C, AS85C, AS100C & AS120C Chain Model
TRAILED FERTILISER AND LIME SPREADERS
Original Instructions

©Copyright Agrispread May 2013
730 Chain Spreader
Manufacturing Plant and Head Office:
Agri-Spread
Running Gear Ltd
Coolnaha
Ballyhaunis
Co. Mayo.
Tel: 00353 (0)9496 31808
Fax: 00353 (0)9496 31525
Email: info@agrispread.com
UK Office
Agri-Spread
Charlie Halliday
Allendale
Hexham
Northumberland
NE47 9PY
Tel: (0044) (0)143 4683626
Fax: (0044) (0)143683340
Mobile: (0044) 07780928560 or (0044) 07967808285
Email: hallidaycw@aol.com
Web: www.agrispread.com
Find us on Facebook Search for “Agrispread “
Disclaimer
While every effort has been made in the production of this manual to ensure that the
information contained herein is full and correct, Agrispread assumes no responsibility for
errors or omissions.
Agrispread reserves the right to modify the machinery and the technical data contained within
the manual without prior notice.
Further to this, Agrispread assumes no liability for any damages that may result from the use
of the information contained within this manual.

©Copyright Agrispread May 2013
730 Chain Spreader
Contents
Product Details..................................................................................................................................1
Connecting Up Your Trailer................................................................................................................3
Setting Spinner Speeds andRearDeflectors ......................................................................................4
Setting the ApplicationRate..............................................................................................................5
GearBoxPartsandService................................................................................................................7
ChainAdjustment............................................................................................................................12
Agri-spread Density Metres............................................................................................................. 14
HeadlandControl Valve................................................................................................................... 14
Adjusting Height of Hitch................................................................................................................. 15
Operating Handbrake......................................................................................................................16
Bout Width Testing Form................................................................................................................. 18
How to use Rate Charts:.................................................................................................................. 20
Recommended Spinner Speeds For Spreading.................................................................................21


©Copyright Agrispread May 2013
730 Chain Spreader 1
Product Details
Agrispread Model No: ………………………….. Serial Number….2013/
Spinner motor size: ………………………………………………………….….
Hydraulic valve No: ……………………………………………………………
Wheel & tyre spec: ……………………………………………………..………
Recommended Pressure: …………………………. Max.: ……………………..
Figure 1: Location of Machine Serial Plate
Notes

2 ©Copyright Agrispread May 2013
730 Chain Spreader
WARNING
Never exceed the spreader’s speed rating as this could lead to death or serious injury.
Never carry out adjustments or maintenance on machinery while it is in operation, as this
could lead to death or serious injury.
Never attempt to clear a blockage while the spreader is in operation as this could lead to
death or serious injury.
Never operate the machine without all safety guards in place and properly secured as this can
result in death or serious injury.
Always disconnect hydraulic connections before carrying out any of the maintenance
instructions. Failure to disconnect, the above, could lead to death or serious injury.
Do not ride on the spreader. The ladder is only provided for ease of access during servicing or
maintenance operations.
Do not overload the spreader. Exceeding the axle weight will cause irreparable damage to the
spreader.
Observe all current Health and Safety Regulations.
When carrying out maintenance tractor should be turned off.
All persons except the operator should be kept away a minimum of 75 m from spreading area
Never enter machine when the spreader is running
Loose fitting clothing should never be worn when while using the machine as these could
become entangled in moving parts and could result in death or serious injury.
Personal Protective equipment should be worn when handling fertiliser (check manufacture’s
guidelines).
Caution
The rear door should never be operated in the closed position. On some fertilisers it should
not be operated with less than 20 mm of gap as packing will occur and the belt will jam.
When spreading Steel Works Slag, always operate the machine in the low gear with the door
open as wide as possible.
Work Area
The operator must remain seated while working the machine. Always ensure the tractor has
been turned off and the parking brake applied before any maintenance or changes are
carried out on spreader.

©Copyright Agrispread May 2013
730 Chain Spreader 3
General
1. Keep the machine as clean as possible.
2. Check wheel nuts daily before use.
3. Check tyre pressures before use (including jockey wheel on gear box).
4. Grease all gear box bearings weekly. IMPORTANT! Push gear selector right in to grease
gear shift. Grease daily if heavy rates of lime are being spread.
5. Always check the oil filter indicator on the filter (if fitted,) before use.
6. Always change tractor oil and filter in accordance with the manufacturer’s instructions.
Connecting Up Your Trailer
1. Connect the large diameter return hose to the return line breakaway coupling on your
tractor.
2. Connect the small diameter pressure hose to the pressure line breakaway coupling on your
tractor.
3. With the tractor at an idle, engage your hydraulic spinners. The right hand spinner should
rotate anticlockwise. The left hand spinner should rotate clockwise.
NOTE: If the spinners do not rotate or rotate the wrong direction then the delivery and return
hoses may have to be swapped over.
CAUTION!!
Spinners can be over accelerated.
Check Your Tachometer!! Max. for 675 mm spinners 1200 rpm, 575 mm spinners 1400
rpm. On any new set-up always shut flow control before start up and open up with tractor at
Max. RPM until maximum spinner speed or flow control setting to keep Max. spinner speed
within the above parameters.

4 ©Copyright Agrispread May 2013
730 Chain Spreader
Setting Spinner Speeds and Rear Deflectors
Spinner Speed is the most important factor in achieving an accurate spread pattern. The
spinner speed is adjusted by altering the control on the valve at the front of the machine
(shown in Figure 1 below). Guideline spinner speeds for various different materials are given
on page 21
Figure 2: Spinner Flow Control Valve
When setting spinner speeds ensure the engine of the tractor is running at the same R.P.M. as
it will normally be operating in the field and make sure that the oil is warmed up to its normal
operating temperature. Always monitor the spinner speed by watching the tachometer when
operating the spreader as an error of 50 R.P.M. on spinner speed will result in a deterioration
of the spread pattern. If the spinner speed is too high there will be too much material behind
the spreader. If the spinner speed is too slow there will be too little material behind the
spreader.
It is sometimes necessary to alter the angle of the rear deflectors to lighten the spread behind
the machine and throw the material more into the centre of the pattern. This is shown in the
table on the following page along with the spinner speeds for sample materials and is
expressed in the following manner.
WARNING: NEVER ADJUST THE DEFLECTORS WHILE THE
SPINNERS ROTATING.

©Copyright Agrispread May 2013
730 Chain Spreader 5
Setting the Application Rate
The application rate of material is controlled by the back door settings and gear selection.
Refer to the rate charts in appendix 1 at the back of this manual for guideline settings of the
door opening in millimetres and which gear should be selected. Once you have selected your
rate from the charts, remove the retaining pins in the door handles and adjust the door so that
the top of the door indicator lines up with your selected figure on the chart. Replace the
retaining pins and check that both doors are level with each other. The rate is now set. With
the huge variation of prills and compounds it is impossible to be 100% accurate without
checking the batch of material you are spreading.
GEAR SETTINGS
Med..High..Low gear denoted on the table refers to the gear box selector on the inside of the
jockey wheel drive arm. Gear is selection is indicated on the decal on the gear box. Neutral is
between each gear. Always remember to replace the retaining pin after changing gear.
Use will dictate accurate settings.
To Start Spreading
Single Spool Tractors... Start by opening the tractor spool valve.
Twin Spool Tractors... Start the spinners by opening the tractor spool valve. Engage
the gearbox by lowering the gearbox ram until the gearbox jockey wheel is in full contact
with the trailer wheel. Do not run at high speed while engaging wheel.
Both... Ensure engine RPM is within the range as when the spinner speed was set and check
the spinner speed on the tachometer. Drive off maintaining engine RPM and using the tractor
gearbox to keep the engine from labouring. This will ensure the hydraulic flow will be
sufficient to maintain spinner speed.

6 ©Copyright Agrispread May 2013
730 Chain Spreader
To Stop Spreading
Single Spool Tractors... To raise jockey wheel clear of main wheel return the hydraulic
selector for the spinner to off through neutral to reverse flow until wheel is lifted and then
return to neutral.
Twin Spool Tractors... Lift the gearbox clear of the main trailer wheel by operating the
gearbox ram spool valve on the tractor, only stop spinners if required. Stop spinners by
operating the spinner spool valve on the tractor when required.
Feed Plate
Adjustments
Spread Width Modifiers

©Copyright Agrispread May 2013
730 Chain Spreader 7
Vane Settings
Gear Box Parts and Service
REMOVE GEAR BOX.
Remove inside main shaft bearing from gear box and slide away from box.
Put heavy bar across back of box and pull off with pullers
CAUTION
Inner bearing must be removed or it will foul on key
TO REMOVE 3 SPEED SHAFT...
Remove wheel and locking collar from outer side of box. Remove nuts from inner side
bearing and tap the shaft through from outer side.
This end ofplateDOWN for
wider spread width, align
centre plate
Centre V Insert
This end of
plate UP
for more in
centre

8 ©Copyright Agrispread May 2013
730 Chain Spreader
Gear Selection Details
Gear Change:
To change gear, remove “R” Clip from gear selector. Complete gear change by moving gear
selector to gear required. (See Figure 3 below)
When selecting gear it is necessary to rotate the Jockey wheel manually in order to select
required gear.
After selecting required gear, reinsert “R” Clip as shown above.

©Copyright Agrispread May 2013
730 Chain Spreader 9
Figure 3: Gearbox Settings

10 ©Copyright Agrispread May 2013
730 Chain Spreader
Gearbox Grease Details
Grease details:
Recommended Oil: 80 W 90, 1 part oil
Recommended Grease: Lithium Complex Grease. 6 part Grease
Gearbox should be checked for grease regularly. Gearbox does not need to be emptied out,
just top up when necessary
There are 8 grease nipples on the gear box these should be greased regularly

©Copyright Agrispread May 2013
730 Chain Spreader 11
Gearbox Grease Details
Grease details:
Recommended Oil: 80 W 90, 1 part oil
Recommended Grease: Lithium Complex Grease. 6 part Grease
Gearbox should be checked for grease regularly. Gearbox does not need to be emptied out,
just top up when necessary
There are 8 grease nipples on the gear box these should be greased regularly

12 ©Copyright Agrispread May 2013
730 Chain Spreader
.
Chain Adjustment
Chain should be adjusted to spring length of 70 mm. If the chain is too tight it will cause
chain to jam when spreading material that will build up in the sprockets, to loose will allow
chain to jam under floor and not return, this can damage gear box and rear shaft.
IMPORTANT! Check chain after each load for first day while chain is bedding in.

©Copyright Agrispread May 2013
730 Chain Spreader 13
Agrispread for Groundspread
Spinner speed
How do you tell what your spinners are doing? When do you know if they are going too fast
or too slow, before or after the farmer complains about the poor job done.? To be certain you
have the right speed at the right time connect up a
AGRI-SPREAD Tachometer
This will give you the speed of your spinners so that you should always know what they are
doing. Spinner speed will vary with load, oil temperature and engine revs. If spread pattern is
too heavy behind spreader spinner speed is usually too high, if the spread pattern is too light
increase spinner speed. To get correct spread pattern spreader must be pan tested.
Kit descriptions are as follows
1) Agri-spread Tacho (already has magnet on spinner shaft)
2) Rev counter with magnet and sensor mount
3) Plug kit for trailers or trucks with demountable bins.
BE REALISTIC - FIT A TACOMETER

14 ©Copyright Agrispread May 2013
730 Chain Spreader
Agri-spread Density Metres
The Agri-spread density metres are a quick and easy way to find out the density of fertiliser
even on al load by load basis. Up until now we have only been able to measure cubic density
by very accurate scales which are expensive and easily broken. The Agri-spread density
metre gives you a robust, light and simple alternative that can even be carried out in the cab.
Simply fill the Agri-spread density metre with the required product and level off top, slide
balance until float is in the centre and read off top metric cubic scale weight on slide arm.
Headland Control Valve
Headland operation:
Spool valve is adjusted by turning black wheel as describedbelow:
Fully clockwise: Both spinners are operating at equal RPM
Anticlockwise: Reducers left hand spinner speed.
Tospread on headlands the left hand spinner RPM should be reduced by 20% in relation to
your normal spinner RPM.
1. Fill level with Product
2. Balance on ring
3. Slide weight until level is in
centre
4. Read off top metric scale
for weight per cu. Metre in
Tonnes
Wheel for
adjusting Spinner RPM
Release nut to adjust headland spool

©Copyright Agrispread May 2013
730 Chain Spreader 15
Adjusting Height of Hitch
It is possible to raise or lower the hitch as shown in figure below.
To lower the hitch
1. Remove bolt and nuts using a size 30 spanner.
2. If the hitch requires to be lowered, lower the swivel hitch one hole.
3. Realigned holes and replace bolts, nuts and washers.
4. Ensure nuts and bolts are tightened sufficiently.
To raise the hitch
1. Remove bolt and nuts using a size 30 spanner.
2. If the hitch requires to be raised, raise the swivel hitch one hole.
3. Realigned holes and replace bolts, nuts and washers.
4. Ensure nuts and bolts are tightened sufficiently.
1
1Hitch types may vary however procedure for adjusting the hitch height remains the same

16 ©Copyright Agrispread May 2013
730 Chain Spreader
Operating Handbrake
In order to engage parking brake on Machine, pull the handbrake lever towards the rear of the
machine. The Handbrake operates on a handbrake mechanism therefore the above action
should be repeated continually until the brakes are engaged.
To disengage brake, sharply pull the hand brake towards the hitch. (Ensure that machine is on
flat ground before this action is performed)
This manual suits for next models
3
Table of contents
Other Agri-Spread Spreader manuals
Popular Spreader manuals by other brands
Advantech
Advantech VEGA-320 Startup manual

Western
Western WB-160D Owner's manual and installation instructions
Swisher
Swisher 11730 owner's manual

Western
Western Drop 250 Owner's manual and installation instructions

Craftsman
Craftsman 486.243234 owner's manual
Harbor Freight Tools
Harbor Freight Tools 99621 Set up and operating instructions
