1
N.B. This equipment must be installed by a competent person.
200 kg (31stone) eight limit.
UUDo notUU exceed the eight limit stated – doing so could put the user at UUriskUU.
Fixing and Maintenance Instructions
1. Introduction
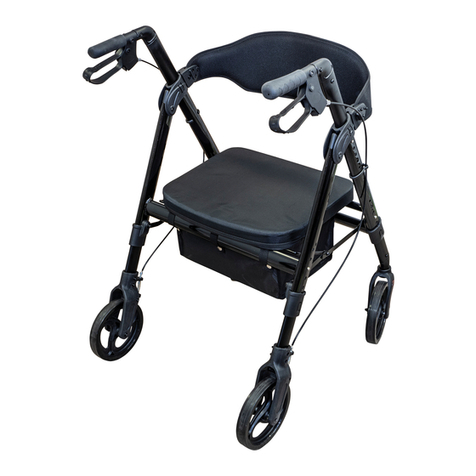
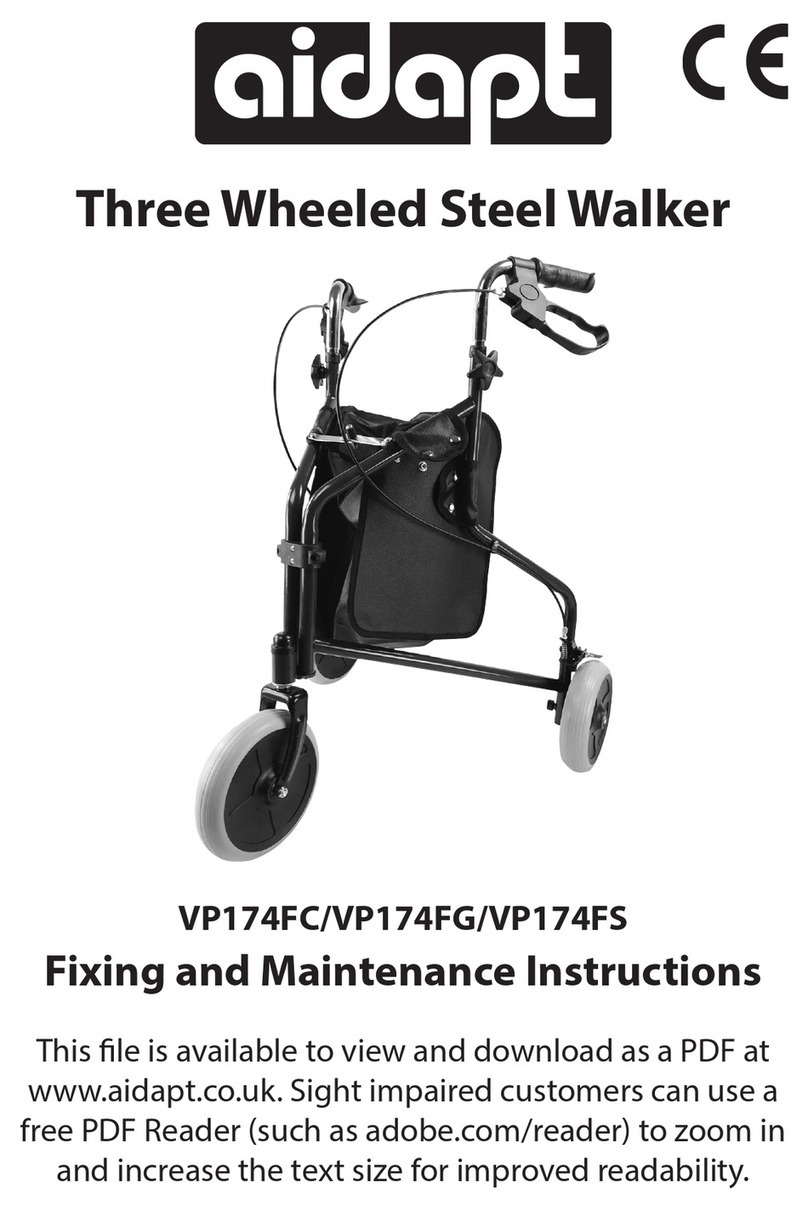
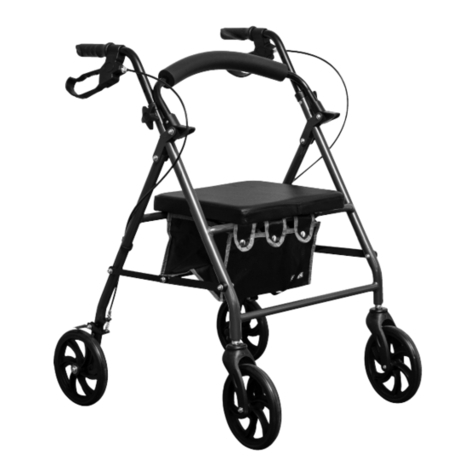
Thank you for choosing the Aidapt Four-Wheeled Bariatric Rollator.
Our four-wheeled rollator, as with all our products, is anufactured fro high-quality
aterials and co plies with all relevant C.E. require ents.
Your Aidapt Rollator has been designed to assist you when walking and carrying s all
ite s of shopping using the etal basket provided. The basket was designed specifically
to fit your rollator, please only use basket and/or bag supplied for your Aidapt Rollator.
Do not use or co bine bags and/ or baskets fro other anufacturers.
When not in use, you can si ply fold the Aidapt Rollator and store away until you require
it next. The Aidapt range of tri-walkers and rollators are designed to be used both inside
and outside the ho e.
2. Features
•User friendly loop brakes with lock
•Si ple brake cable adjust ent
•Soft plastic solid wheels
•Swivelling front wheels
•Folding locking echanis
•Height adjustable
•User friendly ergono ic side locking
wheels for height adjust ent
•Ergono ic handgrips to reduce pressure
3. Assembly Instructions
3.1. Carefully re ove all packaging, including the cardboard tubes covering the knurled
tube part of the brake asse bly. Check the product thoroughly for da age or
obvious faults.
If you suspect the unit to be faulty, please do not use, but contact your supplier
immediately for service.
3.2 Release and re ove the side locking wheel and
asse bly (fig. 2) left and right of the fra e and
re ove the two conical shaped etal
protection rings and set aside (fig. 2a).
3.3. Carefully insert the brake asse bly with pre-
punched extension tube (fig. 3) within the
fra e.
3.4. Adjust the handles to the height desired,
ensuring that both brakes are even in height
and that the tri-walker is sitting even onto the
ground.
3.5. Ensure the side locking hand wheel Fig 2a
locates fully through one of the integral pre-
punched hole located on the black coloured
handlebar asse bly (fig. 3).
3.6. Retighten the side wheel asse bly locks (fig. 2).
Ensure you have tightened these locks
sufficiently so that the adjustable brake tubes
will not ove accidentally.
3.7. Fix the brake cables into the integral brake
cable ‘U’ clip welded onto the fra e if not
already asse bled (fig. 3a).
NB. Protect our environment, please recycle all packaging.
Fig. 1
Fig. 2
Fig. 2a
Fig. 3
Fig. 3a
09/11/10
1257
