Airofit Breathing Trainer User manual

23
QUICK GUIDE

1
CONTENTS
Welcome to Airot 2
Product description 3
Intended use and users 4
Manufacturer’s liability 4
Safety precautions 5
When not to use Airot 6
Operation 7
Get to know the Airot Breathing Trainer
Power Button 8
The Mouthpiece 8
Resistance Wheels 9
Removable E-Unit 10
Charging 10
Care and Maintenance 11
Getting started 12
Technical specication 17
Troubleshooting 18
FAQ 19
Directives and Approvals 20
Airot Limited Warranty 21

2
WELCOME TO THE AIROFIT FAMILY
Airot is a training solution designed to help you strengthen and improve
your respiratory system, using the latest technology. Whether you are
cycling, swimming, or competing in other demanding sports, having more
oxygen to tap into gives you a clear advantage. You will be able to train
harder, recover faster, and perform better.
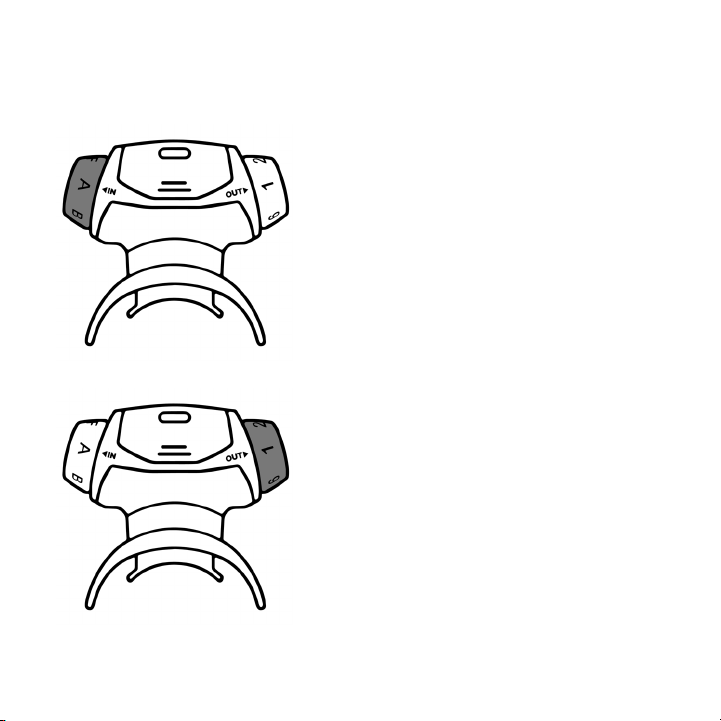
The solution consists of:
• Airot Breathing Trainer
• Airot Sport mobile application
WHAT DO YOU GET?
Here are the main areas within which Airot improves athletes’ performance!
Vital Lung Capacity
Increased usable lung volume by
training the exibility of the
diaphragm means larger amounts
of oxygen in one inhale.
Respiratory Strength
Enhanced respiratory power
increases the amount of oxygen
inhaled in a given period, de-
creasing energy consumption.
Anaerobic tolerance
Boosted resistance towards
lactate ensures prolonged ability
to perform at high intensities for
longer periods.
Instant performance
Escalated oxygenation, blood
circulation, and mental concen-
tration through tested breathing
patterns.

3
PRODUCT DESCRIPTION
Power button Removable E-unit
Inspiratory
Resistance
Wheel
Expiratory
Resistance
Wheel
Removable Mouthpiece

4
INTENDED USE AND USERS
The Airot Breathing Trainer is intended to train the muscles of the respiratory
system. You must familiarize yourself with the user manual before using the
Airot Breathing Trainer. Special attention shall be on warning notices and
safety instructions.
The intended users are:
• The personal user of the Airot Breathing Trainer and
Airot Sport mobile application
• Personnel instructing the user of the Airot Breathing Trainer
MANUFACTURER’S LIABILITY
Airot A/S is only liable for equipment safety, reliability, and performance,
provided that the Airot Breathing Trainer is used in compliance with these
instructions for use.

5
SAFETY PRECAUTIONS
1. Only use the supplied micro USB cable or another USB certied cable,
together with a CE certied USB charger.
(see Technical Specications - Page 17)
2. Only use the Breathing Trainer together with the Airot Sport application
and the selected sessions and programs. Always set resistance to the
recommended settings.
3. To prevent the potential transmission of infections, we recommend that you
do not share your Airot Breathing Trainer with other users, including family
members.
4. The Airot Breathing Trainer is not provided sterile – we recommend that
you clean the trainer prior to use.
5. Never use scouring pads, abrasive cleaning agents, or aggressive liquids
such as petrol or acetone to clean the appliance. The Airot Breathing Trainer
is not suitable for dishwasher or autoclave use.
6. Do not use Airot Breathing Trainer simultaneously with other
activities (eg. running, cycling, rowing, driving).
7. Hard respiratory training can cause dizziness. We recommend that you stay
in your position after training, and breath normally for a minimum 1-2 minute
before raising from a sitting position.

6
WHEN NOT TO USE AIROFIT
1. If you have a history of spontaneous pneumothorax (a collapsed lung that
was not due to traumatic injury e.g. broken rib).
2. If you have a collapsed lung due to a traumatic injury that has not healed
fully.
3. If you have a burst eardrum that has not healed fully or any other condition
of the eardrum.
4. If you have Asthma and suer from frequent severe exacerbations.
5. If you are under the age of 15, you should only use Airot with supervision
from an adult.
6. If you have any medical conditions with your respiratory system, heart or
blood pressure, we recommend that you consult your doctor before using
Airot.
7. If you feel lightheaded or dizzy while training with Airot, you should stop
for 30 minutes and check if the resistance wheels for the inspiratory and
expiratory settings are correct.
8. If you feel any physical discomfort during the training sessions, stop
training immediately.

7
OPERATION
Airot System Description
The Airot is a system consisting of the Airot Breathing Trainer and Airot
Sport application. Together with the sensors in the trainer, the mobile appli-
cation will provide you with training information and your development over
time.
Major functionality consists of the Airot Breathing Trainer providing resis-
tance on your inspiratory and expiratory breathing. The Airot Sport applica-
tion provides guidance to respiratory training and monitors your performance.
Holding Your Breathing Trainer Correctly
You should be relaxed and standing or sitting upright. Hold the trainer with
your hand on the E-Unit.
Make sure that the openings near the resistance wheels are not covered.
Now place the trainer in your mouth so that your lips cover the outer shield
of the mouthpiece to make a seal. The mouthpiece bite blocks should be
gripped between your teeth.
Look straight forward, as looking down can cause more salivation.

8
AIROFIT BREATHING TRAINER
Power Button
To turn ON the breathing trainer, click the
button. It will begin to blink green to indicate
that the trainer is ON - at this point, it is ready
to be paired with the mobile application.
To turn the trainer OFF, simply hold the same
button down for 3 seconds.
The Mouthpiece
The mouthpiece is softer than the rest of
the breathing trainer, to ensure complete
comfort during exercise.
To use it, gently bend the sides of the
mouthpiece and put it in your mouth.

9
Inspiratory Resistance Wheel
The wheel with the letters allows you to
set your Inspiratory Resistance. The letter F
being the highest, and A being the lowest
resistance.
Remember to adjust according to recom-
mendations in each training session.
Expiratory Resistance Wheel
The wheel with the numbers allows you to
set your Expiratory Resistance. The number
6 being the highest, and 1 being the lowest
resistance.
Remember to adjust according to recom-
mendations in each training session.

10
AIROFIT BREATHING TRAINER
Removable E-Unit
This part contains all electronics.
To clean or charge your Airot Breathing
Trainer, hold the grips and remove the
E-Unit from the rest of the body.
Make sure that the E-Unit does not
get in contact with any liquids.
Charging
You will nd the charging plug on the inside
of the E-Unit. Insert your Micro USB cable to
charge. If the button is blinking green, you
have inserted your cable correctly and your
Airot is charging.
Once fully charged, the button will remain
green.

11
CARE AND MAINTENANCE
Please follow the guidelines below to ensure that your Breathing Trainer
remains hygienic and in good working order.
As the Airot Breathing Trainer will be exposed to saliva during use, it is im-
portant to clean it frequently.
We recommend cleaning after each training session.
Always store your Airot Breathing Trainer in the provided storage
pouch or another suitable clean and hygienic way. Always make
sure that your Airot Breathing Trainer is dry before storing in a
closed container.
Always remove the E-unit before cleaning with water or other
liquids! (Removable E-Unit - Page 10)
After each training we recommend that you wash the trainer in warm water,
shake o excess water and dry with a clean towel.
Once a week, remove the mouthpiece from the trainer to be able to clean
it better. Use a mild disinfectant solution instead of water. The disinfectant
solution used must be intended for use on equipment that comes into con-
tact with the mouth, such as that used for baby bottles. If in doubt, ask your
pharmacist.
After, hold the Breathing Trainer under running water, allowing it to run
through. Shake o excess water and dry with a clean towel.

12
Register
Before you can use the Airot
Sport application, you need to
create your Airot account.
GETTING STARTED
Start by charging your Airot Breathing Trainer for 3 hours (Charging - Page 10)
When you have installed the Airot Sport application on your smartphone
and Airot Breathing Trainer is fully charged, you can start your registration
and training.
Connect your device
Turn on your device (Page 8)
Push Connect Device on the
screen of your phone.

13
You are now in the main menu of the Airot Sport mobile application and
can nish setting up your prole.
Select “SETTINGS” in the
menu bar at the bottom of the
screen.
Scroll down in the settings
menu and select “UPDATE
PROFILE”
Fill in your height/weight/
age. This is important to give
you the best feedback on your
respiratory system.
Select “HOME” in the menu bar
at the bottom of the screen to
return to the home screen.

14
GETTING STARTED
Before you start training, you will be required to take a lung test. This
measures your inspiratory and expiratory strength to give you the optimal
performance level and starting point for the training.
Select “TAKE TEST” on the
screen.
You might need to turn your
trainer on and reconnect.
Make sure that you adjust the
resistance wheels as shown
on your screen. This applies
every time you take a lung test
or train.
To help you get familiar with
the Airot test and training
session, we recommend that
you start by watching the in-
struction videos at the bottom
of the screen.
Select “right here” to watch the
video.
Select “START” to take your
Lung Test.

15
After taking the Lung Test, you are presented with your results. These lev-
els and numbers will be the starting point to measure and give feedback
on your future training sessions.
Here you can see your Vital
Lung Capacity. Percentage
and “LOW” to “HIGH” measure-
ments show how your results
compare to individuals your
age, gender, and size.
Maximal Inspiratory Pressure
and Maximal Expiratory Pres-
sure are measured in
centimeters of water (a stan-
dard unit of pressure).
Again, you can see your results
compared to an individual of
your age, gender, and size.

16
GETTING STARTED
After taking the Lung Test, you are ready to begin your training!
Select “PROGRAMS” in the
menu bar at the bottom of the
screen.
We recommend that you start
with the “INTRODUCTION”
program until you are familiar
with the training sessions.

17
TECHNICAL SPECIFICATIONS
Measurement method: Automatic electronic respiratory pressure measure-
ment when inhaling and exhaling.
Power: 1x3.7 V lithium ion button cell type battery. Rechargeable with a micro
USB plug.
Unit dimensions: L 7cm W: 7.7cm D: 2.7cm
Weight: 45g including the mouthpiece
Materials: ABS plastic (housing), silicone (valves), and TPE (mouthpiece)
Cable: Micro USB 2.0 cable
Charger: Use a CE certied USB charger 5V/min 100mA
Application with smartphones:
The application works with iOS version 11 or newer and Android version 7 or
newer.
Environment:
Operating temperature: 5°C to 45°C
Charging temperature: 5°C to 45°C
Standards:
Your Breathing Trainer is produced according to ISO 13485.
Spare parts:
You have received an extra mouthpiece with your trainer. You can
interchange the mouthpieces, depending on preference.

18
TROUBLESHOOTING
Why does my trainer not connect to the Airot Sport mobile
application?
Why does my trainer disconnect?
How do I know when my trainer is fully charged?
Make sure that the trainer is fully charged.
Do not push the button after the connection has happened.
Do not leave the app while using the trainer.
Do not move the Airot Breathing Trainer more than 5 meters away
from the smartphone that the trainer is connected to.
Make sure that the trainer is fully charged.
Make sure that the button is blinking when pushed.
Make sure Bluetooth on your smartphone is turned on.
When the E-unit is connected with the cable, the button will light
constantly when the battery is fully charged.
If not fully charged, the button will blink. Note that the blinking
frequency is the same when the trainer is charging and when it is
connected to the mobile application.
•
•
•
•
•
•
•
•

19
FAQ
The exercises cause me to create a lot of saliva - is there
anything I can do to stop this?
My results vary a lot - is this normal?
I do not see any improvement - what can I do?
Try pausing during your training (press pause in the App) in order to allow
saliva in your mouth to clear.
You might want to take the trainer out of your mouth while swallowing.
Alternatively, and if the session allows it, you can lie down while training.
This will not reduce the training eect.
•
•
•
The action of breathing is by its very nature extremely variable and dicult
to control accurately. When you rst start training with Airot, you may nd
that your results vary widely between dierent sessions.
As you get used to the action of breathing against resistance, you should
nd that your results become more consistent and controllable.
You may still nd that there is a variation from day to day, depending on
your physical condition and state of mind on a particular day, just as any
other form of exercise.
•
•
•
If you are not seeing any improvement in the training or test results, try
increasing the level that you are training against.
It is important that you are training against a load which is challenging in
order to increase the strength of your respiratory muscles.
However, remember that after 6 to 8 weeks, your training improvements
will tend to plateau. After this, aim to maintain your improved breathing
results by continuing to train regularly.
•
•
•
Table of contents
Other Airofit Fitness Equipment manuals
Popular Fitness Equipment manuals by other brands

Ironmaster
Ironmaster Spotting Stand operating instructions

Concept2
Concept2 Dynamic Indoor Rower User's product manual

Exerfly
Exerfly PORTABLE instruction manual

Crivit
Crivit 310298 Instructions for use

Matrix
Matrix G3 Seat Post Revision Assembly guide

Kanga Products
Kanga Products FMT MK4 quick start guide