AIRTUG TT-HD-EM-15 Parts list manual

AIRTUG®Trailer Tugs
Assembly & Operations Instructions
MODELS: TT-HD-EM-15 and TT-HD-EA-15
Airtug, LLC is not responsible for damage sustained when
proper clearance is not maintained by the operator between
the tug and its surroundings.
Caution: Braking too abruptly or moving too fast can seriously
damage the differential ring gear. This is considered abuse
and is not covered by the transaxle warranty.
Note: All reference to “right” and “left” orientation is made while standing
behind the tug, looking forward from the operating position.
Tug Operation: Turn the motor on with the switch on the top of the handle. The twist grip handle
operates the hydrostatic transaxle. Rotating the twist grips forward or aft moves the tug accordingly.
Rotating the grip slightly in either direction will move the tug very slowly. As you increase the rotation
of the handle grips, the tug speed increases. Maximum torque is applied at very slow speeds
ensuring excellent maneuverability while rotating the hand grips fully results in maximum speed. The
hydrostatic transaxle provides smooth variable speed control throughout the entire range of grip
motion. The twist grip is spring loaded to “return -to-brake position.” Nevertheless, it is not
recommended to walk away from the tug while the motor is running. While moving the trailer, braking
is effected by gradually returning the grip to the neutral or brake position. Even while moving the
trailer on a downgrade, the tug will only go as fast as you have the twist grip turned. When moving
over the door weather edge or door rail, it’s recommended to have a little momentum. Ramps or
steps can be purchased from Airtug, if necessary, to overcome high door sills or rough pavement.
Ensure you turn the motor off after each use and plug in the battery charger.
Depending on how the trailer is set up, raising or lowering the ball may help shift more weight onto
the tug drive wheels for improved traction. Please note that if the weight on the tongue of the trailer is
not set up properly that additional weight may be needed on the drive wheels of the tug. Also,
lowering the tire pressure on the tug may improve traction. There is also a sticker on the handle for
other recommendations to improve traction. Airtug® sells additional weight packs if you are having
problems with traction and have tried all the recommendations on the handle. For best practice,
safety, and for the best traction, begin movement as slowly as possible to put the trailer in motion.
SAVE THIS DOCUMENT AND ENSURE ALL OPERATORS READ IT PRIOR TO MOVING ANY TRAILERS
1

www.airtug.com
Loading: Position the ball of tug under the receiver of the trailer and stop. Then either crank the
trailer down onto the tug (Manual) or push the button to raise the ball up into the ball receiver and lift
the tongue of the trailer up into the air (Automatic). Do not hold the button when the cylinder is
maxed out on stroke. This can cause damage to the cylinder motor and electronic circuits.
Plug in the trailer electric to the plug on the tug labeled “Surge Brake By-Pass” near the ball and this
will not allow the surge brake to lock up when pushing the trailer in reverse.
Battery Charging: Prior to the first use, plug the charger cable into a 110V outlet or
extension cord and charge the batteries fully as indicated by the green light at the top
of the charger. The orange light indicates batteries are charging. Keep the battery
charger plugged in between use. See the battery charger manual for more information.
Handle Assembly
Slide the handle under the u-bolts that are on the frame.
Tighten the washers/nuts from underneath.

www.airtug.com
Then attach the wires from the handle to the solenoid on the
side of the motor, matching the colors.
Attach the transmission cable to the handle as shown.
Tighten the mounting nuts with an 11/16” wrench. Attach the
socket at the end of the cable to the ball on the twist grip.
Connect power for automatic ball cylinder (on EA models) by
connecting In line fuse from handle to battery on right, and single
black wire with female spade terminal. Put 1/2” Loom over wires
Connect red & black wires in protective loom to the wires from
cylinder (located under battery on right)

www.airtug.com
General Maintenance
Tire Pressure: The tire pressure can range from 30 psi for lighter trailers to the maximum tire
pressure of 70 psi for heavier trailers. It should be reduced for added traction for lighter trailers.
Lower pressures improve traction.
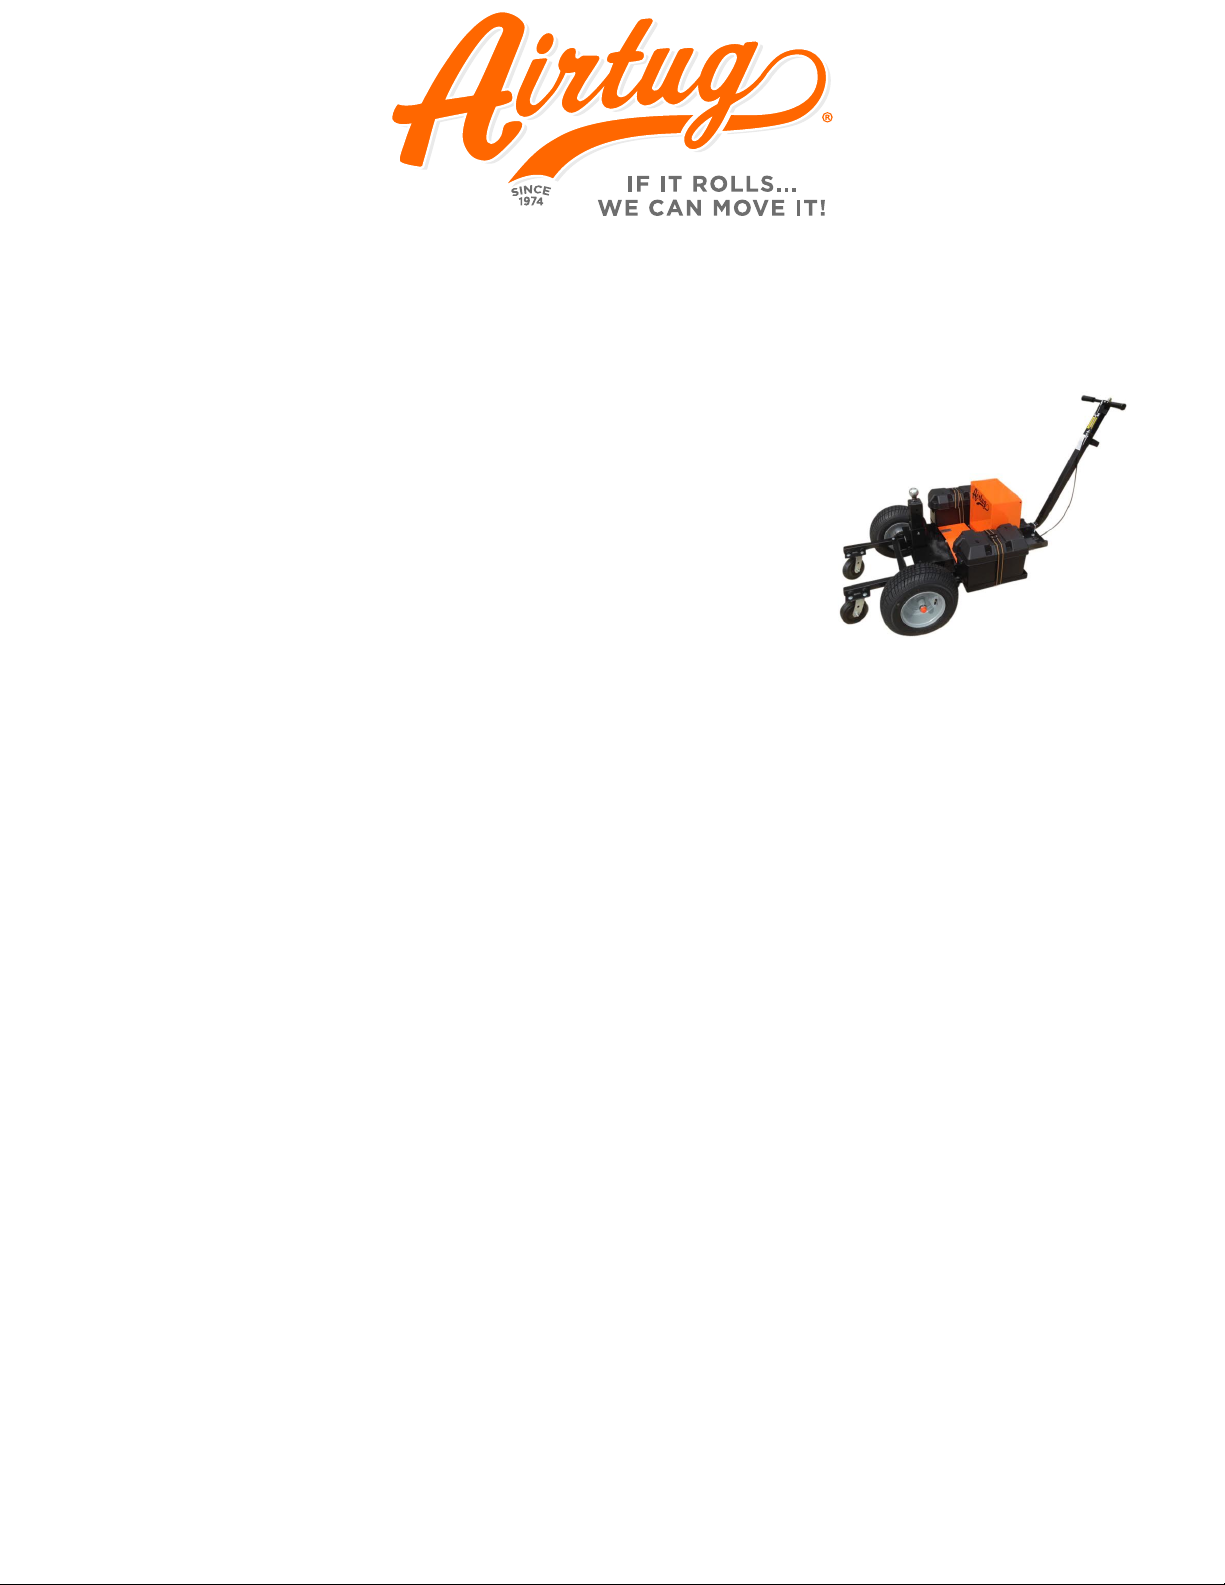
Batteries: Keep the batteries fully charged. The battery performance will diminish measurably as
the ambient air temperature drops.
Hydrostatic Transaxle: This should be checked for oil level. Add 20W-50 oil if level is low.
Drive Wheel Bearings: Permanently lubricated.
Caster Zerk Fittings: Needs to be lubed periodically to ensure ease of caster wheel steering.
Drive Chains: Apply chain lube periodically depending on use and environment.
Tractive Ability: If the tug seems to be losing tractive ability, it’s an indication of a loose drive belt.
The engine plate is mounted on slotted holes and can be moved rearward to tighten the drive belt if
necessary. Simply loosen the nuts, push the engine plate towards the rear of the tug and tighten the
nuts firmly.
Wet Battery Maintenance: (If you purchased gel cell batteries, there is no battery maintenance required.)
1. New batteries require a full charge before use and need to be cycled several times before reaching full
capacity.
2. Battery connections should be kept tight at all times. Periodic inspection is recommended.
3. Vent caps should remain in place and tight at all times during operation and charging.
4. Keep batteries clean from all dirt and corrosion.
5. A maintenance routine should be set up to check the battery fluid level every two (2) weeks initially until an
adequate routine is established for the particular operating environment. The acid level should be 1/4”
above the battery cell plates. The acid level should never touch the fill well. Distilled or treated water should
be used to replenish the batteries. Care should be taken to avoid metallic contamination (iron).
6. Batteries should not be discharged to the point of no longer being able to power the tug. Keeping the
batteries fully charged will greatly reduce the risk of a dead battery when you need it most.
7. Batteries should be brought up to a full charge at the earliest opportunity using the built in 24V battery
charger with reverse polarity protection and float mode. The battery charger should be left on when the tug
is parked to maintain proper charging and maintenance of batteries at all times. Keeping the batteries fully
charged will reduce the risk of freezing in cold temperatures.
8. Avoid charging the batteries when the ambient temperature exceeds 120oF.
9. As batteries age, the maintenance requirements increase. Maintain the water level. Older batteries will take
longer to fully charge.
10. Periodic battery testing is an important preventative maintenance procedure. Hydrometer readings of each
cell while fully charged gives an indication of balance and the true charge level. Imbalance could mean the
need for equalizing, and is also a sign of potentially improper charging or a bad cell. Voltage tests (open
circuit, charged or discharged) can identify a bad or weak battery. Load testing will identify a bad battery
when other methods fail. A weak battery will cause premature failure of a companion battery.
11. Extreme temperatures can substantially affect battery performance and charging. Cold temperatures
reduce battery capacity and retard charging. Heat increases water usage resulting in overcharging.

www.airtug.com
CAUTION:
* Read, study and understand all warnings and operating instructions prior to use
* When working on the tug:
* Put the tug up on blocks to get the drive wheels off the ground before beginning any work.
* Do not allow anyone to stand directly in front of or behind the vehicle during testing.
* Make sure the Power switch is off.
* Use well-insulated tools.
*Runaways - Some conditions could cause the tug to run out of control. Disconnect the motor, or
jack up the tug, and get the drive wheels off the ground before attempting any work on the motor
control circuitry.
*High Current Arcs - Electric vehicle batteries can supply very high power, and arcs can occur if they
are short circuit. Always turn off the battery circuit before working on the motor control circuit. Wear
safety glasses, and use properly insulated tools to prevent short circuit.
*Do not overload this tug beyond the rated capacity.
*This tug is designed for use only on hard level surfaces capable of sustaining the load.
*No alterations to the tug shall be made.
* Electronic components may be damaged if exposed to water! !This is not covered under warranty."
* Failure to heed these warnings may result in personal injury and/or property damage.
TT-HD-EM-15 & TT-HD-EA-15 Assembly & Operating Instructions Rev 1 / 8-16-19
This manual suits for next models
1
Table of contents
Other AIRTUG Farm Equipment manuals

AIRTUG
AIRTUG 10-S Quick reference guide

AIRTUG
AIRTUG 10-SW Parts list manual

AIRTUG
AIRTUG TT-HD-EM-8 Quick reference guide

AIRTUG
AIRTUG TT-SD-GM Quick reference guide

AIRTUG
AIRTUG TT-5W-SD-GM Quick reference guide

AIRTUG
AIRTUG HD Dumpster Tug Electric Quick reference guide

AIRTUG
AIRTUG TT-M-EM-2 Quick reference guide

AIRTUG
AIRTUG HD Dumpster Tug GAS Quick reference guide

AIRTUG
AIRTUG TT-M-EM-3 Quick reference guide