Airvana S1000 User manual

DRAFT
User Guide
Release 1.0
Document Number: 913109
Document Revision: 10.01
Date: June 2015
S1000

ii 913109 10.01 June 2015
DRAFT
Copyright 2015 Airvana LP. All rights reserved.
Airvana is a registered trademark of Airvana LP (“Airvana”). All other trademarks are trademarks of
their respective owners.
This document contains information that is the property of Airvana . This document may not be copied,
reproduced, reduced to any electronic medium or machine readable form, or otherwise duplicated, and
the information herein may not be used, disseminated or otherwise disclosed, except with the prior
written consent of Airvana.
THE SPECIFICATIONS AND INFORMATION REGARDING THE PRODUCTS IN THIS MANUAL ARE SUBJECT
TO CHANGE WITHOUT NOTICE. ALL STATEMENTS, INFORMATION, AND RECOMMENDATIONS IN THIS
MANUAL ARE BELIEVED TO BE ACCURATE BUT ARE PRESENTED WITHOUT WARRANTY OF ANY KIND,
EXPRESS OR IMPLIED. USERS MUST TAKE FULL RESPONSIBILITY FOR THEIR APPLICATION OF ANY
PRODUCTS.
THE SOFTWARE LICENSE AND LIMITED WARRANTY FOR THE ACCOMPANYING PRODUCT ARE SET
FORTH IN THE INFORMATION PACKET THAT SHIPPED WITH THE PRODUCT AND ARE INCORPORATED
HEREIN BY REFERENCE. IF YOU ARE UNABLE TO LOCATE THE SOFTWARE LICENSE OR LIMITED
WARRANTY, CONTACT YOUR AIRVANA SALES REPRESENTATIVE FOR A COPY.

S1000 User Guide, Release 1.0 iii
DRAFT
Contents
Introduction
Getting Started
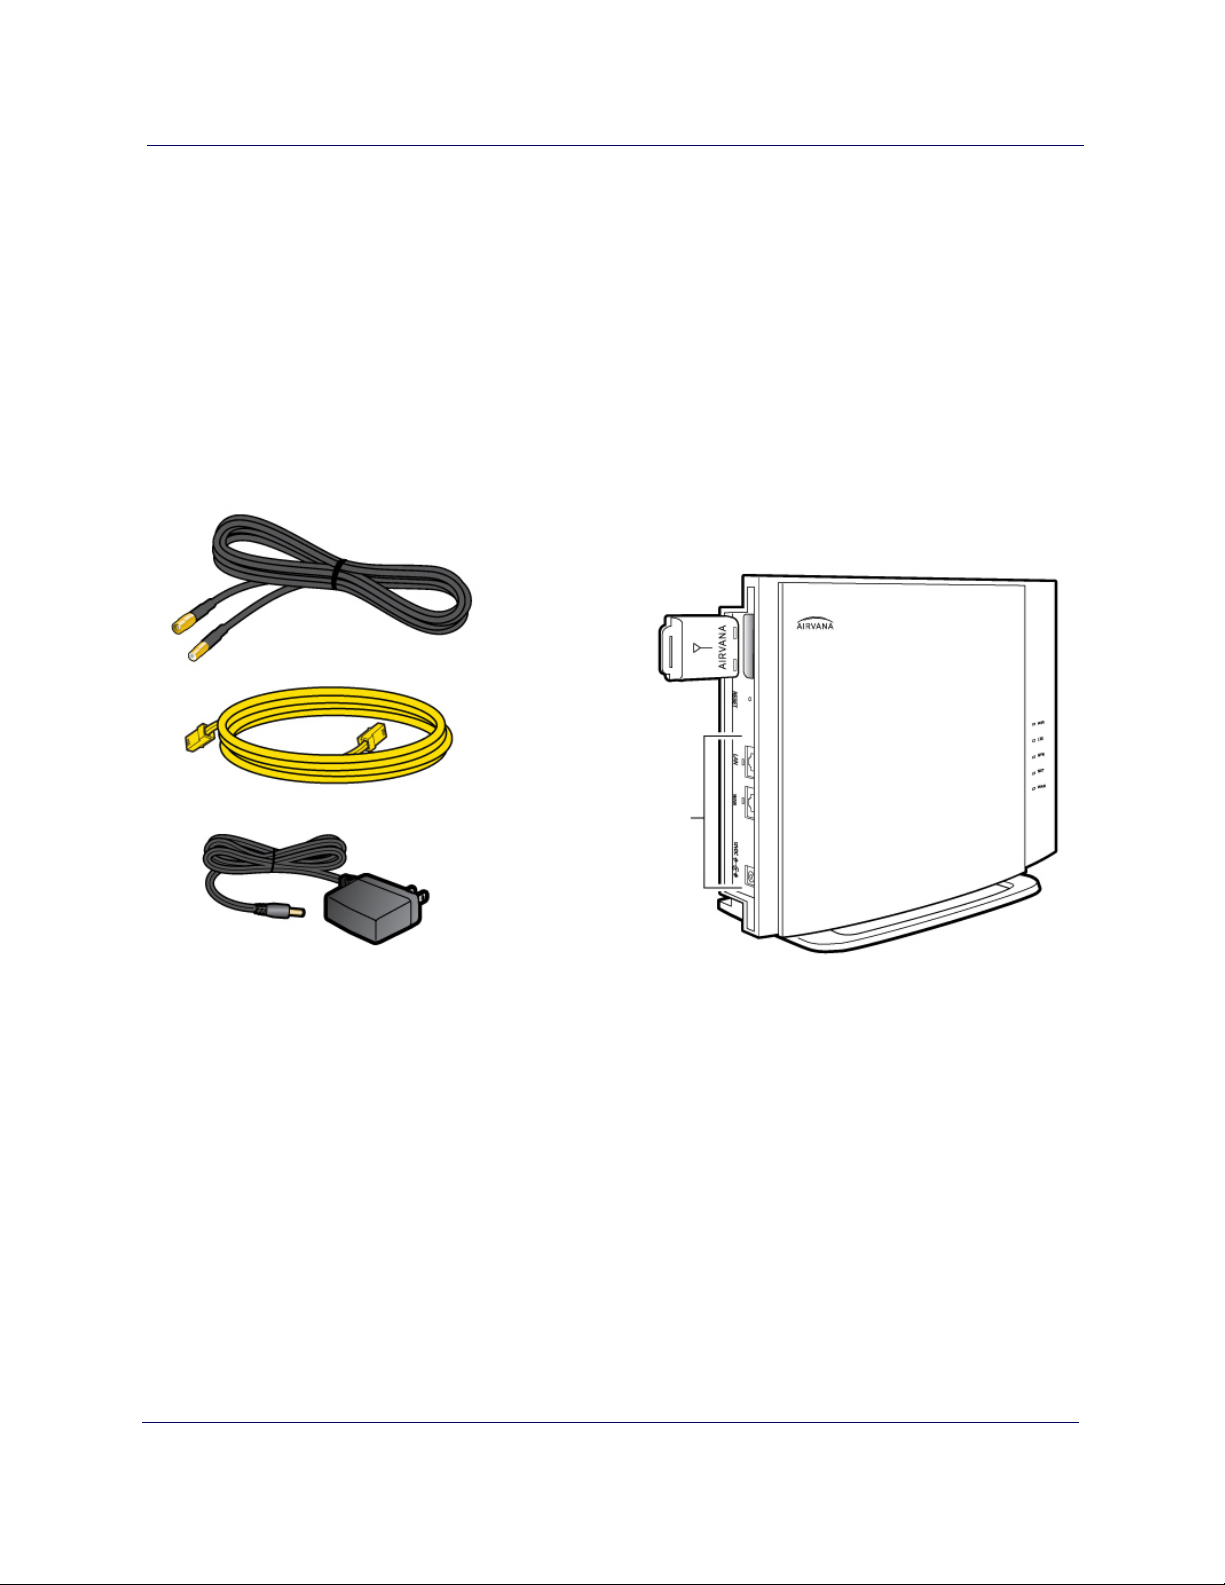
What’s in the box..........................................................................................................2
Setup at a glance ...........................................................................................................3
Setting up your S1000...................................................................................................4
External GPS antenna setup..........................................................................................7
When is your S1000 ready to use?................................................................................9
Setting up optional components
PC or LAN Router Setup............................................................................................11
Configuring the S1000 Router....................................................................................11
Adding your ISP User Name and Password...............................................................12
Using S1000
How the S1000 works.................................................................................................15
How data goes over the Internet .................................................................................17
Maintenance................................................................................................................17
Troubleshooting
Troubleshooting installation problems........................................................................18
Resetting the S1000 ....................................................................................................19
LED quick reference...................................................................................................20
Using LEDs.................................................................................................................21
Using LEDs to diagnose Errors and Faults.................................................................23
FAQs ...........................................................................................................................25
Why does the S1000 need a GPS antenna?..........................................................25
Why does the S1000 need an external GPS antenna?..........................................25
What happens to the S1000 if there is a power outage or if you lose Internet
access?..................................................................................................................25
Can you move the S1000 to another location?.....................................................25
I have a DSL modem and cannot connect to the Internet ....................................25
My Internet connection is slow when my laptop is connected to the S1000 .......25
Getting help.................................................................................................................27
Safety information
General precautions ....................................................................................................28
FCC information.........................................................................................................28
! FCC radiation exposure statement.....................................................................28
FCC Part 15..........................................................................................................29

Contents
iv 913109 10.01 June 2015
DRAFT

List of tables
Device Management System Software Installation, Release 1.0 1
DRAFT
List of tables
Table 1 LED color key.......................................................................................1
Table 2 LED states during S1000 boot sequence...............................................9
Table 3 LED usage and description .................................................................21
Table 4 LED error and fault conditions............................................................23

List of tables
2913101 10.36 May 2015
DRAFT

S1000 User Guide, Release 1.0 1
DRAFT
Introduction
This User Guide introduces you to the Airvana S1000 service and all its features. It’s
divided into five sections:
•Getting Started on page 1-2
•Setting up optional components on page 1-11
•Using S1000 on page 1-15
•Troubleshooting on page 1-18
•Safety information on page 1-28
Throughout this guide, you’ll find tips and techniques that help you make the most of
your new device and service. It is important that you read each section and note any
special requirements. However, if you’d like to get right to a specific feature, simply
locate that section in the Table of Contents and go directly to that page. Follow the
instructions in that section, and you’ll be ready to use your S1000 in no time.
WARNING
Please read the Safety information on page 1-28 to learn about how to safely use
your device. Failure to read and follow the safety information in this user guide
may result in serious bodily injury, death, or property damage.
NOTE
Use the following key when viewing LED tables in this document:
Table 1. LED color key
Solid Green Solid Red Off Blinking
Red

Chapter 1 Getting Started
2913109 10.01 June 2015
DRAFT
Getting Started
This section describes the contents of the S1000 box and setting up your S1000.
What’s in the box
Ensure that the following items are in the box:
S1000 4G Small Cell Device
GPS Cable
Ethernet Cable
Power Supply
External GPS
Antenna
Connectors
Stand

Chapter 1 Getting Started
S1000 User Guide, Release 1.0 3
DRAFT
Setup at a glance
The following diagram shows a typical S1000 setup.
External GPS Antenna
(if needed)
PC or LAN Router
(optional)
S1000 Broadband Connection
Device
IMPORTANT: To ensure the best service quality,
always connect your S1000 directly to the
broadband connection device.
To
Internet
Power Supply

Chapter 1 Getting Started
4913109 10.01 June 2015
DRAFT
Setting up your S1000
1Disconnect the power from all devices on your network.
2Place your S1000 in a central location. For best results, place the S1000 in an
elevated location, such as the top of a bookshelf or tall cabinet.
NOTE: If you have a wall mounted S1000, position the device on an interior wall
or pole, allowing at least a 6 inch (15cm) clearance above and below the device.

Chapter 1 Getting Started
S1000 User Guide, Release 1.0 5
DRAFT
3Connect one end of the yellow Ethernet cable to an available LAN port on your
broadband connection device.
To S1000
Broadband Connection
Device
4Connect the other end of the yellow Ethernet cable to your S1000’s WAN port.
S1000
To Broadband
Connection Device

Chapter 1 Getting Started
6913109 10.01 June 2015
DRAFT
5Turn on your broadband connection device.
NOTE
Wait a couple of minutes for the broadband device to fully initialize before
continuing.
6Plug the power supply connector into the black power port on your S1000.
S1000
To Power Supply

Chapter 1 Getting Started
S1000 User Guide, Release 1.0 7
DRAFT
7Plug the other end into an available electrical outlet. (We recommend a surge
protected outlet.)
External GPS antenna setup
Use the external GPS antenna if your S1000's internal antenna does not gain a signal
for GPS lock (indicated by a solid red GPS LED for more than 2 hours, solid green
indicates GPS lock). Connect the external GPS antenna to your device's GPS
connection port.
NOTE
After initial installation, GPS may take 30-40 minutes to get a GPS fix.
1Remove the GPS antenna module from the back of the S1000. (See inset in
drawing). Connect the GPS cable to the antenna module and the S1000.
2Place the external GPS antenna, with Airvana facing up, horizontally on a clean,
flat surface, next to a closed window. The antenna works best in an open area
where it can easily pick up signals.

S1000
GPS
Antenna
Module
NOTE: Place the external GPS antenna,
with Airvana facing up, on a flat surface
next to a closed window.
Chapter 1 Getting Started
8913109 10.01 June 2015
DRAFT

Chapter 1 Getting Started
S1000 User Guide, Release 1.0 9
DRAFT
When is your S1000 ready to use?
After installing and turning on your S1000 for the first time, the S1000 goes through
an automated setup sequence.
The table below shows the S1000 LED states during normal boot-up. Refer to Table 1
for LED color codes.
Table 2. LED states during S1000 boot sequence
WAN NET GPS LTE WiFi S1000 State
Performing initial HW tests (1-2
seconds)
HW tests are complete; software is
loading.
Software is loaded; services are
initializing.
WAN port is connected over the local
network; IPSec tunnel is not
established.
WAN port is connected; IPSec tunnel
is established and UP.
WAN port is connected; IPSec tunnel
is established and UP; GPS Time Fix
is available; LTE service is UP.
WAN port is connected; IPSec tunnel
established and UP; GPS Time Fix is
available; LTE service is UP; WiFi
service is UP.
During boot-up the device’s green LED will be solid for a few seconds during initial
hardware tests. Upon completion of hardware tests, all LEDs, except the WAN LED,
will turn off until the software loads. This takes 1 to 2 seconds.
When the WAN, NET, GPS, LTE, and WiFi LEDs are solid green, your S1000 is
ready for use.

Chapter 1 Setting up optional components
S1000 User Guide, Release 1.0 11
DRAFT
Setting up optional components
PC or LAN Router Setup
Connect a device that you have, such as a PC or a LAN router, to the S1000's LAN
port.
TIP
To ensure the best service quality, always connect the LAN router to your S1000.
Do not connect it to the broadband connection device.
To PC or LAN Router
S1000
Configuring the S1000 Router
Your S1000 contains a built-in router. Usually, you can plug your S1000 into your
broadband connection device, such as a cable modem, DSL modem or FIOS (a high-
speed, fiber optic broadband Internet service), without performing any additional

Chapter 1 Setting up optional components
12 913109 10.01 June 2015
DRAFT
steps. However, you may need to configure the built-in router to work with your ISP
modem or connection device.
The following table lists typical ISP setups and actions to take so that the built-in
router works with your existing ISP setup.
Broadband
connection device LED display
pattern Symptom Action to take
Cable modem WAN, LTE and WiFi solid
green Not applicable (working
properly) Not applicable
DSL modem WAN LED blinking red Cannot access Internet Go to Adding your ISP
User Name and Password
DSL modem with built-in
router WAN led blinking red Cannot access Internet See FAQs.
If the problem persists,
contact Customer Support
as described in Getting
help
Adding your ISP User Name and Password
If you are using a DSL modem and your device cannot connect to the Internet, you
may need to enter your Internet service provider (ISP) account user name and
password so that the S1000 can connect to the Internet.
You will use the GUI of the S1000 internal router to configure this information.
TIP
Before you begin, obtain your ISP user name and password. Contact your ISP if
you do not have this information.
1Open an IE, Chrome or Firefox Web browser.
2Connect to the S1000 router GUI using the following URL:
http://<S1000 eth0.2 Ip address>:8888/
NOTE
The login screen will differ depending on the browser you use. The following
screen shows the login screen from an Internet Explorer browser.

Chapter 1 Setting up optional components
S1000 User Guide, Release 1.0 13
DRAFT
3Enter User name ‘admin’ and Password ‘admin’. Click OK.
4Click the Setup tab on the Router status page menu bar. Click WAN Settings.
5Ensure that Yes (PPPoE) is selected.

Chapter 1 Setting up optional components
14 913109 10.01 June 2015
DRAFT
6Enter your ISP user name in the Login box and your password in the Password
box. Select authentication type (PAP, CHAP) from the drop down menu. Enter the
Service name information if you have it. Click OK.
7Accept the defaults in other fields on the screen. Click Apply.
When the WAN LED is solid green your Internet connection is available. If
setting up PPPoE takes more than 15 minutes at startup, the WAN LED will turn
solid red. Once the PPPoE connection is setup, the LED turns solid green. If the
LED remains solid red, contact your ISP.
How long should they wait at solid red (after 15 minutes) before calling ISP?
Table of contents
Other Airvana Network Hardware manuals
Popular Network Hardware manuals by other brands

ProSoft
ProSoft inRax MVI94-GSC-E user manual

Supermicro
Supermicro SuperBlade SBI-7425C-S3 user manual

NXP Semiconductors
NXP Semiconductors LPC24XX UM10237 user manual

Cisco
Cisco CE 2000 Platform SCE 2000 4xGBE Installation and configuration guide

LTS
LTS LTN07256-R16 user manual

Wisenet
Wisenet XRN-420S quick guide