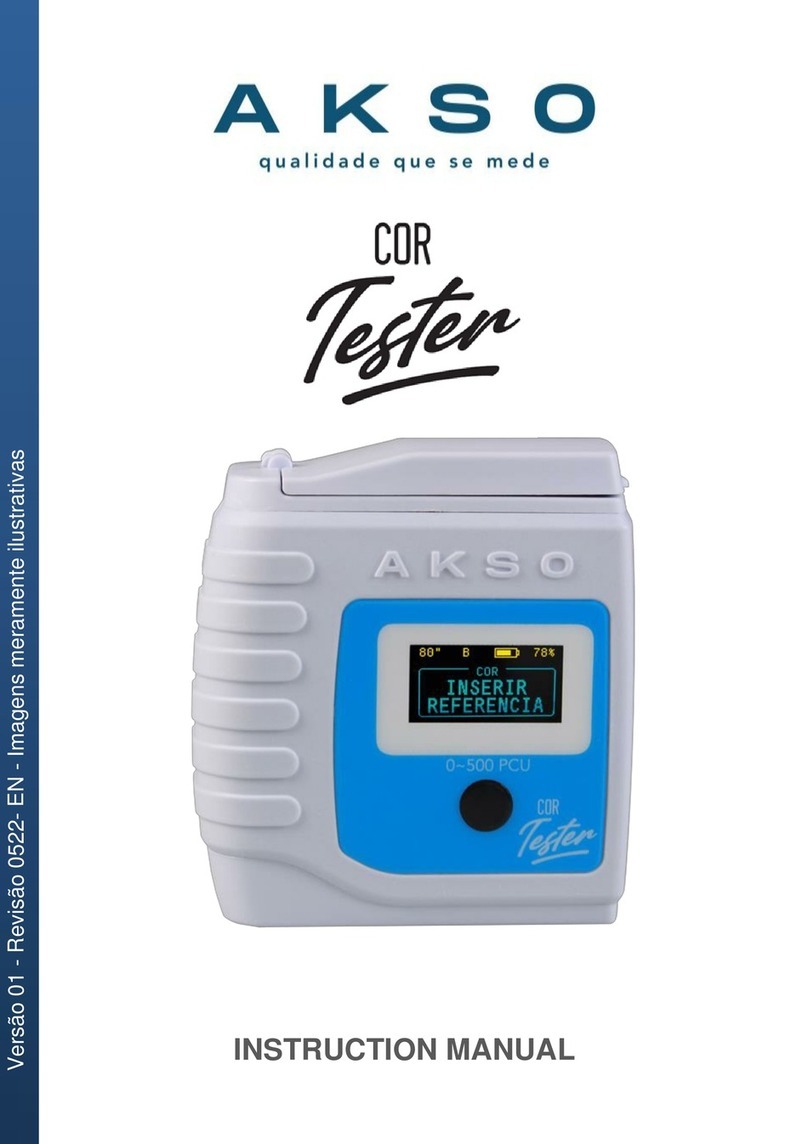
AKSO CLORO Tester User manual

INSTRUCTION MANUAL
Versão 01 - Revisão 0522-EN - Imagens meramente ilustrativas

1. SPECIFICATIONS
- Measuring range: 0.00 a 3.50 ppm
- Resolution: 0.01ppm
- Accuracy: ± (0.05ppm + 3% reading)
- Sample temperature: 15 a 35 °C
- sample volume: 10mL
- Light source: Light emitting diodo (LED)
- Wavelength: 525nm
- Measuring cell: Glass cuvette
- Auto power off: After 2 minutes
-Languages: English, Spanish and Portuguese
- Operating temperature: 0 to 50 °C
- Operating humidity: 10 to 90 %RH (non-condensing)
- Power supply: 9Vdc (1 battery 9V)
- Dimensions (WxHxD): 73 x 77 x 40 mm
- Weight: 120g (with battery)
- Additional Information
Adaptation of the US EPA 330.5 colorimetric method and
the 4500-CI G standard method for free and total chlorine
measurements.
US EPA, DIN and ISO compliant for free and total
chlorine measurements (4500-CI G, DIN Standard, ISO
7393/2).

2. ACCESSORIES
- 2 glass cuvette with lid (Ø18.8 mm x 68mm)
- 1 cleaning wipe
- 1 plastic case
- 1 instruction manual
Before use, examine the instrument carefully. If you
detect any abnormalities, contact AKSO.
3. PRESENTATION
Power-Measuring Button
Oled display
Battery percentage
Battery level
Automatic shutdown
Measuring cap

4. OPERATING INSTRUCTIONS
MEASUREMENT
Preparation
1)Make sure that the temperature of the water sample to
be analyzed is between 15 and 35°C to ensure the best
accuracy in the chlorine measurement;
2)Wash the cuvette 3 to 4 times using the water sample
that will be analyzed to set the container, avoiding
reading deviations;
3)Fill the cuvette with 10mL of the sample. Notice the line
in the cuvette body;
4)Close the cuvette with its lid;
5)Clean and dry the outer wall of the cuvette, using a wipe
or soft towel paper, to eliminate residues, grease and
moisture that may interfere with the measurement;
Zero point adjust
6)Press the Power-Measurement button to turn on the
instrument. Will appear Insert reference;
7)Insert the cuvette into the compartment and close the
measurement cover;
8)With the instrument in the VERTICAL position, briefly
press the button. The sample will adjust at zero point;
9)The message: Analyzing reference will appear on
display;
10)Wait until the display shows the message Insert
reagent;

Reading –Free chlorine
While Insert reagent is on the display:
11)Open the measuring cover and remove the cuvette
from the compartment;
12)Remove the cuvette cap and add 3 drops of DPD1
reagent and 3 drops of DPD2 to the sample;
13)Close the cuvette with its lid;
14)Clean and dry the outer wall of the cuvette, using a
cleaning wipe or soft towel paper, to eliminate moisture
or marking that may interfere with the measurement;
15)Insert the bucket into the compartment, close the
measuring cap and with the instrument in the
VERTICAL position, briefly press the Power-
Measurement button. Free chlorine will be read in the
sample. Wait;
Reading –Total Chlorine
16)Immediately after reading the free chlorine, open the lid
and remove the cuvette from the compartment;
17)Open the cuvette and add 1 drop of DPD3 reagent, in
the same sample that the free chlorine reading was
performed;
18)Close the cuvette with its lid;
19)Clean and dry the outer wall of the cuvette, using a
cleaning wipe or soft towel paper;
20)Insert the cuvette into the compartment, close the
measuring lid, hold down the Power-Measurement
button until you start a 150-second countdown on the
display. Release the button;

21)After counting, total chlorine will be read in the water
sample. Wait;
22)View the total chlorine measurement value in ppm on
the Oled display.
NOTES:
IMMEDIATELY, after each measurement, discard the
sample and wash the cuvette.
Be very careful when handling the cuvettes! Scratches,
stains and marks can compromise the results.
5. ADDITIONAL FUNCTIONS
LANGUAGE SELECTION
To access the language selection, with the instrument
turned off, perform the procedure below:
1)Briefly press the Power-Measurement button;
2)While displaying the startup screen, press and hold the
Power-Measurement button; the display will show up
LANGUAGE and the options Portuguese, English and
Spanish will appear.
3)Short press the Power-Measurement button to cycle
through the options;
4)Once selected as desired, keep the Power-
Measurement button pressed;
5)The instrument will restart with the selected language.

6. MAINTENANCE
BATTERY INSTALATION/REPLACEMENT
When the display displays Low Battery, replace the
battery as described below:
1)Turn off the instrument by holding down the Power-
Measurement button until the display is switched off;
2)Remove the base clamping screw at the bottom of the
instrument, using a “Philips” wrench;
3)Undock the base of the meter by pulling it carefully;
4)Removed the used battery from the compartment and
disconnect it from the clip;
5)Plug the new battery into the clip and snap it into the
compartment;
6)Replace the base of the instrument, observing its correct
position;
7)Replace the Philips screw, tightening it without forcing it.

ERROR MESSAGES
MESSAGE
CAUSE
SOLUTION
Discharged
battery
Battery without charge
Replace the battery
Low battery
Concentration
exceeded
Sample outside the
measuring range of the
instrument.
Perform a new reading
within the measuring range
of the instrument.
Inverted samples
Error in the measurement
procedure.
Perform a new reading
following the measurement
procedure.
Damaged sensor
Failure to communicate with
the sensor.
Contact Akso Technical
Support.
Go to the product page on the Akso website and make sure your
manual version is up to date.
AKSO PRODUTOS ELETRÔNICOS LTDA
www.akso.com.br • sales@akso.com.br
+55 51 3406 1717
Table of contents
Other AKSO Test Equipment manuals