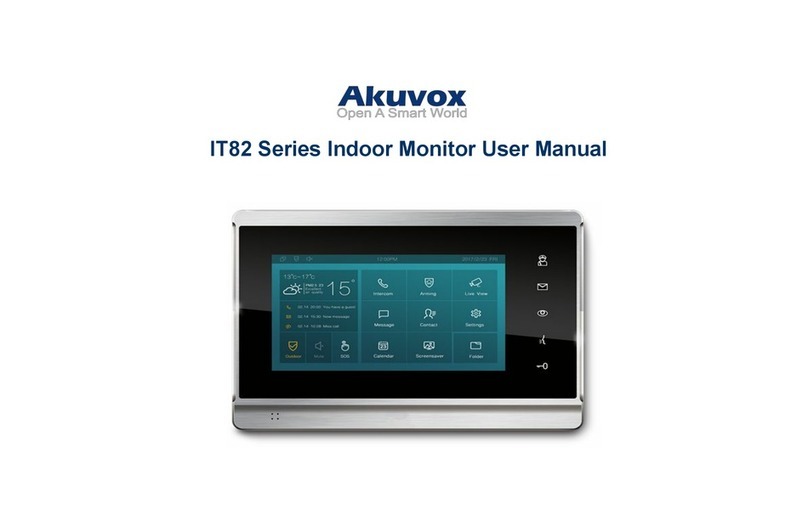
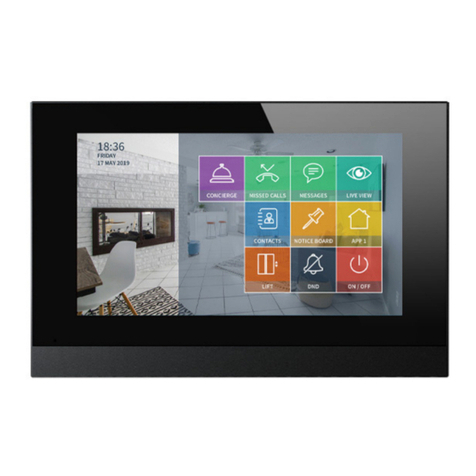
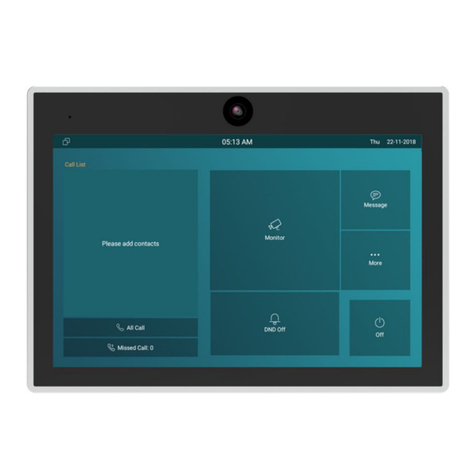
Akuvox IT88 Series User manual

About This Manual
Thank you for choosing the Akuvox IT88 series indoor monitor. This manual
is intended for the administrators who need to properly configure the indoor
monitor. This manual applies to the 88.30.110.302 version, and it provides all
the configurations for the functions and features of the IT88 series door
phone. Please visit the Akuvox forum or consult technical support for any
new information or the latest firmware.

Any Changes or modifications not expressly approved by the party
responsible for compliance could void the user's authority to operate the
equipment.
This device complies with part 15 of the FCC Rules. Operation is subject to
the following two conditions: (1) This device may not cause harmful
interference, and (2) this device must accept any interference received,
including interference that may cause undesired operation.
Note: This equipment has been tested and found to comply with the limits for
a Class B digital device, pursuant to part 15 of the FCC Rules.
These limits are designed to provide reasonable protection against harmful
interference in a residential installation. This equipment generates, uses and
can radiate radio frequency energy and, if not installed and used in
accordance with the instructions, may cause harmful interference to radio
communications. However, there is no guarantee that interference will not
occur in a particular installation. If this equipment does cause harmful
interference to radio or television reception, which can be determined by
turning the equipment off and on, the user is encouraged to try to correct the
interference by one or more of the following measures:
—Reorient or relocate the receiving antenna.
—Increase the separation between the equipment and receiver.
—Connect the equipment into an outlet on a circuit different from that to
which the receiver is connected.
—Consult the dealer or an experienced radio/TV technician for help.
FCC Radiation Exposure Statement:
This equipment complies with FCC radiation exposure limits set forth for an
uncontrolled environment .
This transmitter must not be co ‐located or operating in conjunction with
any other antenna or transmitter.
This equipment should be installed and operated with minimum distance
20cm between the radiator&you body.

IT88 Series Administrator Guide
AKUVOX SMART INTERCOM www.akuvox.com
4
1.Product Overview
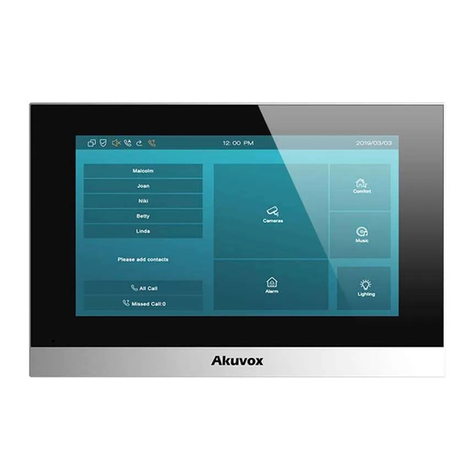
IT88 series is an Android SIP-based with a smooth touch-screen indoor
monitor. It can be connected with the Akuvox door phone for audio/video
communication, unlocking, and monitoring.Residents can communicate with
visitors via audio/video call, and it supports unlocking the door remotely. It is
more convenient and safer for residents to check the visitor’s identity
through its video preview function. IT88A series are often applied to
scenarios such as villas, apartments, and buildings.
2.Change Log
The change log will be updated here along with the changes in the new
software version

IT88 Series Administrator Guide
AKUVOX SMART INTERCOM www.akuvox.com
5
3.Introduction to Configuration Menu
Status: This section gives you basic information such as product information,
Network Information, and account information, etc.
Account: This section concerns SIP account, SIP server, proxy server,
transport protocol type, audio&video codec, DTMF, session timer, etc.
Network: This section mainly deals with DHCP&Static IP setting, RTP port
setting, and device deployment, etc.
Phone: This section includes Time&language, call feature, dial management,
data import&export, door log, web relay.
Contacts: This section allows the user to configure the local contact list
store in the device.
Upgrade: This section covers Firmware upgrade, device reset&reboot,
configuration file auto-provisioning, PCAP.
Security: This section is for Password modification, account status & session
time out configuration, as well as service location switching.
Settings: This section is including the RTSPD & voice assistance set up.
Arming: This section covers the configuration including, arming zone setting,
arming mode, disarm code, and alarm action.
Mode selection:
Discovery mode: It is a plug and plays configuration mode. Akuvox devices
will configure themselves automatically when users power on the devices
and connect them to the network. It is super time-saving mode and it will
greatly bring users convenience by reducing manual operations. This mode
requires no prior configurations previously by the administrator.
Cloud mode: Akuvox SmartPlus is an all-in-one management system.
Akuvox SmartPlus is the mobile service that allows audio, video, remote

IT88 Series Administrator Guide
AKUVOX SMART INTERCOM www.akuvox.com
6
access control between smartphones and Akuvox intercoms. All
configurations in the device will be issued automatically from the cloud. If
users decide to use Akuvox SmartPlus, please contact Akuvox technical
support, and they will help you configure the related settings before using
them.
SDMC mode: SDMC (SIP Device Management Controller) is a simple and
comprehensive software for building management. It provides a topography
for a community while offering you a graphical configuration interface for the
door access, intercom, monitoring, alarm, etc. It is a convenient tool for
property managers to manage, operate, and maintain the community.
Tool selection
Akuvox has many configuration tools for you to set up devices more
conveniently. Here we list some common tools, please contact your
administrator to get the tool if you need them.
1. SDMC: SDMC is suitable for the management of Akuvox devices in large
communities, including access control, resident information, remote
device control, etc.
2. Akuvox Upgrade tool: upgrade Akuvox devices in batch on a LAN(Local
Area Network)
3. Akuvox PC Manager: distribute all configuration items in batch on a LAN.
4. IP scanner: it is used to search Akuvox device IP addresses on a LAN.
5. FacePro: manage face data in batch for the door phone on a LAN.

IT88 Series Administrator Guide
AKUVOX SMART INTERCOM www.akuvox.com
7
4.Access the Device
Akuvox indoor monitor system settings can be either accessed on the device
directly or on the device web interface.
4.1. Device Start-up Network Selection
Akuvox indoor monitor system settings can be either accessed on the device
directly or on the device's web interface. After the device boots up initially,
you are required to select the network connection for the device. You can
either select ethernet or wireless network connection according to your need.
Note:
Please refer to the chapter on Network Setting&Other connection
for the configuration of the Ethernet and wireless network
connection.
4.2. Accessing the Device Setting on the Device
4.2.1.Accessing Device Basic Setting.
You can access the device's basic setting and advance setting where you

IT88 Series Administrator Guide
AKUVOX SMART INTERCOM www.akuvox.com
8
can configure different types of functions as needed. To access the device
basic setting by pressing Setting icon. To checking the basic information like
MAC, firmware and ect.
4.2.2.Accessing Device Advanced Setting
To access the advanced setting, press Setting then press Advanced Settings
icon. Press password 123456 to enter the advanced setting.
4.3. Access the Device Setting on the Web
Interface
You can also enter the device IP address on the web browser in order to log
in the device web interface by user name and password admin/admin where
you can configure and adjust parameter etc.
For checking IP address you can search in device Setting > System Info >
Network screen. Or searching by IP scanner tool which in the same LAN with
the devices.

IT88 Series Administrator Guide
AKUVOX SMART INTERCOM www.akuvox.com
9
Note:
You can also obtain the device IP address using the Akuvox IP
scanner to log in the device web interface. Please refer to the
URL below for the IP scanner application:
https://knowledge.akuvox.com/docs/akuvox-ip-scanner
Note:
Google Chrome browser is strongly recommended.
The Initial user name and password are “admin” and please be
case-sensitive to the user names and passwords entered.

IT88 Series Administrator Guide
AKUVOX SMART INTERCOM www.akuvox.com
10
5.Language and Time Setting
5.1. Language Setting
When you first set up the device, you might need to set the language to your
need or you can do it later if needed. Language setting can be configured on
the device that allows you to select or change the language for screen
display to your preference. To configure the language display on the device
Settings > Time&Language screen.
5.2. Time Setting
Time setting can be set up on the device and on the device web interface in
terms of time zone, date and time format etc.
5.2.1.Time Setting on the Device
To set up time setting on the device Settings > Time&Language screen.
Parameter Set-up:

IT88 Series Administrator Guide
AKUVOX SMART INTERCOM www.akuvox.com
11
Automatic Date: automatic Date is switched on by default, which allows
the date& time to be automatically set up and synchronized with the
default time zone and the NTP server (Network Time Protocol). You can
also set it up manually by checking off the square box and then enter the
time and date you want and press the Save tab to save the setting.
Time Zone: select the specific time zone depending on where the device
is used. The default time zone is GMT+0.00.
Date Format: select the date format as you like among the three format
options. The three formal options are Y-M-D,Y/M/D,D-M-Y,D/M/Y,
M-D-Y,M/D/Y.
Time Format: select 12 hour or 24 hour time format as you like.
NTP Server: enter the NTP server you obtained in the NTP server field.
Note:
When the Automatic Date&Time toggle switch is toggled off
then parameters related to NTP server will become
uneditable. And when the switch is toggled on, then time and
date will be denied editing.
5.2.2.Time Setting on the Device Web Interface
Time setting on the web Device >Time interface also allows you to set up the
NTP server address that you obtained to automatically synchronize your time
and date. And when your time zone is selected, the device will automatically
notify the NTP server of its time zone so that the NTP server can synchronize

IT88 Series Administrator Guide
AKUVOX SMART INTERCOM www.akuvox.com
12
the time zone setting in your device.
Parameter Set-up:
NTP Server: enter the NTP server you obtained in the NTP server field.
6.Screen Display Configuration
IT88 series indoor monitor allow you to enjoy a variety of screen displays to
enrich your visual and operational experience through the customized setting
to your preference.

IT88 Series Administrator Guide
AKUVOX SMART INTERCOM www.akuvox.com
13
6.1. Screen Display setting on the Device
You can configure a variety of features of the screen display in terms of
brightness, screen saver and font size, etc. To do this configuration on device
Setting > Display screen.
Parameter set-up:
Brightness: press on the brightness setting and move the yellow dots to
adjust the screen brightness. The default brightness is “145”.
Sleep Time: set the timing for the device screen to be turned off. You can
select the timing among eight options: 15 seconds,30 seconds,1 minute,
2 minutes, 5 minutes,10 minutes,30 minutes, 1 hour. For example, if you
set it as 1 minute then the screen will be turned off if there is no
operation on the device for 1 minute. However, if you turn on the function,
then the device screen will not be turned off until screen saver display
reaches its configured time duration.
Screen Saver Lock Time: set the time duration for the screen saver
among 4 options: 30 minutes,1 hour,2 hours,Never. for example ,if
select Never then the screen saver will stay permanently on.
Screen Saver: tick the square box to enable the screen saver function.
Screen Saver Type: select screen saver type among seven options: SDMC
Pictures,Local Pictures,SDMC+Local Pictures,SDMC Videos,Local
Videos,SDMC+Local Videos,Clock. Details for the screen saver types are
shown below:
NO
.
Screen Saver
Type
Type Description

IT88 Series Administrator Guide
AKUVOX SMART INTERCOM www.akuvox.com
14
1
SDMC Pictures
Display pictures from SDMC as the screen saver.
2
Local Pictures
Display picture uploaded to the indoor monitor as
the screen saver.
3
SDMC+Local
Pictures
Display pictures from SDMC and the indoor monitor
in rotation as the screen saver.
4
SDMC Videos
Display videos from SDMC as the screen saver.
5
Local Videos
Display videos from the indoor monitor as the
screen saver
6
SDMC+Local
Videos
Display videos from SDMC and the door phone in
rotation as the screen saver.
7
Clock
Display the clock as the screen saver.
Screen Lock: tick the screen lock if you want to lock the screen after the
screen is turned off ( turn dark). You are required to enter the system
code to unlock the screen or you can unlock the screen by facial
recognition.
Screen Clean: press on Screen clean feature first before you start wiping
the screen clean. And this helps you avoid unwanted changes in the
settings incurred while you are wiping the screen.
Font Size: select the font size among four options “Small”, “Normal”,”
Large”, ”Huge” according to your need.
Breathing Light: move the toggle switch to enable the breathing light.
Wallpaper: click to select the local wallpaper.

IT88 Series Administrator Guide
AKUVOX SMART INTERCOM www.akuvox.com
15
6.2. Screen Display Setting on the Web Interface
IT88 series indoor monitor allows you to enjoy a variety of screen displays to
enrich your visual and operational experience through the customized setting
to your preference.
6.2.1.Upload Screen Saver
You can upload screen saver pictures separately or in batch to the device
and to the device web Device > Display Setting > Screen Saver Setting
interface for a public purpose or for a greater visual experience.
Note:
The pictures uploaded should be in JPG, JPEG, PNG format with
2M maximum.
Note:
The previous pictures with a specific ID order will be overwritten
when repetitive designation of pictures to the same ID order
occurred.
6.2.2.Upload Wall Paper
You customize your screen background picture on device web Device >

IT88 Series Administrator Guide
AKUVOX SMART INTERCOM www.akuvox.com
16
Display Setting > Wall Paper interface in order to achieve the visual effect
and experience you need for your personalized screen background display.
Note:
The pictures uploaded should be in JPG, JPEG, PNG format with
2M maximum.
6.2.3.Upload Device Booting Image
You can upload the booting image to be displayed during the device’s
booting process if needed on device web Device > Display Setting> Boot
Logo interface.
Note:
The pictures uploaded should be in .png or .zip format.
6.3. Icon Screen Display Configuration
IT88 series indoor monitor allows you to customize icon display on the home
screen and one more screen for the convenience of your operation on device
web Device > Display Setting > Home Page Display interface. This article
helps you to set up the icon display properly on the screens according to
your preference.

IT88 Series Administrator Guide
AKUVOX SMART INTERCOM www.akuvox.com
17
Parameter Set-up:
Type: click to select among sixteen icon options: “DND”, “Message”,”
Contact”, “Call”, “Display”, ”System info”, “Setting”, “Sound”, “Arming”,
“SOS”, “Browser”, ”Motion Detection”, “Custom APK”, “Relays”, “Unlock”,
“N/A” is selected, the icon display in the corresponding area will
disappear.
Value: select the value if you select the icon type “Custom APK” and
“Browser”. For example, when you select “Custom APK”, choose Home
Center in the corresponding Value field before the APK icon can be
displayed on the home screen. If “Browser” is selected, you are required
to enter the URL of the browser before the browser icon can be displayed.
while you the value is not applicable to other icon types.
Label: click to rename the icon if need, while DND icon cannot be
renamed.
Icons: click to select the picture to be uploaded as the icon to be
displayed. The maximum icon size is 50*50. The picture format can be
JPG, JPEG and PNG.
Note:
You can configure 4 icons in area 1,2,3, and 4 on the home screen.
To configure the more icon display on More Page Display on the same
interface.

IT88 Series Administrator Guide
AKUVOX SMART INTERCOM www.akuvox.com
18
7.Sound and Volume Configuration
Akuvox IT88 series indoor monitors provide you with various types of
ringtone and volume configuration ranging from Mic volume, Ring volume,
Talk volume, Tone volume and Media volume. You can configure them on the
device directly or on the web interface.
7.1. Volume Configuration
7.1.1. Configure Volume on the Device
To set up the volumes on the device Setting > Sound screen.
Parameter Set-up:
Ring Volume: adjust the incoming call ringtone volume.
Talk Volume: adjust the speaker volume during the call.
Mic Volume: adjust the volume of your voice to be heard.
Tone Volume: adjust the dial tone volume.
Media Volume: adjust the volume for the video screen saver.
Touch Sound: enable or disable the touch sound.
Phone Ringtone: select ringtone for incoming calls.
Notification Sound: select ringtone for the incoming messages.

IT88 Series Administrator Guide
AKUVOX SMART INTERCOM www.akuvox.com
19
7.1.1.1. Configure Volume on the Web Interface
You can configure the volumes and tones and customize your doorbell
sound and alarm ringtone to your preference on device web Device > Audio
interface.
Note:
Doorbell sound files and Alarm Ringtone files to be uploaded must
be .WAV or MP3 format. No limitation for the file size.
8.Phone Book Configuration

IT88 Series Administrator Guide
AKUVOX SMART INTERCOM www.akuvox.com
20
8.1. Phone Book Configuration on the Device
You can configure the contacts list in terms of adding and modifying contact
groups or contacts on the device Contacts > Local Contacts directly.
8.1.1.Add contact
Parameter Set-up:
Account1: select which account to use to dial out, Account 1 or Account
2.
New Contact Name: enter the name to save.
Number: enter the IP or SIP number to save.
CameraUrl: enter the RTSP URL for video preview.
Note:
Akuvox devices RTSP URL format is rtsp://device IP/live/ch00_0. if
you use the third party device, please confirm the URL format with
their company.
8.1.2.Edit Contact
Other manuals for IT88 Series
1
Table of contents
Other Akuvox Monitor manuals

Akuvox
Akuvox C313W-2 User manual

Akuvox
Akuvox C319A Manual

Akuvox
Akuvox IT83 Series Manual

Akuvox
Akuvox C315 Manual

Akuvox
Akuvox C313 Series Manual

Akuvox
Akuvox C313 Series Manual

Akuvox
Akuvox C319 Series Service manual

Akuvox
Akuvox C313 Series User manual

Akuvox
Akuvox C313X User manual

Akuvox
Akuvox X7HD Series User manual