Akuvox IT82 Series User manual

IT82 Series Indoor Monitor User Manual

About this manual
Thank you for choosing Akuvox’s IT82 Series indoor monitor. This manual is intended for end users, who need to use and configure
the indoor monitor. It provides an overview of the most essential functions and features of the product, whose firmware version is
82.0.2.137.
Contact us
For more information about the product, please visit us at www.akuvox.com or feel free to contact us by
Sales email: sales@akuvox.com
Telephone: +86-592-2133061 ext.7694/8162
We highly appreciate your feedback about our products.

Content
1.Product overview..................................................................................................................................................................1
1.1Product Description....................................................................................................................................................................................................................... 1
1.2Power connection.......................................................................................................................................................................................................................... 2
2.Daily use..................................................................................................................................................................................3
2.1Making a call................................................................................................................................................................................................................................... 3
2.1.1Calling from digital keypad............................................................................................................................................................................................... 3
2.1.2Calling from phonebook.................................................................................................................................................................................................... 3
2.1.3Calling from call log........................................................................................................................................................................................................... 4
2.1.4Calling Center..................................................................................................................................................................................................................... 5
2.2Receiving a call.............................................................................................................................................................................................................................. 6
2.2.1Receive a incoming call.................................................................................................................................................................................................... 6
2.2.2during the session.............................................................................................................................................................................................................. 6
2.3Contact.............................................................................................................................................................................................................................................8
2.3.1Group................................................................................................................................................................................................................................... 8
2.3.2Add a contact...................................................................................................................................................................................................................... 8
2.3.3Manage Contact................................................................................................................................................................................................................. 9
2.4Status.............................................................................................................................................................................................................................................10
2.4.1Basic Status...................................................................................................................................................................................................................... 10
2.4.2Network Status................................................................................................................................................................................................................. 10
2.4.3Account Status................................................................................................................................................................................................................. 11
2.5Live view........................................................................................................................................................................................................................................11
2.6Message(s)................................................................................................................................................................................................................................... 12
2.6.1Create message...............................................................................................................................................................................................................12
2.6.2Delete message............................................................................................................................................................................................................... 12
2.7Arming........................................................................................................................................................................................................................................... 13
2.7.1Arming Mode.................................................................................................................................................................................................................... 14
2.7.2Disarm Code..................................................................................................................................................................................................................... 15
2.7.3Alarm Log.......................................................................................................................................................................................................................... 16
2.7.4Status................................................................................................................................................................................................................................. 17
2.8Capture.......................................................................................................................................................................................................................................... 17

2.9Assistance.....................................................................................................................................................................................................................................18
3.Settings................................................................................................................................................................................. 19
3.1Display settings............................................................................................................................................................................................................................ 19
3.2Sound settings..............................................................................................................................................................................................................................20
3.3Time settings................................................................................................................................................................................................................................ 21
3.4Language...................................................................................................................................................................................................................................... 22
3.6Reboot........................................................................................................................................................................................................................................... 22

1
1.Product overview
1.1Product Description
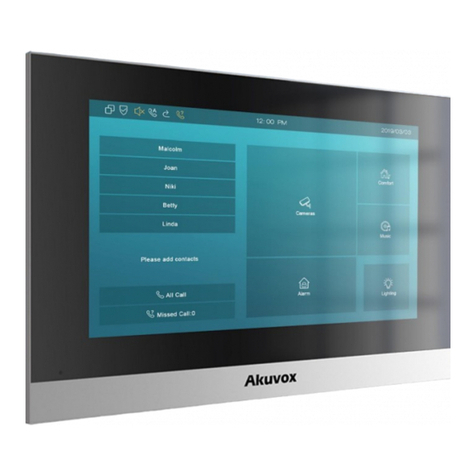
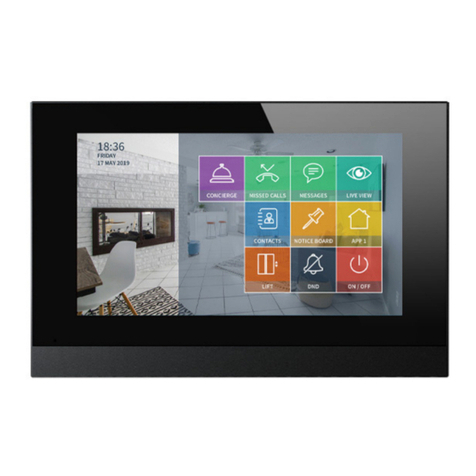
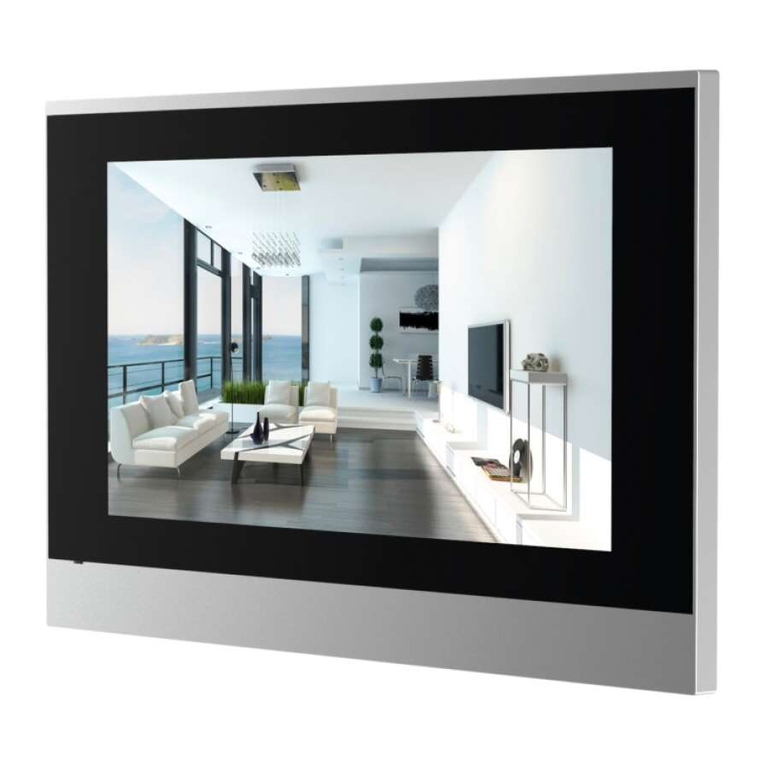
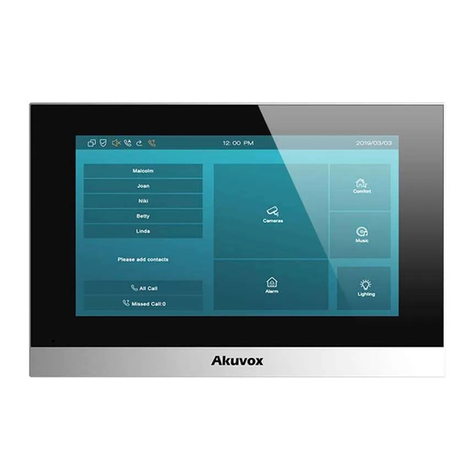
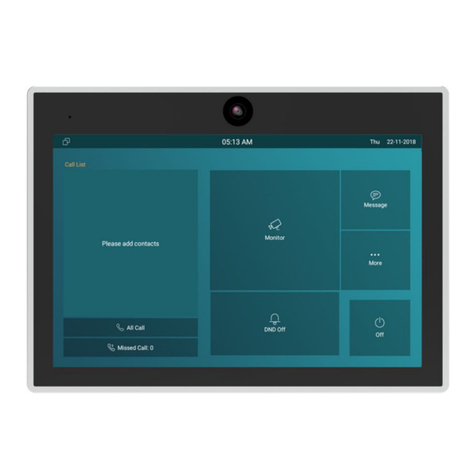
IT82 is an Android SIP-based with smooth touch-screen
Indoor monitor. It can be connected with Akuvox door
phone for unlock and monitor.
Residents can communicate with visitors via audio and
video call, and support remote unlock the door. It is more
convenient and safe for residents to check the visitor
identity through its video preview function.
IT82 is often applicable in villas , apartments, building and
so on.

2
1.2Connector Introduction
8 PIN connector: For power supply and RS485 terminal.
10 PIN connector: For 8 security connectors.
Network Interface(POE): Network Interface(POE)
connector which can provide both power and network
connection.
RJ45 Interface: RJ45 Interface connector which can
provide network connection. It can share the network
access from Network Interface(POE) port to other
equipment or PC connection.
Note:12V/1A dc from LPS or POE.

3
2.Daily use
2.1Making a call
There are 4 ways to make a call from the indoor monitor
to other units, which can be another indoor monitor or an
intercom app.
2.1.1Calling from digital keypad
①Tap the icon to enter the call interface. Also you can
press the intercom button .
②Enter the number to call on the digital keypad,
③Tap the dial key, you can choose audio call or video call
to dial out.
2.1.2Calling from phonebook
④Tap the icon to enter the phonebook.

4
⑤Search the list by number or alphabet. IT82x supports
fuzzy matching query.
⑥Scroll up or down the pre-imported contact list to select
contact.
⑦Tap the dial key next to the contact found to dial out.
Note: If the contact has multiple numbers, after clicking
the dial key, you need to choose the number you want to
call.
2.1.3Calling from call log
①Press the icon to enter the call log interface. Also you
can tap the icon or press the intercom button to
enter the call log interface.
②③You can directly slide up and down to choose the
number from the call history.
④Tap the dial key, you can choose audio call or video call
to dial out.

5
⑤Click to modify the log. Users can create a new contact,
send the message or delete to this call log, or add this call
log into Black Lists.
2.1.4Calling Center
Press manage center button to make a call out, if you
want to call management center (SDMC system). This
function only can be used when IT82 has registered from
SDMC.

6
2.2Receiving a call
2.2.1Receive a incoming call
①There will be a video preview in this window, when you
receive a incoming call.
②Press this icon to pick up the incoming call as an video
call.
③Press this icon to pick up the incoming call as a audio
call.
④Press this icon to reject the incoming call.
⑤Press this icon to adjust the ring tone volume.
2.2.2During the session
①The call video will be showed in this window.
②To adjust the volume here.
③Press this icon to unlock the corresponding door
phone(if the call is from door phone).

7
④Press this icon to capture the video.
⑤Press this icon to mute the call.
⑥Press this icon to switch the call to another call
mode(audio or video).
⑦Press this icon to hang up the current call.

8
2.3Contact
2.3.1Group
①Press the icon to enter the contact interface.
②Press the icon to check the groups IT82 has.
③IT82 has two groups-Default group and Black List. You
can press the corresponding group to check the contacts.
2.3.2Add a contact
④Select a group. Press the icon to add a contact.
⑤Type in the contact name.
⑥Type in the number 1, it can be a SIP number or IP
number.
⑦Type in the number 2, it can be a SIP number or IP
number.
⑧Type in the number 3, it can be a SIP number or IP
number.

9
⑨Type in the RTSP URL of Door Phone, like
rtsp://DoorPhone’s IP/live/ch00_0.
⑩Press this icon to save the contact.
⑪Press this icon to cancel the operations.
2.3.3Manage Contact
Enter the contacts interface, ①select a group, ②select a
contact.
③Press the icon to modify the selected contact.
④Press this icon to delete the selected contact.
When you select Black List group, ⑤press the icon to
modify contacts to Black List.
⑥Tick the needed contacts. Or ⑦Select all contacts.
⑧Press this icon to confirm to move the contacts to Black
Lists.
⑨Press this icon to cancel the operations.

10
2.4Status
2.4.1Basic Status
To check IT82x's status by ①②pressing this icon.
After entering the status interface, ③you can press the
icon to check the check the basic status. You can check
Software version , Firmware version, Firmware Model,
Hardware version and so on.
2.4.2Network Status
④Press the icon to check the network status.You can
check the Access Mode, IP address, subnet mask,
gateway and DNS here.

11
2.4.3Account Status
After entering the status interface, it shows the account
status as default. You can check the account number and
status here, registered means it works normally.
2.5Live view
①Press the icon to check the live video via RTSP URL
from predefined doorphone station or IPC which you set
under the path "Settings-More-Live View".
After entering the Live view configuring interface, ②you
can press the icon to ③④add new RTSP URL of
doorphone station or IPC, or click existed RTSP URL to
edit.
Note: Please make sure the RTSP URL format is correct.

12
2.6Message(s)
①Press the icon to enter the message interface. There
will be a notification here if there is any unread message.
Or ②press this icon to enter the message interface.
2.6.1Create message
③Press this line to add a new message for existed
contacts directly.
④Press this icon to create a new message.
⑤Press the icon to add a contact manually.
⑥Press the icon to select existed contacts.
⑦Press this line to enter the content of the message.
⑧Press the icon to send the message.

13
2.6.2Delete message
③Long press this icon to edit messages.
⑨Tick the needed messages. Or ⑩you can select all
messages.
⑪Press this icon to delete messages.
⑫Press the icon to cancel the operations.
2.7Arming
①Press the icon to enter the Arming interface.
②IT82x supports 4 mode, they are Home mode, Night
mode, Away mode and Disarm mode.

14
2.7.1Arming Mode
③Press this icon to enter the arming mode settings
interface.
④You can see all of the 8 zones and corresponding
sensor types(slide down to check more information) in this
interface.
⑤Press this icon to set the defence delay time. It means
when you change to the arming mode from other modes,
there will be 30 seconds delay time.
⑥Press this icon to set the alarm delay. It means when
the sensor triggered, there will be 30 seconds delay time
to announce the notification.
⑦Tick/untick to enable/disable the corresponding zone
under the selected mode.
⑧Press save icon to save the modification.

15
2.7.2Disarm Code
①Press this icon to enter the disarm code settings
interface. You can modify the disarm code here.
②Enter the original disarm code first, it is 0000 as default.
③Enter the new disarm code。
④Enter the new disarm code again for confirming.
⑤Press save icon to save the modification.

16
2.7.3Alarm Log
①Press this icon to enter the alarm log interface.You can
see the alarm log here including location, zone, zone type
and alarm time.
②Long press this line to edit alarm logs. Tick the selected
alarm log. Or ③Press this icon to select all alarm logs.
④Press this icon to delete alarm logs.
⑤Press this icon to cancel the operations.
Other manuals for IT82 Series
4
Table of contents
Other Akuvox Monitor manuals

Akuvox
Akuvox IT82 Series User manual

Akuvox
Akuvox IT83 Series Manual

Akuvox
Akuvox C313 Series User manual

Akuvox
Akuvox C315 Manual

Akuvox
Akuvox C313W-2 User manual

Akuvox
Akuvox C319A Manual

Akuvox
Akuvox C313 Series Manual

Akuvox
Akuvox IT88 Series User manual

Akuvox
Akuvox C313 Series Manual

Akuvox
Akuvox C317 Series User manual