larger vehicles below and above 1.7 m camera height. The passenger car version is also designed for
different speeds compared to the truck version.
Regarding truck installation, please refer to instruction chapter for truck installation. Important is also the
position of the wipers in relation to the camera when they are not in motion.
When the camera is set up properly, the device announces “Camera has been installed” within 10 seconds
after driving over the initial selected speed on a level & straight road.
When the setting is not correct, the device announces, “Camera setting error “. Please reinstall the Road
Matrix camera in reference to camera installation manual” If this happens, please check the camera setting
status and reset or adjust the camera.
Select camera location for passenger cars, SUV’s or vans)
• Please check and select where to install the camera first. It is recommended that the camera is
installed on the windshield behind the rearview mirror within the upper area with anti-sun protection
(if equipped). Please confirm that the camera installation is not blocking nor interfering with the
driver’s view of the windshield.
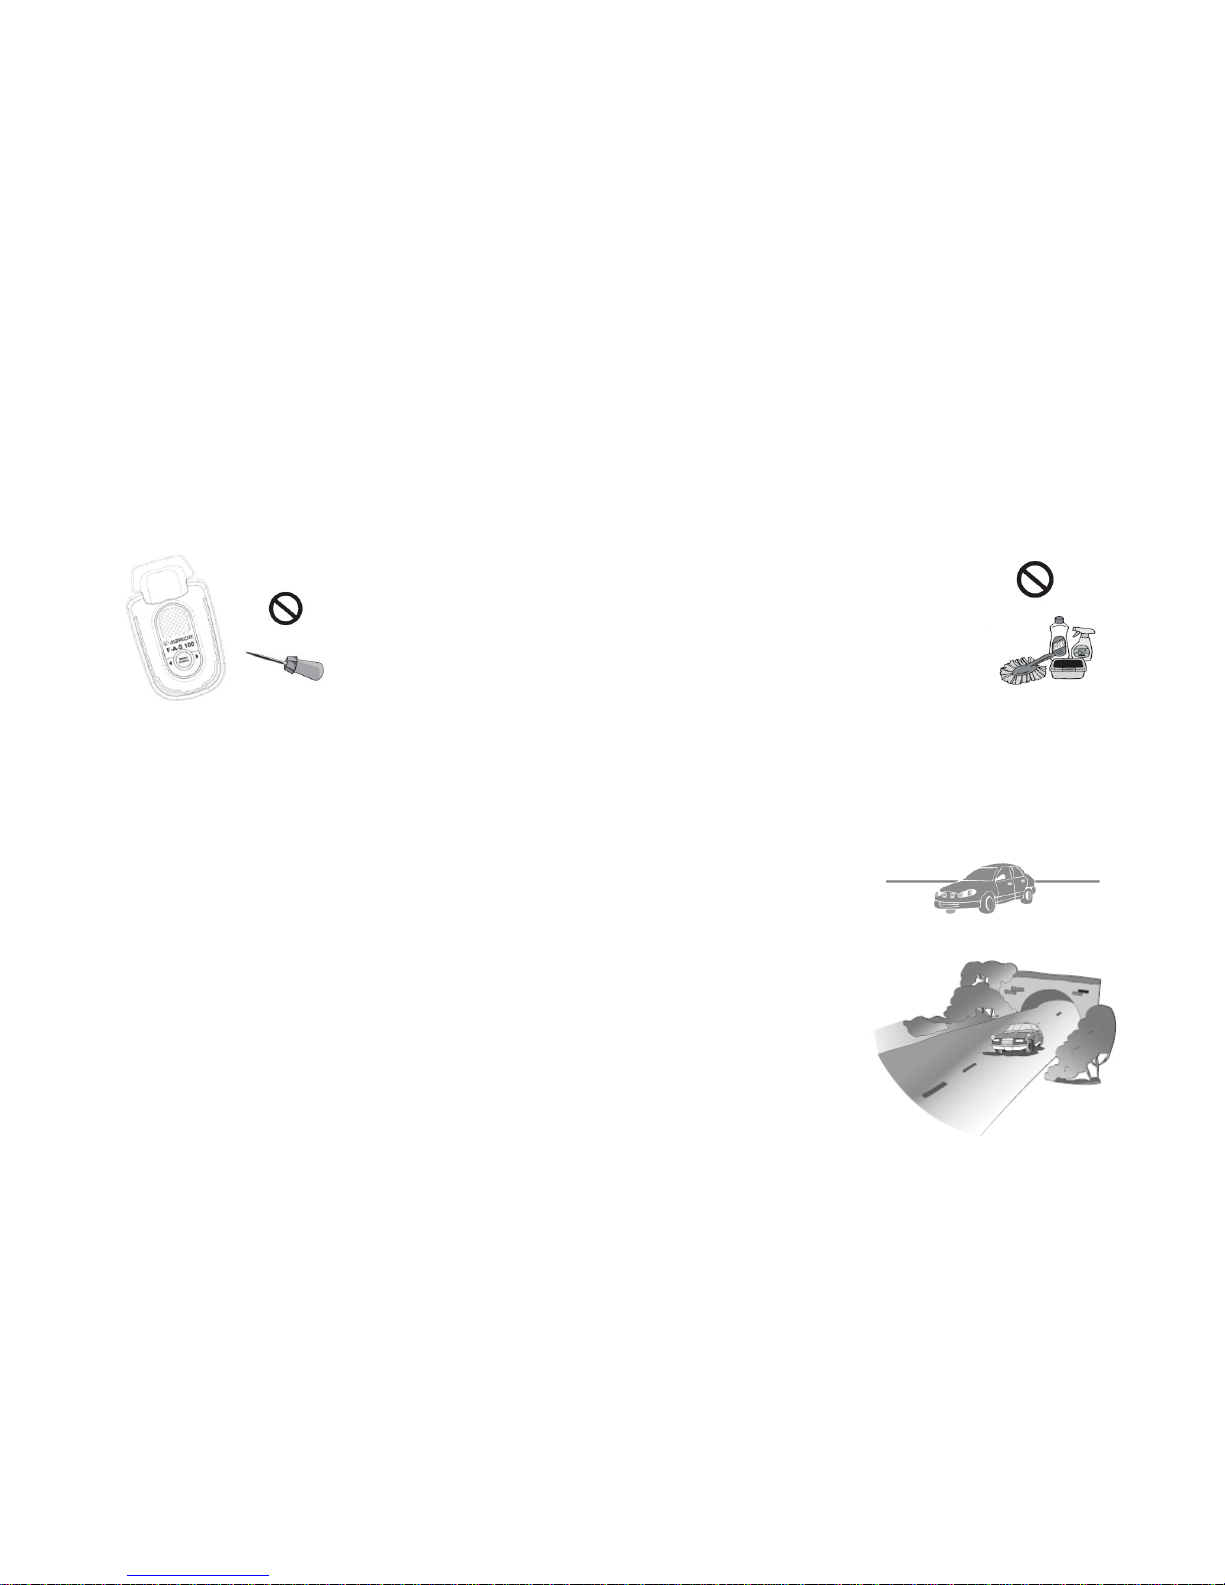
• The car’s wiper (when not in motion) shall not touch the camera viewing angle, please check!
• Prior to installation, clean the windshield where the camera is to be installed. Areas with dirt or debris
will prohibit proper attachment of the double sided tape. Peel off one side of the tape and attach it to
the anti-glare or shaded area on the windshield.
Install & adjust the camera
• Adjust the camera so the horizontal level in the middle. Use the hexagonal wrench provided to firmly
tighten the camera in place.
• Press the camera cable into the grove between the windshield and the upholstery of the vehicle.