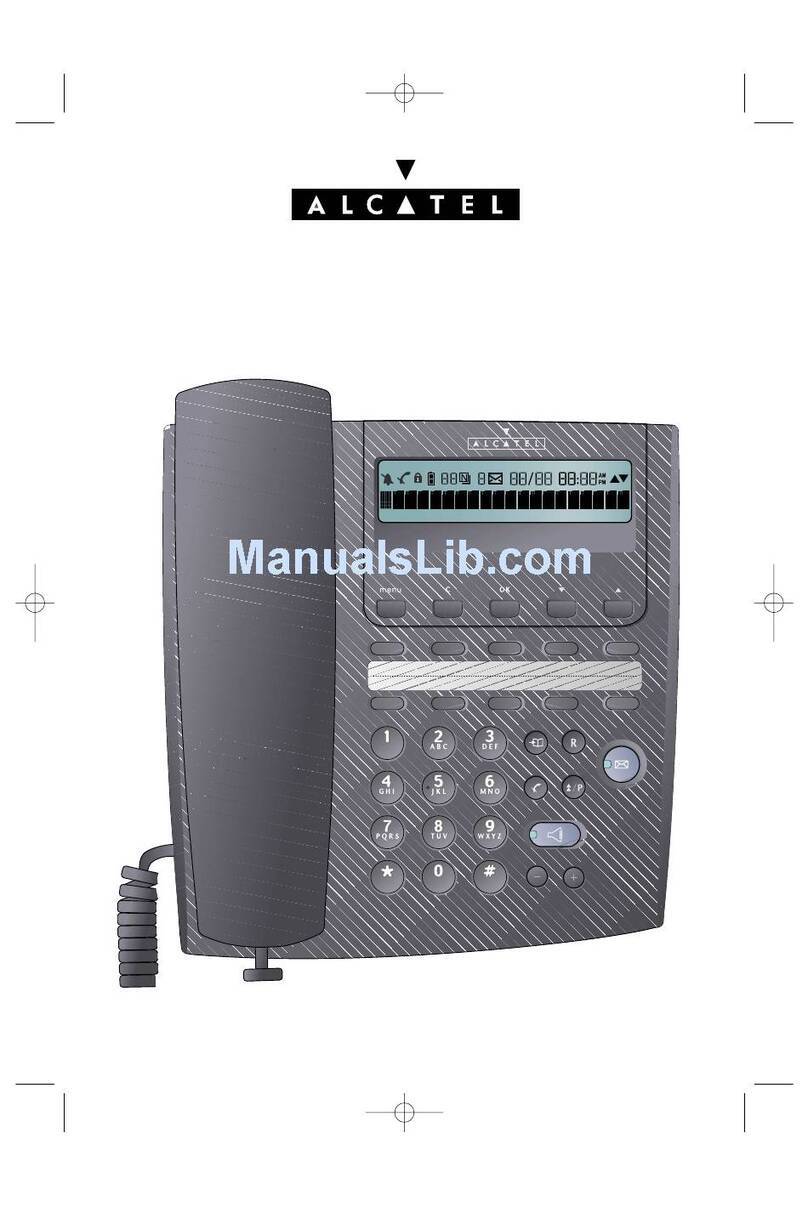
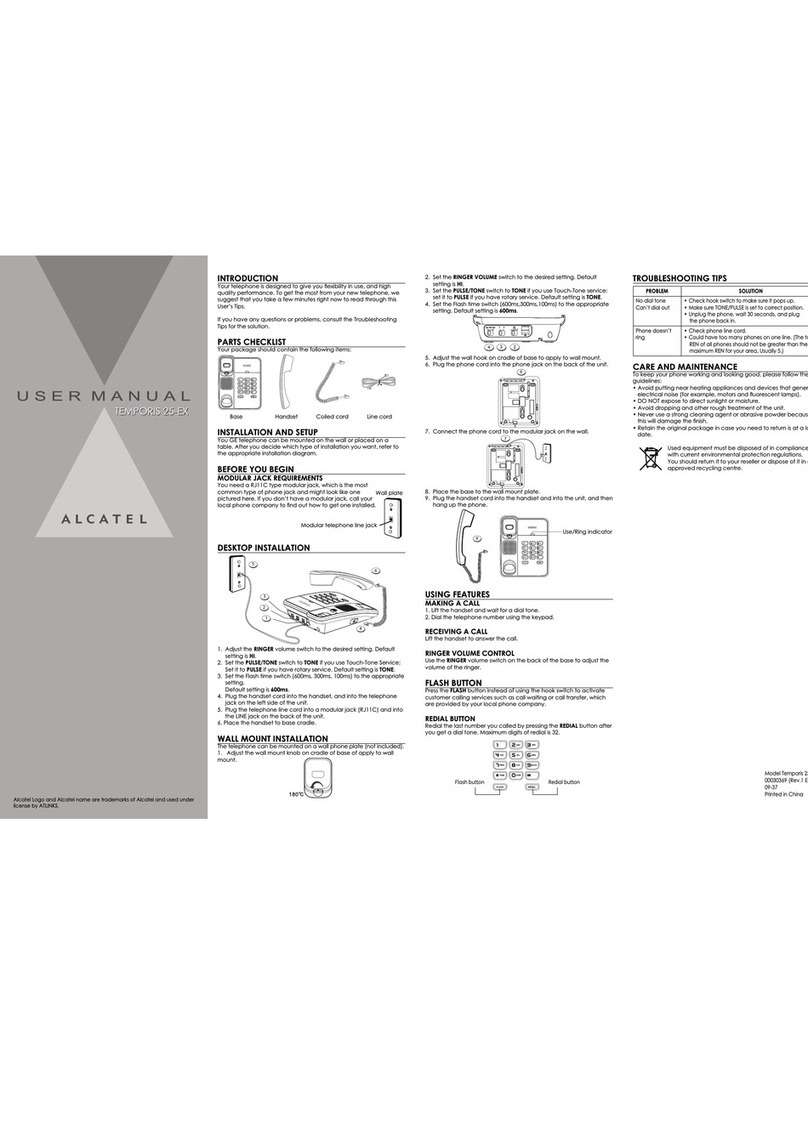
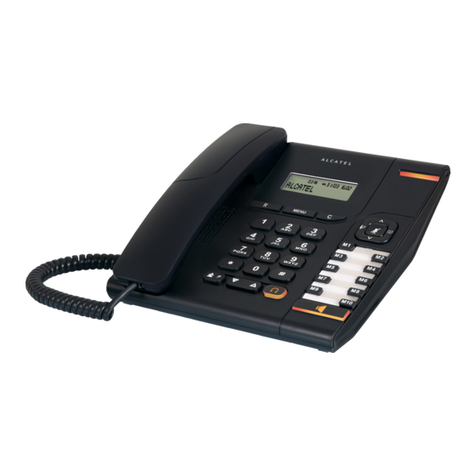
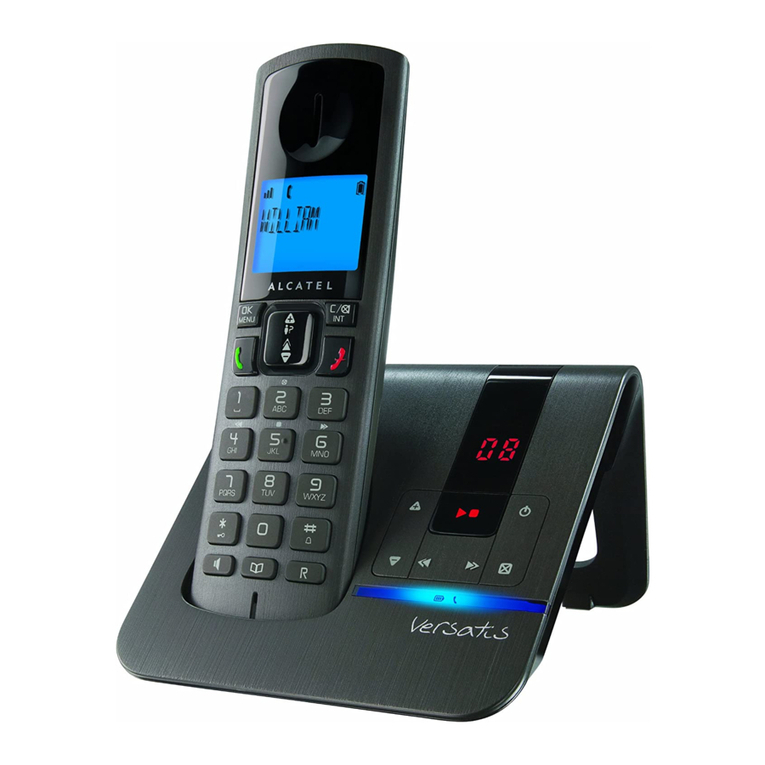
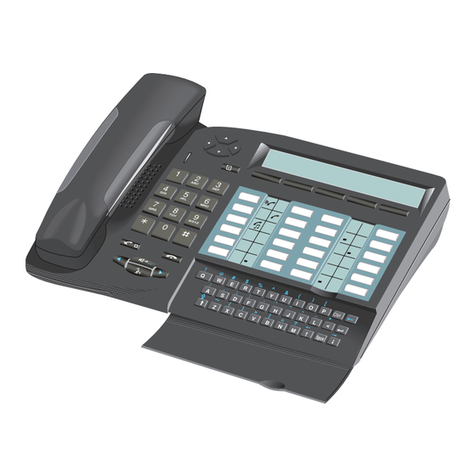
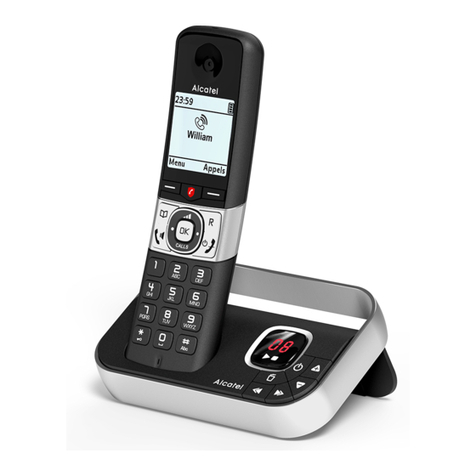
Make sure your package includes the items:
INTRODUCTION
Your Caller ID phone stores and displays specific information, provided by your
local telephone company, to subscribers of Caller ID or similar caller
identification services.
FSK/DTMF Caller ID auto detect
Incoming call log records up to 68 calls
Outgoing call log records up to 15 last dialed numbers
10 two-touch memories
On hook pre-dialing
Prefix Code
Redial
Pulse or Tone dialing mode
Mute function
Speakerphone
MAIN FEATURES
Your Caller ID phone enables you to:
Identify callers before you answer the phone.
View the time and date of each incoming call.
Record up to 68 Caller ID messages sequentially.
To get the most fromyour new phone, you aresuggested to take a few
minutes right nowto read throughthis user guide.
SHORT GLOSSARY OF TERMINOLOGY USED IN THIS MANUAL
Hook switch. The part ofthe phone thatpops up toactivate the phoneline
when the handsetis lifted fromthe base.
Off-hook. A term usedto describe thephone in its active mode whenthe
handset is offof the basecradle or when the SPEAKER button is pressed.
On-hook. A term usedto describe phone in aninactive mode.the
PARTS CHECKLIST
NOTE: If you find any of the parts missing, please contact your local
shop where you buy this product right away.
Base Handset Coil cord
Modular
telephone
line jack
Wall plate
To use this phone,you need aRJ11C type modular
telephone jack, which might look like the one pictured
here, installed in your home. If you don't have a jack,
call your localphone company tofind out how
to get oneinstalled.
TELEPHONE JACK REQUIREMENTS
Line cord
Use
rs Guide
TEMPORIS 55-EX
TEMPORIS 55-EX
OPTIONS MENU
Outgoing call
3
2
INSTALLING THE PHONE
Your phoneshould be placedon a level surface, such as a desk or t
able top, or you canmount it ona wall.
BATTERY
1. If the telephoneline cord isconnected, disconnect it from thebase unit.
2. Carefully turnover the phone, use a pen or paperclip to loosenthe
batter y cover. Open thebattery compartment by pushingon the battery
cover and sliding it away fromthe unit.
3. Insert 3 AA-size alkalinebatteries (not included)as shown
on the diagram in the battery compartment.
4. Snap thebattery compartment door back
into place.
5. If the line cord waspreviously connected,
reattach it to the unit andcheck your
memory locations.
Wall mounting knob
location 0
Rotate 180
WALL MOUNTING: The knob is designed to keep this
unit in place when the telephone is vertical on the wall.
2. Install the base unit to the wall and then plug one end of line cord into the
junction box and the other end into modular telephone line jack marked
.
3. Fix the telephone in the wall as the following layout.
WALL MOUNTING
1.Rotate the wall mounting knobas shown inthe following layout:
1. Connecting the handset.
2. Connecting the telephone line.
IMPORTANT: If you are not going touse the telephone for more
than 30 days, remove the batteries because they may leak and
damage the unit.
INSTALLATION
CAUTION: Disconnect the phonecord from thewall outlet
before installing orreplacing the batteries.
Never install telephonewiring during lightningstorm.
Never touch un-insulatedtelephone wires orterminals, unless the
telephone line hasbeen disconnected atthe network interface.
Use caution wheninstalling or modifyingtelephone lines.
Never install telephonejack in wetlocation unless the jack is
specifically designed for wet locations.
Temporarily disconnect any equipment connectedto the phone,
such as faxes, other phones or modems.
INSTALLING AND REPLACING THE BATTERIES
Your Caller ID phone uses 3AA-Size alkaline batteries for receiving and
storing Caller ID records and forstoring the numbersyou use for frequently.
SIZE A A
SIZE A A
SIZE A A
New Caller,
Repeat Caller
Mail information
MUTEOUT
DM
IN
Speakerphone
Day Minutes Incoming Call
Phone number display
Week display
Mute Mic
Hour
Month Call-log Number
Ringer VolSwitch
Speaker button
Set/Mute button
contrast
Up/Down buttons
Memory button
In use indicator
Redial/pause button
Flash button
Display
Store button
Out button
Dial button
Delete button
Speaker VolSwitch
Microphone
Message indicator
1
2
SETTING DATE/TIME
Enter Year, Month, Day and TimePress and Hold
2 Seconds
SETTING PCODE
SETTING TONE/PULSE
PHONE OPERATION
RECEIVING A PHONE CALL
Answer Call End Call
Answer Call End Call
Ringing
Ringing
CASE 2
CASE 1
Answer Call End Call
CASE 3
Answer Call
CASE 4
Ringing
Press and Hold
2 Seconds
Press and Hold
2 Seconds
Tone Pulse
Select Tone or Pulse
SETTING FLASH
Press and Hold
2 Seconds
Select Timing
SETTING THE PHONE
NOTE: Proceed immediately to change anyof the followingfactory
preset as required.
There are 4options to set:
Date and TimeSetting.
Pcode is aprefix code thatuser may add to the front of
the number beforedialing.
Select the dialingmode. Thisis dependent ofthe
telephone company youare connected to.
Timing setting. This timing isto allow userto momentary
access telephone services such as callwaiting when
FLASH button is pressed.
End Call
Ringing
MAKING A PHONE CALL
The number shown will be dialed
Dial number
Dial number
OR OR
OR
CASE 1
CASE 2
The number shown
will be dialed
OR OR
Select the number
REVIEWING OUTGOING NUMBERS
DIAL BACK AN OUTGOING NUMBER
DELETING A CALLER ID NUMBER
MEMORY OPERATIONS
STORING A TELEPHONE NUMBER
STORING INCOMING CALL NUMBER
Dial number Memory location
Caller ID (CID) is a service available from yourlocal telephone company.
For Caller ID to work on thissystem, you mustsubscribe to Caller ID
service. This unit can receive caller ID withoutany setting. Your Caller ID
information may include the phone number,date and time.
CALLER ID FEATURES
REVIEWING INCOMING CALLS
Add number
to the front
The number shown
will be dialed
Select the
caller number
OR OR
CASE 3
OR OR
CASE 1
OR OR
CASE 2
DIAL BACK A CALLER ID NUMBER
Select the
caller number
The number
shown will be dialed
Select the
caller number
Press 0 key 2
seconds PCODE
will be added to the
front of number shown
The number shown will be dialed
Reviewing Incoming Call Log
CASE 1
CASE 2
MUTE
In off-hook state, user can press theMUTE button to accessmute function,
when MUTE is on, the MUTE indicator will show onthe screen.
Press the MUTE button to exit mute function and resume normal
conversation.
P=>T DIAL MODE
In PULSE dialingmode, press[*]button to accessTONE service.
The number shown will be dialed
OR OR
Last number redial
REDIAL
CONTRAST LEVEL ADJUSTMENT
In on-hook state, press the MUTE button to adjust the display contrast
level.
Select the number Memory location
STORING OUTGOING NUMBERS INTO MEMORY
Memory Location
Select the number
TROUBLESHOOTING TIPS
No Dial Tone
Check all cablingto makesure that allconnections are secure and
not damaged
Check hook switch:Does it fullyextend when handsetis lifted from
cradle?
No Display
Replace the batteries.
Check for properbattery installation.
No Information is Shown After the Phone Rings
Are you subscribedto Caller IDservice from your local telephone
company?
Be sure towait until thesecond ring before answering.
Phone Dials inPulse with Tone Service
Make sure T/P DIAL MODEis set toTONE DIAL.
Phone Won't Dial Out with Pulse Service
Make sure T/P DIAL MODEis set toPULSE DIAL.
Memory Location
Select a Memory Location
OR
CASE 2
CASE 1 OR
OR
DIALING A MEMORY LOCATION
Select a Memory
Location
Press and Hold
2 Seconds
DELETING A MEMORY LOCATION
Phone Does NotRing
You may have toomany extension phoneson your line. Try
unplugging some extension phones.
Check for dialtone. Seetroubleshooting tips forno dial tone.
Incoming and Outgoing Voice Volume Low
Are other phones off hook atsame time? Ifso, this is normal condition
as volume drops when additional phonesare used atonce.
Check the handset receiver or speakervolume.
GENERAL PRODUCT CARE
To keepyour phone workingand looking good,follow these guidelines:
Avoid putting it near heating appliances and devicesthat generate
electrical noise (for example. Motorsor fluorescent lamps).
DO NOT expose to directsunlight or moisture.
Avoid dropping and other rough treatment to theunit.
Clean with a soft cloth.
Never use a strong cleaning agentor abrasive powderbecause this
will damage the finish.
Retain the original packaging in case youneed to ship it at alater date.
Used equipment mustbe disposed of incompliance with current
environment protection regulations. You should return it to your
reseller or disposes of it in an approved recycling centre.
1
DESK
