Alfano TYRECONTROL User manual

Manual (EN)
A1950

Specialy designed for karting,
the Tyrecontrol Air innovates by allowing you to
read and record hot and cold pressures with a
direct link to your Alfano 6.
Its innovative valve allows you to reduce but also
increase pressures thanks to its air cartridge.
Doing so, you gain autonomy and control over
your tyres and the ability to analyze their data in
the Alfano 6 App.
Product Reference :
A1950
Degree of precision :
0.01 Bar - 0.15 PSI
Units of measurement :
Bar/PSI
Maximal Pressure :
7 Bar/100 PSI
Backlighting :
LEDs
Power :
2xAA batteries
AIR:
CO² Cartridge
Data transfer :
Viacable

Select a tyre
Short Push
Turn Off
Long push
Turn on (Turns off after
10min of inactivity)
Record pressure for the
selected tyre
Backlighting On/Off
(turns off after
10 sec of inactivity)
Short and long push

Open the valve
(anti-clockwise) allows you
to add pressure.
The valve can be close by
turning it clockwise
Pressure Setup
To reduce pressure,
press on the button
The Tyrecontrol allows, thanks to its innovative valve, to use Air Cartridges
(available in sport shop like Decathlon, cycling shop or website like Ebay or
Amazon
Warning : During cartridge replacement, it's imperative for the
cartridge to be empty and the valve open. All actions outside the
limits of this warning could result in injuries or damage on the
device.
Real time reading of
your pressure

You can connect your Tyrecontrol
Air to your Alfano 6 by using the
(black) connector and the cable
(ref : A2701 - not included)
Once connected, your Tyrecontrol
Air will show the logo
TRANSFER
Once the data transfered to your
Alfano 6, you will find all the
informations in your App by clicking
on the "Session info" icon.
Transfer the pressure
as cold tyre pressure
Transfer the pressure
as hot tyre pressure
Data Transfer
Alfano 6 App, available for free on Android, iOs and PC

5 pages of setup are available on your Tyrecontrol Air :
Page 1 : unit selection Bar/Psi
Page 2 : type of vehicule (auto/moto)
Page 3 : setup for the first tyre selected
Page 4 : Off Set setup
This setting allows you to include an offset of a maximum of 0.2 Bar / 20 PSI.
This type of setting is used in competition to modify on-screen information and
mislead not informed personnel (competitors, technical spy, others...)
page 5 : Firmware version and serial number
The"Setup" menu is accessible by doing a long push on the On/Off button while turning
on your Tyrecontrol Air
Setup
A short push confirm
the setup and switch to
the next page
A short push modify the
setup shown on the
screen

Warning - Informations
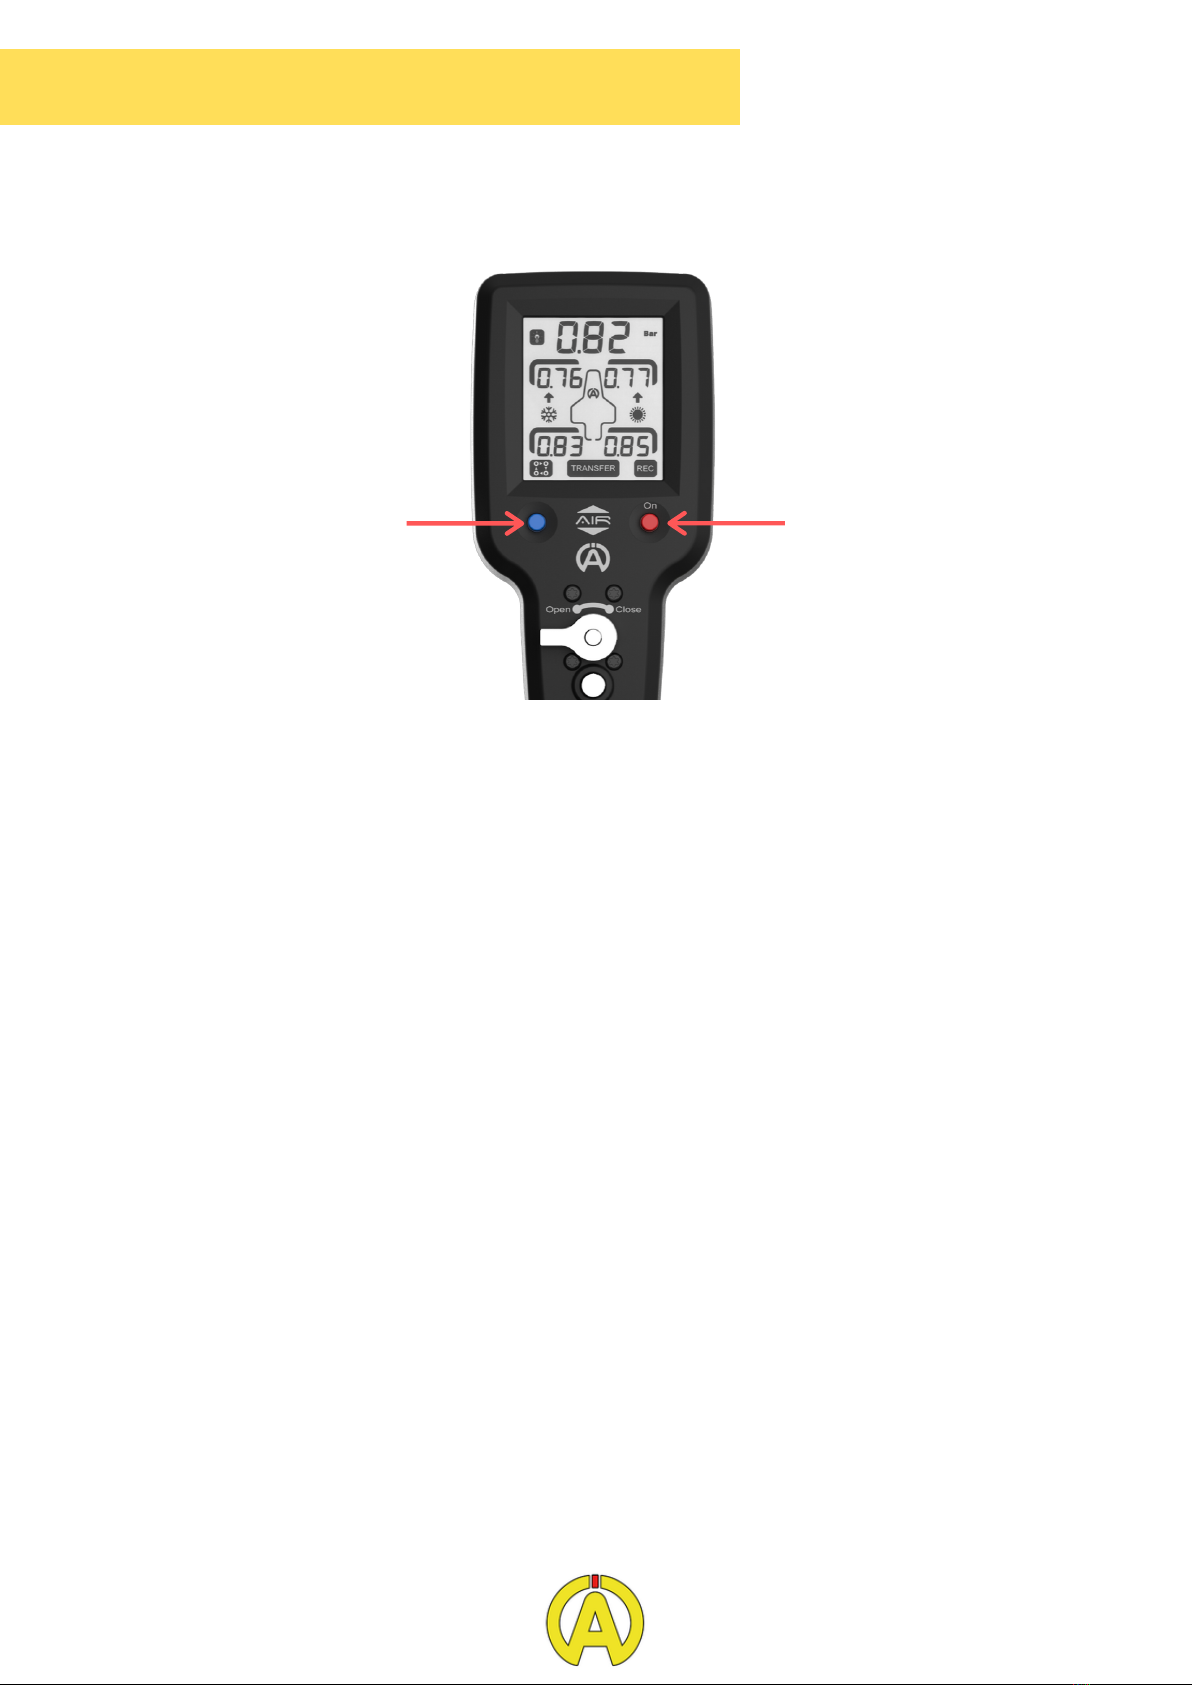
Low Battery
In the case where your the batteries of your Tyrecontrol Air will be low, a BAt icon will
appear right before your Tyrecontrol Air turns off
AA Batteries
The Tyrecontrol Air needs 2 AA batteries. To preserve a maximal autonomy, Alfano S.A.
recommend to use brand batteries.
Moreover, during long period of innactivity (several weeks), Alfano S.A. recommend to
uninstal batteries to avoid any risk of leaks that could result in degradation of internal
component of the Tyrecontrol Air.
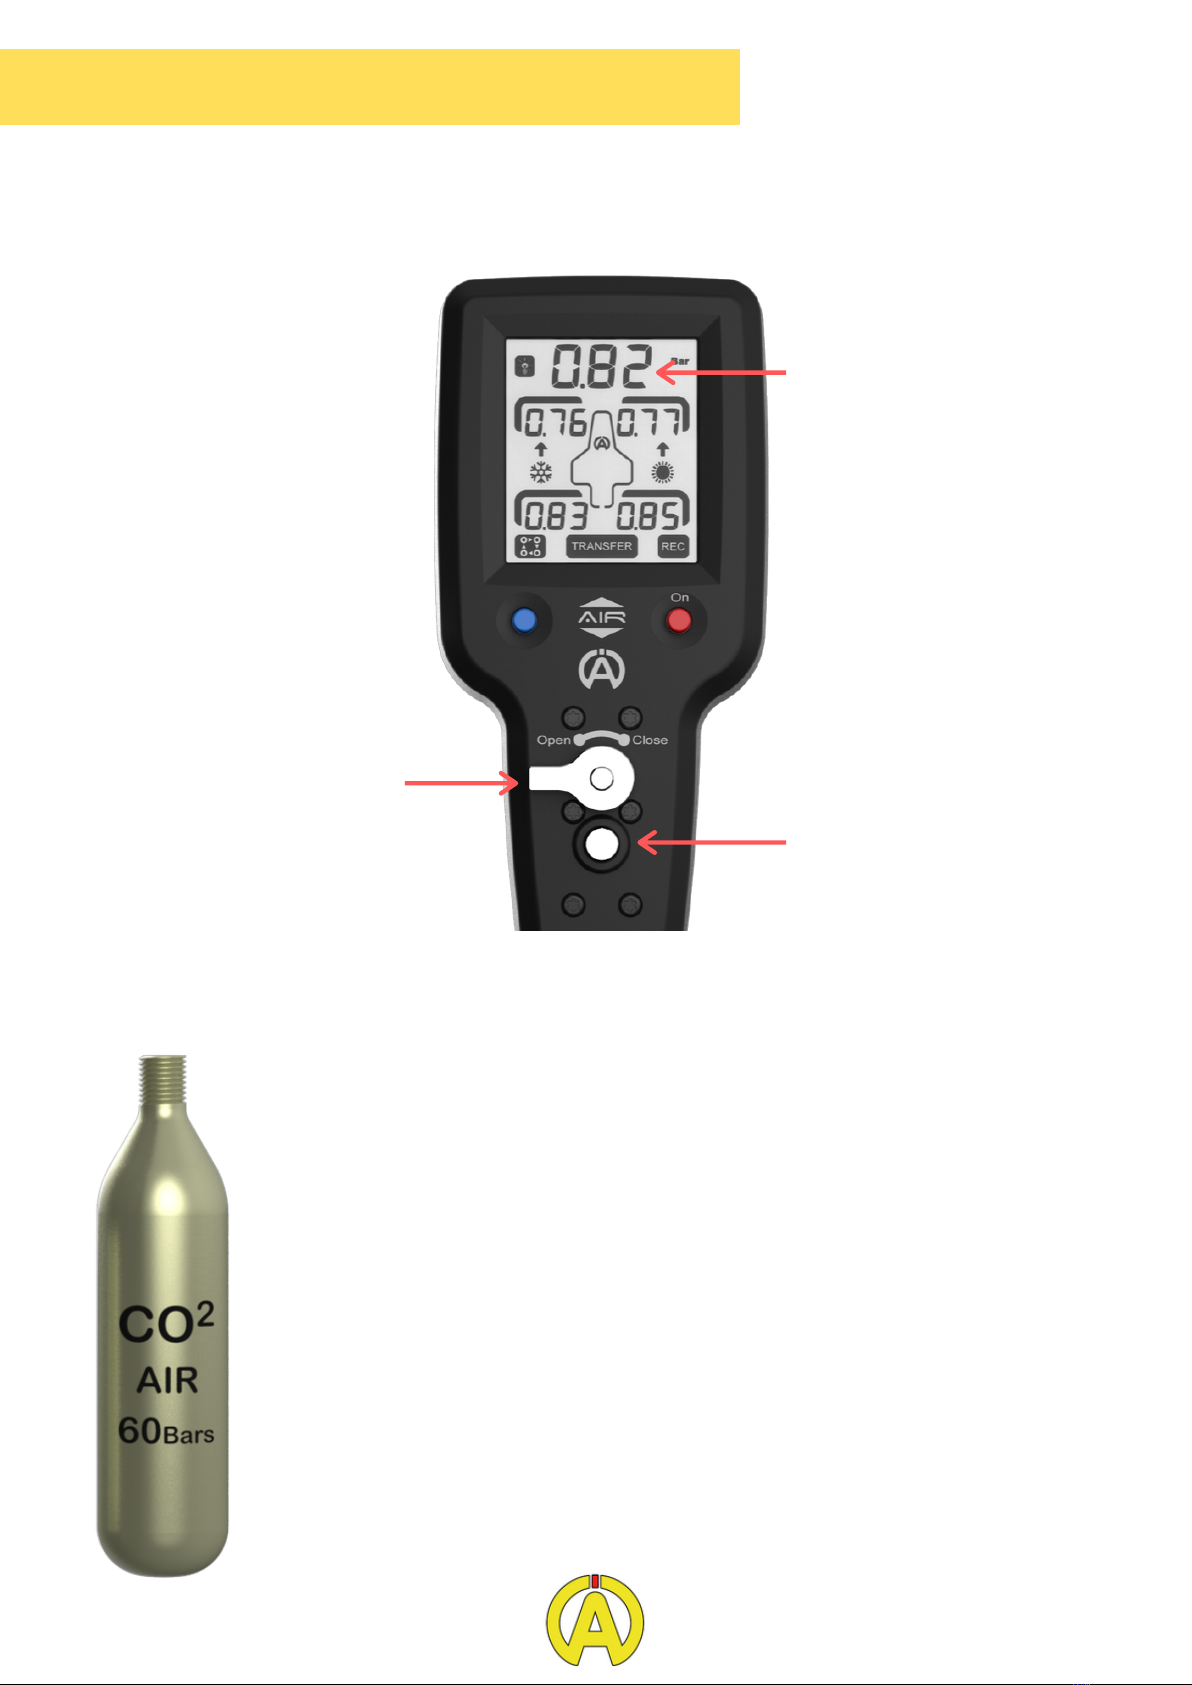
CO² cartridges replacement
During the withdrawal of the used cartridge, it's imperative that the withdrawned
cartridge is empty and the valve openned. All actions done without respecting these
recommendations could deteriorate your device or create risks of injuries.
Before proceeding to the installation of the new cartridge, make sure to close the valve.
Alfano S.A. recommend to add a bit of lubricant (Vaseline) on the thread to preserve the
thread of your Tyrecontrol Air. It's imperative to not put lubricant on the tip of the
cartridge as it can deteriorate the pressure sensor.
CO² cartridges storage
Alfano S.A. recommend to stock CO² cartridge in accordance to distributor
recommandations. A long exposure to sun or shipping by plane is not recommended.
These security rules explain why Alfano S.A. will not provide CO² cartridges for its
customers.

Maintenance and repair
Repair kit
Seals placement
1) O-ring
CO² cartridge
2) O-ringvalve
3) Valve seal
(special part)
Screw and washer to
replace the valve joint
1
2 3

Maintenance and repair
CO² cartridge seal replacement
This seal needs to be replaced if you notice a leak near the
CO² cartridge.
Defective seal removal
Once the cartridge withdrawned in respect of security
recommendation you can either :
- Remove the seal with needle nose pliers
- Pull out the seal by injecting compressed air with a
blow gun
New seal install
Replace the new seal at the bottom of the designed
emplacement for the CO² cartridge
Rotative valve seal replacement
This seal needs to be replace if you notice a leak near the
lever to add pressure
Defective seal removal
Once the cartridge uninstalled in respect of security rules,
you can proceed to dismantle the top part of the lever (in
open position). This operation can be done using a 2 mm Allen key
New seal install
Replace the new seal by introducing in the specially designed groove. Following that step
you will be able to reassemble your Tyrecontrol Air in accordance with the steps
previously explainned.
Once the top part dismantle (lever), you can uninstall the rotating valve by unscrewing it
by hand. This allows you to have a total access to the part to remove the defective seal.
To remove the defective seal, we recommend to withdraw it with needle nose pliers.

Maintenance and repair
Valve seal replacement
This seal needs to be replaced if a leak is noticed at the exit of the air pipe
Defective seal removal
Once the cartridge uninstalled in respect of security rules,
you can proceed to dismantle the top part of the lever (in
open position). This operation can be done using a 2 mm Allen
key. Then, remove the rotation valve in accordance to instructions
explained in the previous chapter.
Once removed, you can proceed to dismantle the batteries cover
and the back cover by unscrewing the screws indicated here
against in yellow
Following that step, unscrew the M3x8 screw on the
side of the metallic part with a 1.5 mm Allen key
(yellow dot on the image on the left)
Next, with the screw and washer provided, do a rotation as shown in the pictures under
to remove the seal

Maintenance and repair
New seal install
To place the new valve seal, place the seal at
the entrance of the opening. The conical side
needs to be orientated toward the interior.
With the help of a 7mm drill mounted upside
down in a drill press (used as a press), press
the new seal in its emplacement with caution
To reassemble, make sure to re-screw the valve
by hand firmly as well as the lever to close the
valve.
Then you can re-screw the M3x8 Allen screw on
the side of the metallic part with a 1.5 mm key.
Warning : the screw need to remain 1mm
out from the metallic surface (can be
measured with slidding calliper)
Once all the internal parts reassembled, you can replace the back cover of the
Tyrecontrol as well as the batteries and batteries cover with the srews previously
unscrewed
Warning
During disasemble or reasemble of parts, make sure to not damage any mechanical or
electronical parts.
For any questions or hesitations, do not hesitate to contact Alfano S.A. :
Rue de l'Industrie, 3B
B-1400 Nivelles (Belgique)
Phone: +32(0)67 410 846
Email : [email protected]
This manual suits for next models
1
Table of contents
Popular Diagnostic Equipment manuals by other brands

Launch
Launch X-431 PRO GT user manual

GE
GE Everest XLG3 VideoProbe operating manual

JS Products
JS Products STEELMAN PRO Wireless ChassisEAR2 60605 instruction manual

DG Technologies
DG Technologies DPA XL quick start guide

TELEMED UAB
TELEMED UAB ClarUs user guide

Quantex
Quantex ScanDoc Compact instruction manual