manuals.online logo
Brands
  1. Home
  2. •
  3. Brands
  4. •
  5. Alfresco
  6. •
  7. Outdoor Furnishing
  8. •
  9. Alfresco Riverina User manual

Alfresco Riverina User manual

Content List
Carcass Boxes
1 x HN660DWF (Fridge Unit Cabinet)
1 x HN12502BQ (BBQ Unit Cabinet)
1 x HN7002D (Sink Unit Cabinet)
Door Boxes
1 x HN660DWF – Kicker
1 x HN12502BQ – Door/Kicker
1 x HN7002D – Door/Kicker
Stone Tops
8 pieces A-H
Appliances & Accessories
1 x EA60WFSX (Beverage Cooler)
1 x HN1200RBQ (6 Burner BBQ Hooded)
1 x ES510UM (Undermount Sink)
1 x PC1001SB (Sink Mixer)
Carcass Assembly
Assemble Fridge Unit Cabinet HN660DWF as per assembly instructions
provided using hardware supplied
Carcass Assembly
Assemble BBQ Unit Carcass HN12502BQ as per assembly instructions provided
using hardware supplied
Carcass Assembly
Assemble Sink Unit Carcass HN7002D as per assembly instructions provided using
hardware supplied
Carcass Installation
Floor Check
Using a spirit level (1200mm min) check the floor where you are planning to
install the carcass units. Mark with a pencil indicating the highest and lowest
sections of the floor
Carcass Installation
Wall layout
Refer to the Riverina kitchen layout (pg. 2) and mark the cabinetry unit widths
and heights making allowance for 20mm thickness of stone.
The finished joinery height recommended is 950mm
Carcass Installation
Placement and Connection of Carcass Units
Starting with HN660DWF place the unit in desired position and level off to the
recommended height as marked on wall layout allowing 120mm void from the back
of the unit to the wall to allow for services void (drill through service point as
required)
Place HN12502BQ unit in desired position and level off to the recommended height
using adjustable legs allowing approx 100mm void from the back of the unit to the
wall for services void. (drill through service point as required) Once in place screw
together both units using 28mm 8g wood screws (x4)
Place HN7002D unit in desired position and level off to the recommended height
using adjustable legs allowing approx 100mm void from the back of the unit to the
wall for services void. (drill through service point as required) Once in place screw
together both units using 28mm 8g wood screws (x4)
Check levels across all 3 connected cabinets and fix down to floor through adjustables
leg base using a 6mm x 40mm concrete plug and 28mm screw
Stone Top Installation
Gluing of Stone Tops
Starting with stone pieces A&B place pieces one by one on HN12502BQ allowing
20mm past the front of the carcass. Using neutral cure clear silicone apply 10mm
diameter dollops and apply pressure to tops
Apply stone piece C to side of HN660DWF sitting on Stone piece A (silicone off)
Apply stone piece D to side of HN7002D sitting on stone piece B (silicone off)
Ensure alignment of stone piece A-D
Apply stone piece E to side of HN660DWF ensuring that top of stone is flush with top
of joinery unit (silicone off)
Apply stone piece F to side of HN7002D ensuring that top of stone is flush with top of
joinery unit (silicone off)
Apply stone piece G to top of HN660DWF ensuring alignment with stone piece E&C
(silicone off)
Apply stone piece H to top of HN7002D ensuring alignment with stone piece D&F
(silicone off)
Door & Kicker Installation
Door Hanging
Starting with door pack HN12502BQ screw hinges on the 2 doors using pre-drilled
holes and M5 screws provided. Attach doors to clip on plates located on the carcass
sides
Repeat the above steps for door pack HN7002D
Kicker Placement
Starting with HN660DWF kicker apply neutral cure silicon to leg bases and blocks and
press in position
Align HN12502BQ kickers and HN7002D kickers and repeat the above steps
Appliance & Accessory Placement
Beverage Cooler
Unpack and slide EA60WFSX (Beverage Cooler) into HN660DWF
(ready for installation by qualified electrician)
BBQ
Unpack and place HN1200RBQ (6 Burner BBQ Hooded) on to HN12502BQ
(ready for installation by qualified gas fitter)
Sink & Tap
Unpack and place ES510UM (Undermount Sink) and PC1001SB (Sink Mixer) into
HN7002D
(ready for installation by qualified plumber)

Other Alfresco Outdoor Furnishing manuals

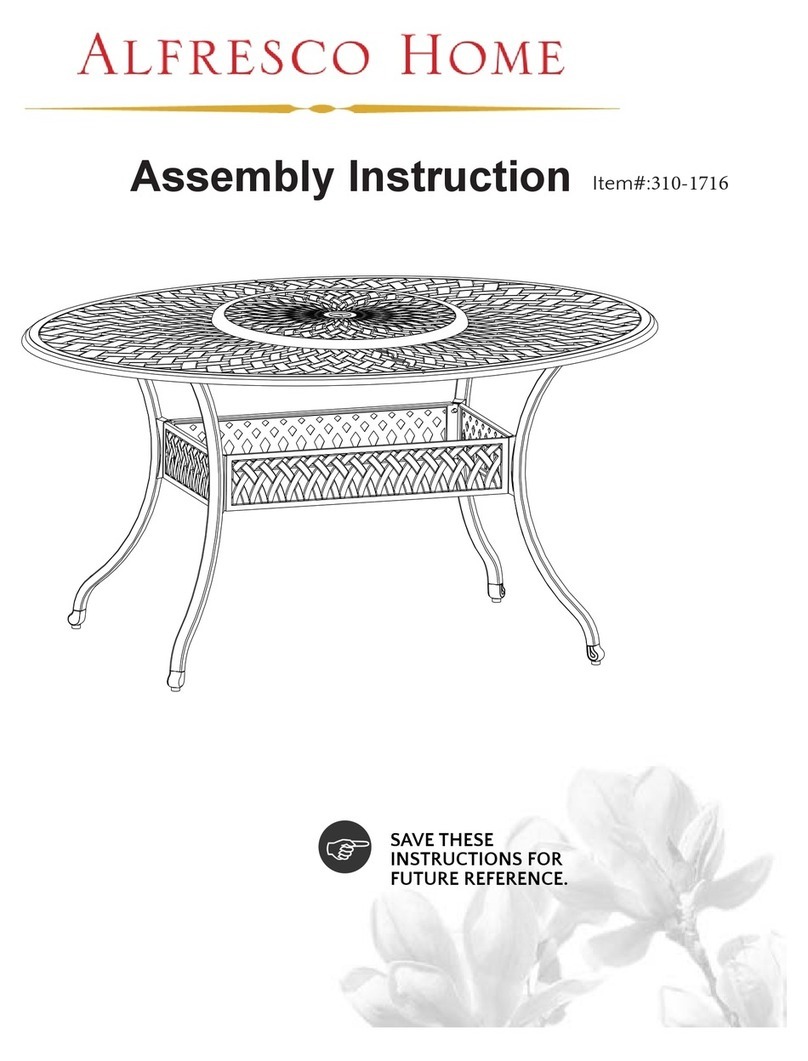
Alfresco 310-1716 User manual

Alfresco

Alfresco 310-1716 User manual

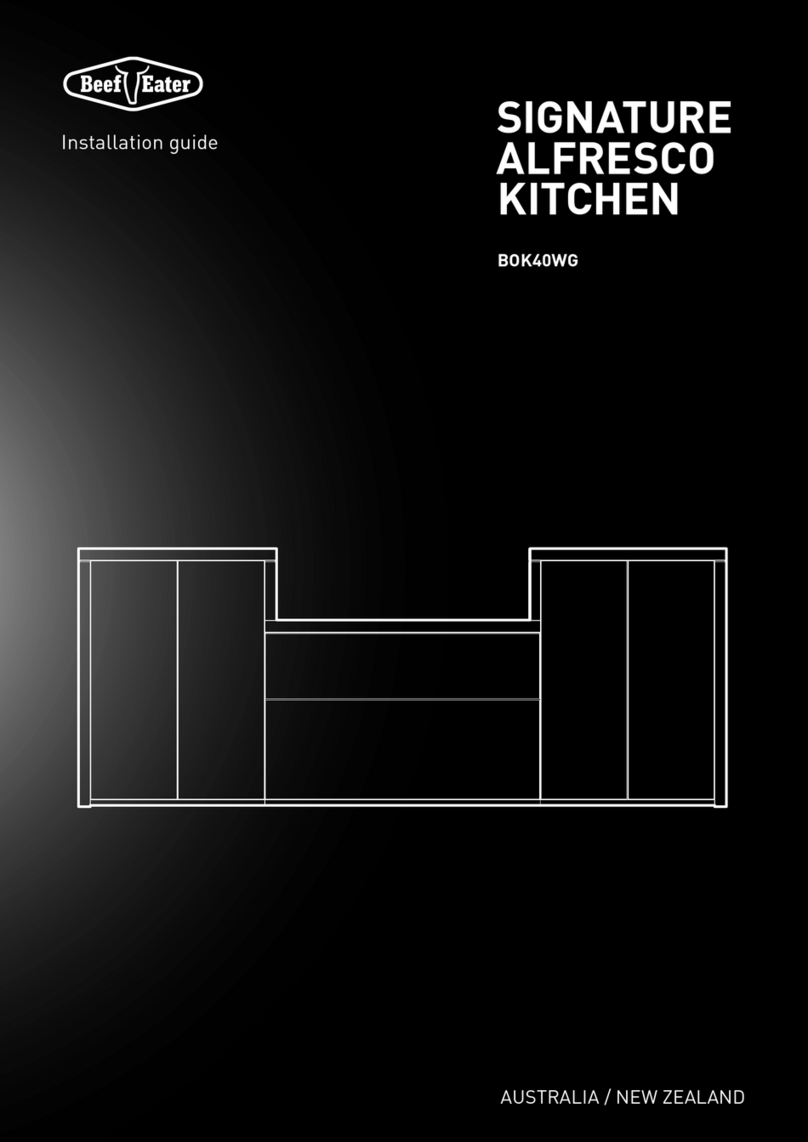
Alfresco BOK40WG User manual

Alfresco

Alfresco BOK40WG User manual

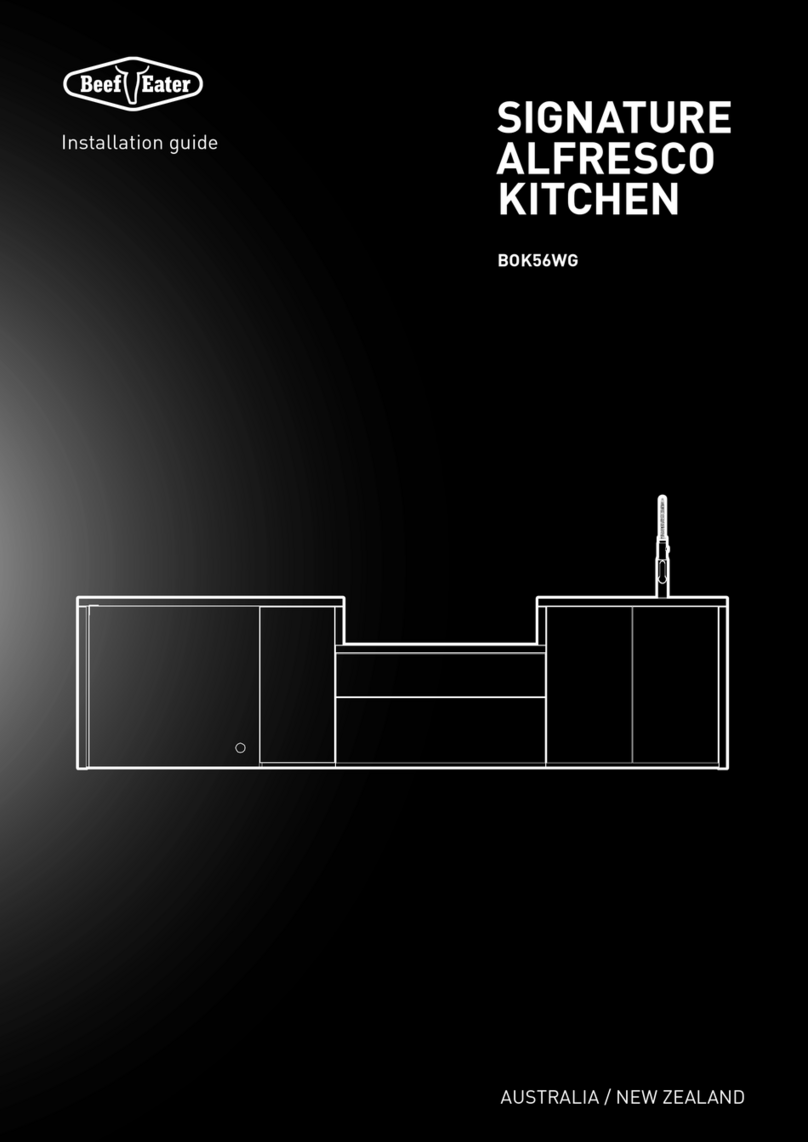
Alfresco BOK56WG User manual

Alfresco

Alfresco BOK56WG User manual

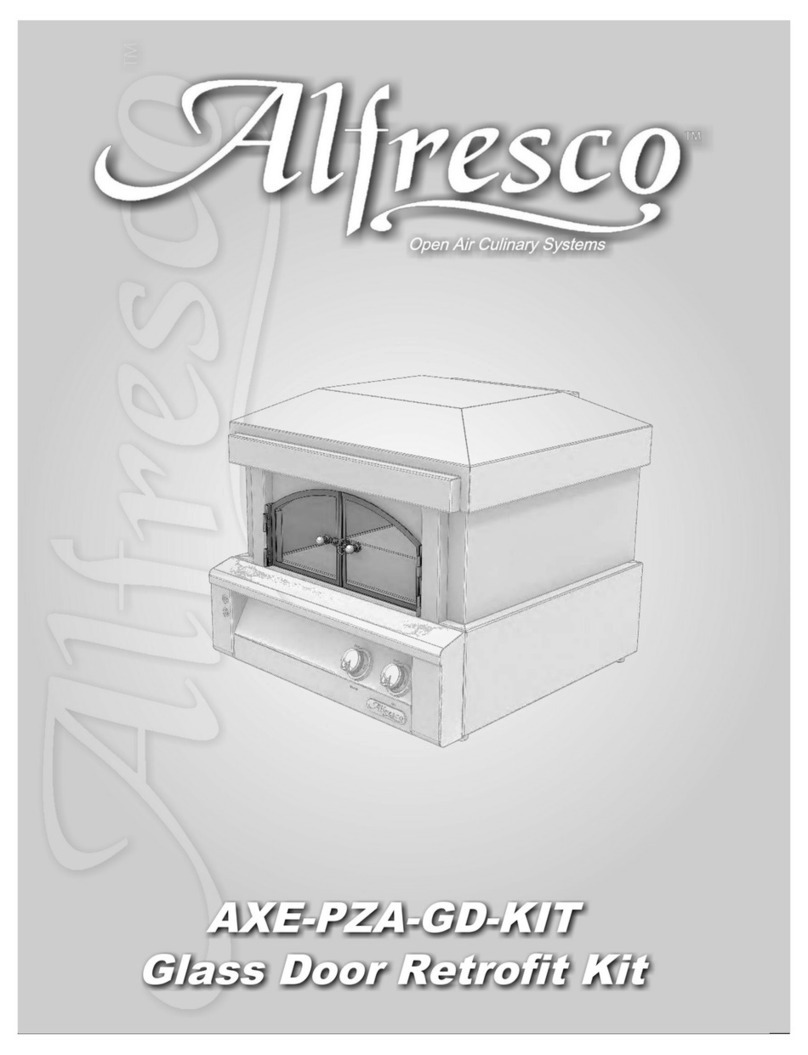
Alfresco AXE-PZA-GD-KIT User manual

Alfresco

Alfresco AXE-PZA-GD-KIT User manual

Popular Outdoor Furnishing manuals by other brands

Rutland County Oakham Picnic Bench Assembly instructions

Rutland County

Rutland County Oakham Picnic Bench Assembly instructions

Corriveau Nancy II Assembly instruction

Corriveau

Corriveau Nancy II Assembly instruction

Breezesta PIEDMONT PT-0603 Assembly

Breezesta

Breezesta PIEDMONT PT-0603 Assembly

GardenWize SWGSL118 Quick start quide

GardenWize

GardenWize SWGSL118 Quick start quide

BCP SKY6573 instruction manual

BCP

BCP SKY6573 instruction manual

siena GARDEN M51800 Assembly instruction

siena GARDEN

siena GARDEN M51800 Assembly instruction

Courtyard Creations KFS1389 Assembly instructions

Courtyard Creations

Courtyard Creations KFS1389 Assembly instructions

Seaside Casual AURA 901R6 Assembly instructions

Seaside Casual

Seaside Casual AURA 901R6 Assembly instructions

Kozyard Outdoor Patio Steel Recliner chair Assembly manual

Kozyard

Kozyard Outdoor Patio Steel Recliner chair Assembly manual

Zaer Luciana ZR109201 Assembly instructions

Zaer

Zaer Luciana ZR109201 Assembly instructions

ALEXANDER ROSE 277 Assembly instructions

ALEXANDER ROSE

ALEXANDER ROSE 277 Assembly instructions

Outsunny 840-209V01 Assembly & instruction manual

Outsunny

Outsunny 840-209V01 Assembly & instruction manual

Costway HW64480 user manual

Costway

Costway HW64480 user manual

Abble 300200 quick start guide

Abble

Abble 300200 quick start guide

Songmics GCB26 quick start guide

Songmics

Songmics GCB26 quick start guide

Hanover Fontana FNTDN7PCRDTN manual

Hanover

Hanover Fontana FNTDN7PCRDTN manual

sunfun PALMA 27006937 manual

sunfun

sunfun PALMA 27006937 manual

Hanover FTA01230Q Assembly instructions

Hanover

Hanover FTA01230Q Assembly instructions

manuals.online logo
manuals.online logoBrands
  • About & Mission
  • Contact us
  • Privacy Policy
  • Terms and Conditions

Copyright 2025 Manuals.Online. All Rights Reserved.