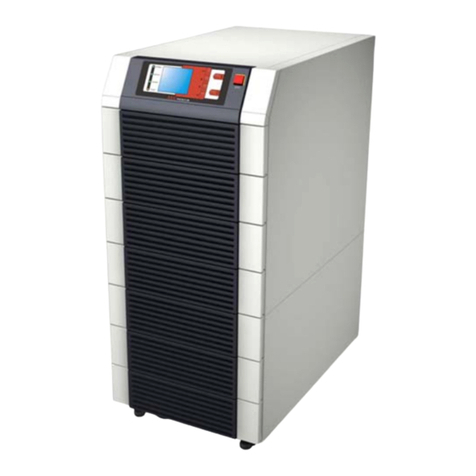
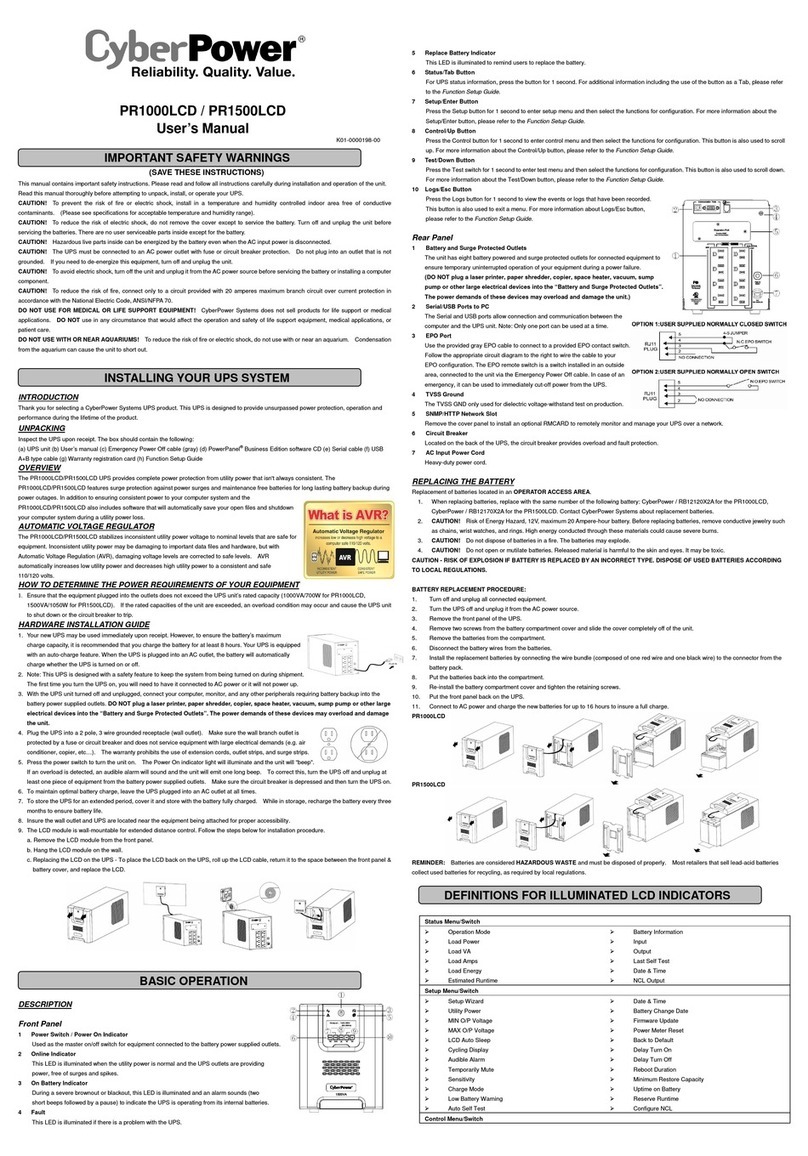
Alpha Outback Energy CableUPS XM3V-HP User manual

Total Power Solutions
Alpha XM3V-HP CableUPS® Quick Start Guide
Verify battery voltage, cable color, connection and polarity are correct before proceeding.
WARNING!
1 Battery Connector
2 Battery Breaker
3 Precision Temperature Sensor
(PTS) Connector
4 LRI Connector
5 Smart Display
6 Battery Sense Connection
7 RF Connector
8 Tamper Switch Connector
9 Output Power Connection Plate (AlphaPOP)
10 APPs Card
11 Smart AlphaGuard Connector
12 AlphaBus Connector
13 Ethernet Web Interface Connection
14 AC Input Power Connector
RST
OUTPUT
Intelligent Inverter Module
ALARM
TEST
BATTERY
TEMP
SMART
ALPHAGUARD
ALARMS
ALPHA APPS
ACTIVE
STRG A
STRG B
STRG C
STRG D
ENV
TPR
Rx/Tx PWR
GRN = OK
BLUE = WARN
RED = OUT
E
T
H
C
O
M
ALM/
RDY
REG
DS
ACT
LNK
A
/
B
C
/
D
i
11
10
5
8
6
3
4
2
12
7
13
1
14
9

R E D (+)
B L A C K (-)
R E D (+)
B L A C K (-)
R E D (+)
B L A C K (-)
R E D (+)
B L A C K (-)

Use battery manufacturer specified bolts for threaded insert terminals. Failure to do so may damage the battery
termina
Torque all nuts and bolts to 12.43N-m or to the battery manufacturer’s specifications.

Fig. 1
Fig. 1 - Output voltage wire and terminal bar.
3. Output Voltage Reconfiguration Procedure
Some systems may require reconfiguring the output voltage setting. If necessary, follow the steps below to complete the
procedure. If the factory default satisfies your system requirements, proceed to Section 3.
The output voltage factory default is 63 Volts.
Tools Required:
Small flat-blade screwdriver.
The DOCSIS specification for downstream power level is 0 dBmV, +/- 15 dBmV. The upstream power level should not
exceed +50 dBmV.

Fig. 2
Fig. 3
*Note: Battery MHOs and Date code can only be set after DOCSIS
transponder has registered with CMTS. Please wait 3 minutes after
power up to enter Battery MHOs measurements.
h i 8
h i
hi
h i
Fig. 2 - Battery Model input
Fig. 3 - Battery DATE Code and MHOs input
hi
h i
(refer to CableUPS Power Supply technical manual for details)
system configuration)

*
*

r
and Outback EnergyGmbH 20and Outback Energy GmbH
Headquarter Germany
Hansastrasse 8
D-91126 Schwabach
Tel: +49 9122 79889 0
Mail: [email protected]
France and Benelux
fbnl@alpha-outback-energy.com
Spain
For more information please visit www.alpha-outback-energy.com
Africa
Eastern Europe
Middle East
8.0 Final Verification
Local Web Server Access
The ethernet port of the Alpha DOCSIS Transponder can be used as a local connection point, allowing the user to
connect to the transponder web page.
To access the web page, proceed as outlined below
1. Using a standard (CAT5) ethernet cable, connect transponder to the laptop or computer network interface port.
2. Launch a web browser.
3. Enter the transponder’s default IP address (192.168.100.1) into the web browser’s address field.
4. The transponder’s web server home page will appear.
1. Open a web browser on a computer connected to the same network as the XM3V.
2. Enter the Alpha DOCSIS Transponder’s designated IP address (e.g., 192.168.1.124) into the web browser
address field.
3. The Alpha DOCSIS Transponder ’s web server home page will appear.
Table of contents
Other Alpha Outback Energy UPS manuals

Alpha Outback Energy
Alpha Outback Energy Continuity 1000 User manual

Alpha Outback Energy
Alpha Outback Energy Alpha FXM 650 User manual

Alpha Outback Energy
Alpha Outback Energy Sentra XL User manual

Alpha Outback Energy
Alpha Outback Energy Continuity 6K User manual

Alpha Outback Energy
Alpha Outback Energy Tri Power X33 HE User manual

Alpha Outback Energy
Alpha Outback Energy Tri Power X33 SE Series User manual

Alpha Outback Energy
Alpha Outback Energy Tetrex 500 User manual

Alpha Outback Energy
Alpha Outback Energy FXM 350 Series User manual