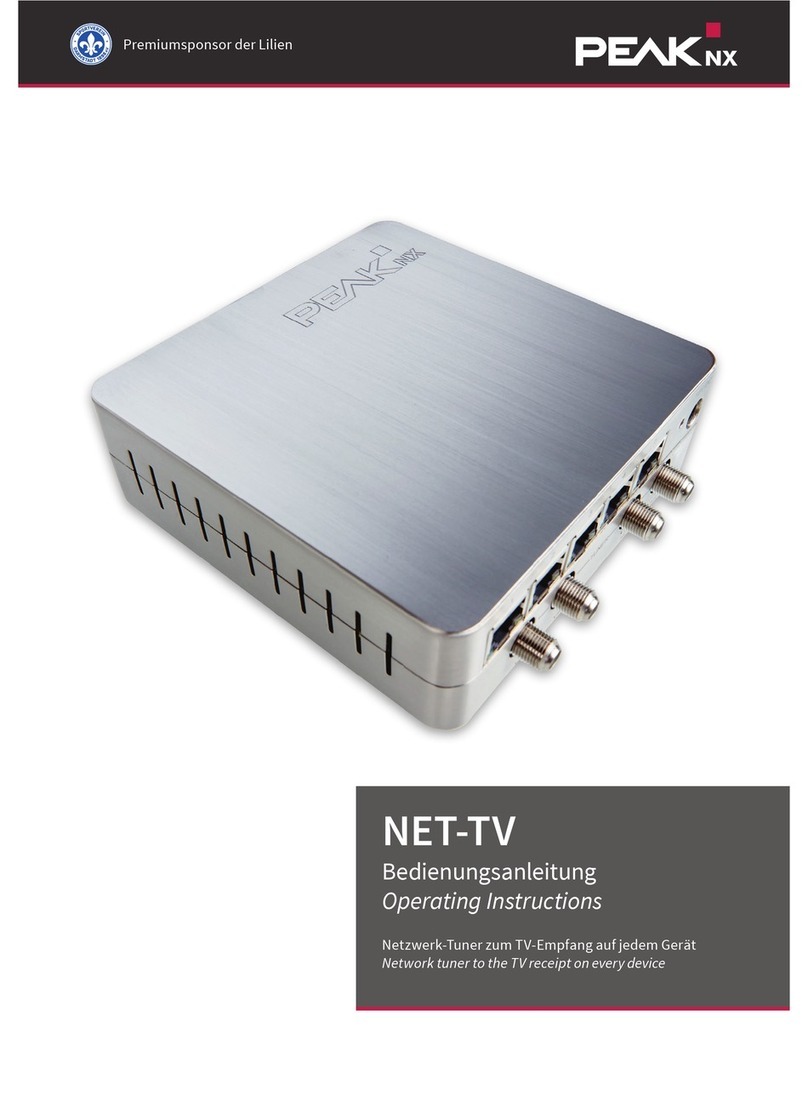
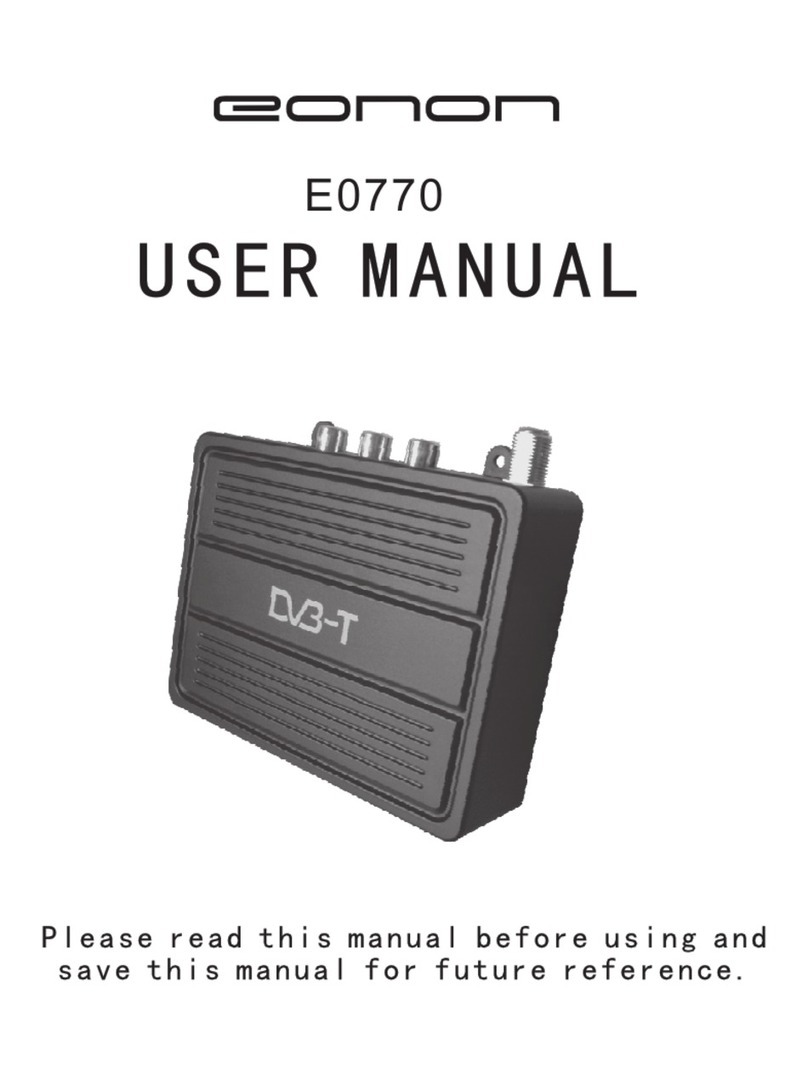
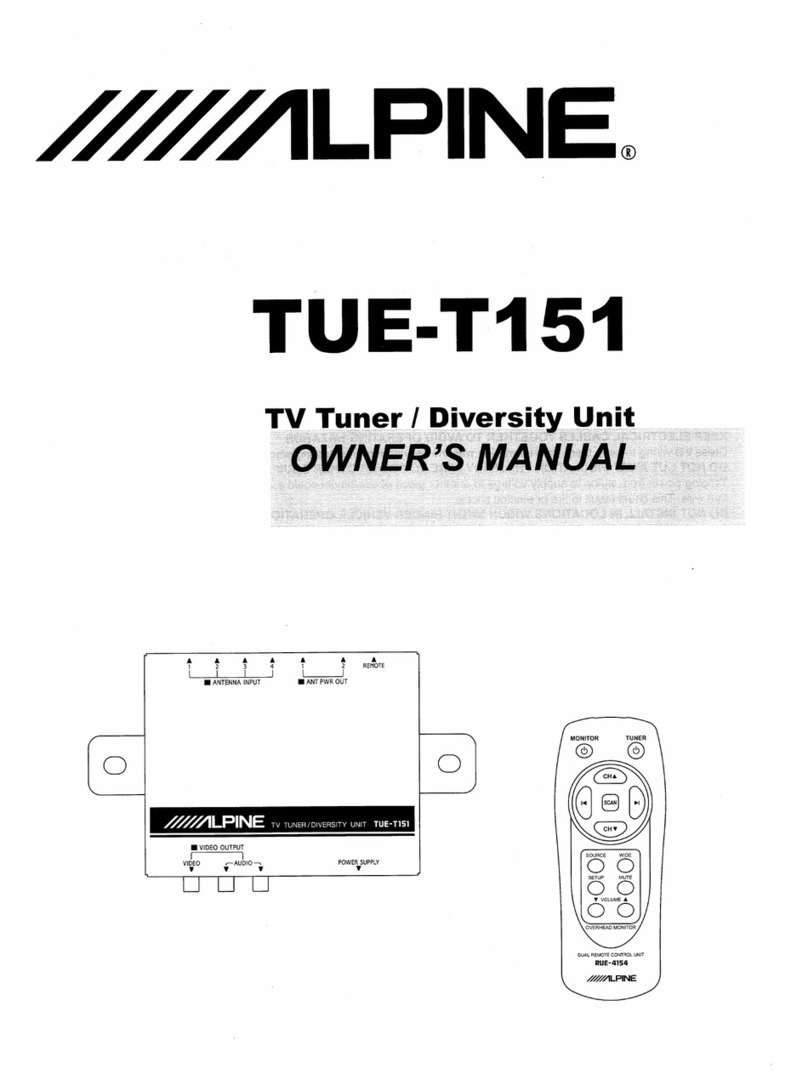
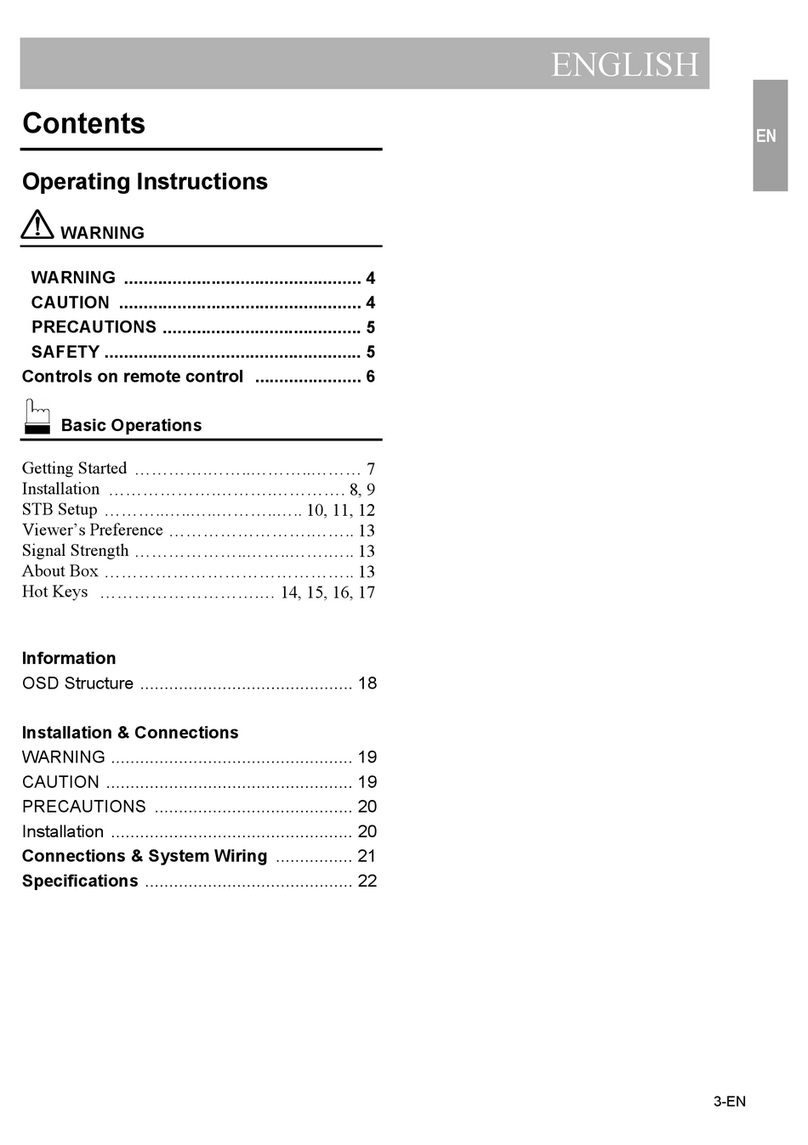
Alpine TUE-T220DV User manual

EN
DE
FR
IT
RU
R
DIGITAL TV TUNER UNIT
TUE-T220DV
• QUICK REFERENCE GUIDE
Please read before using this equipment.
FOR CAR USE ONLY/NUR FÜR AUTOMOBIL GEBRAUCH/POUR APPLICATION AUTOMOBILE UNIQUEMENT/
PER IL SOLO UTILIZZO IN AUTOMOBILE/ТОЛЬКО ДЛЯ ИСПОЛЬЗОВАНИЯ В АВТОМОБИЛЯХ
ALPINE ELECTRONICS MARKETING, INC.
1-7, Yukigaya-Otsukamachi, Ota-ku,
Tokyo 145-0067, JAPAN
Phone: 03-5499-4531
ALPINE ELECTRONICS OF AMERICA, INC.
19145 Gramercy Place
Torrance, California 90501 U.S.A.
Phone: 1(310)326-8000
ALPINE ELECTRONICS OF AUSTRALIA
PTY. LTD.
161-165 Princes Highway, Hallam
Victoria 3803, Australia
Phone: 61 (3)8787-1200
ALPINE ELECTRONICS GmbH
Wilhelm-Wagenfeld-Strasse 1-3,
80807 Munich, Germany
Phone: 49(0)89-324264-0
ALPINE ELECTRONICS OF U.K. LTD.
Alpine House Earlplace Business Park,
Fletchamstead Highway,
Coventry CV4, 9TW, U.K.
Phone: 44-2476-719500
ALPINE ELECTRONICS FRANCE S.A.R.L
184 allée des Erables
CS 52016 – Villepinte
95 945 Roissy CDG cedex, France
Phone: 33 1 48 63 89 89
ALPINE ITALIA S.p.A.
Viale C. Colombo 8,
20090 Trezzano Sul Naviglio (MI), Italy
Phone: 39 (02) 484781
ALPINE ELECTRONICS DE ESPAÑA, S.A.
Portal de Gamarra 36, Pabellón 32
01013 Vitoria (Álava). APDO. 133, Spain
Phone: 34 (945) 283588
ALPINE ELECTRONICS OF ASIA PACIFIC
CO., LTD
555 Rasa Tower 1, Unit 2601-2602, 26th oor
Phaholyothin Road, Chatuchak
Bangkok 10900, ailand
Phone: 662-937-0505


EN
DE
FR
IT
RU
Contents
Points to Observe for Safe Usage ....................................................................4
Antenna Installation.............................................................................................6
Important Notes on Antenna Installation ....................................................6
Antenna Position...................................................................................................7
Antenna Cable Routing.......................................................................................8
Remote Control Operation ................................................................................9
Getting Started.....................................................................................................10
Location of Connectors.....................................................................................10
Turning Power On or O...................................................................................11
Initial System Start-Up.......................................................................................11
Operation ...............................................................................................................12
Select a Channel from the Channel List......................................................12
Channel Information (CH Info.) ......................................................................13
Channel Scan ........................................................................................................14
Channel Sorting (CH sorting)..........................................................................14
Skipping a Channel.............................................................................................14
Move Channels.....................................................................................................14
Channel Delete.....................................................................................................15
Audio .......................................................................................................................15
Service Type...........................................................................................................15
Display.....................................................................................................................15
System Settings....................................................................................................16
Subtitle....................................................................................................................16
Teletext....................................................................................................................16
Antenna power ....................................................................................................16
AFS Setting ............................................................................................................17
HDMI Setting.........................................................................................................18
Version / Upgrade ...............................................................................................18
Reset Default.........................................................................................................18
Setting up your Alpine Unit.............................................................................19
Enabling Direct Touch Operation ..................................................................19
Connections ..........................................................................................................20
Specications........................................................................................................21

4-EN
Operating Instructions
WARNING
Points to Observe for Safe Usage
• Read this manual carefully before using
the product. It contains instructions
on how to use this product in a safe
and eective manner. Alpine cannot be
responsible for problems resulting from
failure to observe the instructions in this
manual.
• is manual uses various pictorial dis-
plays to show you how to use this product
safely and to alert you to potential
dangers resulting from improper connec-
tions and operation. Following are the
meanings of these pictorial displays. It is
important to fully understand the mean-
ings of these pictorial displays in order to
use this manual and the system properly.
WARNING
• Operation of the system while driving
is dangerous. Users should stop the
vehicle before operating the product.
WARNING
• This symbol means important
instructions. Failure to heed them
can result in serious injury or
death.
INSTALL THE PRODUCT CORRECTLY SO THAT THE DRIVER
CANNOT WATCH TV/VIDEO UNLESS THE VEHICLE IS
STOPPED AND THE PARKING BRAKE IS APPLIED.
It is dangerous for the driver to watch TV/
Video while driving a vehicle. Installing
this product incorrectly enables the driver
to watch TV/Video while driving. is
may cause a distraction, preventing the
driver from looking ahead, thus causing
an accident. e driver or other people
could be severely injured.
DO NOT WATCH VIDEO WHILE DRIVING.
Watching the video may distract the
driver from looking ahead of the vehicle
and cause an accident.
DO NOT OPERATE ANY FUNCTION THAT TAKES YOUR
ATTENTION AWAY FROM SAFELY DRIVING YOUR VEHICLE.
Any function that requires your prolonged
attention should only be performed
aer coming to a complete stop. Always
stop the vehicle in a safe location before
performing these functions. Failure to do
so may result in an accident.
MINIMIZE DISPLAY VIEWING WHILE DRIVING.
Viewing the display may distract the
driver from looking ahead of the vehicle
and cause an accident.
DO NOT DISASSEMBLE OR ALTER.
Doing so may result in an accident, re or
electric shock.
USE ONLY IN CARS WITH A 12 VOLT NEGATIVE GROUND.
(Check with your dealer if you are not
sure.) Failure to do so may result in re,
etc.
MAKE THE CORRECT CONNECTIONS.
Failure to make the proper connections
may result in re or product damage.
BEFORE WIRING, DISCONNECT THE CABLE FROM THE
NEGATIVE BATTERY TERMINAL.
Failure to do so may result in electric
shock or injury due to electrical shorts.
5-EN
EN
DE
FR
IT
RU
DO NOT MIX NEW BATTERIES WITH OLD BATTERIES.
INSERT WITH THE CORRECT BATTERY POLARITY.
When inserting the batteries, be sure to ob-
serve proper polarity (+ and –) as instructed.
CAUTION
• This symbol means important instructions.
Failure to heed them can result in injury or
material property damage.
HALT USE IMMEDIATELY IF A PROBLEM APPEARS.
Failure to do so may cause personal
injury or damage to the product. Return
it to your authorized Alpine dealer or
the nearest Alpine Service Center for
repairing.
HAVE THE WIRING AND INSTALLATION DONE BY
EXPERTS.
e wiring and installation of this unit
requires special technical skill and
experience. To ensure safety, always
contact the dealer where you purchased
this product to have the work done.
ARRANGE THE WIRING SO IT IS NOT CRIMPED OR
PINCHED BY A SHARP METAL EDGE.
Route the cables and wiring away from
moving parts (like the seat rails) or
sharp or pointed edges. is will prevent
crimping and damage to the wiring. If
wiring passes through a hole in metal, use
a rubber grommet to prevent the wire’s
insulation from being cut by the metal
edge of the hole.
DO NOT INSTALL IN LOCATIONS WITH HIGH MOISTURE
OR DUST.
Avoid installing the unit in locations
with high incidence of moisture or dust.
Moisture or dust that penetrates into this
unit may result in product failure.
KEEP SMALL OBJECTS SUCH AS SCREWS OUT OF THE
REACH OF CHILDREN.
Swallowing them may result in serious
injury. If swallowed, consult a physician
immediately.
NOTICE
Temperature
Be sure the temperature inside the vehicle
is between +45°C (+113°F) and 0°C
(+32°F) before turning your unit on.
Maintenance
If you have problems, do not attempt to
repair the unit yourself.
Return it to your Alpine dealer or
the nearest Alpine Service Station for
servicing.
Fuse Replacement
When replacing the fuse(s), the
replacement must be of the same
amperage as shown on the fuse holder.
If the fuse(s) blows more than once,
carefully check all electrical connections
for shorted circuitry. Also have your
vehicle’s voltage regulator checked.
Installation Location
Make sure the TUE-T220DV will not be
exposed to:
• Direct sun and heat
• High humidity
• Excessive dust
• Excessive vibrations

6-EN
Antenna Installation
In-car digital TV reception situation will vary from vehicle to vehicle
and the installer may need to try anetnna mounting positions to
determine the best position for most stable signal reception in vehicles.
Important Notes on Antenna Installation
For a better reception, please place the rod antenna horizontally, and
keep the rod antenna away from metals.

7-EN
EN
DE
FR
IT
RU
Antenna Position
To optimize the TV reception performance, we recommend that one
antenna is mounted at the front and one at the rear of the vehicle. Please
refer to the diagram below for some recommended locations.
① ② ③ ④ ⑤
①Behind the Front Bumper. Note: Please make sure the bumper is not
made of metal
②Top of the Front Windscreen, but at least 5cm away from the metal
body of the car
③Top of the Rear Windscreen, but at least 5cm away from the metal
body of the car
④ Bottom of the Rear Windscreen, at least 5cm away from the metal
body of the car
⑤Behind the Rear Bumper (note: make sure rear bumper is not made
of metal).
Note:
For position ②- ④, because the windshields of many cars are usually equipped
with lm coating (that contains metal), the actual signal reception may be
degraded, depending on the degree of shielding provided by the coating.

8-EN
Antenna Cable Routing
Once a suitable position is found, carefully route the antenna cables
to the receiver unit and then connect to the Antenna Inputs on the
TUE-T220DV.

9-EN
EN
DE
FR
IT
RU
Remote Control
Remote Control Operation
1. EPG button
Press the button to enter the Electronic
Program Guide
2. TXT button
Press the button to enter the Teletext
menu.
3. CH+ / CH- buttons
Press these buttons to select the next/
prev. preset service.
4. FAV+ / FAV- button
Press these buttons to select the next/
prev. preset service.
5. pqut buttons
Press the up/down buttons to navigate
the OSD or to load the next/previous
Teletext page.
Press the left/right buttons to navigate
the OSD or to skip the next/previous 100
Teletext pages.
6. Back button
Press the button return to the previously
selected service.
7. Teletext menu buttons
Navigate the Teletext shortcut menu by
pressing these buttons.
In TV mode the yellow/blue button can
be pressed to select the next/previous
favourite service.
8. Number buttons
Preset services and Teletext pages can be
directly accessed by using the number
buttons.
9. Scan button
Press the button to start the auto scan
procedure.
10. Power button
Press the button to turn the DVB-T tuner
unit on/o.
11. INFO buttons
Press the info button to show reception
details.of the currently selected service.
12. Exit button
Press the button to return from a menu.
13. TV/R button
Toggle TV and Radio Services (if avail-
able)
14. VOL+ / VOL- buttons
Press these buttons to adjust the volume
ouput level.
15. Mute button
Press the button to switch on/o the
audio output.
16. AUX button
17. OK button
Press the button to select a highlighted
menu item or to confirm a number input.
18. Menu button
Press the button to enter the main menu.
19. Audio button
Press the button to enter the audio setup
menu.
20. LIST buttons
Press the list button to show a list of all
available services.

10-EN
Getting Started
Location of Connectors
Front
①ANTENNA INPUT: Antenna connection port (NOTE: this Antenna Input
port also provides +5VDC output for powering the antenna LNA).
②HDMI OUT: HDMI signal output.
③SPDIF OUT: SPDIF sound output.
④ REMOTE EYE INPUT: IR Remote input for optional remote eye KRE-500E.
⑤POWER / AV: Combination of power input, ACC input, Remote input,
CVBS, Video/Audio GND.
Rear
⑥ Service: For connection with USB stick or external hard disk to upgrade the
system software.
⑦ OP: The green “Operating”LED indicates if the system is working or not.
⑧ PWR: The red “Power” LED indicates if the 12VDC power supply has been
successfully applied to the device.
① ② ④ ③ ⑤
⑥ ⑧ ⑦

11-EN
EN
DE
FR
IT
RU
Turning Power On or O
Turn the ignition key to the ACC or ON position.
When the unit is powered, the POWER LED indicator will be
illuminated in red. Once the system initiatization is completed, the
Operating LED on the unit will be illuminated as green.
Initial System Start-Up
1 Complete the Setup Wizard by selecting your own OSD language, region
of operation, and others.
1. Use [p]/[q] buttons to
navigate to the items.
2. Use [OK] button to enter the
options available of selected
item.
3. Press [p]/[q] buttons to scroll
up and down the options.
4. Pressing the [OK] button to
select & enable the desired
choice.
5. Press [MENU] button to exit from current operation.
NOTE: Time zone setting will be automatically updated once the region
setting is changed.
2 Execute auto search of available DVB-T and DVB-T2 TV channels.
1. Use [p]/[q] buttons to
Highlight the ‘START’ option.
2. Press [OK] button to start auto
TV search operation. e auto
scan process will take a few
minutes.

12-EN
Operation
Select a Channel from the Channel List
Press [MENU] to access all TV functions available, including channel
list, audio settings, channel info, TV scan, service type, display setting
and the TV setting.
e channel list function will list all
available channel information for
TV selection, program preview, and
to access the Electronic Program
Guide (EPG).
1 Select ‘CH List’ in the TV menu and
press the [OK] button. The ‘CH List’
will appear on the screen. Scroll
up/down the CH list to select the
desired TV program.
NOTE: Pressing the [List] hot key on
remote controller will allow quick
access to the Channel List while
watching TV.
2 Press the [u] key to view the EPG
info of the selected TV programs as
shown in the illustration.

13-EN
EN
DE
FR
IT
RU
3 Use [p]/[q] to select a TV program
and press [OK] to view the program
information.
4 Press the [EXIT] button to return to
the ‘Schedule’ view. Press one more
time to return to the ‘Channel List ‘.
Channel Information (CH Info.)
Shows detailed parameters and signal information of the currently
received channel.
1 Highlight the ‘Channel Information’
option and press the [OK] button to
display the channel information.
2 Press the [EXIT]/[MENU] button to
exit.

14-EN
Channel Scan
1 Highlight the ‘Automatic Search’
option to scan the available
channels automatically.
2 Press the [OK] button to restart the
channel search again. The previous
TV channels will be deleted
automatically if this function is
executed.
Channel Sorting (CH sorting)
1 Select ‘Channel sorting’ in the TV settings and press the [OK] button. The
channel manager screen will appear as shown in the illustration.
2 Scroll up/down the channel list.
Press the [OK] button to enter
the editing menu for the chosen
channel. Options are: skip, move
and delete functions.
3 Press [EXIT]/[MENU] button to exit
anytime.
Skipping a Channel
1 After entering the channel editing menu, select the ‘SKIP’ button on the
screen by pressing the [u]/[t] buttons.
2 Press the [OK] button to activate or deactivate it.
NOTE: this function temporarily removes the channel from the program list.
e user can restore the channels by deactivating the function.
Move Channels
1 After entering the channel editing menu, select the ‘MOVE’ button on
screen by pressing the [u]/[t] buttons.
2 Use the [p]/[q] buttons to move the channel up or down in the list.
3 Press the [OK] button to save the new listing.

15-EN
EN
DE
FR
IT
RU
Channel Delete
4 After entering the channel editing menu, select the ‘DELETE’ button on
the screen by pressing the [u]/[t] buttons.
5 Press the [OK] button to delete the channel.
NOTE: this function will permanently delete the channel from the current
program list. Users will only restore the previous channels back by performing
the auto search again.
Audio
1 Highlight the ‘Audio’option on
the TV menu screen and press the
[OK] button to enter the ‘Audio’ .
2 Select the stereo/left/right audio
channel and scroll the available
languages. Press the [OK] button
to select the language of the
current service.
3 Press the [EXIT]/[MENU] key to exit.
Service Type
To toggle between TV and Radio service (where available).
Display
1 To adjust the image to your
preferences, highlight the item you
want to change.
2 Press the [OK] button to activate
your settings.
3 After adjusting, press the [EXIT]/
[MENU] button to exit the
‘Display’ menu.

16-EN
System Settings
In the System Settings, the users can
adjust the channel sorting, subtitle
setting, teletext, antenna power, AFS
setting, country/language settings,
HDMI settings, reset to factory
default, and procced to a soware
upgrade.
Use the [p] and the [q] buttons to
highlight the desired item and press
the [OK] button to select one item.
Subtitle
1 Highlight the ‘Subtitle’ option and
press the [OK] button to enter the
‘Subtitle’ menu.
2 Scroll the available languages and
press the [OK] button to activate
the subtitle.
3 Press the [EXIT]/[MENU] key to exit.
Teletext
1 Highlight the ‘Teletext’ option and press the [OK] button to enter ‘Teletext’.
2 Press the [p] button to view the next page or the [q] to view the previous
teletext page.
3 Press the numerical key buttons to jump to a specic teletext page.
4 Press the [EXIT]/[MENU] key to exit.
Antenna power
To set up the antenna power
1 Highlight the ‘Ant.Power’ option on the Setting screen and press the [OK]
button to enter the ‘Antenna Power’ menu.
2 Press the [OK] button to select the power.
Note: if the power is set to ‘on’, it means that the antenna will be supplied with
+5VDC to drive the antenna’s amplier. For the supplied antennas, we suggest to
keep this antenna power on.
3 Press the [MENU]/[EXIT] button to exit.

17-EN
EN
DE
FR
IT
RU
AFS Setting
As a TV program may be broadcasted using dierent frequencies at
dierent places (within its service area), users who intend to continuosly
watch a TV program may need to tune to a dierent frequency when
moving out of the existing cell.Traditionally, this tuning was carried out
by users manually. AFS (Automatic Frequency Switching) is a function
intended to provide users an uninterrupted viewing of certain TV channels
by automatically switching the TV frequency when needed.
1 Highlight the ‘AFS Setting’ option
on the Setting screen and press the
[OK] button to enter ‘AFS Setting’
menu.
2 When selecting ‘O n ’, another screen
will open, allowing to select the
‘AFS Idle Time’. This setting can
be changed between 30 sec to 10
minutes. This suppresses unwanted
ping-pong eects when driving
along in mountain regions with
many tunnels.
3 Press the [MENU]/[EXIT] button to
exit
Country/Language
1 Highlight the item you want to
adjust.
2 Select one option by pressing the
the [OK] button or exit the setting
by pressing the [EXIT]/[MENU]
button.
3 After adjusting, press the [EXIT]/
[MENU] button to exit the‘Country/
Language’ menu.

18-EN
HDMI Setting
1 Highlight the option that you want to
adjust.
2 Select one by pressing the [OK]
button or exit the setting by
pressing the [EXIT]/[MENU] button.
3 After adjusting, press the [EXIT]/
[MENU] button to exit the‘HDMI
Setting’ menu.
Version / Upgrade
To upgrade the soware version
1 Insert the USB device containing
the software upgrade le into the
USB slot.
2 After entering the Version/Upgrade
menu, press the [OK] button to start
the upgrade.
Reset Default
To reset all settings to factory
default
1 Highlight the ‘Reset Default’ option
and press the [OK] button to reset
system settings to factory default.
2 Press the [EXIT] button or select
[NO] to exit.

19-EN
EN
DE
FR
IT
RU
Setting up your Alpine Unit
Enabling Direct Touch Operation
In order to enjoy Direct Touch control, the connected AV/ AVN unit
needs to support this feature. Usually ‘Direct Touch’ needs to be enabled
in the unit’s setting menu.
1 Go to ‘Settings’, ‘ Audio’, ‘ AUX’ and
enable the AUX input.
2 When the AUX input is enabled,
the option ‘AUX Name’ becomes
available. Select ‘DVB-T’ from the
menu.
3 When ‘DVB-T’ was selected, the
‘Direct Touch’ setting becomes
available. Make sure to set
‘DirectTouch’ to ‘On’.
Note: Direct Touch is currently not available for HDMI connections. Consult
the owner’s manual of your Alpine Unit for details regarding the connection.

20-EN
Connections
BATTACC
REMOTE
AV OUT
To “BATT” Power Harness AVN Unit
To “ACC” Power Harness AVN Unit
To Vehicle Ground
To “REMOTE OUT” AVN Unit
To “AV INPUT” AVN Unit
To “SPDIF IN”
optional Processor
To “HDMI IN”
optional Monitor
ANTENNA INPUT
HDMI OUT
SPDIF OUT
REMOTE EYE INPUT
POWER / AV
OP / PWR
SERVICE
1
2
Antenna
Fuse
Table of contents
Other Alpine TV Tuner manuals

Alpine
Alpine TUE-T152 User manual

Alpine
Alpine N852A - NVE - Navigation System User manual

Alpine
Alpine TUE-T151 User manual

Alpine
Alpine TUE-T252TX User manual

Alpine
Alpine TUE-T151 User manual

Alpine
Alpine TUE-T252TX User manual

Alpine
Alpine TUE-T150DV User manual

Alpine
Alpine TUE-T012 User manual

Alpine
Alpine TUE-T112P User manual

Alpine
Alpine TCS-V430A User manual