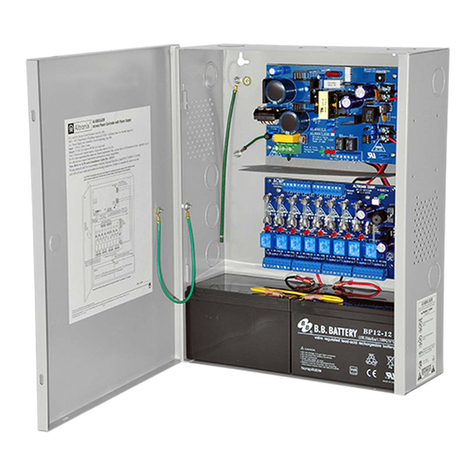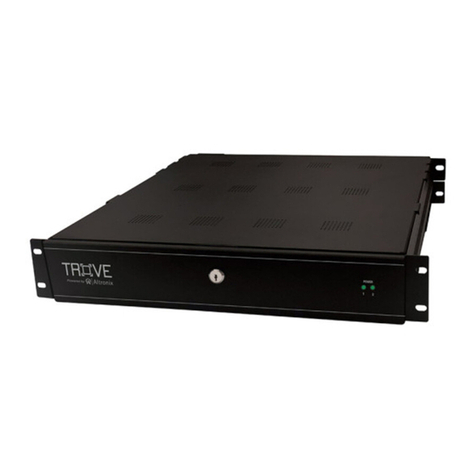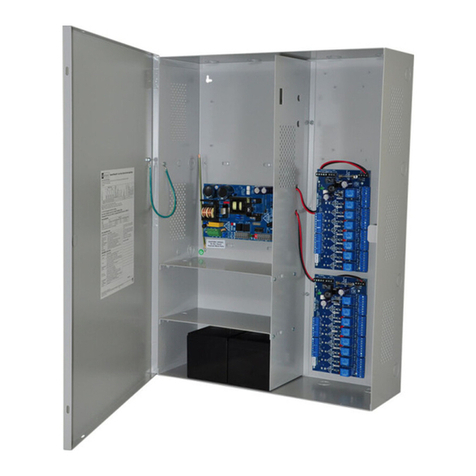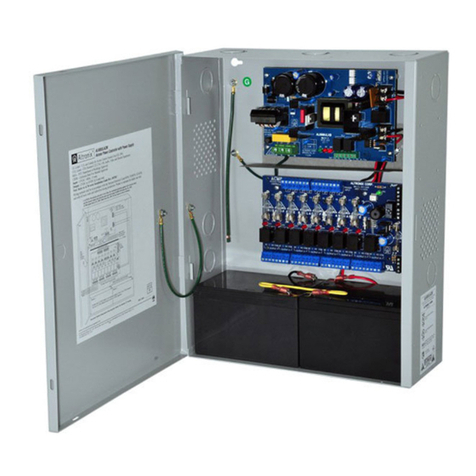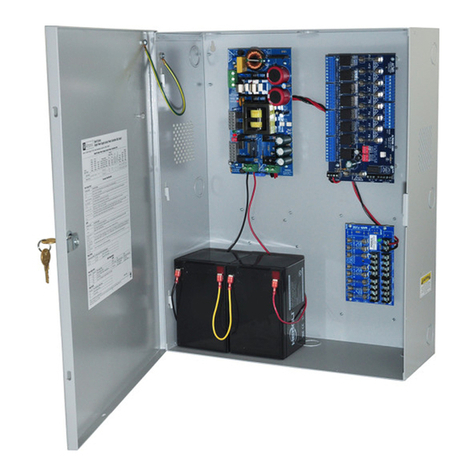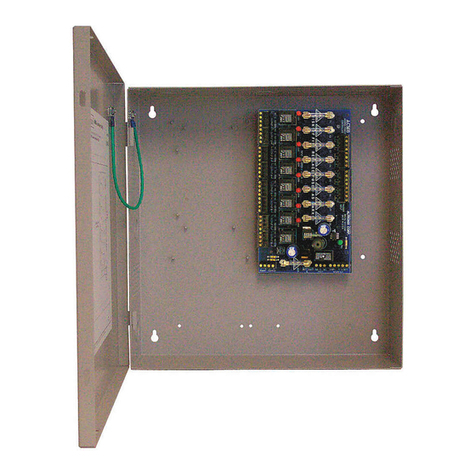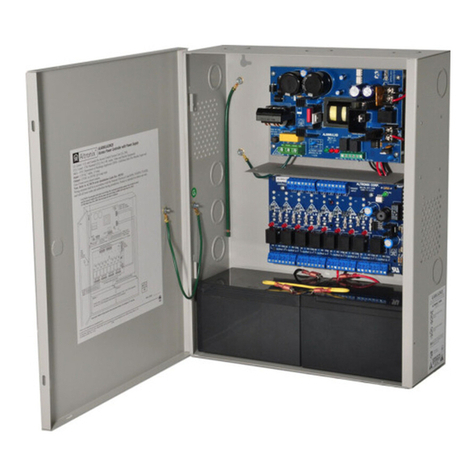
- 3 - Trove / Lenel
Installation Instructions for Trove1, Trove2, Trove3:
Wiring methods shall be in accordance with the National Electrical Code/NFPA 70/ANSI, and with all local codes and authorities having jurisdiction.
Product is intended for indoor use only.
1. Remove backplane from enclosure. Do not discard hardware.
2. Mark and predrill holes in the wall to line up with the top three keyholes in the enclosure.
Install two/three upper fasteners and screws in the wall with the screw heads protruding.
Place the enclosure’s upper keyholes over the two/three upper screws, level and secure.
Mark the position of the lower two/three holes. Remove the enclosure. Drill the lower holes
and install the two/three fasteners. Place the enclosure’s upper keyholes over the two/three
upper screws. Install the two/three lower screws and make sure to tighten all screws.
3. Mount included UL Listed tamper switch(es) (Altronix Model T112 or equivalent) in desired
location, opposite hinge. Slide the tamper switch bracket onto the edge of the enclosure
approximately 2” from the right side (Fig. 1, pg. 3). Connect tamper switch wiring to the
Access Control Panel input or the appropriate UL Listed reporting device.
To activate alarm signal open the door of the enclosure.
Fig. 1
TM1 Sub-Assembly Position Chart for the Following Models:
Lenel Sub-Assemblies*
Sub-Assembly Pem Mounting Current Draw Refer to
LNL-2220
A
12-24VDC 500mA max. LNL-2220 Quick Reference (QR50L-1002E - revision 2.022)
LNL-4420 12-24VDC 500mA max. LNL-4420 Quick Reference
(QR50L-1024E-LNL-4420 - revision 1.001)
LNL-1100 12-24VDC 350mA max. (12VDC/300mA nom., 24VDC/220mA nom.) LNL-1100 Series 2 Quick Reference
(QR50L-1010E - revision 1.019)
LNL-1200 12-24VDC 1100mA max. (12VDC/850mA nom., 24VDC/450mA nom.) LNL-1200 Series 2 Quick Reference
(QR50L-1009E - revision 1.019)
LNL-1320 12-24VDC 550mA max. (12VDC/450mA nom., 24VDC/270mA nom.) LNL-1320 Series 2 Quick Reference
(QR50L-1007E - revision 1.020)
LNL-2210
D
12VDC 900mA max. LNL-2210 Series 2 Quick Reference
(QR50L-1003E - revision 1.021)
LNL-1300e 12VDC 1100mA max. LNL-1300e Quick Reference
(QR50L-1023E - revision 1.000)
LNL-1300 E 12-24VDC 150mA max. (12VDC/110mA nom., 24VDC/60mA nom.) LNL-1300 Series 2 Quick Reference
(QR50L-1008E - revision 1.020)
LNL-3300 G12-24VDC 300mA max. LNL-3300 Quick Reference (QR50L-1001E - revision 2.023)
LNL-8000 12VDC 250mA max. LNL-8000 Quick Reference (QR50L-1000E - revision 1.020)
Altronix Sub-Assemblies
Sub-Assembly Pem Mounting Current Draw Refer to
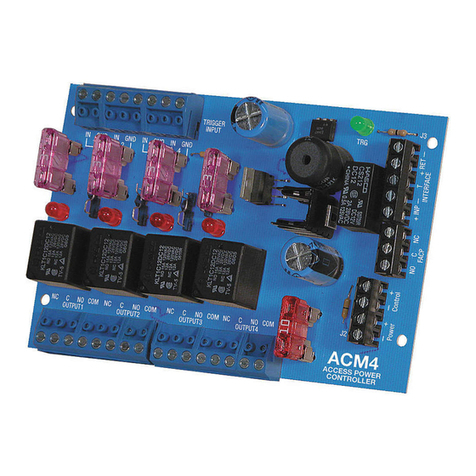
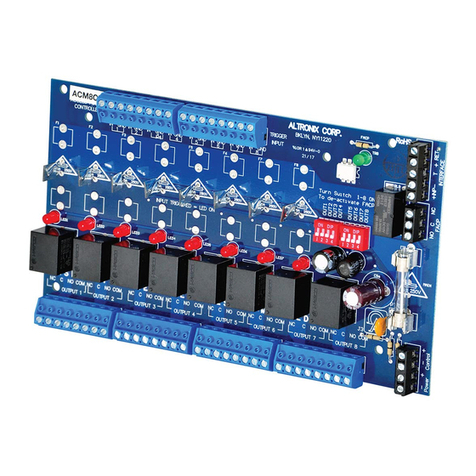
ACM4(CB)
C
12VDC @ 0.4A max. or 24VDC @ 0.2A max. ACM4/ACM4CB Installation Instructions Rev. 051311
MOM5 12-24VDC @ 55mA max. MOM5 Installation Instructions Rev. 042811
PD4UL(CB) N/A PD4UL Installation Instructions IIPD4UL Rev. 051311
PD4ULCB Installation Instructions IIPD4ULCB Rev. 051311
PD8UL(CB) N/A PD8UL Installation Instructions IIPD8UL Rev. 051311
PD8ULCB Installation Instructions IIPD8ULCB Rev. 051311
PD16W(CB) N/A PD16W/PD16WCB Installation Instructions
IIPD16W Rev. 051311
PDS8(CB) N/A PDS8/PDS8CB Installation Instructions Rev. 070116
VR6 24VDC @ 1.75A or 3.5A (Output: 5VDC or 12VDC @ 6A) VR6 Installation Instructions Rev. 050517
LINQ2** F 12-24VDC @ 100mA max. LINQ2 Installation Instructions Rev. 060514
Altronix Power Supplies/Sub-Assemblies
Sub-Assembly Pem Mounting Input Rating Output Rating Refer to
AL400ULXB2
B
115VAC, 60Hz, 3.5A 12VDC @ 4A or 24VDC @ 3A ULXB Installation Instructions Rev. ULXB-10182016
AL600ULXB 115VAC, 60Hz, 3.5A 12VDC or 24VDC @ 6A ULXB Installation Instructions Rev. ULXB-10182016
AL1012ULXB 115VAC, 60Hz, 2.6A 12VDC @ 10A ULXB Installation Instructions Rev. ULXB-10182016
AL1024ULXB2 115VAC, 60Hz, 4.2A 24VDC @ 10A ULXB Installation Instructions Rev. ULXB-10182016
eFlow4NB** 120VAC, 60Hz, 3.5A 12VDC or 24VDC @ 4A eFlow Installation Instructions Rev. EFNB-10182016
eFlow6NB** 120VAC, 60Hz, 3.5A 12VDC or 24VDC @ 6A eFlow Installation Instructions Rev. EFNB-10182016
eFlow102NB** 120VAC, 60Hz, 3.5A 12VDC @ 10A eFlow Installation Instructions Rev. EFNB-10182016
eFlow104NB** 120VAC, 60Hz, 4.5A 24VDC @ 10A eFlow Installation Instructions Rev. EFNB-10182016
* For detailed information, refer to the Lenel Hardware Installation Guide, DOC-600 r9.025 October 2018.
** LINQ2 can be installed when utilizing eFlow power supply/charger boards.
Edge of
Enclosure
to Access Control
Panel or
UL Listed
Reporting
Device
Enclosure
Tamper
Switch
(provided)
