manuals.online logo
Brands
  1. Home
  2. •
  3. Brands
  4. •
  5. Altronix
  6. •
  7. Extender
  8. •
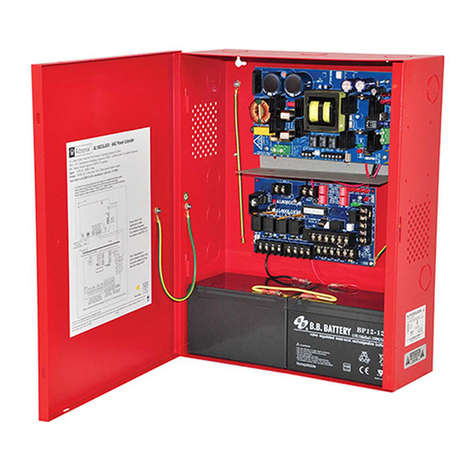
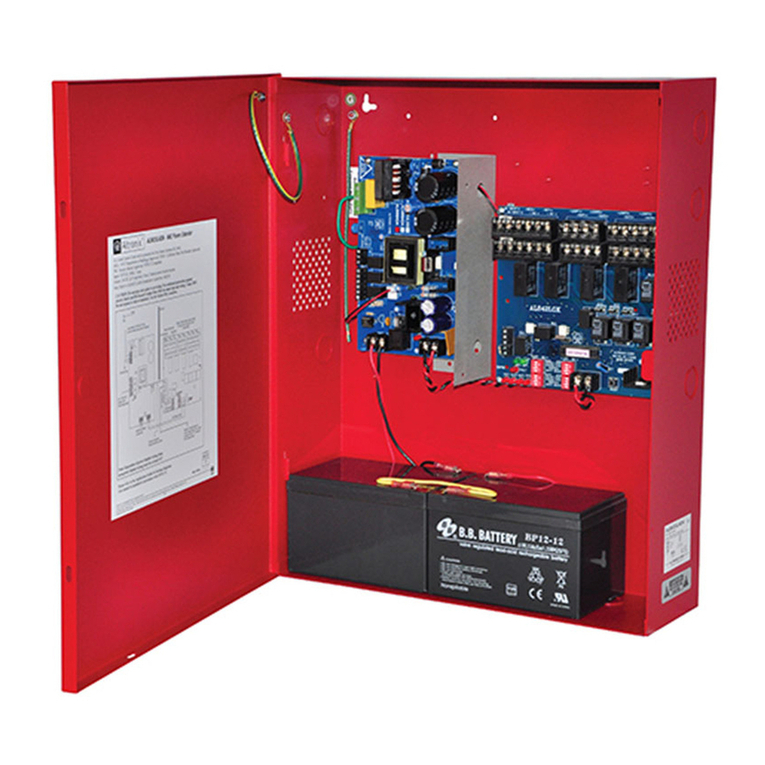
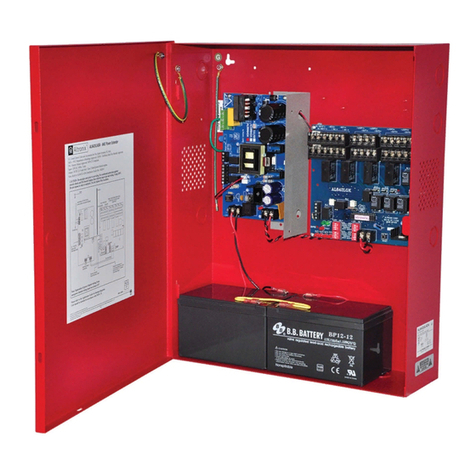
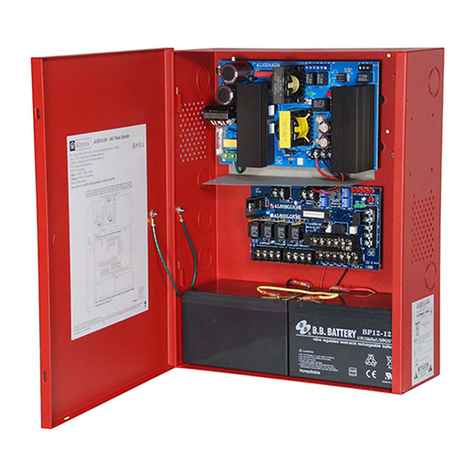
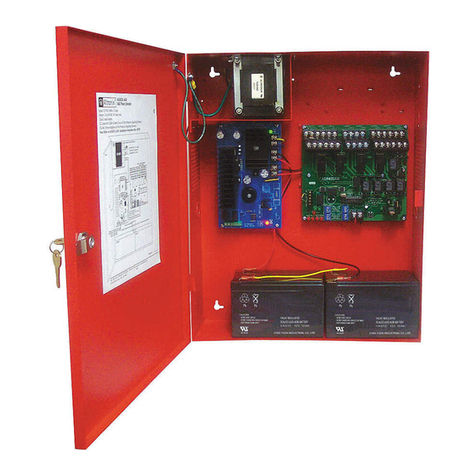
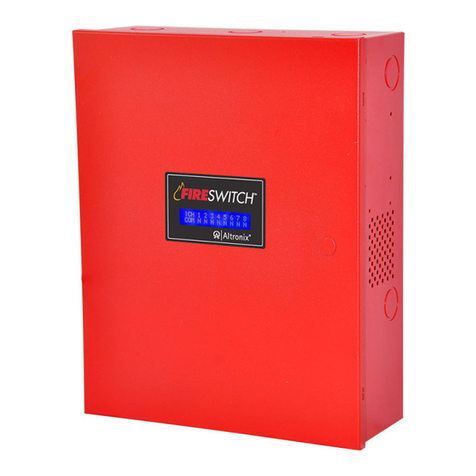
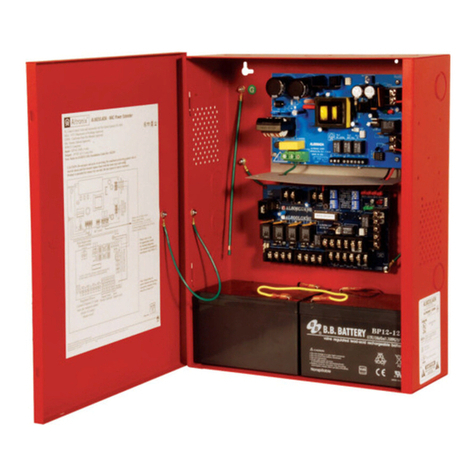
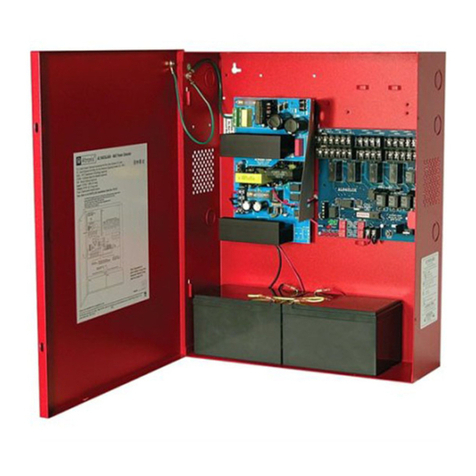
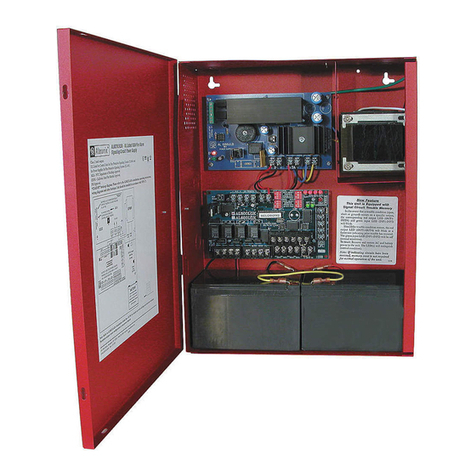
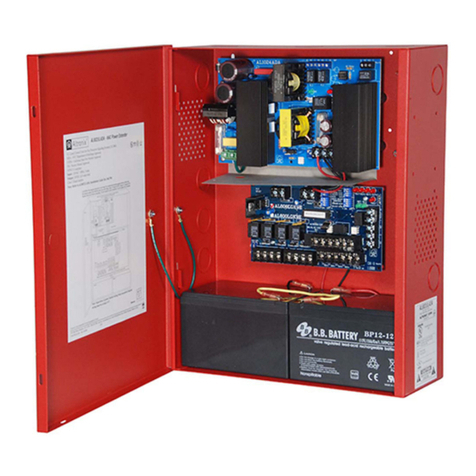
  9. Altronix AL602ULADA User guide

Altronix AL602ULADA User guide

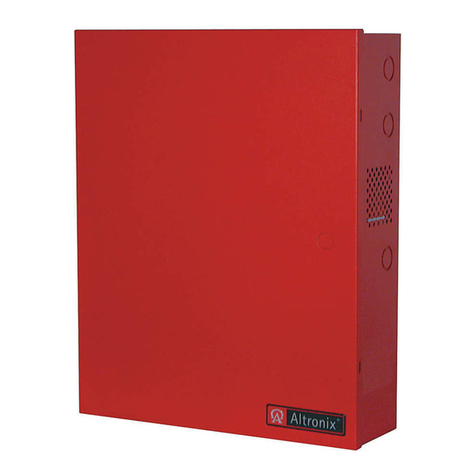
Rev. 062320 More than just power.TM
Altronix Corp.
140 58th St. Brooklyn, NY
AL602ULADA(J)
AL802ULADA(J)
AL1002ULADA(J)
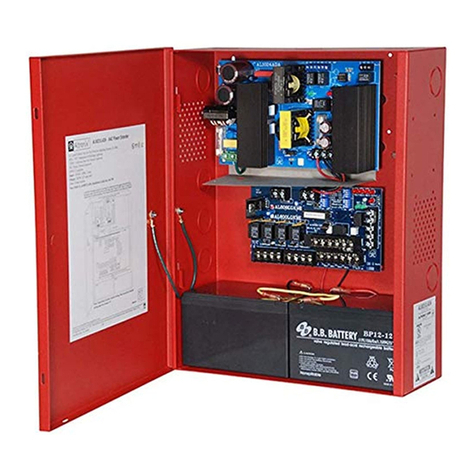
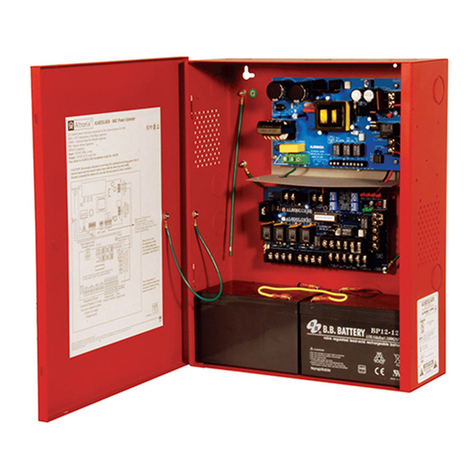
NAC Power Extenders
R1002ULADA
Rack Mountable NAC Power Extender
Application Guide
(See Installation Guide for additional information)
- 2 - 02 ULADA Application Guide
1. General Information (Use this in conjunction with respective Installation Guide):
Altronix AL602ULADA, AL602ULADAJ, AL802ULADA, AL802ULADAJ, AL1002ULADA,
AL1002ULADAJ and R1002ULADA are very versatile devices. They can be used with or without specific
synchronization modules provided by some manufacturers. Multiple units can be synchronized by using either
the built-in sync mode or a external synchronization module. Please note, that only notification appliances with
synchronization capabilities can be synchronized. Units can operate with either one (1) or two (2) outputs from
the FACP.
2. Class A and Class B Hookups:
Units can be used with the outputs configured for:
• Two (2) Class A (Fig. 2a). • Two (2) Class B and one (1) Class A NAC circuits
• Up to Four (4) Class B. (Fig. 2b).
SW1SW2
+ OUT1 --
IN1+ IN1--IN2--
IN2+ C "DRY1" NC
RET1+RET1-- RET2--
RET2+C "DRY2" NC
+ OUT2 -- + OUT3 -- + OUT4 --
UPPER TERMINALS
LOWER TERMINALS
Two (2) Class A Hookups
From
FACP
NAC1
From
FACP
NAC2
Return
to FACP
Return
to FACP
ON
1
ON
1
Fig. 2a
Fig. 2c
Fig. 2b
NAC Loop 1 starts on Output 1 and termi-
nates on Output 3. Switch SW1, when ON,
provides proper termination for this loop. NAC
Loop 2 starts on Output 2 and terminates on
Output 4, SW2 must be turned ON for proper
termination.
Please make sure that all the DIP switches
for corresponding outputs are set the same way.
For combination of two (2) Class B and
one (1) Class A circuit, only one (1) switch
(SW1 or SW2) must be turned ON, termi-
nating Class A circuit only.
SW1SW2
+ OUT1 --
IN1+ IN1--IN2--
IN2+ C "DRY1" NC
RET1+RET1--RET2--
RET2+ C "DRY2" NC
+ OUT2 -- + OUT3 -- + OUT4 --
UPPER TERMINALS
LOWER TERMINALS
2.2K
EOL
2.2K
EOL
One (1) Class A, two (2) Class B Hookups
ON
1
ON
1
IN1+ IN1--IN2--
IN2+ C "DRY1" NC
RET1+ RET1--RET2--
RET2+ C "DRY2" NC
UPPER TERMINALS
LOWER TERMINALS
Addressable Control
Module Trigger Output
Normally Closed Dry Contact
(Non-Supervised Class E)
Dry Contact Input Wiring
02 ULADA Application Guide - 3 -
3. Non-synchronizable NAC Appliances:
When using NAC appliances not designed to support synchronization feature, it is recommended to use
separate output circuits for audible notification appliances (horns) and visual notification appliances (strobes).
Set DIP switches for the visual notification appliances to follow Input 1 [IN1] and for audible notification appli-
ances to follow Input 2 [IN2]. This will allow, when using two (2) outputs from the FACP, to support silencing
of audible notification appliances. When using only one (1) FACP output, set all DIP switches to follow Input 1
[IN1]. The units outputs can each be set for the desired NAC drive signal, such as Code 3 or march time sequence
(Output Programming Selection Table, pg. 6). Non-synchronizable Audible Appliances will follow the sequence,
when feature is selected.
4. Using Multiple NAC Power Extenders from an FACP:
AL602/AL802/1002ULADA(J)/R1002ULADA units are designed to follow (replicate) the coded sequence,
generated by a manufacturer’s sync module. One (1) or more units can be triggered. Connect the output of the
FACP module to Input 1 and Input 2 Terminate the input circuit with the EOL or FACP, connecting it to terminals
marked [RET +] and [RET –], or continue the input circuit, connecting to terminals marked [RET +] and [RET –]
to [INP +] and [INP –] of the next unit, when multiple units need to be triggered.
In case FACP does not have any synchronization capabilities and the sync mode is not used,
the notification appliance synchronization will not be provided.
FACP with Sync Output
Control
Circuit
Control Circuit
No Notification Appliances Allowed
Sync Module
NAC Power Extender:
DIP switches set to Input to Output follower mode.
POWER
IN +
POWER
IN ---
ZONE 1
POWER
IN +
POWER
IN ---
HORN
CONTROL
POWER
OUT +
POWER
OUT ---
ZONE 1
POWER
OUT +
POWER
OUT ---
ZONE 2
+ NAC 1 --- + NAC 2 ---
2.2K
EOL
2.2K
EOL
2.2K
EOL
2.2K
EOL
FACP
(Fire Alarm
Control Panel
with sync
capabilities)
Or
Memory
Reset
To FACP EOL or
next NAC power extender
For Class A configuration
return to FACP
Memory
Reset
NAC Power Extender:
DIP switches set to Input to Output follower mode.
ON
1
ON
1
ON
1
ON
1
Compatible Special
Application Devices.
See Compatibility List
Fig. 4a
CAUTION: Do not connect any notification appliances on the control circuit interconnecting
FACP outputs (sync module outputs) and inputs of NAC Power Extenders. Applications that
do not employ synchronization module or FACP with synchronization protocol will not provide
NAC sycnchronization between NAC Power Extenders.
- 4 - 02 ULADA Application Guide
5. Synchronizing NAC Power Extender Using Built-in Sync Protocol:
AL602/AL802/1002ULADA(J)/R1002ULADA have built-in protocols to support Amseco, Gentex®, System
Sensor®, Wheelock®two-wire synchronizable devices, therefore an external sync module is not required (Output
Programming Selection Table, pg. 5). In these modes Input 1 is always used to activate visual notification appli-
ances (strobes) and Input 2 is used to activate and silence audible notification appliances (strobes).
Note: Input 1 has to be activated in all the configurations.
SW1SW2
+ OUT1 --
IN1+ IN1-- IN2--
IN2+ C "DRY1" NC
RET1+RET1--RET2--
RET2+ C "DRY2" NC
+ OUT2 -- + OUT3 -- + OUT4 --
UPPER TERMINALS
LOWER TERMINALS
SW1SW2
+ OUT1 --
IN1+ IN1-- IN2--
IN2+C "DRY1" NC
RET1+RET1--RET2--
RET2+ C "DRY2" NC
+ OUT2 -- + OUT3 -- + OUT4 --
UPPER TERMINALS
LOWER TERMINALS
2.2K
EOL
2.2K
EOL
2.2K
EOL
2.2K
EOL
2.2K
EOL
2.2K
EOL
To EOL or next
NAC Power Extender
Class B configuration only
NAC Power Extender:
DIP Switches set for desired Sync Protocol (ex. Gentex®,
System Sensor®, Amseco, CooperWheelock®).
NAC Power Extender:
DIP Switches set for Input to Output Follower Mode
Control Circuit
No Notification Appliances
Allowed
FACP
(Fire Alarm
Control Panel)
FACP EOL
For Class A
Configuration
return to FACP
FACP EOL
For Class A
Configuration
return to FACP
ON
1
ON
1
ON
1
ON
1
Fig. 5a
When connecting, keep wires on different sides of the screws in order to maintain loop integrity supervision.
DO NOT LOOP CONTINUOUS WIRE AROUND THE SCREW.
IN1+ IN1-- IN2--
IN2+ C "DRY1" NC
RET1+ RET1--RET2--
RET2+ C "DRY2" NC UPPER TERMINALS
LOWER TERMINALS
EOL or
Next Device
Control Circuit
NO Notification
Appliances allowed
FACP
For Class A configuration return to FACP
Fig. 6a
6. Using a Single FACP Output:
When only one FACP output is available, you may connect both Input 1 and Input 2 to it.
Wire [RET1 +] and [RET1 –] to [INP2 +] and [INP2 –].
Both visual and audible notification appliances will be activated simultaneously (Fig. 6a).
02 ULADA Application Guide - 5 -
Output Programming Selection Table:
Outputs must be programmed independently (OUT1 - OUT4)
Function Switch Positions Descriptions
ON OFF
Input to Output
Follower Mode 12, 3
Output follows signal it receives from the corresponding
input (i.e. FACP Sync module - maintains synchronization
of notification appliance circuit).
Temporal Code 3 Mode 31, 2 Enables Temporal Code 3 signal generation output.
This mode will accept a steady or a pulsing input.
Steady Mode 1, 2, 3 A steady output signal will be generated.
This mode will accept steady or pulsing input.
For the above modes DIP Switch 4 determines which Input controls the
corresponding output:
Switch 4 in the ON position causes output(s) to be controlled by Input 1.
Switch 4 in the OFF position causes output(s) to be controlled by Input 2.
Sync Mode Selection Table:
Function Switch Positions Descriptions
ON OFF
Amseco
Sync Mode*
1, 3,
42
This mode is designed to work with the Amseco series of horns,
strobes, and horn/strobes to provide a means of synchronizing
the Temporal-coded horns, synchronizing the flash timing of the
strobe, and allowing audible notification appliances (horns) and
visual notification appliances (strobes) to be silienced/ deactivated
at the same time.
Gentex®
Sync Mode*
Gentex is a registered
trademark of
Gentex Corporation.
1, 2,
3, 4
This mode is designed to work with the Gentex®series of horns,
strobes, and horn/strobes to provide a means of synchronizing
the Temporal-coded horns, synchronizing the flash timing of the
strobe, and allowing audible notification appliances (horns) and
visual notification appliances (strobes) to be silienced/ deactivated
at the same time.
System Sensor®
Sync Mode*
System Sensor is a
registered trademark of
Honeywell.
1, 2, 4 3
This mode is designed to work with the System Sensor®series of
horns, strobes, and horn/strobes to provide a means of synchroniz-
ing the Temporal-coded horns, synchronizing the one-second flash
timing of the strobe, and allowing audible notification appliances
(horns) and visual notification appliances (strobes) to be silienced/
deactivated at the same time.
CooperWheelock®
Sync Mode*
CooperWheelock is a
registered trademark of
Cooper Wheelock.
2, 3, 4 1
This mode is designed to work with the CooperWheelock series of
horns, strobes, and horn/strobes to provide a means of synchroniz-
ing the Temporal-coded horns, synchronizing the one-second flash
timing of the strobe, and allowing audible notification appliances
(horns) and visual notification appliances (strobes) to be silienced/
deactivated at the same time.
*Note: AL602ULADA, AL602ULADAJ, AL802ULADA, AL802ULADAJ, AL1002ULADA,
AL1002ULADAJ and R1002ULADA will only synchronize horns, horn/strobes and strobes that contain
synchronization capability. The same synchronization mode must be selected for all outputs.
AL800LGK9E Board
Output DIP Switches
INPUT SELECT
TEMPORAL
STROBE SYNC
IN>OUT SYNC
- 6 - 02 ULADA Application Guide
1.5”
(38.1mm)
1.5”
(38.1mm)
4.615” (117.2mm) 4.615” (117.2mm)
1.5”
(38.1mm)
1.5”
(38.1mm)
4.615” (117.2mm) 4.615” (117.2mm)
1.75”
(44.5mm)
1.75”
(44.5mm)
1.375”
(34.9mm)
1.125”
(28.6mm)
1.5”
(38.1mm)
1.5”
(38.1mm)
5.0” (127.0mm)
5.0” (127.0mm)
4.5” (114.3mm)4.5” (114.3mm) 1.25”
(31.8mm)
1.25”
(31.8mm)
0.79” (20.1mm)0.91”
(23.1mm)
0.91”
(23.1mm)
15.5” (393.7mm)
1.1”
(27.9mm)
1.1”
(27.9mm)
1.1”
(27.9mm)
12.23” (310.6mm)
2.0”
(50.8mm)
2.0”
(50.8mm)
1.25” (31.8mm)1.25” (31.8mm)
AL602ULADA, AL802ULADA, AL1002ULADA
Enclosure Dimensions (BC400):
15.5” x 12” x 4.5” (393.7mm x 304.8mm x 114.3mm)
02 ULADA Application Guide - 7 -
6.0”
(152.4mm)
1.5”
(38.1mm)
2.5”
(63.5mm)
1.0” (25.4mm)
2.75”
(69.9mm)
2.75”
(69.9mm)
4.5” (114.3mm) 4.5” (114.3mm)
14.5” (368.3mm)
1.0”
(25.4mm)
1.5” (38.1mm)8.5”
(215.9mm)
18.0”
(457.2mm)
18.0”
(457.2mm)
18.0”
(457.2mm)
1.25” (31.75mm) 1.25” (31.75mm)
1.5” (38.1mm) 1.5” (38.1mm)
1.5” (38.1mm)
1.5” (38.1mm)
2.5”
(63.5mm)
2.5”
(63.5mm)
14.5” (368.3mm)
14.5” (368.3mm)
4.5” (114.3mm)
1.0” (25.4mm)
1.0” (25.4mm)
1.0” (25.4mm)1.0” (25.4mm)
AL602ULADAJ, AL802ULADAJ, AL1002ULADAJ
Enclosure Dimensions (BC600):
18” x 14.5” x 4.5” (457.2mm x 368.3mm x 114.3mm)
- 8 - 02 ULADA Application Guide
Altronix is not responsible for any typographical errors.
140 58th Street, Brooklyn, New York 11220 USA | phone: 718-567-8181 | fax: 718-567-9056
website: www.altronix.com | e-mail: [email protected] | Lifetime Warranty | Made in U.S.A.
02ULADA Application Guide F23T MEMBER
R1002ULADA Enclosure Dimensions (H x W x D):
3.25” x 19.0” x 26.5” (82.6mm x 482.6mm x 673.1mm). Shown with Z Bracket attached.
3.25”
82.3mm
26.5”
673.1mm
19” (482.6mm)
2.4”
61mm
4.57”
116.1mm
11.175” (283.8mm)
R 1.27” (32.3mm)
1” (25.4mm)
0.55” (14mm)
3.62”
92mm
0.1”
2.5mm
1.5”
38.1mm

Other manuals for AL602ULADA

2

This manual suits for next models

6

Other Altronix Extender manuals

Altronix AL842ULADA User manual

Altronix

Altronix AL842ULADA User manual

Altronix AL642ULADA User guide

Altronix

Altronix AL642ULADA User guide

Altronix AL1002ADA220 User manual

Altronix

Altronix AL1002ADA220 User manual

Altronix AL802ULADA User manual

Altronix

Altronix AL802ULADA User manual

Altronix AL602ULADAJ User manual

Altronix

Altronix AL602ULADAJ User manual

Altronix AL802ULADAJ User manual

Altronix

Altronix AL802ULADAJ User manual

Altronix AL1042ADA220 User manual

Altronix

Altronix AL1042ADA220 User manual

Altronix AL602ULADA User guide

Altronix

Altronix AL602ULADA User guide

Altronix eBridge PLUS User manual

Altronix

Altronix eBridge PLUS User manual

Altronix AL602ADA220 User manual

Altronix

Altronix AL602ADA220 User manual

Altronix AL800ULADA User manual

Altronix

Altronix AL800ULADA User manual

Altronix AL602ULADAJ User guide

Altronix

Altronix AL602ULADAJ User guide

Altronix AL602ULADAJ User manual

Altronix

Altronix AL602ULADAJ User manual

Altronix AL602ADA220 User guide

Altronix

Altronix AL602ADA220 User guide

Altronix AL802ADA220J User manual

Altronix

Altronix AL802ADA220J User manual

Altronix AL642ULADA User manual

Altronix

Altronix AL642ULADA User manual

Altronix AL602ADA220J User manual

Altronix

Altronix AL602ADA220J User manual

Altronix AL1002ULADAJ User manual

Altronix

Altronix AL1002ULADAJ User manual

Altronix AL602ULADA User manual

Altronix

Altronix AL602ULADA User manual

Altronix AL1002ULADA User manual

Altronix

Altronix AL1002ULADA User manual

Altronix AL1002ULADA User manual

Altronix

Altronix AL1002ULADA User manual

Altronix AL1042ULADA User manual

Altronix

Altronix AL1042ULADA User manual

Altronix AL802ULADA User manual

Altronix

Altronix AL802ULADA User manual

Altronix AL1042UL2ADA User manual

Altronix

Altronix AL1042UL2ADA User manual

Popular Extender manuals by other brands

Xantech 172-77 installation instructions

Xantech

Xantech 172-77 installation instructions

Intos Electronic Inline 64601 user manual

Intos Electronic

Intos Electronic Inline 64601 user manual

ENFORCER MVE-AH010Q manual

ENFORCER

ENFORCER MVE-AH010Q manual

SC&T HE02EI user manual

SC&T

SC&T HE02EI user manual

Mars Labs Titan CPX Expander user manual

Mars Labs

Mars Labs Titan CPX Expander user manual

StarTech.com SV565FXHD4KU quick start guide

StarTech.com

StarTech.com SV565FXHD4KU quick start guide

weBoost Home Room installation guide

weBoost

weBoost Home Room installation guide

Patton electronics SmartNode 2294 Getting started guide

Patton electronics

Patton electronics SmartNode 2294 Getting started guide

Vision HDIP01_02 operating instructions

Vision

Vision HDIP01_02 operating instructions

Hunter Hydrawise HC-1200M quick start guide

Hunter

Hunter Hydrawise HC-1200M quick start guide

ATEN ProXime CE770 user manual

ATEN

ATEN ProXime CE770 user manual

HiBoost F27K-6S-IoT user manual

HiBoost

HiBoost F27K-6S-IoT user manual

CYP CIR-03 Operation manual

CYP

CYP CIR-03 Operation manual

D-Link E15 Quick installation guide

D-Link

D-Link E15 Quick installation guide

Manhattan IDATA EXT-E504KM instructions

Manhattan

Manhattan IDATA EXT-E504KM instructions

Cypress Semiconductor CY3242-IOXlite Kit Guide

Cypress Semiconductor

Cypress Semiconductor CY3242-IOXlite Kit Guide

Atlona AT-DVIDF40SR user manual

Atlona

Atlona AT-DVIDF40SR user manual

DigitaLinx DL-HD70LSIR Quick install guide

DigitaLinx

DigitaLinx DL-HD70LSIR Quick install guide

manuals.online logo
manuals.online logoBrands
  • About & Mission
  • Contact us
  • Privacy Policy
  • Terms and Conditions

Copyright 2025 Manuals.Online. All Rights Reserved.