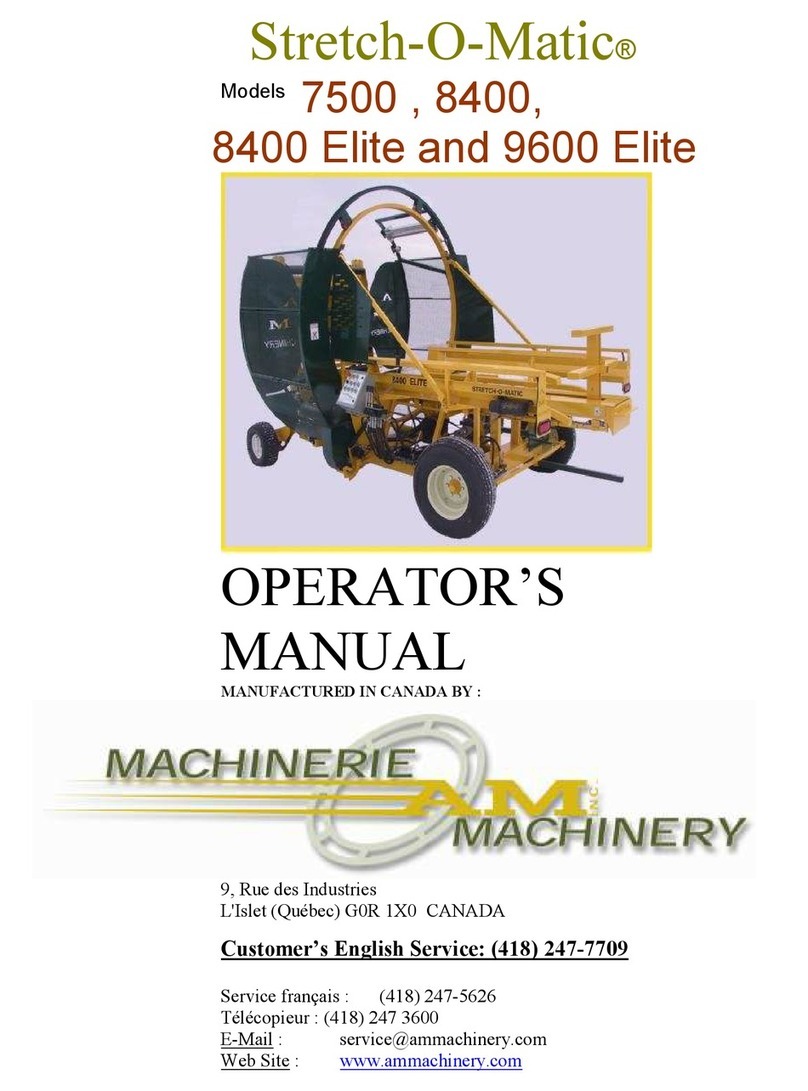
AM Machinery TAC-14 User manual

AUTO-CHARGEUSE
TAC-14 TAC-20
Self load trailer
OPERATOR’S
MANUAL
MANUFACTURED IN CANADA BY :
9, Rue des Industries
L’Islet (Québec) 0R 1X0 CANADA
Customer’s French Service: (418) 247-5626
Customer’s English Service: (418) 247-7709
Télécopieur : (418) 247 3600
Courriel : service@ammachinery.com
Site Internet : www.ammachinery.com

January 1st 14
2

January 1st 14
3
TABLE OF CONTENT
TAC-14, TAC-20Twelve Months Warranty 4
Warranty coverage 4
Exclusion 4
Disclai er of consequential da age 4
Warranty registration 5
Safety Guide Lines 6-7
General infor ation 7
Lighting and arking 7
Safety sign care 7
Preparing to load 8
General start instructions 8
Adjust ents 9-11
Operation 12
TAC-14 , TAC-20 Maintenance 13
Storage 14
Révision
janvier 2014
Note
: la version française a préséance sur les versions en d’autres langues.

January 1st 14
4
TAC-14, TAC-20 Twel e Months Warranty*
Congratulations ! You are now the proud owner of the best Self Loader on the arket,
the TAC-14 or TAC-20. We are convinced that you will enjoy the trouble free experience of
working with the TAC.
CAUTION !
For your safety and to get the best out of your invest ent, please read the
operator’s anual carefully before operation.
IMPORTANT
Warranty registration for
(page 5)
ust be co pleted and returned
to A.M. Machinery within ten days of ownership to validate warranty.
Warranty coverage
AM Machinery Inc. warranties that the TAC-14, TAC-20 is anufactured under high quality standards
and agrees to replace or repair at seller’s place of business all parts (**except : tires), which are
defective in aterial or work anship without charge for parts and labor if a defect appears within 12
onths fro the date of the purchase by the original purchaser.
The warranty is only valid if the fault is reported to us or our distributors by the dealer sub itting a
co plete warranty clai for within 15 days of the breakdown. The purchaser shall pay any charge
for aking service call and for transporting the achine to the place where the warranty work is to be
perfor ed.
Exclusion
This warranty covers only defective aterial or work anship. It does not cover depreciation or
da age caused under nor al wear, accidents, i proper aintenance, and i proper protection in
storage or i proper use.
The cost of nor al aintenance and nor al replace ent of service ite s such as air filters, oil filters,
etc. shall be paid by the purchaser.
Disclaimer of consequential damage
The warranty exclude any secondary da age, for exa ple consequential losses caused as a result of
achine breakdown or non-availability of spare parts.
As for the final product, high quality forage depends on any factors (exa ple : the quality of forage
being put up, the quality of the plastic used etc.)
A.M. Machinery accepts no liability for forage losses or poor quality forage conservation.
* If used and aintained according to the owner’s anual instructions.
** Tires, battery, fil tensionners and otor are under the warranty of their respective anufacturer.

January 1st 14
5
Warranty Registration
Must be co pleted and returned to A.M. Machinery within 10 days of ownership
to validated warranty.
MODEL : ______________________ SERIAL No. :_____________________________
DATE OF PURCHASE : __________________________________________________
Dealer Information
:
Na e ____________________________________
Address ____________________________________
City ____________________________________
State _________________Zip Code ___________
Country ____________________________________
Telephone _________________
Fax _________________
_____________________________________________
(Dealer’s signature)
Owner Information
:
Na e ____________________________________
Address ____________________________________
City ____________________________________
State _________________Zip Code ___________
Country ____________________________________
Telephone _________________
Fax _________________
Occupation _________________
The above Self loader has been received by e in accordance with the foregoing and I have a
thorough knowledge of its care adjust ent and operation. I a aware that the dealer as inspected the
grapple loader. The wrapper see s asse bled correctly and in good working order.
I accept the warranty ter s stated in this book.
_____________________________________________
(Owener’s signature)
Returned to :
A.M. Machinery
,
, Des Industries, L’Islet (Québec) G0R 1X0 CANADA
Safety Guides Lines
Take note : this safety alert sy bol found throughout this anual is used to call your attention

January 1st 14
6
to instructions involving your personal safety and the safety of others.
Failure to follow these instructions can result in injury or death.
These symbol means :
ATTENTION !
BECOME ALERT !
YOUR SAFETY IS INVOLVED
Important Signal Words
DANGER : indicates an i inently hazardous situation that, if not avoids, will result in death or
serious injury. This signal word is to be li ited to the ost extre e situations, typically for achine
co ponents which, for functional purposes, cannot be guarded.
WARNING : indicates a potentially hazardous situation that, if not avoided, could result in death or
serious injury and include hazard that are exposed when guards are re oved. It ay also be used to
alert against unsafe practices.
CAUTION : indicates a potentially hazardous situation that, if not avoided, ay result in inor or
oderate injury. It ay also be used to alert against unsafe practices.
If you have any questions not answered in this anual or require additional
copies or, if your copy of this anual is da aged, please contact your local
dealer
.
Re e ber
Your best insurance against accidents is a careful and responsible operator.
If there is any portion of this anual or function you do not understand, contact
your local authorized dealer or the anufacturer.

January 1st 14
7
General information
This equip ent is dangerous to children and persons unfa iliar with its operation. The
operator should be a responsible adult fa iliar with far achinery and trained in this
equip ent’s operation. Do not allow anyone to operate or asse ble this unit until they
have read this anual and have developed a thorough understanding of the safety
precautions and how it works.
Review the safety instructions with all users annually.
Never exceed the li its of a piece of achinery. If its ability to do a job or to do so safely is
in question, DON’T TRY IT.
Do not atte pt to operate this equip ent under the influence of drugs or alcohol.
Replace any «CAUTION», «WARNING», «DANGER» or instruction safety decal that is not
readable or is issing.
Lighting, marking, National Road Rules
It is the responsibility of the custo er to know the lighting and arking require ents of the
local highway authorities and to install and aintain the equip ent to provide co pliance with
the regulations.
Add extra lights when transporting at night or during periods of li ited visibility.
Lighting kits are available fro your dealer or fro the anufacturer.
Safety sign care
Keep safety signs clean and legible at all ti es.
Replace safety signs that are issing or have beco e illegible.
Replaced parts that displayed a safety sign should also display the current sign.
Safety signs are available for your Dealer Parts Depart ent or Distributor
or directly fro AM Machinery.
Serial Number
You will find the serial nu ber in the front of the TAC, on the fra e.

January 1st 14
8
GETTING STARTED
1)The reco ended oil flow is fro 15 to18 US gal./ in.
2) Lubricate all grease fittings with good quality, ulti-purpose grease.
3) Adjust the tire pressure as reco ended by the anufacturer.
4)Install all hoses and adapters to suit your standard equip ent.
5) Couple the auto-loader to the tractor and connect the hydraulic hoses, as indicated.
6) Operate all hydraulic functions in order to eli inate the air that ight stay in the hoses.
7) Check the hydraulic oil level in the tractor’s reservoir.

January 1st 14
9
ADJUSTEMENTS
Loading arm
Adjust the position and opening of the loading arm
According to recommendations (FIG. 1). The dimensions given
Are for reference only and may vary depending on the size
f the ball, its weight and hardness.
Adjust the valve (fig 3.) by turning the plate, thus to avoid that the
loading arm does not interfere with the upper frame for unloading.
Fig 1.
Fig 2.
Fig 3.

January 1st 14
10
Sidewalls adjustement
Adjust the sidewalls to the shape and size
of the Balls (Figure 3). This adjustment is to prevent
balls rolling from one side to the other during transport.
Flange ring adjustment
Adjust the attachment flange ring to keep
Machine at level. There are three sets of bolts holes for
adjustment to the attachment to keep the machine
Parallel to ground during operation. (Figure 4)
Transport position
Lock the loading arm, during transport with the provided
security pins (fig 6)
Fig 4
.
Fig. 5
Fig 6.

January 1st 14
11
Rear bale support adjustment
Nuts should be places outward the bale row
Misplaced nut
Wheels adjustments
Tighten the bolts after 5 hours of operation
Tension “ 225 psi or 155.15 N/cm2”

January 1st 14
12
When the first balle arrive at the rear support, a switch activates the light on the front right to
indicate the bale has reached the rear balle support.
Blue = pusher
Yellow = ar
Gree = du p

January 1st 14
13
OPERATION
1) Keep in mind that the auto loader is designed
and made to rotate balls and load
without stoping , the path followed will be the same as
that of a bale press .
2) When you are ready for the first ball
Lower the loading arm a few inches
Above the ground , do slowly to get used to ,
Align the machine so that the outer corner
Within the ball comes into contact with the loading fork
Exterior to about 1/3 to ½ of its angled portion .
3) Raise the loading arm as soon or just before
the ball touches the bottom of the "U ".
4) Continue to push the ball until it falls on the platform.
Follow the same procedure to load the second row of balls.
Then begin to lower the upper loading arm
In order to disengage the safety switch (on the auto loader, a device is installed
to prevent the pusher and the tilting platform
to operate if the loading arm is not enough down) .
5) when you get used to the machine and its
operation , you will notice that changing slightly
the position of the ball relative to the external fork,
you will be able turn and charge the ball even faster.
In this case , the ball must come into contact with the outer fork
slightly closer to the elbow.

January 1st 14
14
Maintenance
The round bale self-loader is
designed to
save energy, ti e and oney, take care of it
,
protect your invest ent
5) Check the tightness of all nuts once a year.
If necessary, tighten according to the table.
1) Wipe out the grease with a clean cloth
before perfor ing lubrication, to avoid
introducing dirt or sand
6) Check the tightness of the wheel nuts after
the first 5 hours of use and then every 50
hours of operation.
2)
Repair or replace broken greasers.
7) Check the tire pressure after every 50
hours of operation. Adjust as
entioned on
the tire
3) Lubricate all les greasers after every 20 hours of
operation.
8) Keep your equip ent clean, it is a good habit.
4)
Disasse ble, clean and lubricate the roller
bearings hubs once a year.

January 1st 14
15
STORAGE
1) Store your self loader in a cool and dry storage
location
4) Clean the round bale self loader
2) Install wooden blocks under the axles so
that the tires are not in
contact with the
ground and cover the if they are exposed to
sunlight.
5 Check all parts of the auto-loader.
Repair or
replace worn, bent or broken pieces.
3 Place all cylinders in closed position (
the
loading ar ust be lowered). This
will
ensure better protection of rods, cylinders
against the weather.
6)
Treat or repaint places were paint is
issing to prevent rust.
7) Lubricate all the greasers before storage.
This manual suits for next models
1
Table of contents
Other AM Machinery Farm Equipment manuals
Popular Farm Equipment manuals by other brands

Poettinger
Poettinger AEROSEM F 5000 Mounting instructions

Landoll
Landoll 5531 Operator's manual

VOSS.farming
VOSS.farming AV 1000 Pet Control Operating instruction

PBZ
PBZ CropCare PA1400 owner's manual

Headsight
Headsight CORN VENCE TUDO instruction manual

Land Pride
Land Pride APS15 Series Assembly instructions

Bush Hog
Bush Hog Tough SBX48 Operator's manual

Evh
Evh Hardee LR50148 Operator and maintenance manual

CARLOTTI
CARLOTTI SPRING 750/35 Use and maintenance manual

SaMASZ
SaMASZ Z2-780 Operator's manual

Farmet
Farmet SOFTER 15 PS operating manual

FASTERHOLT
FASTERHOLT FM2500 User Manual and Spare Parts Catalogue