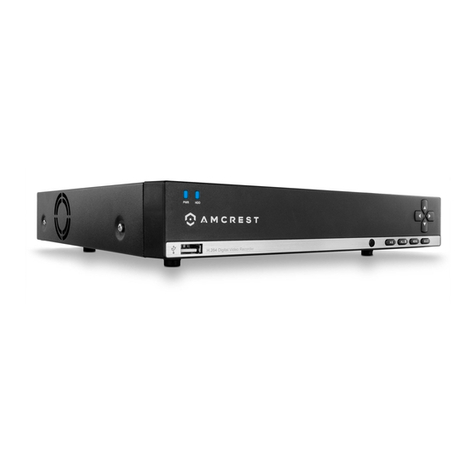
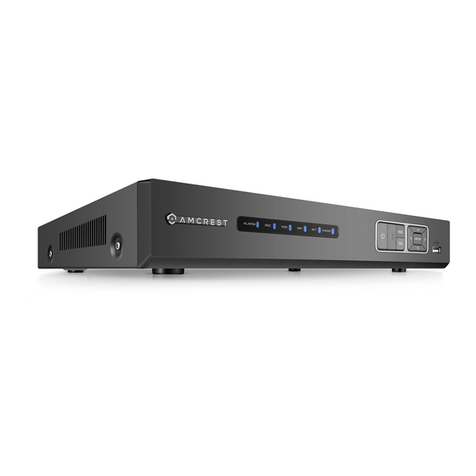
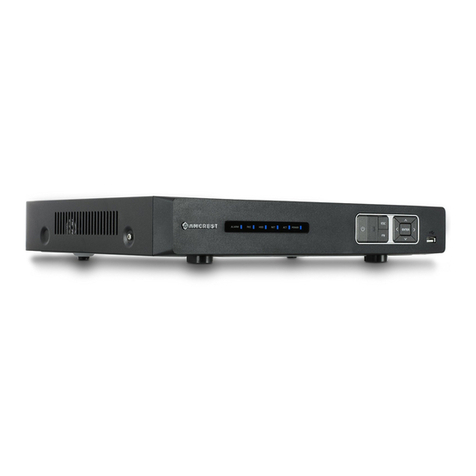
5
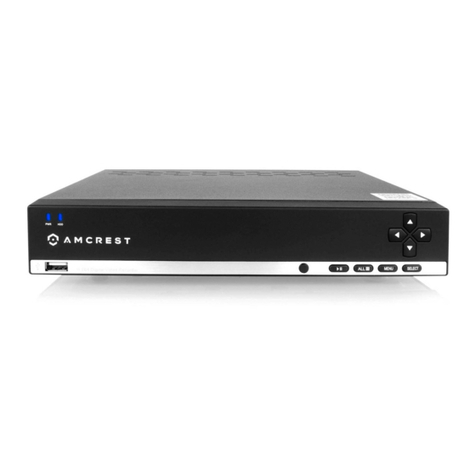
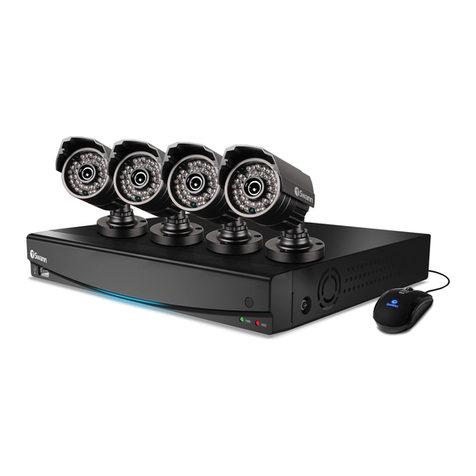
2. Connect the included USB mouse to the front of the DVR.
3. Connect an Ethernet cable to your router and connect the other end of the Ethernet cable to the
Ethernet port on the back of the DVR.
4. Plug the included power adapter into the power port on the back of the DVR and plug the power
adapter into a wall outlet or surge protector. Allow the DVR to power up. Please note, the DVR will
beep if a hard drive (sold separately) is not installed, for more information on how to install a hard
drive, please refer to “Hard Drive Installation”.
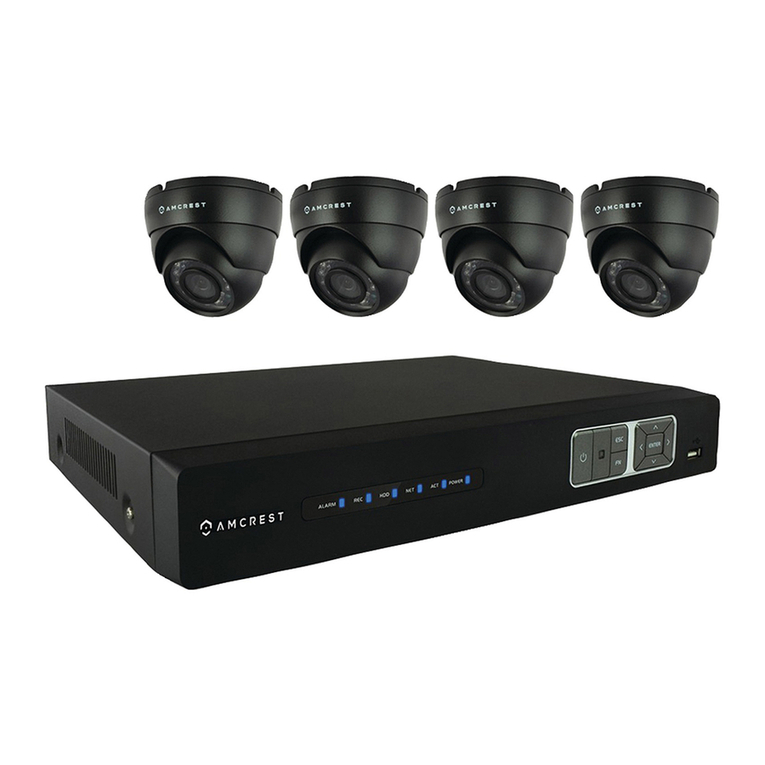
5. Secure the BNC connection on the coaxial cable to the BNC video connection on the camera
then connect the power connection to the power port of the camera.
6. Secure the other BNC connection fromthe camera to a video (coaxial) ports on the back of the
DVR and connect the power adapter to the power port found on the BNC cable.
- PLEASE READ BELOW-
Note: Your DVR may not work properly if the following is not accounted for.
Every DVR comes preset to a video output resolution of 1280x1024. What this means is that any
time an HDMI cable is plugged into an HDTV, it may result with a blank screen even if the DVR is
working properly.
If this occurs, please follow the steps below.
Procedure using a VGA cable:
1. Connect your DVR to a computer monitor or TV screen with a VGA cable (the HDMI cable
should not be connected during this process).
2. Boot up the unit. On the monitor or TV, please make sure the “input” is set to VGA.
3. When the interfaceloads, you will see the login screen.Enter thelogin credentials foryour DVR.
If this is your first-time logging into your unit, the default username and password will be admin.
4. Once you have logged into your DVR, navigate to the section that says Display. The display
menu allows you to configure resolution and display settings.
5. Then, on the new window, change your resolution from 1280x1024 to 1920x1080. Once
complete, scroll down to the bottomand click on Save to save your display settings. Your DVR will
reset to effect the change.
6. Disconnect the VGA cable and connect your DVRto an HD monitor or TVusing an HDMI cable.
Do not forget to change the input to HDMI on your TV/monitor. The DVR will load, and you will be
able to properly use the unit on your screen.
Hard Drive Installation
A hard drive allows you to configure and store recordings fromthe DVR, this includes playing back
previously recorded footage.
Note: This section only applies to DVRs purchased without a hard drive already preinstalled. Most
‘kits’ or ‘bundles will come with a pre-installed hard drive.

