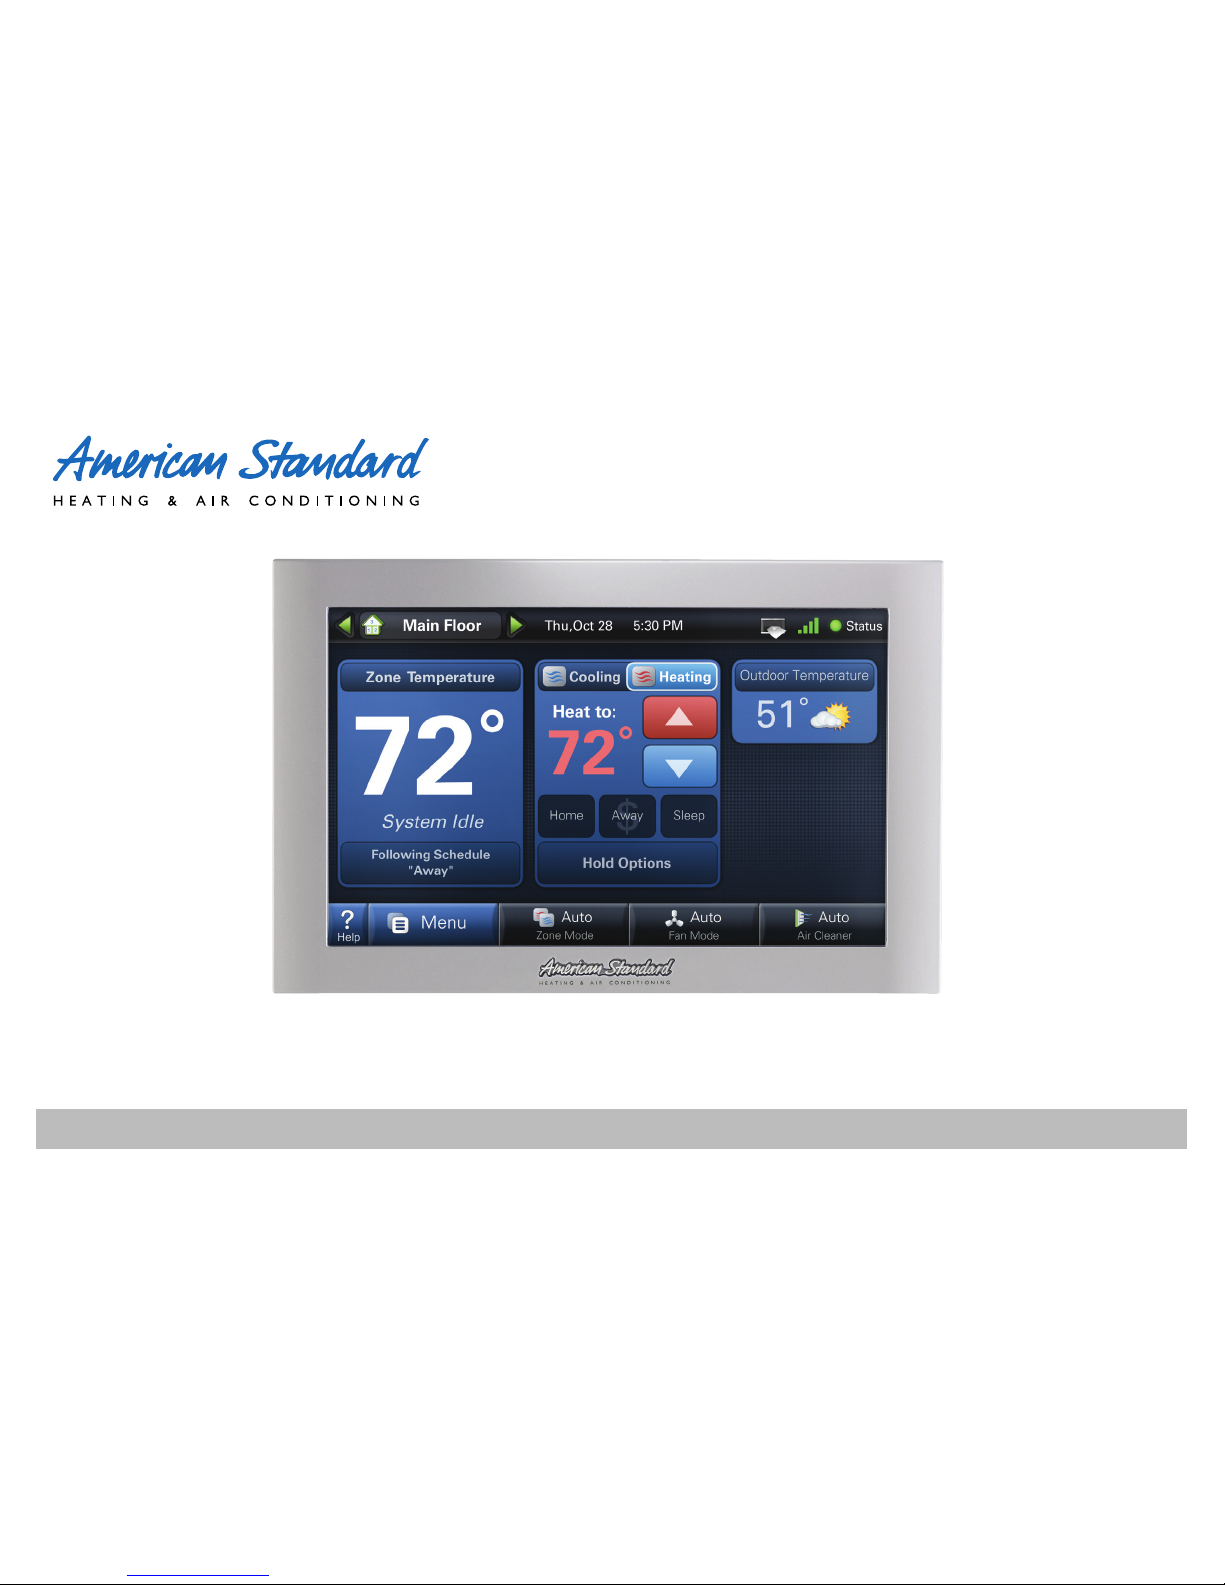
American Standard AccuLink Platinum ZV User manual

User’s Guide
AccuLink™Platinum ZV Control

2
Features Include...
• Large Color Display
• Simple Programming
• Weather Forecast
(via wireless home network)
• Allergy Clean/Quick Clean Cycles
• Interactive Touchscreen
• 1-Touch Presets
• Built-in Help Screens
• Operating Runtime Analysis
• System Alerts
• Lock Screen Security
• Custom Screen Options
• Screen Savers
• Five Year Limited Warranty
Amazingly versatile,
incredibly advanced
The AccuLink™control
integrates home comfort
into your personal lifestyle
like nothing you’ve ever
seen before.

33
Easy to use
The simple design and easy to
follow functions of this control
make it the most intuitive and
easy to use control available. Just
touch the screen to try out the
functionality and make opera-
tional changes to the system in
your home.
Help System
On-screen notes provide addition-
al details. When more information
is needed, context sensitive help
is only a button touch away.
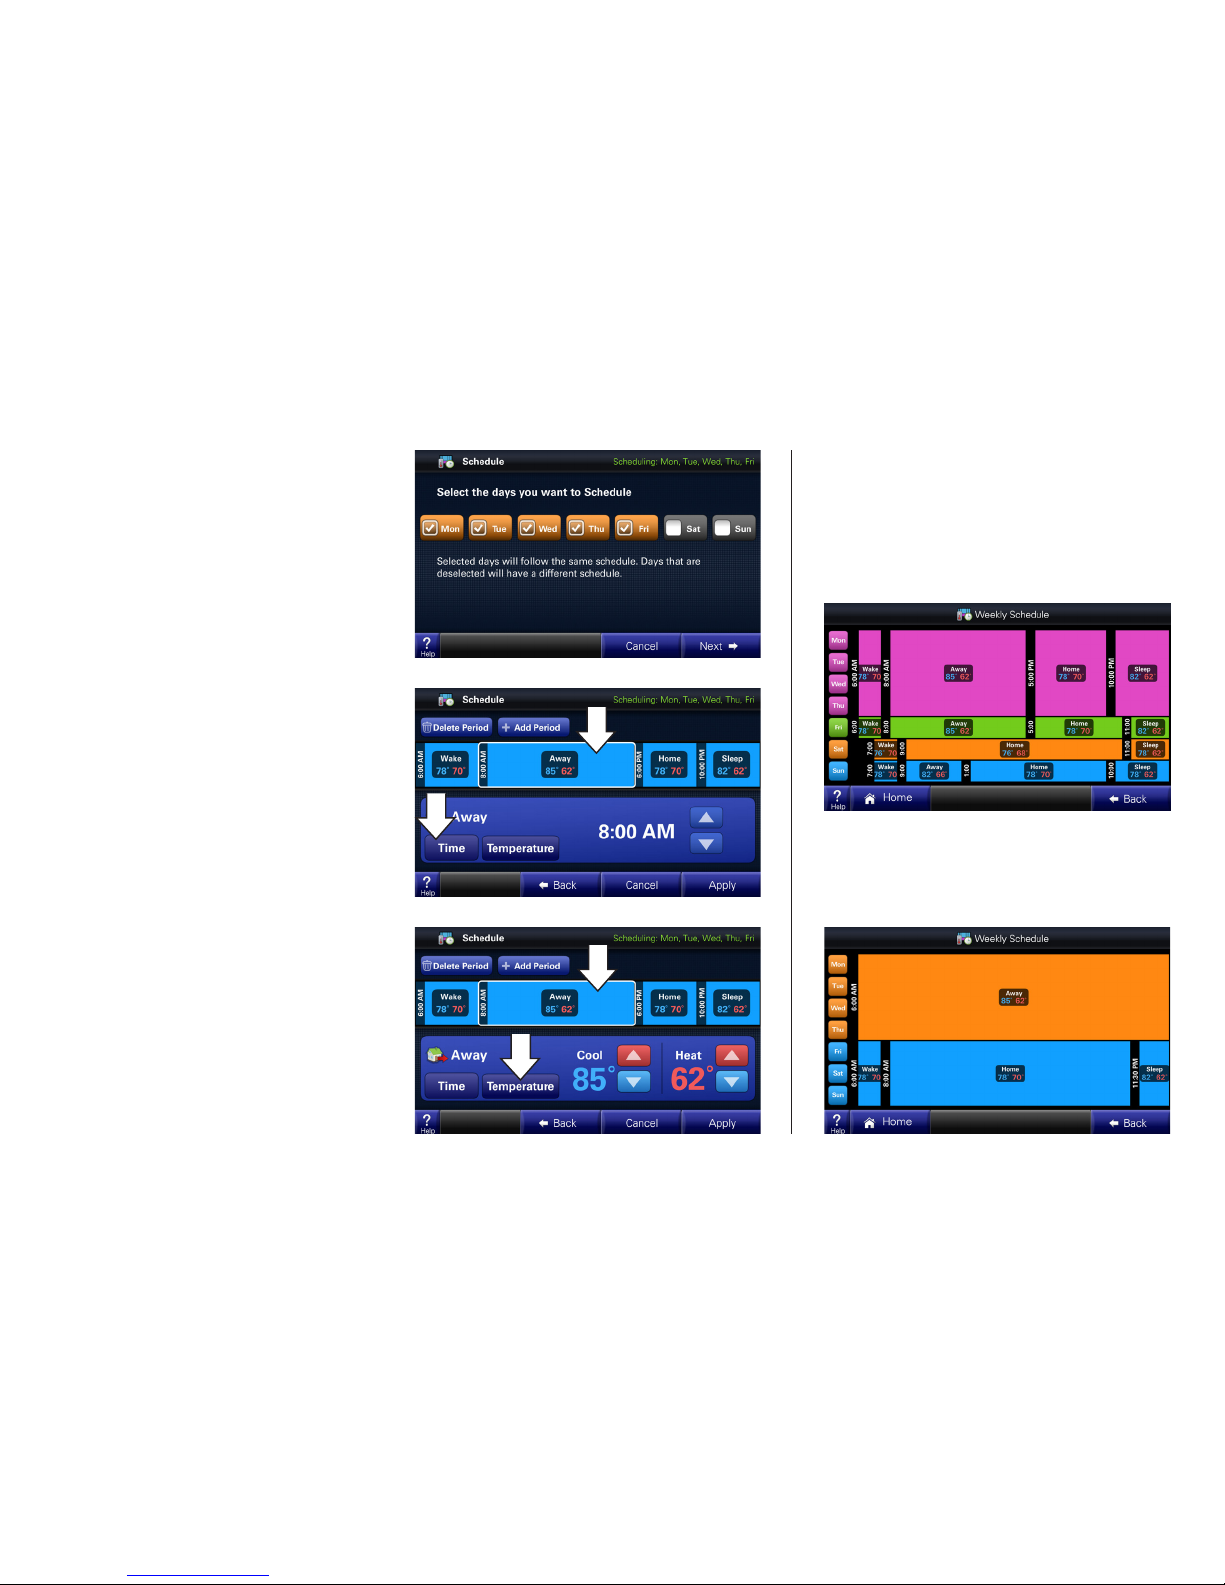
Scheduling
Scheduling setup is made easy
with the use of an on-screen
wizard that walks you through the
process.
1-Touch Presets
Cooling and Heating presets al-
low you to change your in-home
temperatures with the touch of a
button.
Use only your fingertips to touch
the touchscreen. Using any other
implement can damage the screen.
CAUTION
!
Use only a soft damp
cloth to clean the screen.
CAUTION
!
Customizable
Customize the screen to suit
your unique needs. You can
setup shortcuts and an easy
access dashboard on the
Home screen. You can change
the colors, and enjoy a photo
slideshow.
Table of Contents
Introduction............................................... 1-4
Buttons and Navigations.............................. 5
System, Fan, & Air Cleaner Modes .......... 6-7
Scheduling/Programming ......................... 8-9
Loading and Viewing Photos ................ 10-11
Screen Saver Settings ............................... 12
Commonly Used Features......................... 13
Naming your System ................................. 13
Dealer Information Screen......................... 13
Setting Time and Date............................... 14
Security Options ........................................ 14
Runtime History......................................... 14
1-Touch Presets......................................... 14
Customize Your Home Screen................... 15
Humidity..................................................... 15
Wireless Network Setup ....................... 16-19
Advanced Networking Information........ 20-23
Multi-System Control ............................ 24-25
Wireless Registration............................ 26-27
Schlage LiNK Enrollment........................... 27
Software Upgrades.................................... 28
Troubleshooting .................................... 29-30
Index.......................................................... 30
Warranty .................................................... 31

4
Choose the shortcut items that
show in this menu bar
See and adjust multiple
zones or systems
Change settings with just a
few button touches
Manually change setpoints or use
convenient Home, Away and Sleep presets
View big, bold
at-a-glance
system status
See current
system status
Use context
sensitive
help
Choose the
dashboard
items that
show in this
section
Easy to use... Everything is just a touch away

5
Buttons and Navigation
1
Pressing a button will display additional information or
a new menu screen.
EXAMPLE: You may access the Menu screen by
pressing the “Menu” button on the home screen.
You may access the Settings Menu by pressing the
“Settings” button from the Menu screen.
EXAMPLE: In the following sections, button sequenc-
es will be shown with icons. For example, the se-
quence on this page would be represented this way:

6
System ON/OFF, Mode Selection
2
Mode Selection
To the right of the Menu button are 3
Mode buttons:
1) The first sets System Mode
(including OFF).
2) The second controls Fan Mode.
3) The third controls Air Cleaner Mode.
Each button has mode options to choose
from. The chosen mode is conveniently
displayed on its home screen button so
you can see the functions your system is
performing.
1) System Mode
The “Auto” System Mode will
switch between heating and
cooling automatically.
“Heating” and “Cooling”
modes are dedicated
modes. For example, you
may wish to set your sys-
tem to “Heating” in winter
months so your cooling unit
does not run. Likewise, you may wish to set your system to “Cooling” in sum-
mer months so that your furnace does not run.
To completely turn off your system, select “Off”.
2) Fan Mode
In “Auto” Fan Mode the sys-
tem’s fan will run only when
the system runs.
The fan will run continuously
when the Fan Mode is set to
“On”.
The “Circulate” Fan Mode
will run the fan at least 10-
55 minutes out of every hour, decreasing hot/cool spots throughout your house.

7
Setpoint Panel
3
3) Air Cleaner Mode
Automatic means the air cleaner will run when the fan runs.
Quick Clean is a full power air cleaning cycle that increases the system fan speed setting (when not
actively heating or cooling) to 100% for three hours to achieve maximum clean air delivery rate.
Allergy Clean is a full power air cleaning cycle that increases the system fan speed setting (when not
actively heating or cooling) to 100% for 24 hours to achieve maximum clean air delivery rate.
Cooling Setpoint PanelHeating Setpoint Panel
Raise
Lower
To adjust the
Heating Setpoint,
select “Heating”
and raise or lower
the temperature to
reach your desired
setpoint.
To adjust the
Cooling Setpoint,
select “Cooling”
and raise or lower
the temperature to
reach your desired
setpoint.
A Setpoint is the desired temperature you would like your home heated or cooled to when in one of the three System Modes.

8
Manually Set up a Schedule
4
1) Turn Scheduling On (and select Manual Scheduling)
2) Enter the Schedule Menu
3) Select a day or time period
By default the schedule shows the periods Wake, Away, Home and Sleep. Each
day can have its own schedule and each schedule will be a unique color.
Default
Schedule
The procedure below describes setting up a manual schedule. Scheduling can also be set up via Guided Scheduling which creates a schedule by
asking you a series of questions. Guided Scheduling can also be selected in the screen below.

9
4) Select the days you would like
to schedule
By selecting more than one day, you can
set the schedule to be the same for those
days. For example, you may keep the
same hours each weekday .
Finished Examples:
Example A:
Example A is for someone who works and is
out of the house during weekdays.
Example B:
Example B is for someone who is out of town
Monday–Thursday.
5) Adjust the Time for each period
Select a period one at a time and set its
beginning time by pressing the “Time” button.
Press the “Temperature” button to adjust the
setpoints for each period.
NOTE: Notice that you can delete or add
periods (maximum 6 per day).
6) Adjust the Temperature for each
period
Press the “Temperature” button to adjust
setpoints for each period.
7) Press “Apply” when complete

10
Using Photos
5
Notch at top
Using an SD Card
Insert the SD Card at the bottom right hand side of the control, taking care to
keep the card’s “notch” in the orientation shown.
NOTE: The card must remain inserted to view the photos
and the SD card must remain “unlocked.”
You can set up a photo album and a screen saver using
your own photos.
Photo Album
View and set up your photo album.
Required Photo Formats:
Photos on your SD card must be in .jpg, .jpeg, .bmp, .png, or
.gif formats and each photo must be less than 3MB in file size.
Recommended SD Cards:
SD, SDHC
SD Adapter – microSD, miniSD, microSDHC, mini SDHC
Table of contents
Other American Standard Control Panel manuals

American Standard
American Standard Gold 824 User manual

American Standard
American Standard ACONT900AC43UA User manual

American Standard
American Standard NEXIA ACONT624AS42DA User manual

American Standard
American Standard AZON1050AC52ZA User manual

American Standard
American Standard ACONT900AC43UA Assembly instructions

American Standard
American Standard ACONT602AF22MA User manual


